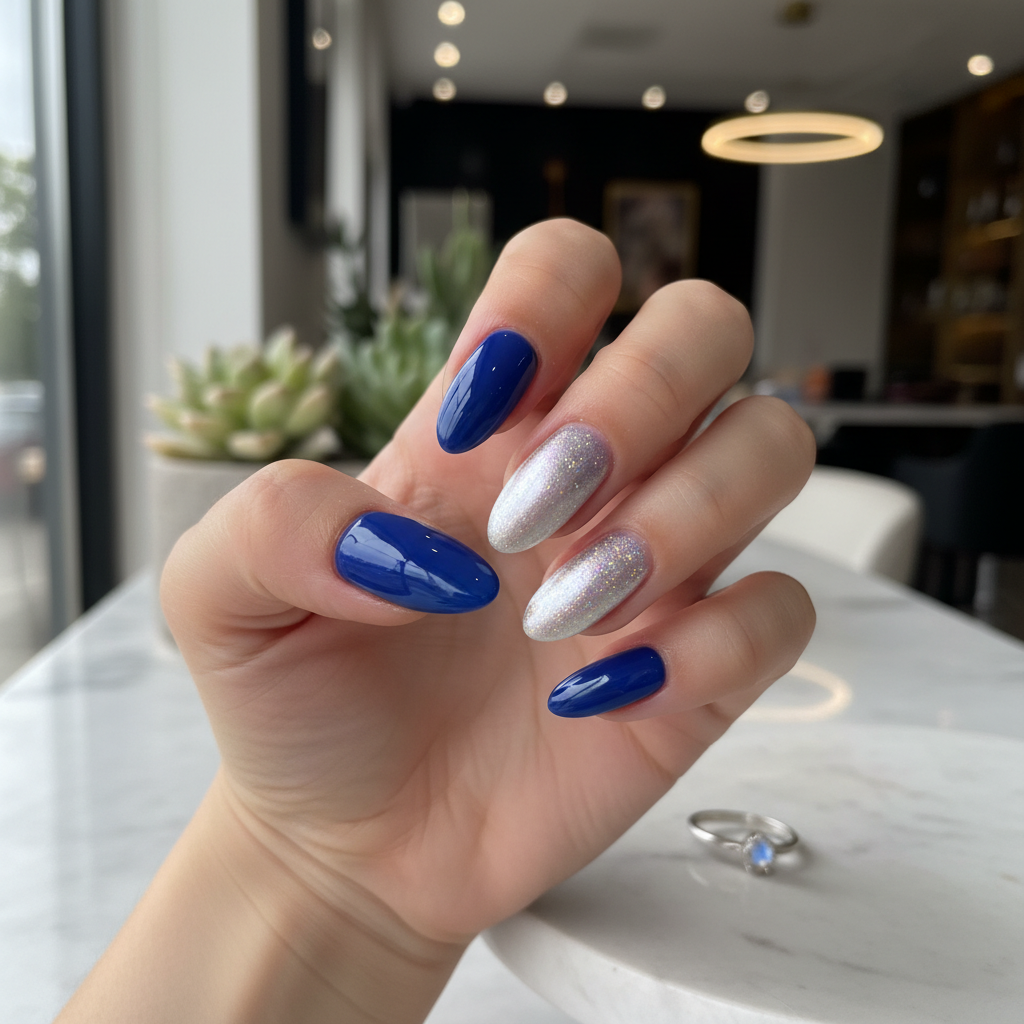
Sophisticated Photo-real Salon Ombre Nails
Ombre inspired nail art with sophisticated, photo-real finish and professional salon quality
Created: October 5, 2025 at 06:15 PM
More Ombre Designs
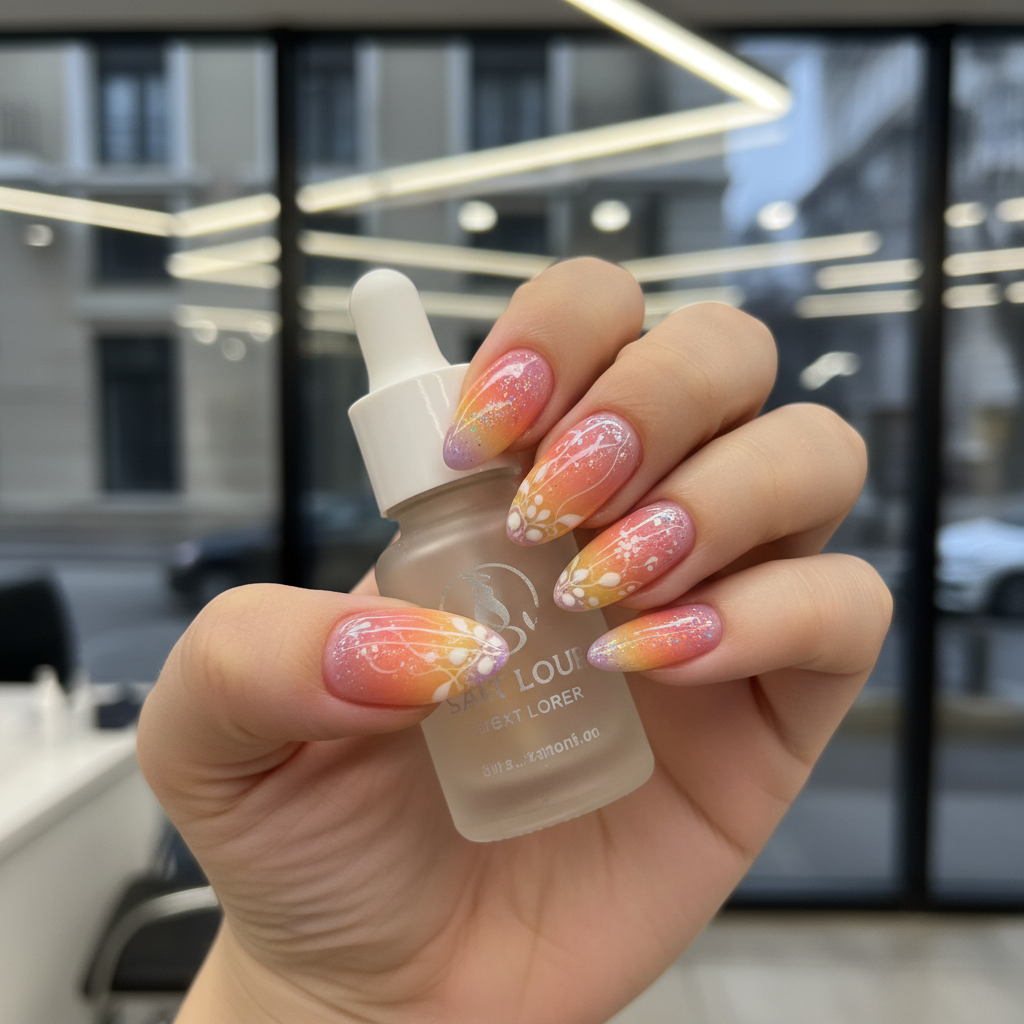
Beautiful Photo-real Salon Ombre Nails
Ombre inspired nail art with beautiful, photo-real finish and professional salon quality
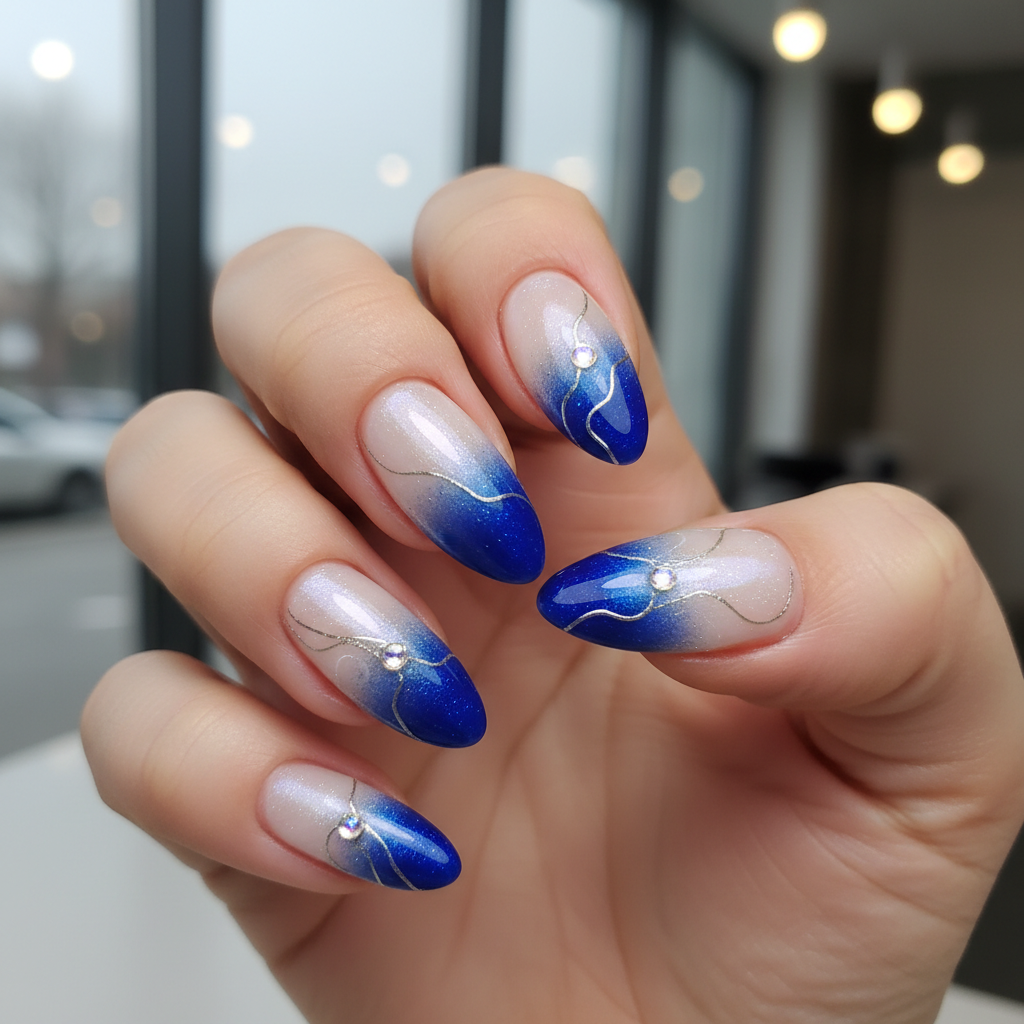
Gorgeous Photo-real Salon Ombre Nails
Ombre inspired nail art with gorgeous, photo-real finish and professional salon quality
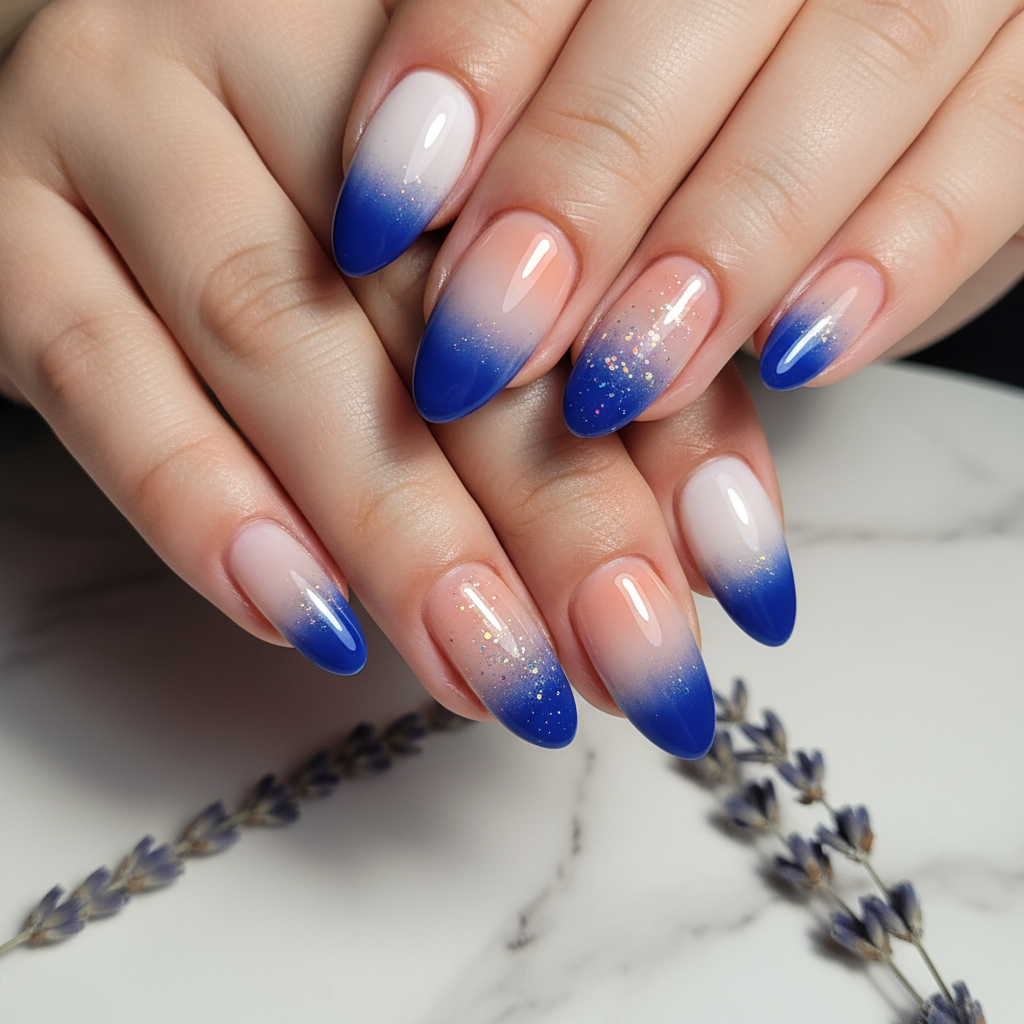
Stunning Photo-real Salon Ombre Nails
Ombre inspired nail art with stunning, photo-real finish and professional salon quality
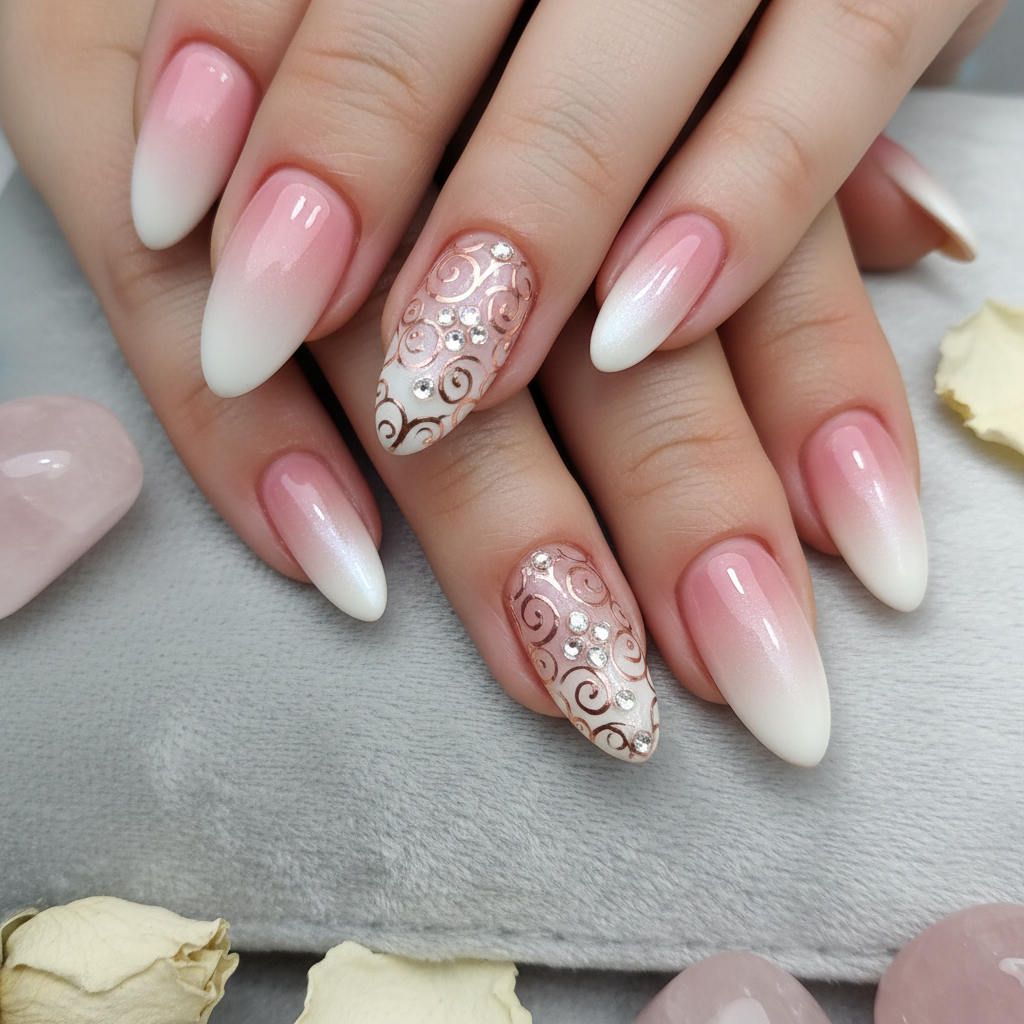
Photo-real Salon Ombre Nails
Ombre inspired nail art with elegant, photo-real finish and professional salon quality
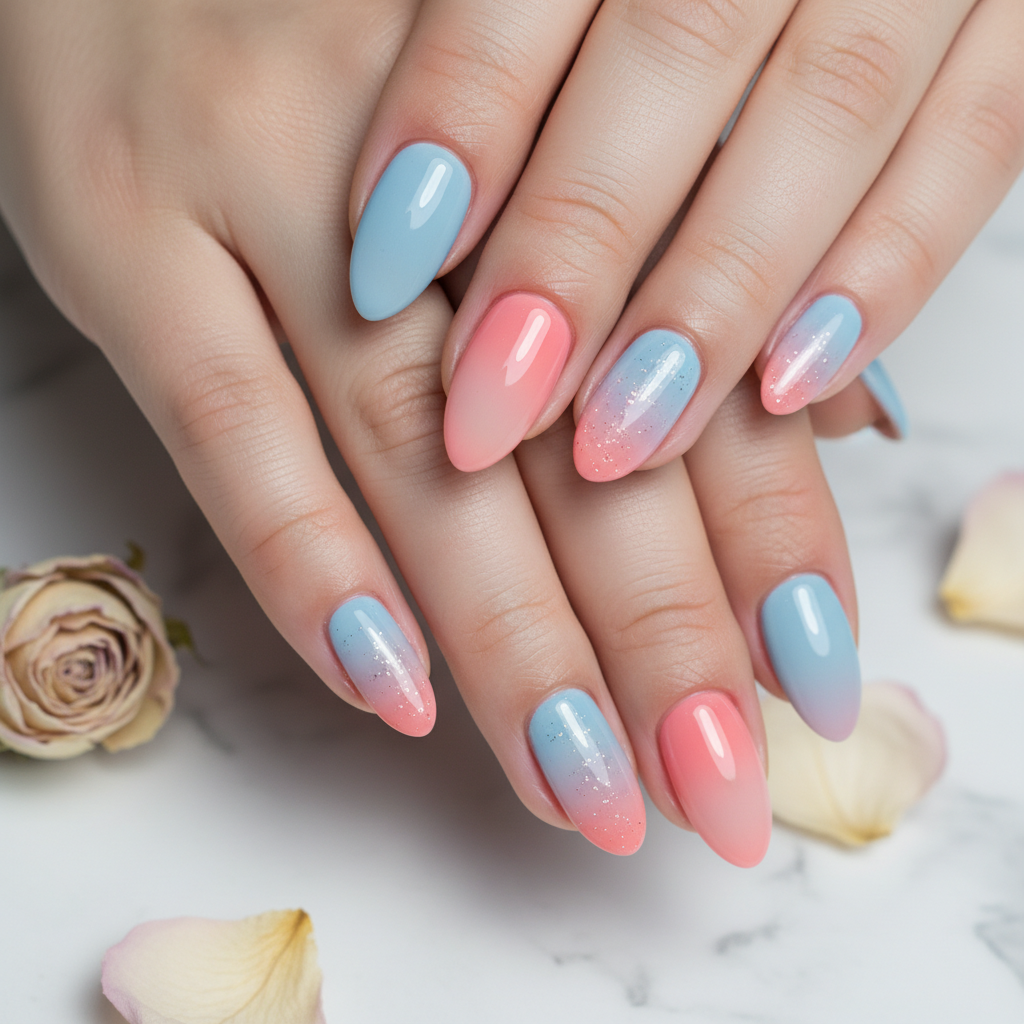
Photo-real Salon Ombre Nails
Ombre inspired nail art with clean, photo-real finish and professional salon quality
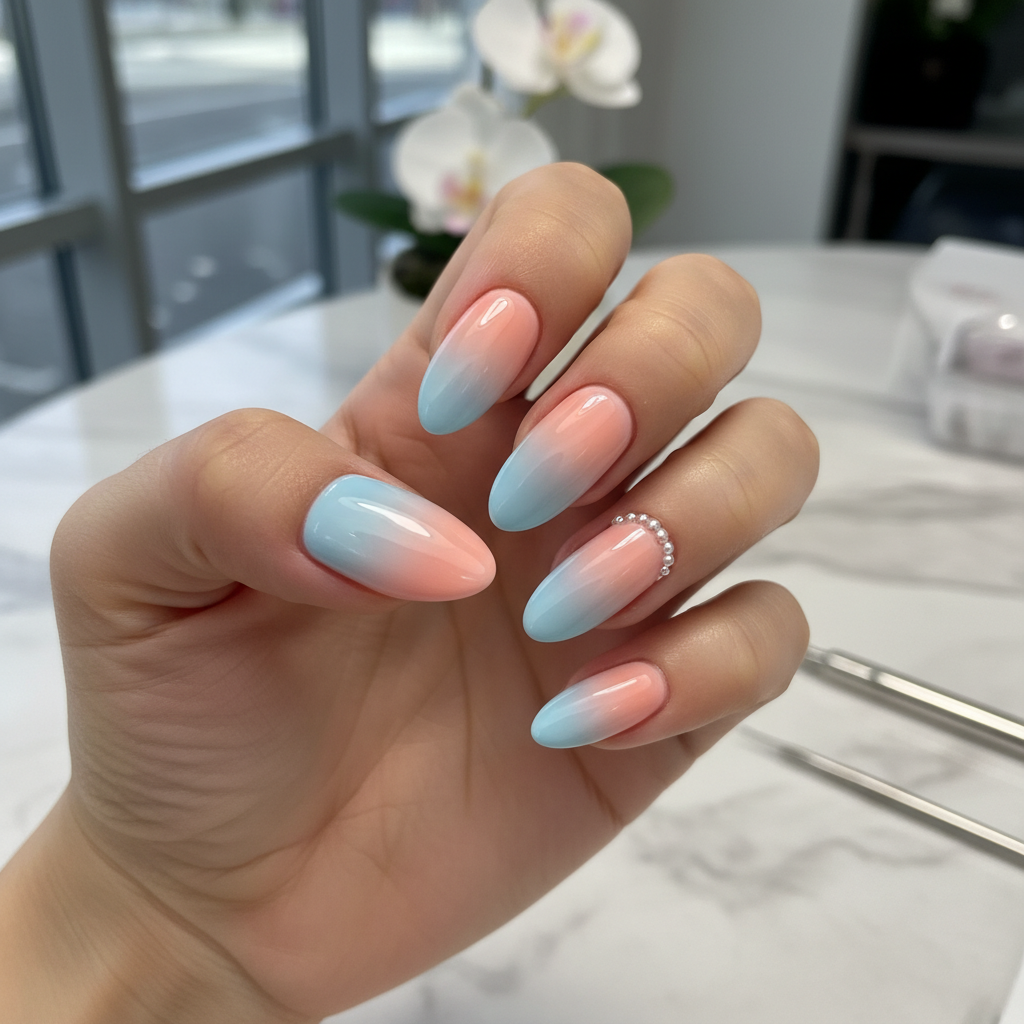
Photo-real Salon Ombre Nails
Ombre inspired nail art with clean, photo-real finish and professional salon quality
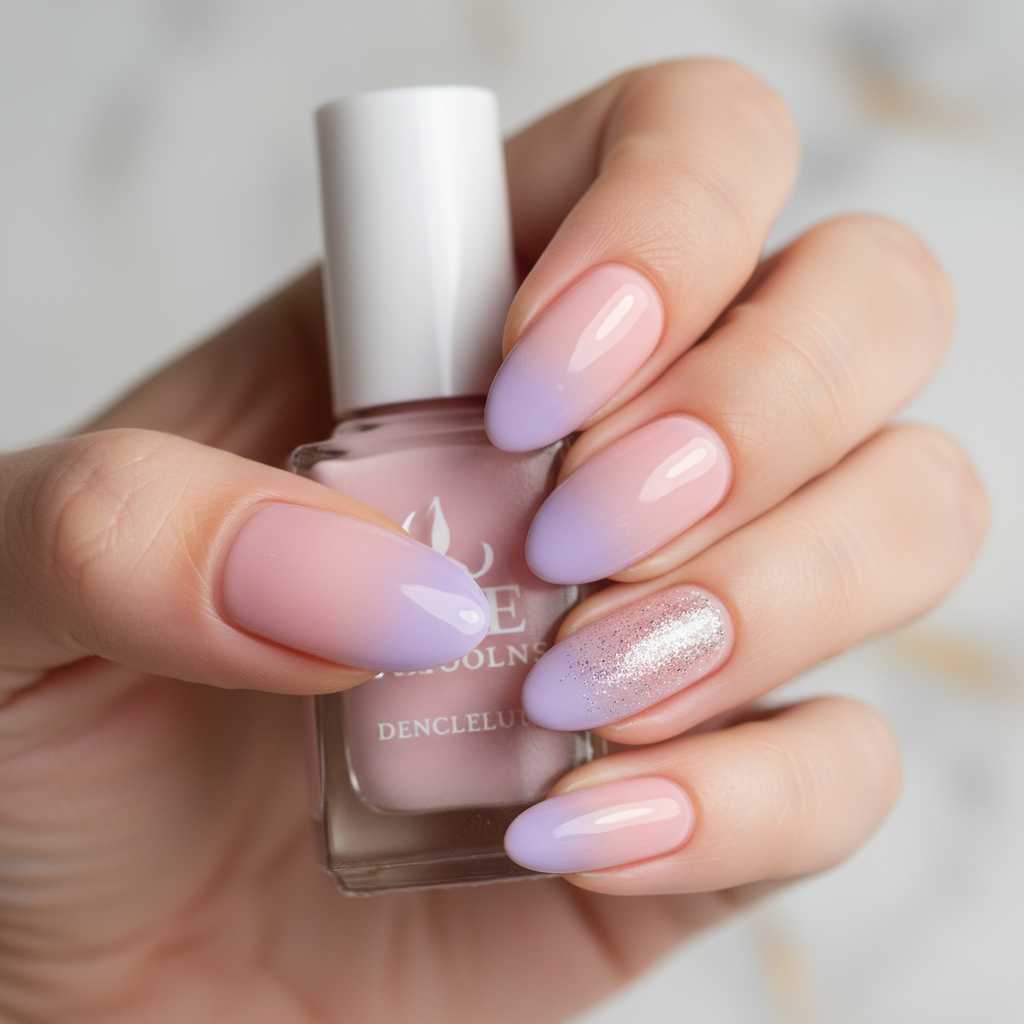
Photo-real Salon Ombre Nails
Ombre inspired nail art with clean, photo-real finish and professional salon quality
More Designs
Sophisticated Photo-Real Ombre Nails: Seamless Salon Blend
This design features an ultra-smooth, airbrushed gradient, creating a truly photo-real effect that looks incredibly natural and polished. Each nail showcases a professional, high-definition blend, elevating classic gradient nail art to a luxurious finish.
Supplies You'll Need
- High-pigment gel polishes (2-3 complementary shades)
- Fine-pore cosmetic sponge or ombre brush
- Gel base coat and no-wipe top coat
- Lint-free wipes and rubbing alcohol
- UV/LED Curing Lamp
- Cuticle pusher and nippers
How To Recreate It
- Prep nails by cleaning, shaping, pushing back cuticles, and applying a dehydrator/primer.
- Apply a thin layer of gel base coat and cure fully under a UV/LED lamp.
- Apply the lightest ombre shade as a full base coat and cure.
- Apply desired ombre shades onto a flat palette or directly onto a cosmetic sponge in a gradient line.
- Gently dab the loaded sponge onto the nail, rolling slightly to blend the colors seamlessly. Repeat thin layers, curing after each, until a photo-real blend is achieved.
- Finish with a generous layer of high-gloss no-wipe top coat and cure fully, then cleanse with alcohol for a high-shine finish.
Expert Tip
To achieve that perfect photo-real blend, apply very thin, buildable layers with your sponge, curing each one. The key is patience and multiple light passes, rather than heavy single applications, to avoid a chunky look. This ensures a truly sophisticated finish.
Try These Variations
- →Glitter Fade Gradient: Introduce a fine glitter polish over the lighter half for a subtle sparkle.
- →Vertical Ombre: Blend colors from side to side instead of cuticle to free edge for a unique twist.
- →Matte Photo-Real Blend: Finish with a matte top coat for a velvety, muted sophisticated look.
Aftercare Tips
- ✓Keep nails dry for the first few hours after application to ensure full curing and prevent smudges.
- ✓Apply nourishing hand cream regularly to keep hands soft and complement your beautiful nails.
- ✓Regularly inspect for any lifting or chips and address them promptly at the salon to maintain the photo-real quality.
Safe Removal
- 1.Gently file off the top coat to break the seal and allow acetone penetration.
- 2.Soak cotton pads in 100% acetone, place on each nail, and wrap with foil for 10-15 minutes.
- 3.Gently scrape off softened gel with an orange wood stick; never force or peel.
Quick Facts
Why It's Trending
The demand for subtle yet impactful nail art has surged, making this photo-real gradient a top choice for a polished, high-end aesthetic that photographs beautifully for social media and events.
Seasonal Styling
While timeless for any season, this design shines for spring weddings, summer galas, or as a chic, subtle statement during fall and winter holidays. Its versatility makes it universally appealing for any sophisticated occasion.
Color Variations
Perfect For
Why People Love It
This sophisticated gradient design is currently dominating feeds for its seamless elegance and ability to look flawless in every photo. It's truly the 'quiet luxury' of nail art, favored by celebrities and trendsetters.
Daily Maintenance
- 💅Moisturize cuticles daily with cuticle oil to prevent hangnails and maintain nail health.
- 💅Wear gloves for household chores to protect the gel polish from harsh chemicals and excessive water.
- 💅Avoid using nails as tools to prevent chipping or breaking the delicate gradient design.
- 💅Schedule touch-ups or refills every 2-3 weeks to keep the grow-out minimal and the look fresh.
Common Issues & Fixes
- ⚠Uneven Blending: Apply colors in thinner layers and dab the sponge more gently, slightly rolling for a smoother transition.
- ⚠Bubbles in Top Coat: Apply top coat in a thin, even layer, avoiding shaking the bottle, and ensure full curing.
- ⚠Chipping at Free Edge: Cap the free edge thoroughly with all polish layers, including the top coat, for durability.
- ⚠Color Bleeding: Cure each light layer fully before adding the next, and avoid oversaturating the sponge.
Design Inspiration
This design draws inspiration from high-fashion aesthetics, the soft, natural beauty of airbrushed makeup, and the desire for understated luxury and professional salon quality in everyday style.
Explore Similar Designs
Colors in this Design
Techniques Used
Perfect For
Nail Shapes
More Categories to Explore
Popular Colors
Popular Techniques
Perfect Occasions
FAQs
How long does this photo-real gradient last?
With proper application and aftercare, this gel design can last 2-3 weeks without chipping, maintaining its pristine look.
Can I achieve this at home?
Achieving a true 'photo-real' salon-quality ombre requires advanced techniques and professional products, making a salon visit highly recommended for the best results.
Is this design high-maintenance?
The design itself is durable, but daily cuticle care and protection from harsh elements will extend its pristine, sophisticated look.
What makes it 'photo-real'?
The term refers to the incredibly smooth, almost airbrushed transition between colors, with no visible lines or texture, making it look perfect even in close-up photos.
Can I customize the colors for this elegant gradient?
Absolutely! We recommend choosing complementary, muted, or pastel shades to maintain the refined and sophisticated aesthetic of the design.
Will this design damage my natural nails?
When applied and removed correctly by a professional, gel polish designs like this should not damage your natural nails. We prioritize nail health.