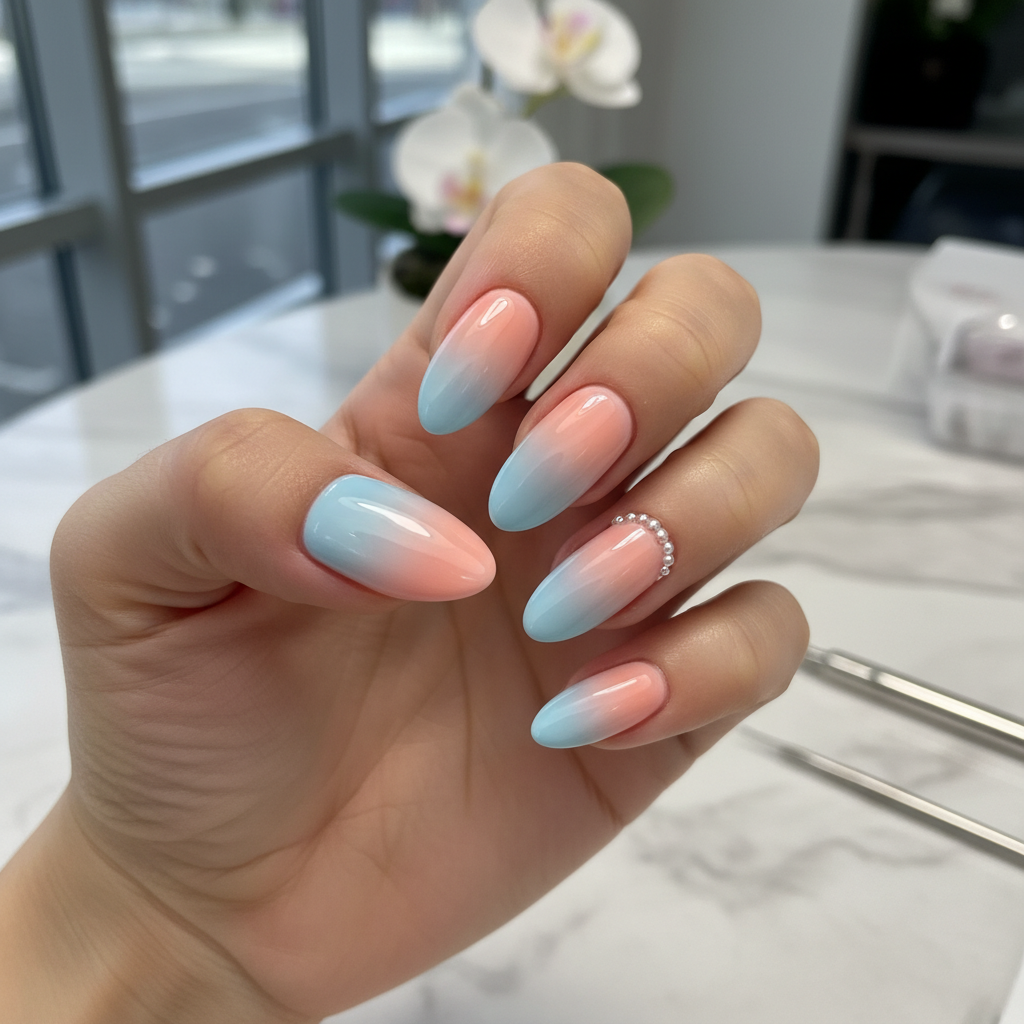
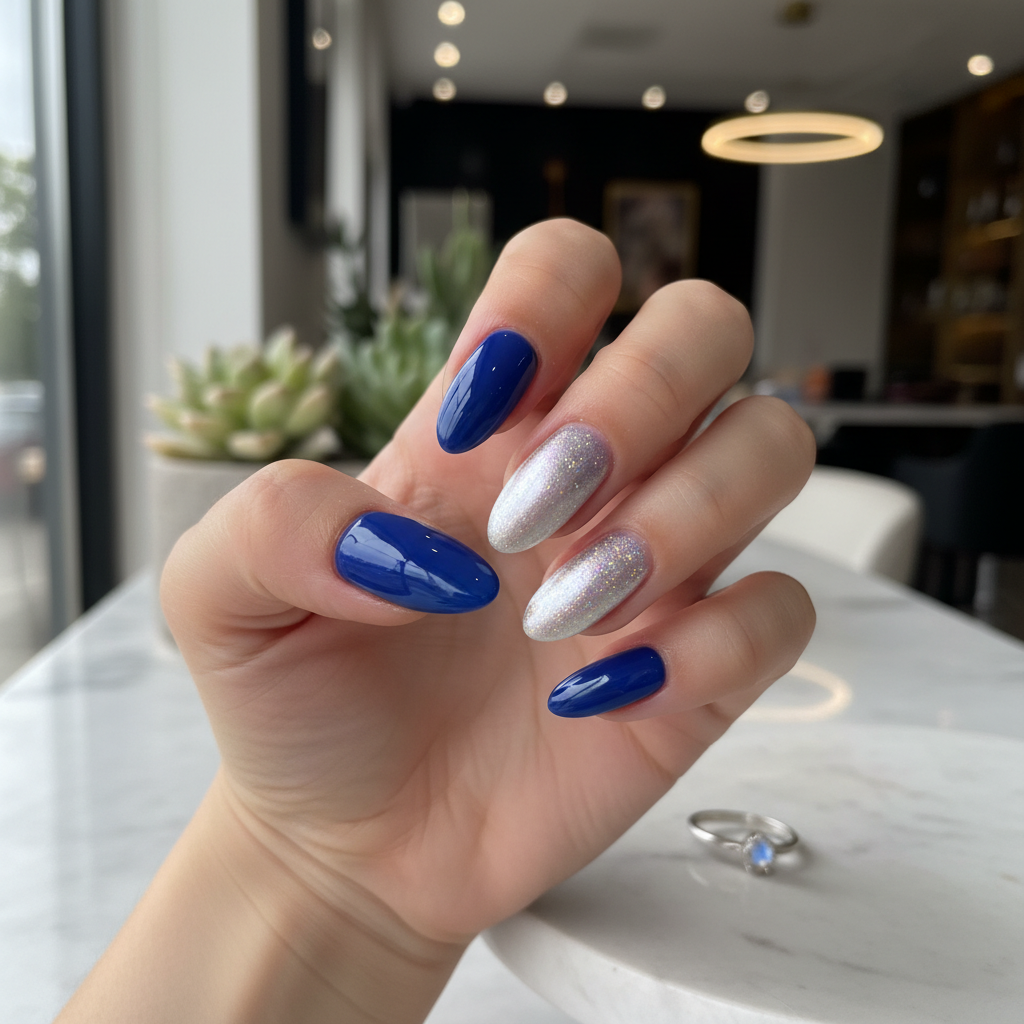
Photo-real Salon Ombre Nails
Ombre inspired nail art with clean, photo-real finish and professional salon quality
Created: October 5, 2025 at 11:48 AM
More Ombre Designs
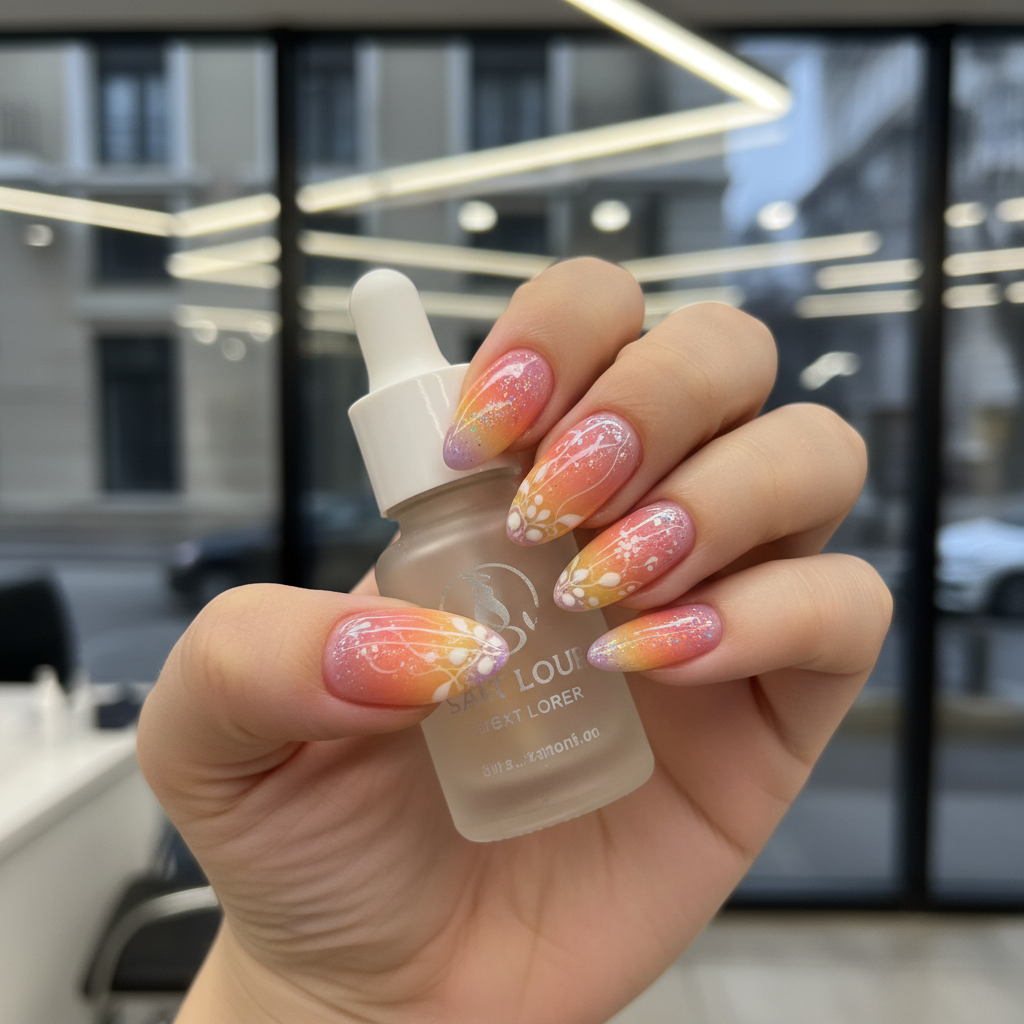
Beautiful Photo-real Salon Ombre Nails
Ombre inspired nail art with beautiful, photo-real finish and professional salon quality
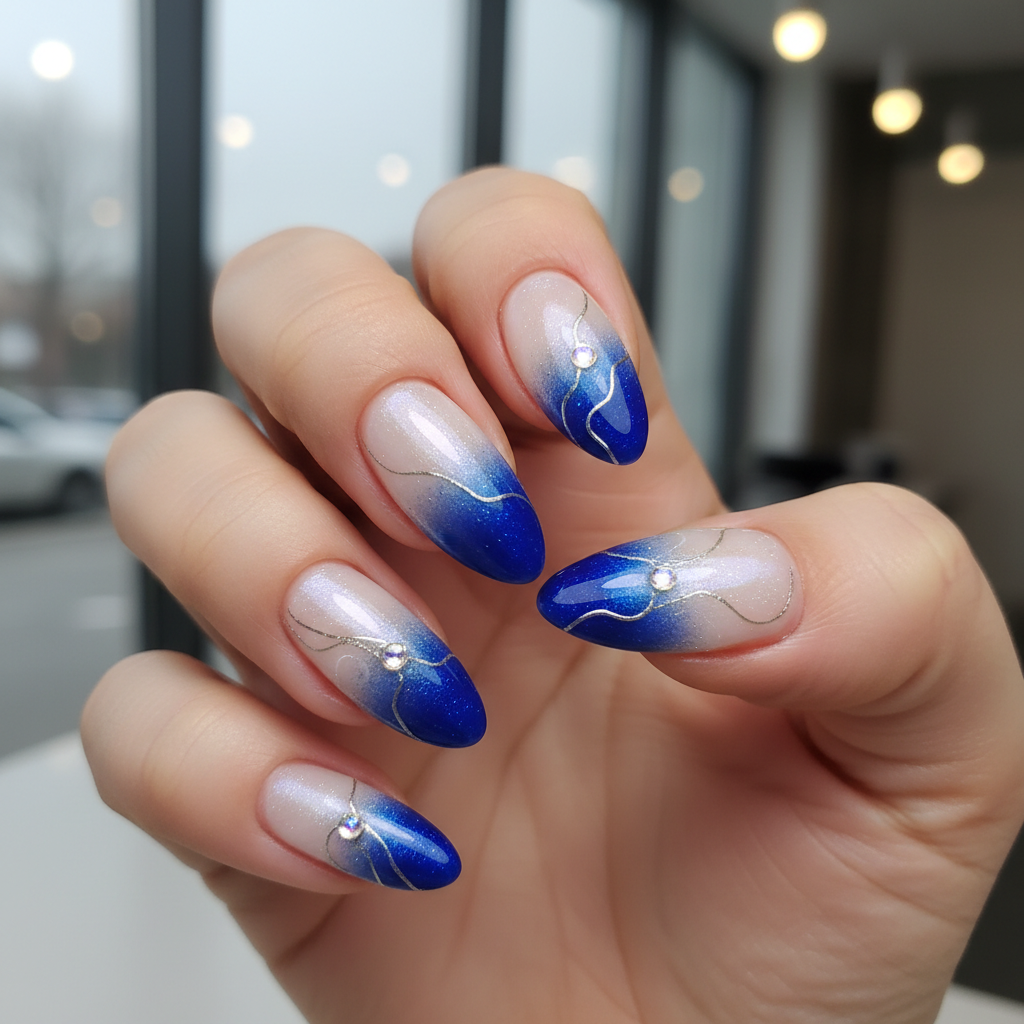
Gorgeous Photo-real Salon Ombre Nails
Ombre inspired nail art with gorgeous, photo-real finish and professional salon quality
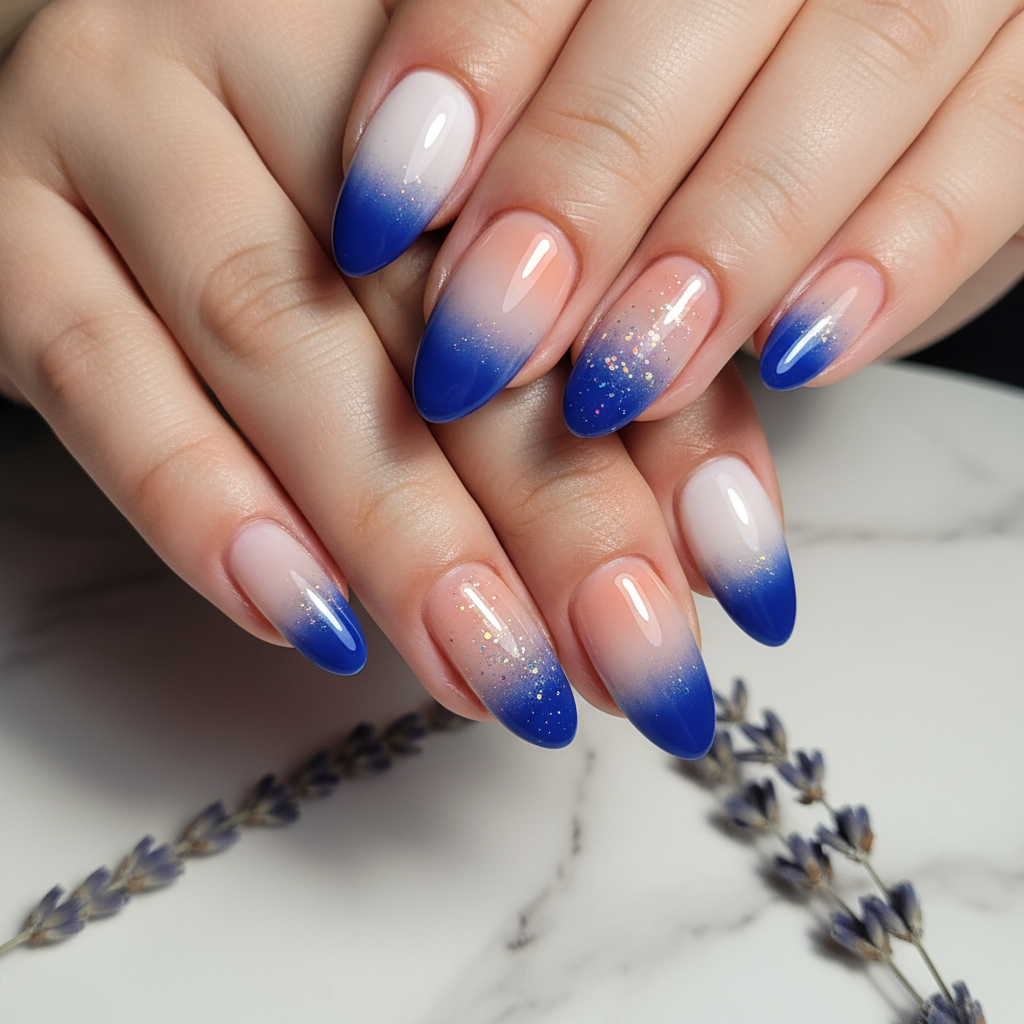
Stunning Photo-real Salon Ombre Nails
Ombre inspired nail art with stunning, photo-real finish and professional salon quality
Sophisticated Photo-real Salon Ombre Nails
Ombre inspired nail art with sophisticated, photo-real finish and professional salon quality
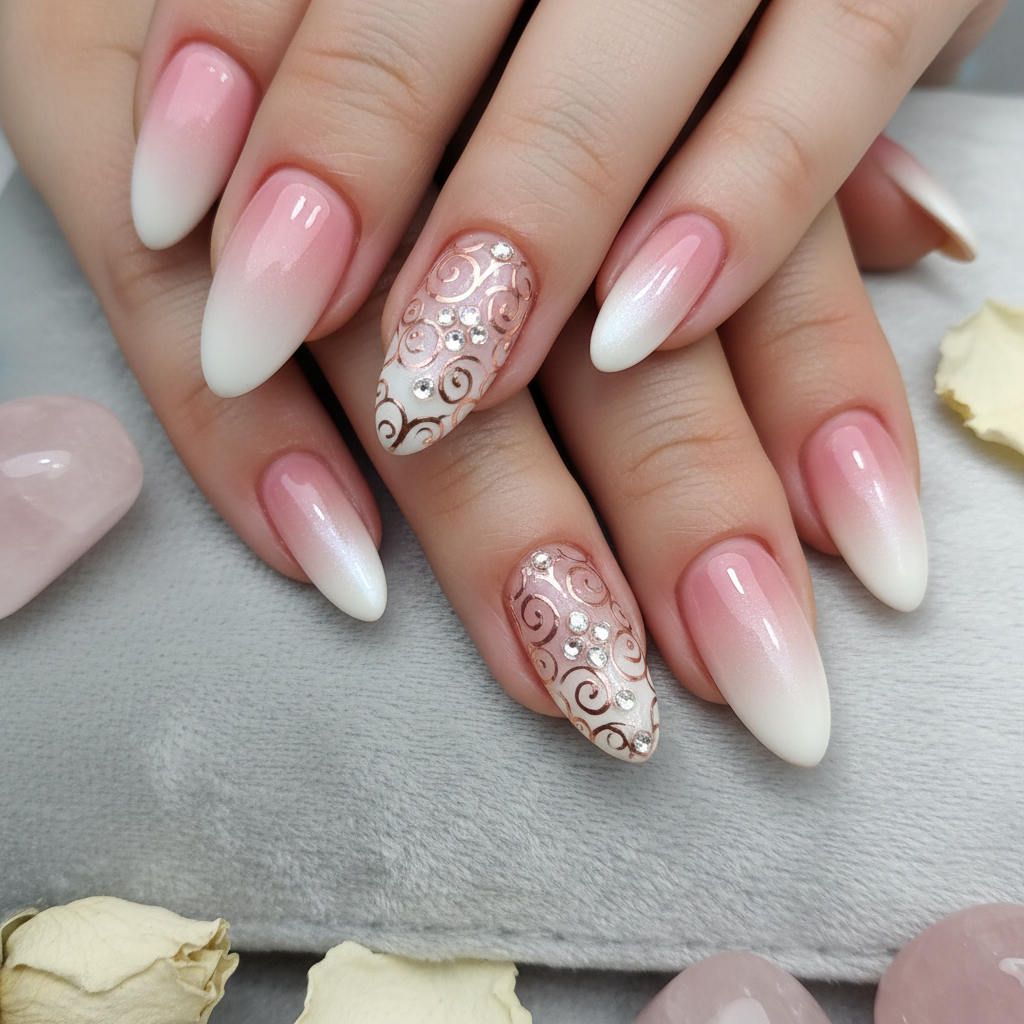
Photo-real Salon Ombre Nails
Ombre inspired nail art with elegant, photo-real finish and professional salon quality
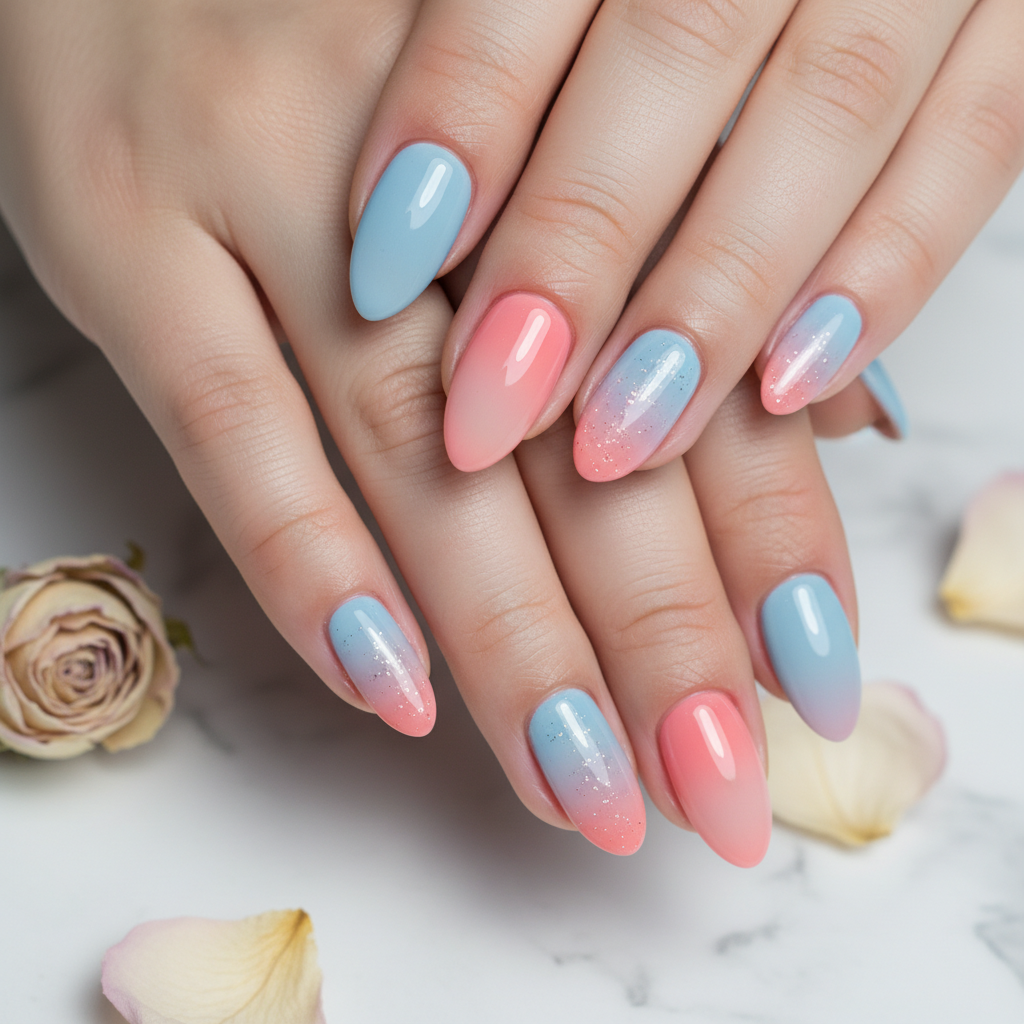
Photo-real Salon Ombre Nails
Ombre inspired nail art with clean, photo-real finish and professional salon quality
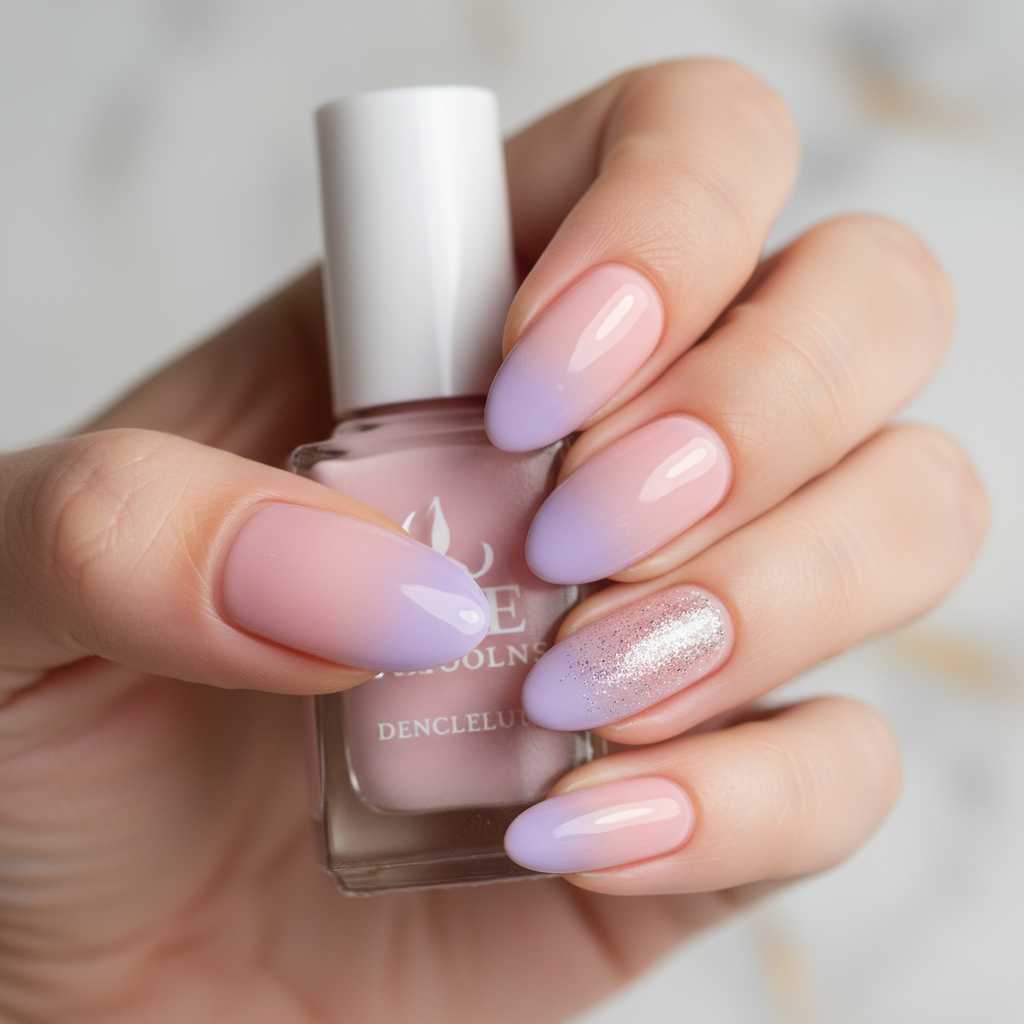
Photo-real Salon Ombre Nails
Ombre inspired nail art with clean, photo-real finish and professional salon quality
More Designs
Photo-Real Ombre Nails: Salon-Quality Gradient Manicure
Achieve a flawless, photo-real ombre effect with this salon-worthy nail design. This look features a seamless color gradient, creating a sophisticated and polished appearance.
Supplies You'll Need
- Base Coat
- Nude/Baby Pink Nail Polish
- White Shimmer Polish
- Makeup Sponge or Ombre Brush
- Top Coat
- Nail Polish Remover
How To Recreate It
- Apply a base coat to protect your nails.
- Apply two thin coats of the nude/baby pink polish as a base color.
- Using a makeup sponge or ombre brush, dab the white shimmer polish onto the tip of the nail, blending it downwards towards the base color.
- Repeat the blending process until you achieve a smooth, seamless ombre effect.
- Clean up any excess polish around the cuticles with nail polish remover and a fine brush.
- Apply a glossy top coat to seal the design and enhance the photo-real finish.
Expert Tip
For a truly seamless ombre, use very thin layers of polish and blend continuously while the polish is still wet. A high-quality top coat is crucial for achieving the desired photo-real shine.
Try These Variations
- →Use glitter polish instead of shimmer for a more glamorous effect.
- →Try a reverse ombre, with the darker color at the tip and the lighter color at the base.
- →Incorporate a subtle chrome effect for added dimension.
Aftercare Tips
- ✓Moisturize your hands and nails regularly.
- ✓Avoid harsh chemicals that can damage the polish.
- ✓Consider using a strengthening nail treatment to maintain nail health.
Safe Removal
- 1.Soak cotton pads in nail polish remover and place them on your nails.
- 2.Wrap your fingertips in foil and let them sit for 5-10 minutes.
- 3.Remove the foil and cotton pads, gently wiping away the polish.
Quick Facts
Why It's Trending
The seamless, photo-real ombre effect offers a refined and modern take on the classic gradient, aligning with the current trend for sophisticated and understated nail art.
Seasonal Styling
Perfect for spring and summer with pastel gradients, or autumn and winter with richer, deeper shades.
Color Variations
Perfect For
Why People Love It
Instagram and Pinterest are filled with stunning examples of photo-real ombre nails, demonstrating its popularity and the desire for a sophisticated, salon-quality finish at home.
Daily Maintenance
- 💅Apply cuticle oil daily to keep nails hydrated.
- 💅Wear gloves when doing household chores to protect your manicure.
- 💅Avoid using your nails as tools to prevent chipping.
Common Issues & Fixes
- ⚠Uneven OmbreApply thinner layers and blend more frequently. Use a clean brush to soften harsh lines.
- ⚠Streaky FinishEnsure your base coat is smooth. Use a high-quality top coat to even out the surface.
- ⚠Polish ChippingEnsure you're wrapping the free edge of your nails with each coat of polish. Reapply top coat every other day.
Design Inspiration
Inspired by the desire to achieve a flawless, airbrushed effect on nails, mimicking professional salon results with a gradient technique.
Explore Similar Designs
Colors in this Design
Techniques Used
Perfect For
Nail Shapes
More Categories to Explore
Popular Colors
Popular Techniques
Perfect Occasions
FAQs
What is the best way to blend ombre nails?
Using a makeup sponge or ombre brush is best for blending ombre nails. Apply the lighter shade to the sponge and dab it onto the nail, blending upwards toward the darker base color.
How do I prevent my ombre nails from looking streaky?
Apply thin layers of polish and blend frequently. A high-quality top coat can also help even out the surface.
Can I use gel polish for this design?
Yes, gel polish works well for ombre nails and can provide a longer-lasting finish. Be sure to cure each layer under a UV/LED lamp.
What if I don't have an ombre brush?
A makeup sponge works perfectly fine for creating an ombre effect. Just make sure it's clean and dry.
How can I make my ombre nails last longer?
Apply a top coat every other day and avoid harsh chemicals that can damage the polish. Also, wear gloves when doing household chores.
What is a photo-real finish?
In nail art, 'photo-real' refers to a finish that is exceptionally smooth, glossy, and flawless, resembling a professionally photographed manicure. This often involves multiple thin layers and a high-quality top coat.