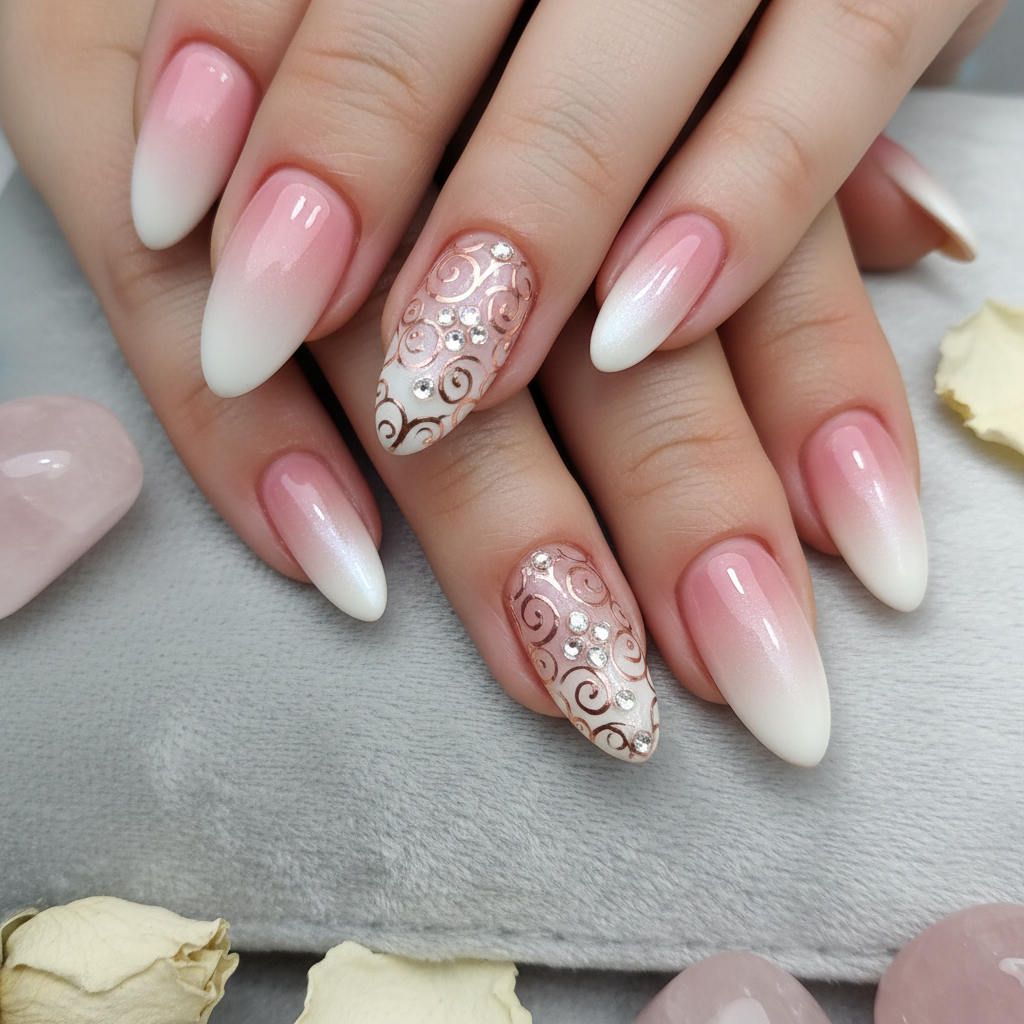
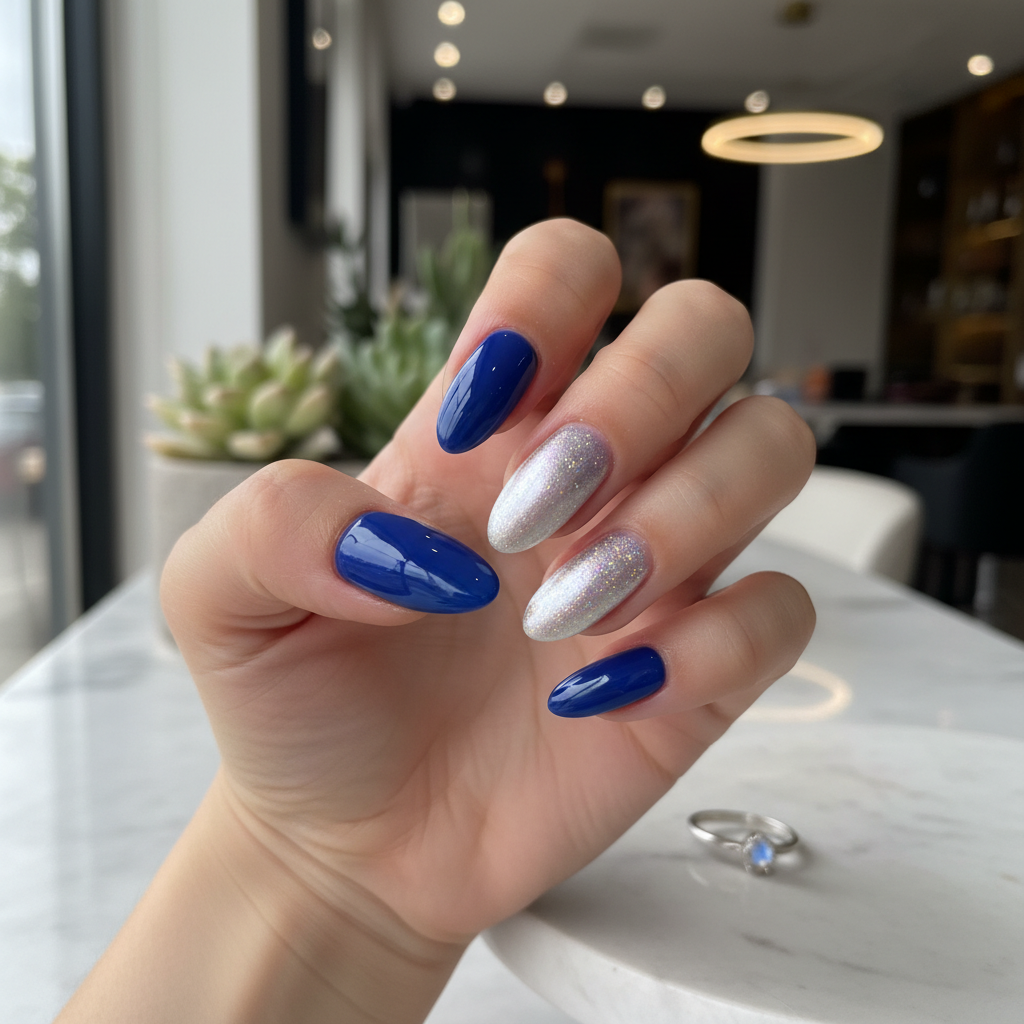
Photo-real Salon Ombre Nails
Ombre inspired nail art with elegant, photo-real finish and professional salon quality
Created: October 5, 2025 at 06:14 PM
More Ombre Designs
Beautiful Photo-real Salon Ombre Nails
Ombre inspired nail art with beautiful, photo-real finish and professional salon quality
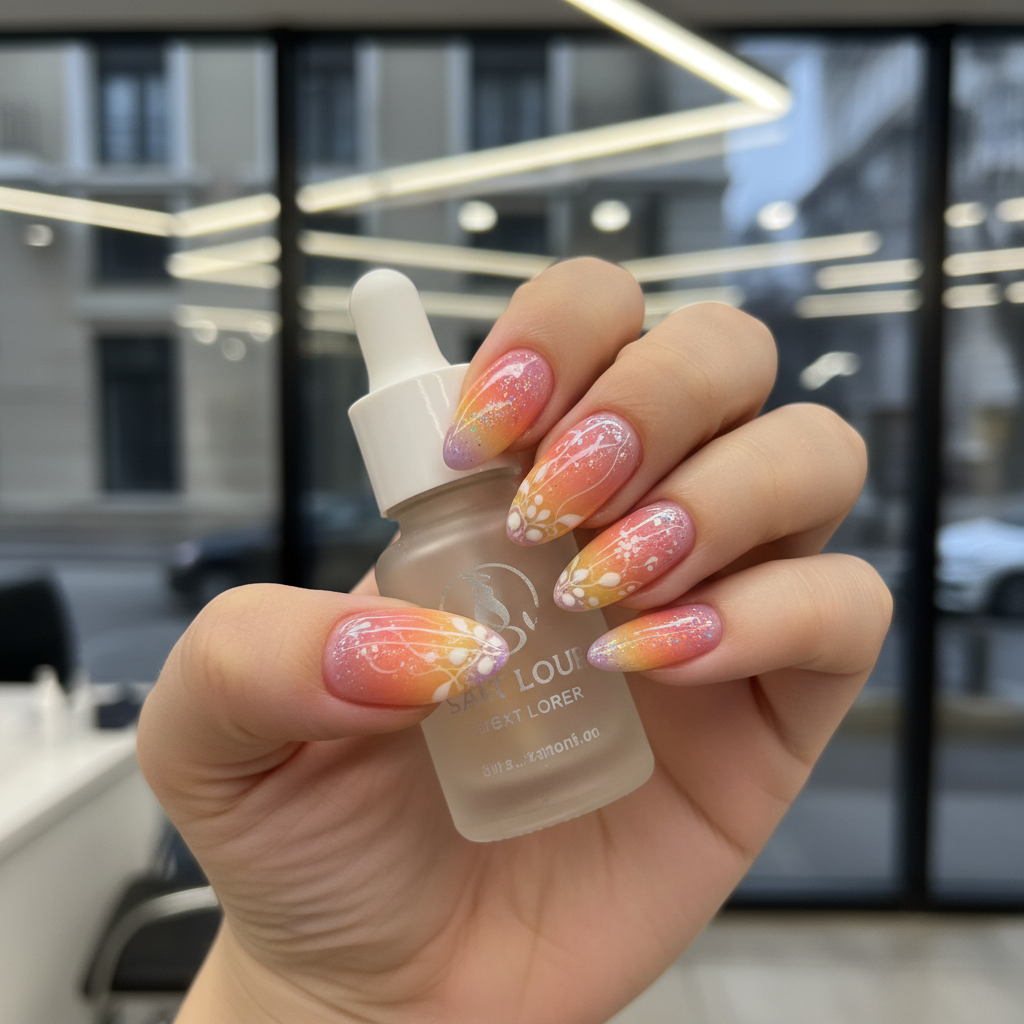
Gorgeous Photo-real Salon Ombre Nails
Ombre inspired nail art with gorgeous, photo-real finish and professional salon quality
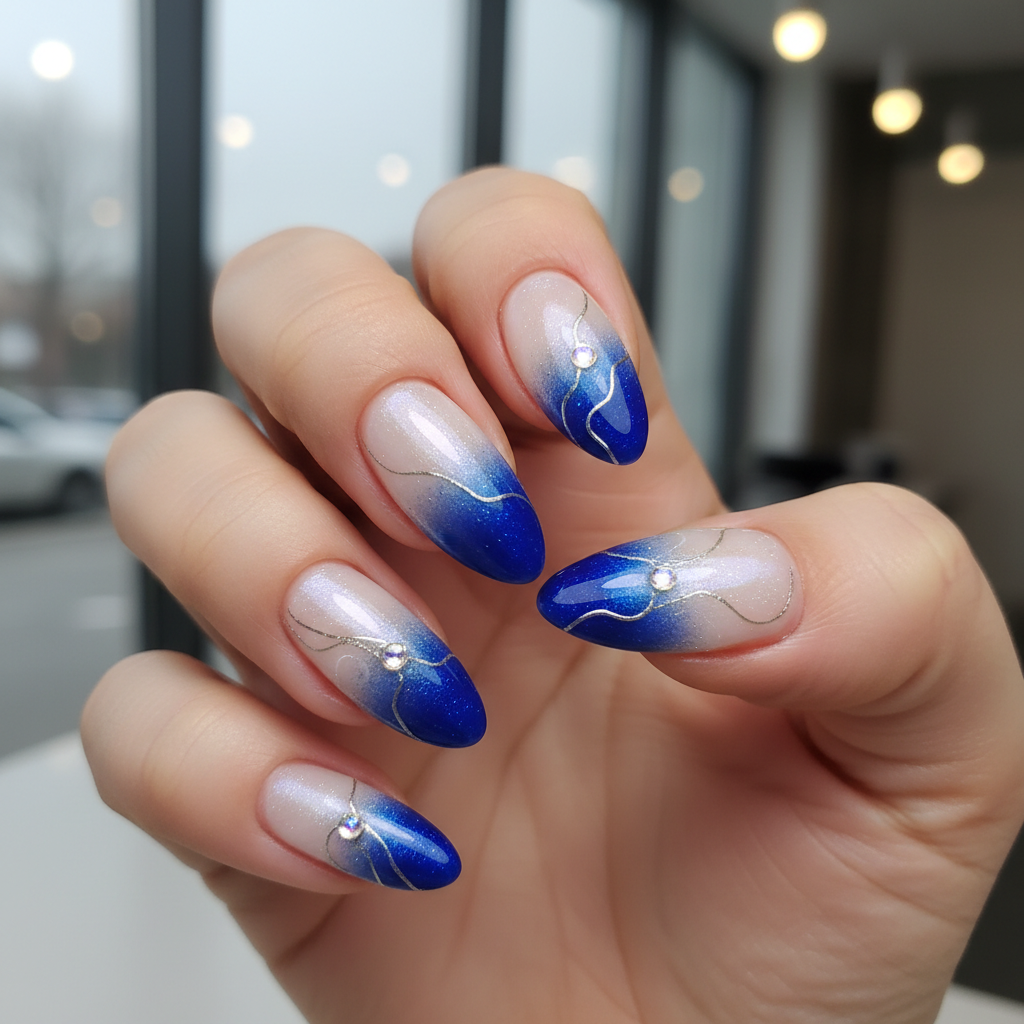
Stunning Photo-real Salon Ombre Nails
Ombre inspired nail art with stunning, photo-real finish and professional salon quality
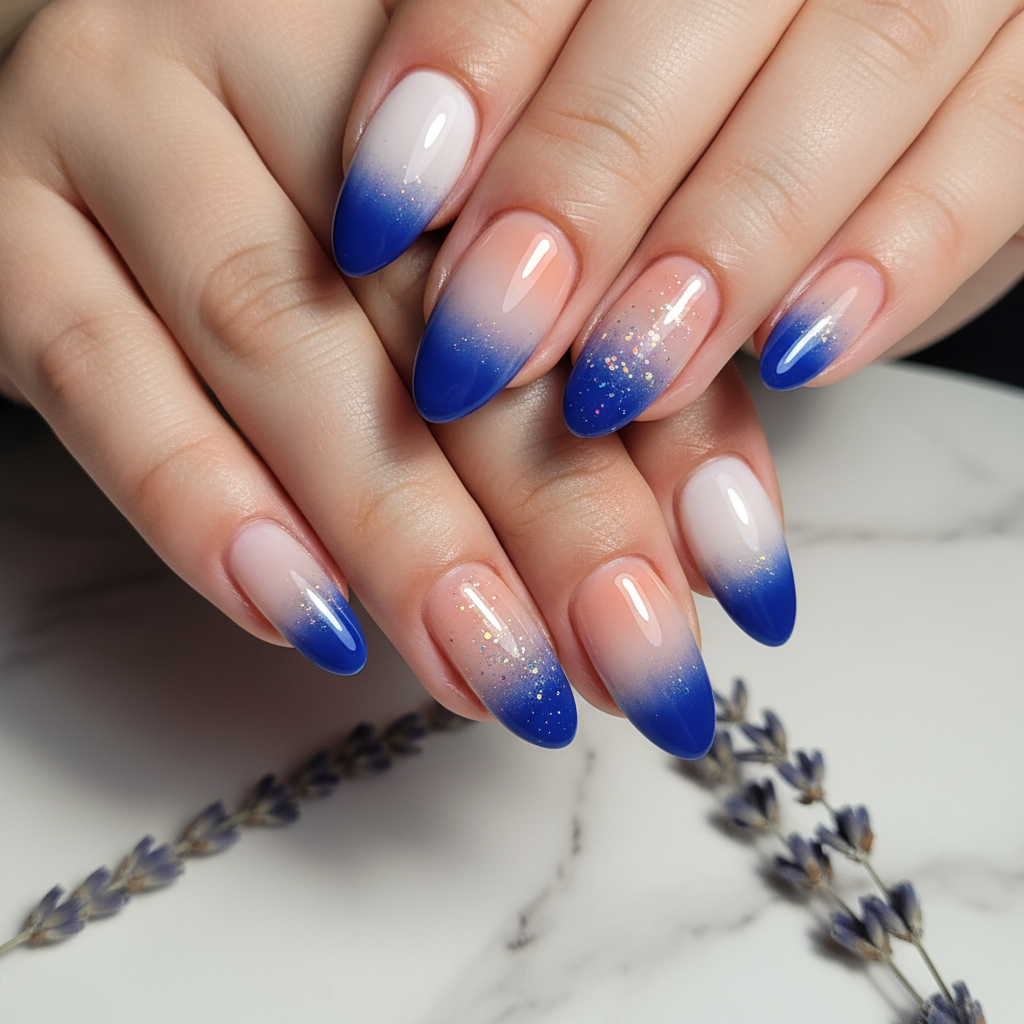
Sophisticated Photo-real Salon Ombre Nails
Ombre inspired nail art with sophisticated, photo-real finish and professional salon quality
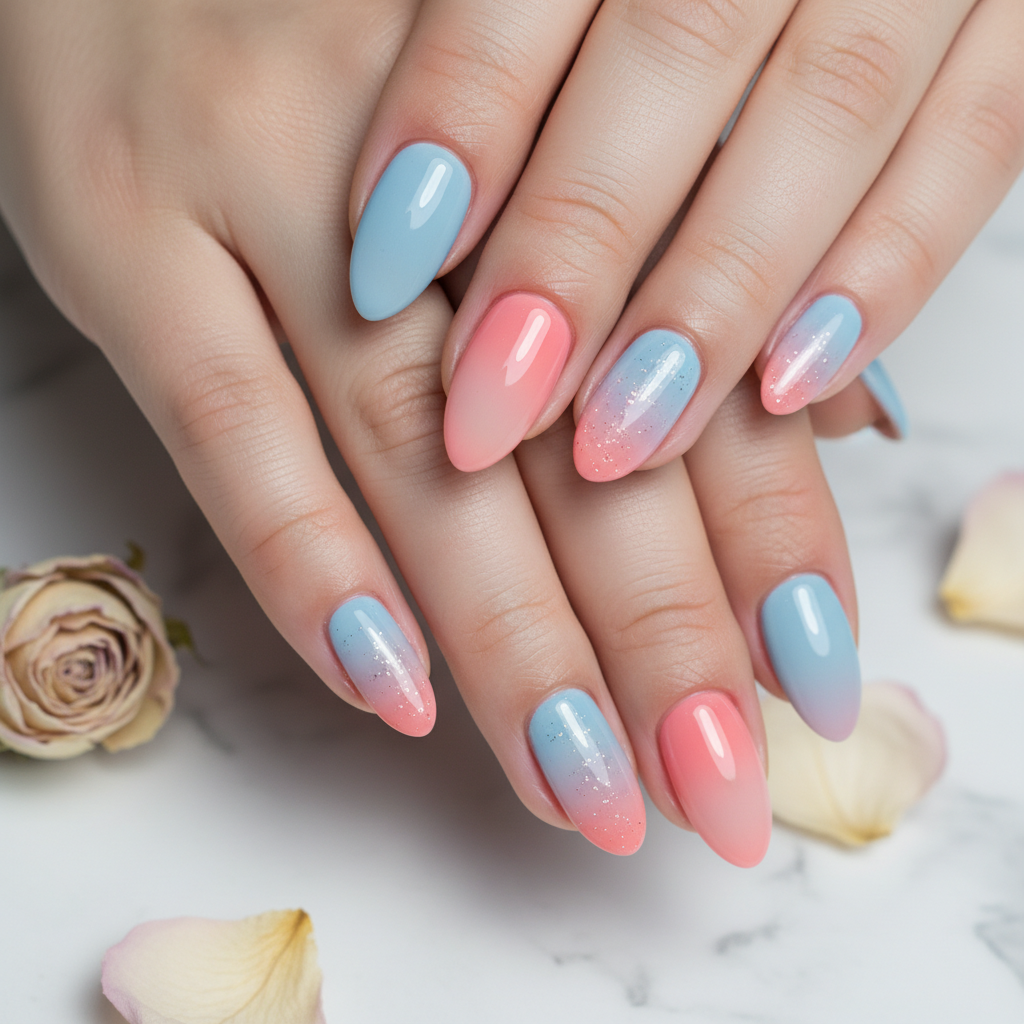
Photo-real Salon Ombre Nails
Ombre inspired nail art with clean, photo-real finish and professional salon quality
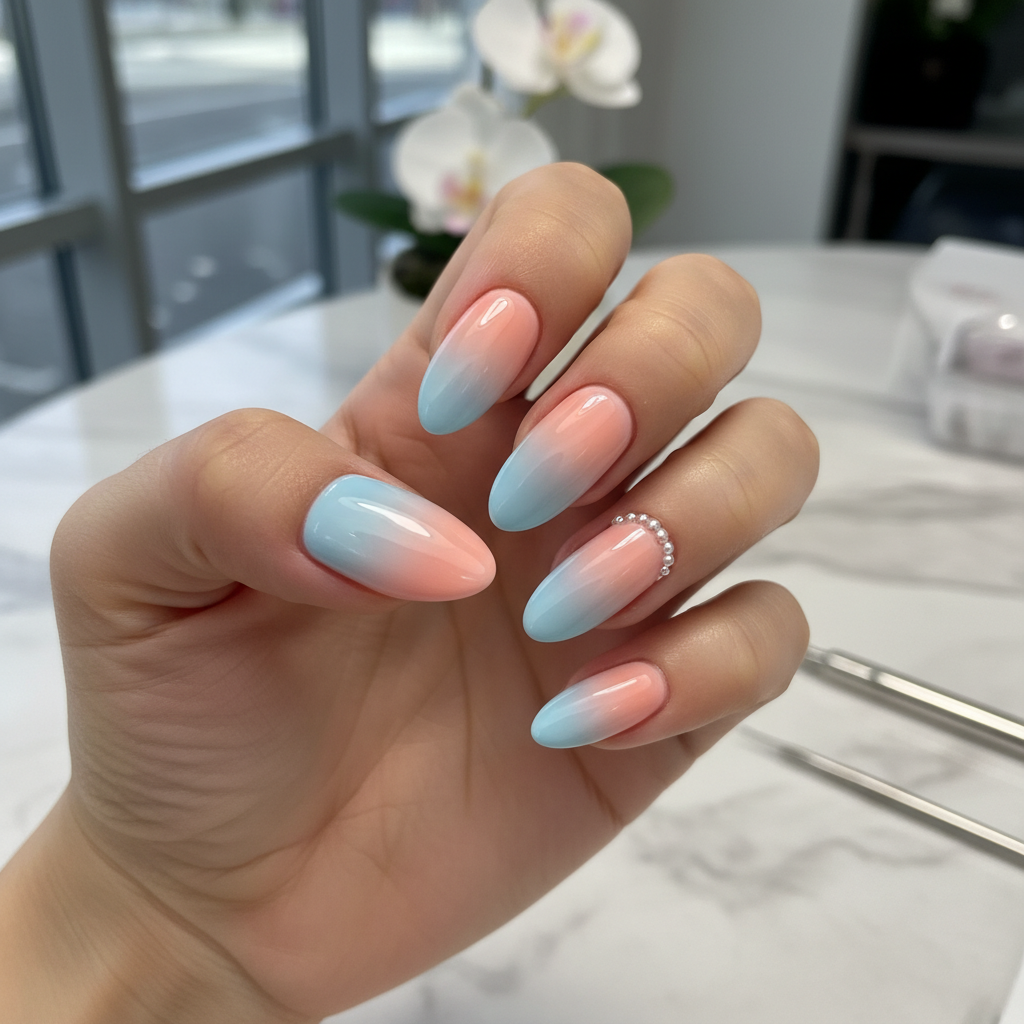
Photo-real Salon Ombre Nails
Ombre inspired nail art with clean, photo-real finish and professional salon quality
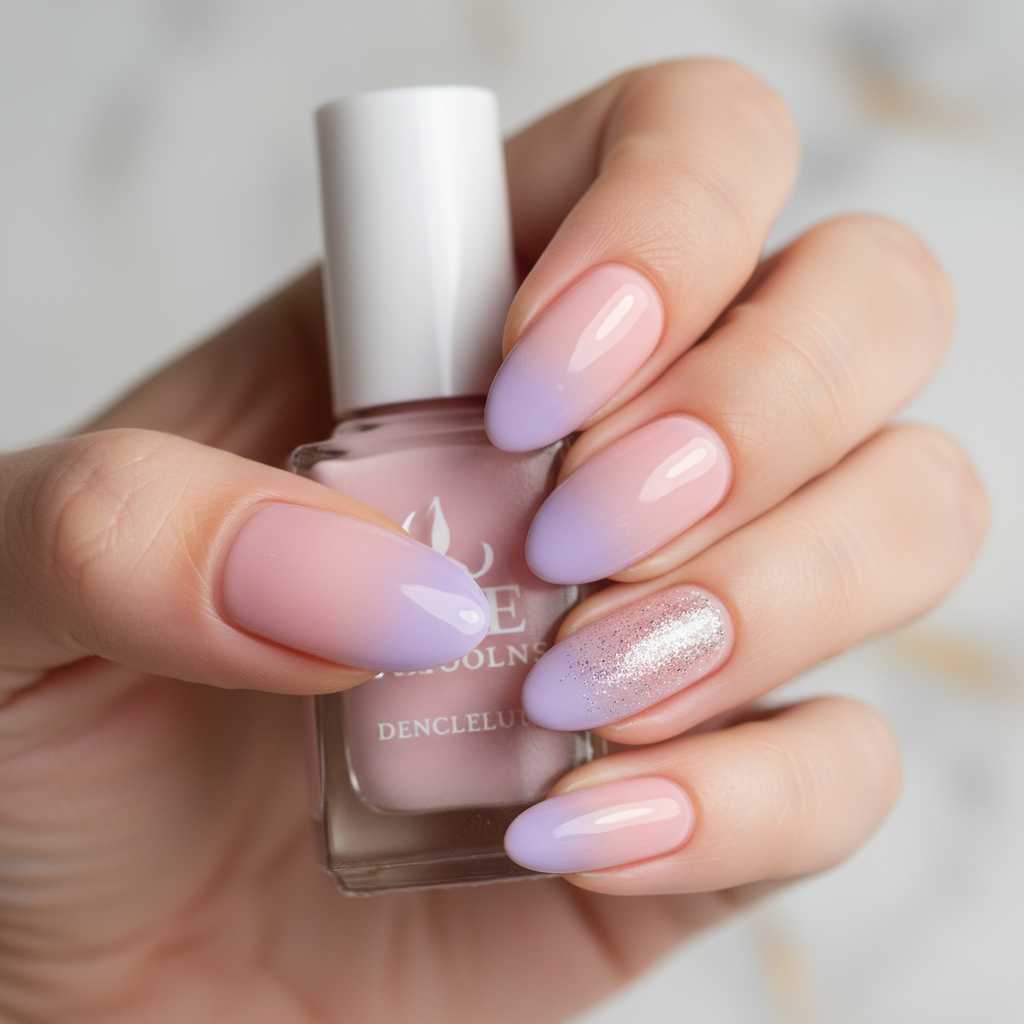
Photo-real Salon Ombre Nails
Ombre inspired nail art with clean, photo-real finish and professional salon quality
More Designs
Elegant Photo-Real Salon Ombre Nails | Seamless Gradient
Experience the epitome of sophistication with our Photo-Real Salon Ombre Nails. This design features a perfectly seamless, blended gradient that transitions effortlessly from one elegant shade to another, achieving a truly natural and polished look. It's the ultimate choice for a high-end finish that looks professionally applied and effortlessly chic.
Supplies You'll Need
- Gel Base Coat
- Soft Pink Gel Polish
- Nude Gel Polish
- Opaque White Gel Polish
- Nail Art Sponge Applicator
- High-Gloss Gel Top Coat
- UV/LED Curing Lamp
How To Recreate It
- Prep nails: clean, file to desired shape (e.g., almond), push back cuticles, and buff lightly. Apply a thin layer of gel base coat and cure.
- Apply a thin, even coat of the chosen base color (e.g., soft pink or nude) over the entire nail and cure. Repeat for opacity.
- On a clean surface, dab a small amount of your two ombre colors (e.g., nude and opaque white) side-by-side. Lightly tap a nail art sponge into the colors, blending them slightly on the sponge.
- Gently dab the loaded sponge onto the nail, starting from the cuticle area with the darker shade and blending towards the tip with the lighter. Repeat dabbing motions, applying thin layers and curing after each pass until a seamless, photo-real gradient is achieved.
- Once satisfied with the ombre blend, apply a generous layer of high-gloss gel top coat to seal and smooth the design. Ensure full coverage over the tip.
- Cure the top coat thoroughly under the UV/LED lamp. Cleanse with isopropyl alcohol to remove any sticky inhibition layer for a brilliant, long-lasting shine.
Expert Tip
The secret to a truly photo-real ombre is patience and thin layers. Build up the gradient gradually, curing after each delicate sponge application, to ensure a smooth, undetectable transition without any harsh lines or bulk.
Try These Variations
- →**Subtle Glitter Ombre:** Incorporate a fine, iridescent glitter gel over the lighter tips for a touch of sparkle while maintaining elegance.
- →**Reverse Ombre:** Flip the gradient, starting with white at the cuticle and transitioning to nude or pink at the tip for a modern twist.
- →**Cool Tone Ombre:** Experiment with soft sky blue blending into a sheer white or light grey for a sophisticated cool-toned alternative.
Aftercare Tips
- ✓Moisturize hands and cuticles regularly to keep nails hydrated.
- ✓Wear gloves when doing housework or handling harsh chemicals to protect the polish.
- ✓Avoid prolonged water submersion immediately after application.
Safe Removal
- 1.Gently file off the top coat to break the seal, being careful not to file into the natural nail.
- 2.Soak nails in acetone for 10-15 minutes until the gel becomes soft and pliable.
- 3.Gently scrape away the softened gel with a wooden stick or metal pusher, then buff the natural nail lightly.
Quick Facts
Why It's Trending
The demand for 'quiet luxury' and understated elegance in beauty has brought Photo-Real Ombre Nails to the forefront. Its ability to look naturally flawless and incredibly polished makes it a go-to for celebrities and anyone seeking a refined, always-put-together appearance.
Seasonal Styling
This design is a true year-round classic. For spring, pair a soft pink to white gradient; in summer, a warm peach to cream. Autumn can see subtle nudes deepening to a rich caramel, while winter shines with a delicate sheer white to glitter top coat. It's perfect for professional settings, weddings, or any occasion demanding elegance.
Color Variations
Perfect For
Why People Love It
This elegant ombre style is a consistent favorite among high-fashion models and modern brides. Its understated beauty has graced countless magazine spreads and celebrity red carpet looks, proving its enduring appeal and sophistication.
Daily Maintenance
- 💅Apply cuticle oil daily to keep cuticles healthy and prevent lifting.
- 💅Schedule infills every 2-3 weeks to maintain fresh growth and prevent chipping.
- 💅Avoid using nails as tools to prevent damage to the delicate ombre blend.
Common Issues & Fixes
- ⚠**Uneven Gradient:** Apply more very thin layers with the sponge, focusing on the transition area, and cure after each until smooth.
- ⚠**Chipping at Tips:** Ensure your top coat fully caps the free edge of the nail to create a strong seal.
- ⚠**Bubbles in Top Coat:** Apply top coat in thinner, even layers and ensure proper curing time. Avoid shaking the bottle vigorously.
- ⚠**Dull Finish:** Ensure the sticky inhibition layer is fully wiped off with isopropyl alcohol after final top coat curing for maximum shine.
Design Inspiration
Inspired by the delicate, natural gradient found in blooming cherry blossoms and the sophisticated polish of a perfectly blended makeup contour, this design brings a truly 'photo-real' elegance to your fingertips. It echoes the timeless beauty of a classic French manicure, reinvented with a soft, seamless transition.
Explore Similar Designs
Colors in this Design
Techniques Used
Perfect For
Nail Shapes
More Categories to Explore
Popular Colors
Popular Techniques
Perfect Occasions
FAQs
How long do Photo-Real Ombre Nails typically last?
With professional application and proper aftercare, our gel-based Photo-Real Ombre Nails can last 2-3 weeks without chipping or losing their seamless blend.
Can I achieve this elegant look at home?
Achieving a true 'photo-real' seamless gradient requires advanced skill and specific tools, making it challenging for beginners. We recommend a professional salon visit for the best results.
Will this design damage my natural nails?
When applied and removed correctly by a professional, gel ombre designs do not damage natural nails. We prioritize nail health during every step.
Can I customize the colors for my Photo-Real Ombre?
Absolutely! We offer a wide range of gel colors to create your perfect personalized ombre. Discuss your preferences with your nail artist.
Is the Ombre design visible on shorter nails?
While easier to achieve on medium to long nails, a skilled artist can create a beautiful, subtle ombre effect even on shorter nails, focusing on a more compact blend.
What's the difference between this and a regular ombre?
The 'photo-real' aspect emphasizes an almost undetectable, incredibly smooth transition, avoiding any visible lines or texture, resulting in a higher-end, more sophisticated finish than a standard ombre.