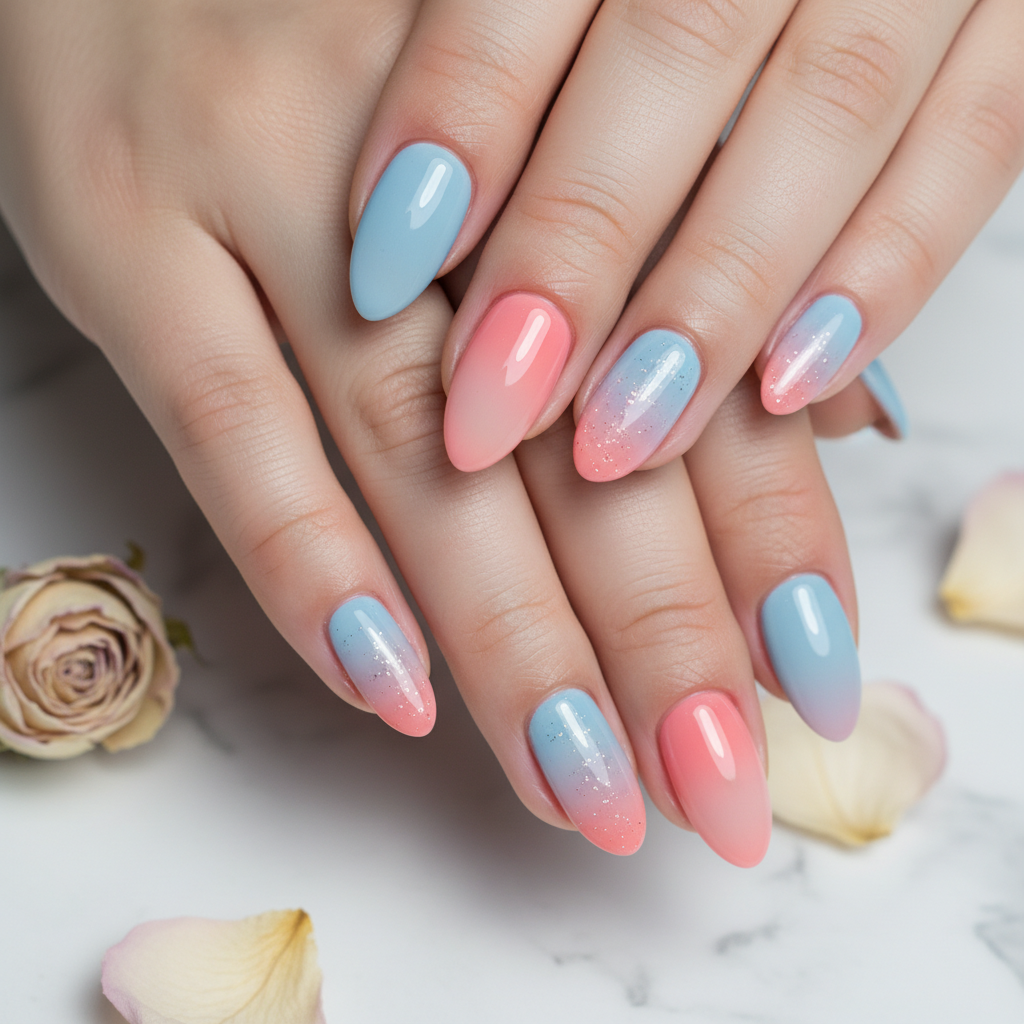
Photo-real Salon Ombre Nails
Ombre inspired nail art with clean, photo-real finish and professional salon quality
Created: October 5, 2025 at 11:48 AM
More Ombre Designs
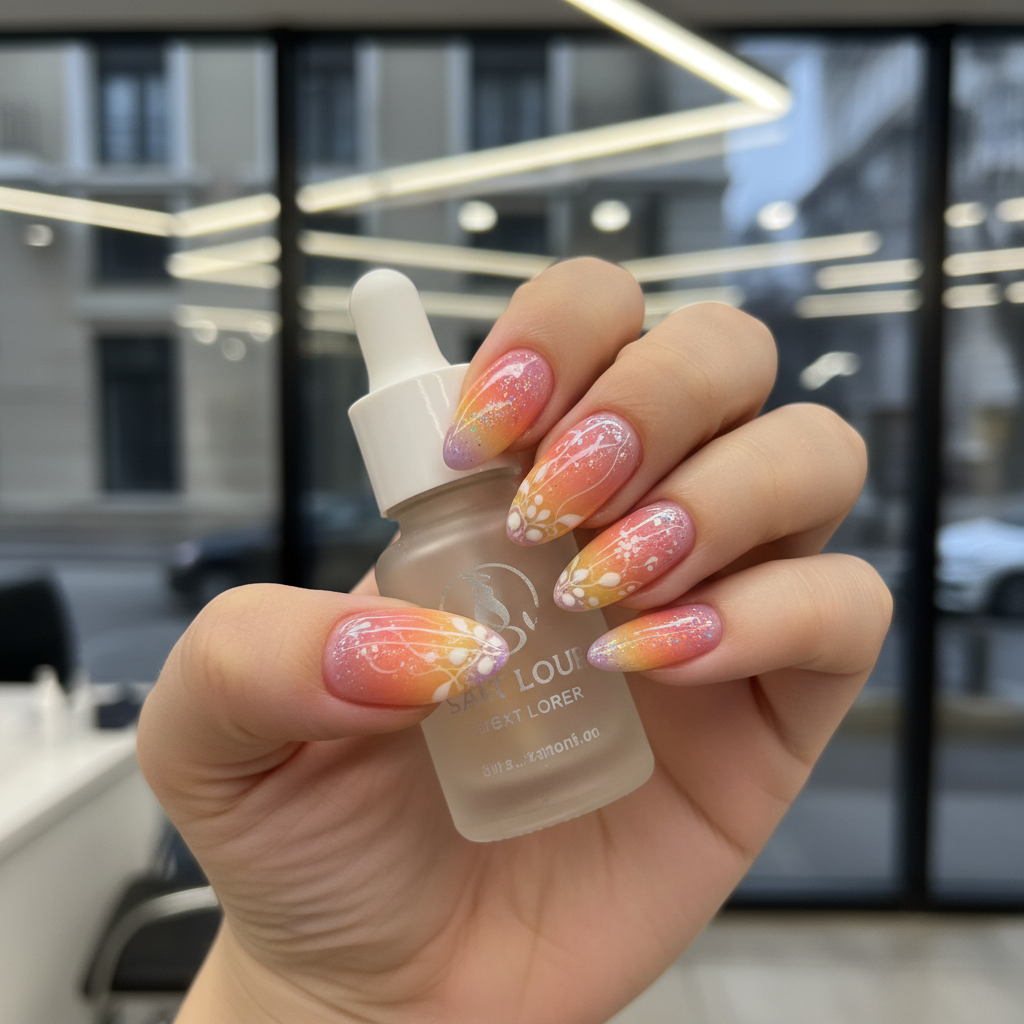
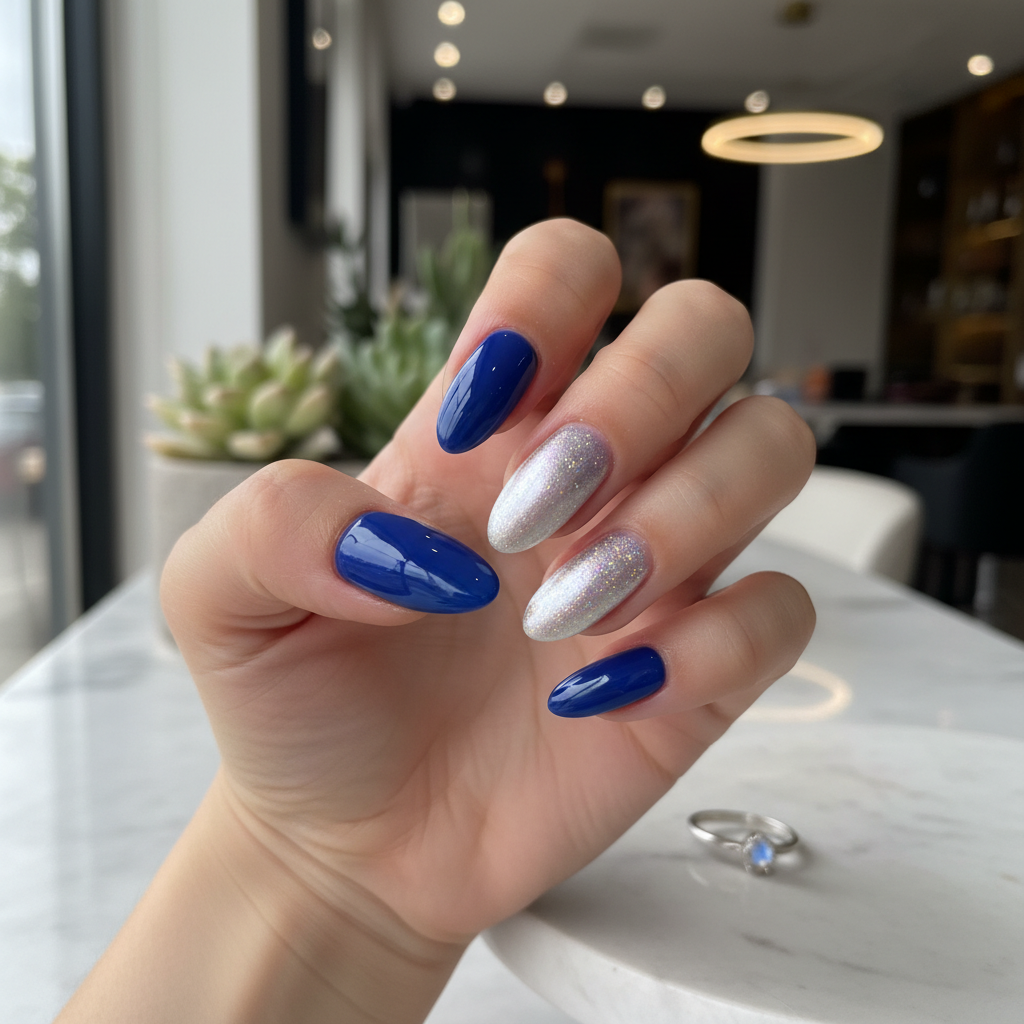
Beautiful Photo-real Salon Ombre Nails
Ombre inspired nail art with beautiful, photo-real finish and professional salon quality
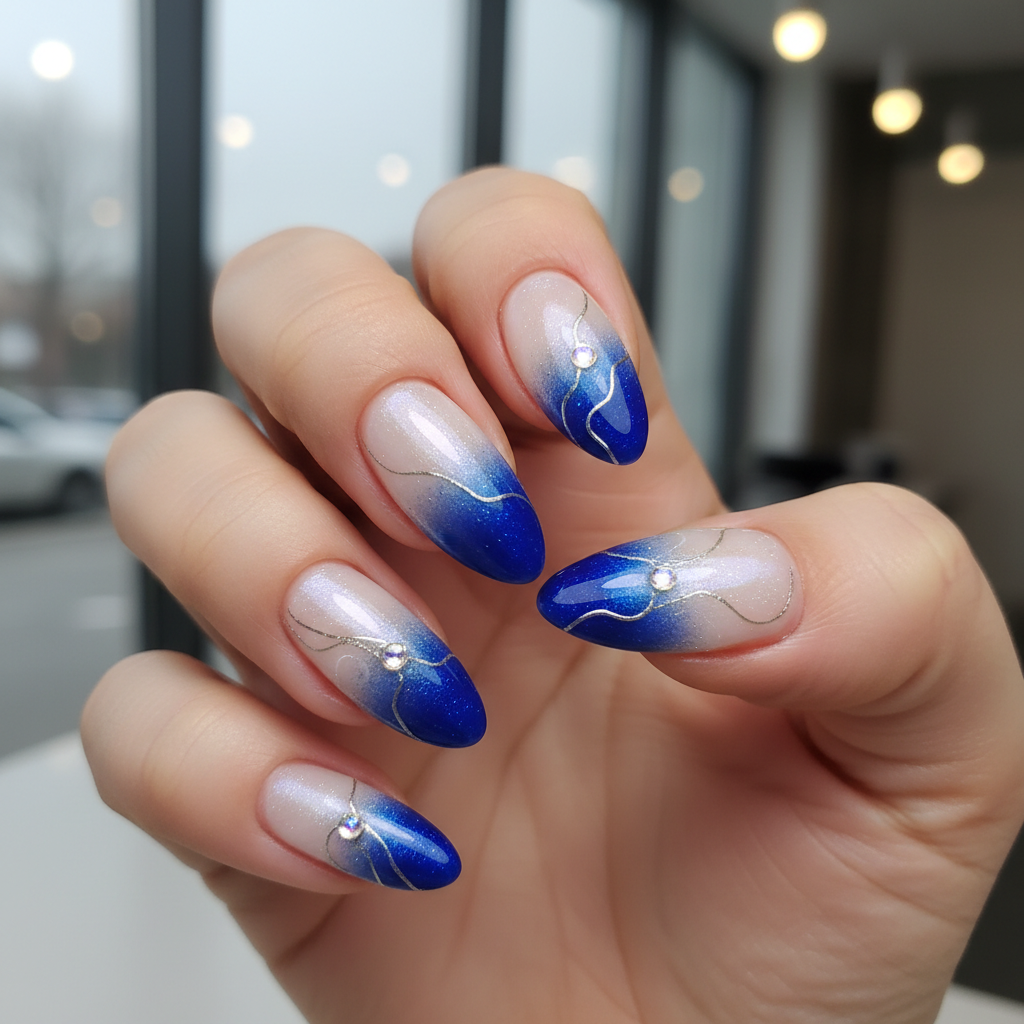
Gorgeous Photo-real Salon Ombre Nails
Ombre inspired nail art with gorgeous, photo-real finish and professional salon quality
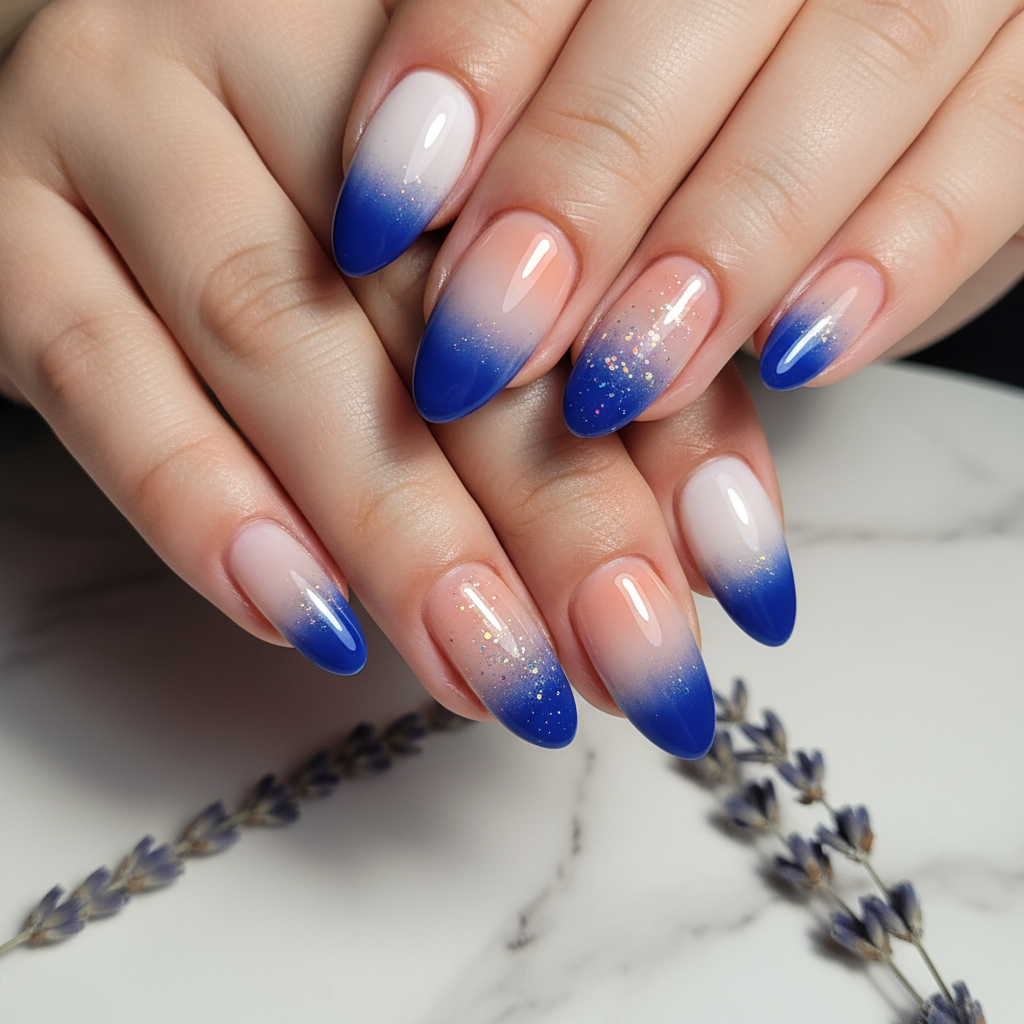
Stunning Photo-real Salon Ombre Nails
Ombre inspired nail art with stunning, photo-real finish and professional salon quality
Sophisticated Photo-real Salon Ombre Nails
Ombre inspired nail art with sophisticated, photo-real finish and professional salon quality
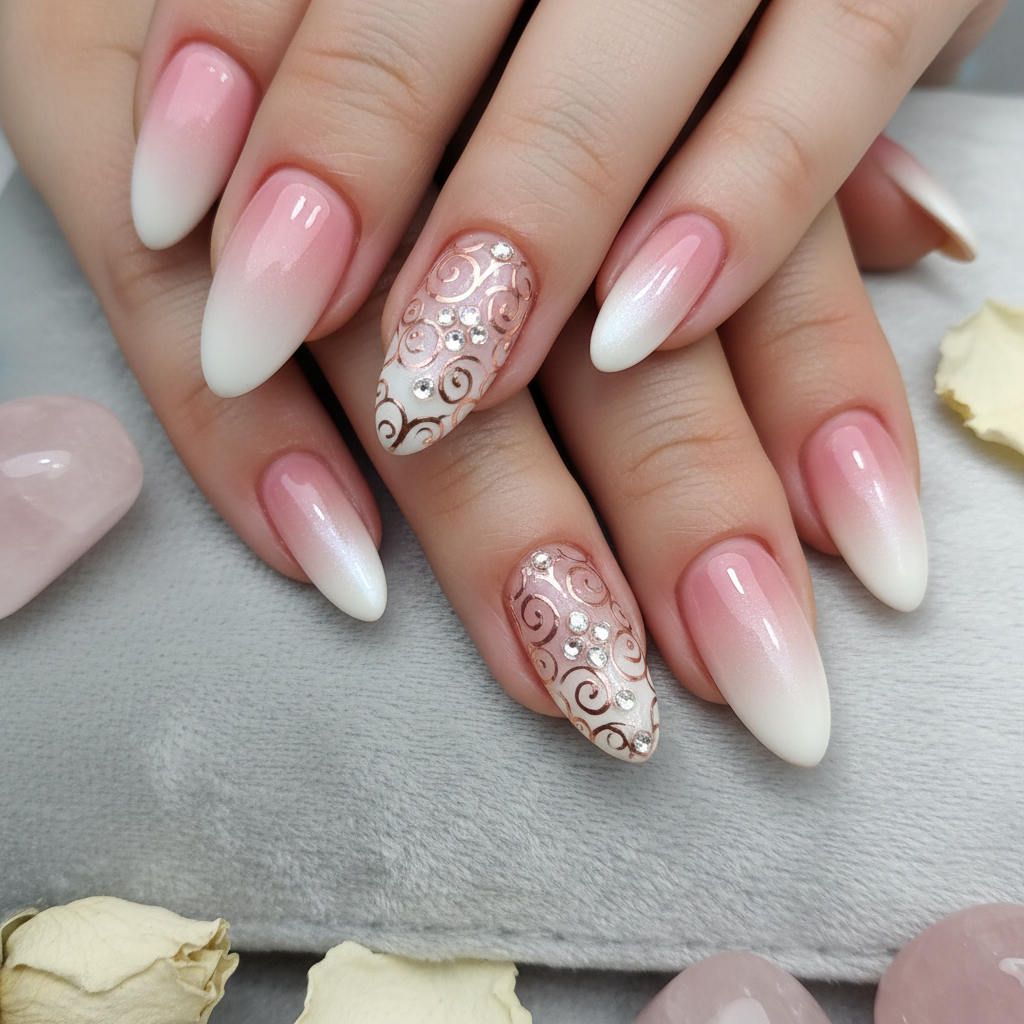
Photo-real Salon Ombre Nails
Ombre inspired nail art with elegant, photo-real finish and professional salon quality
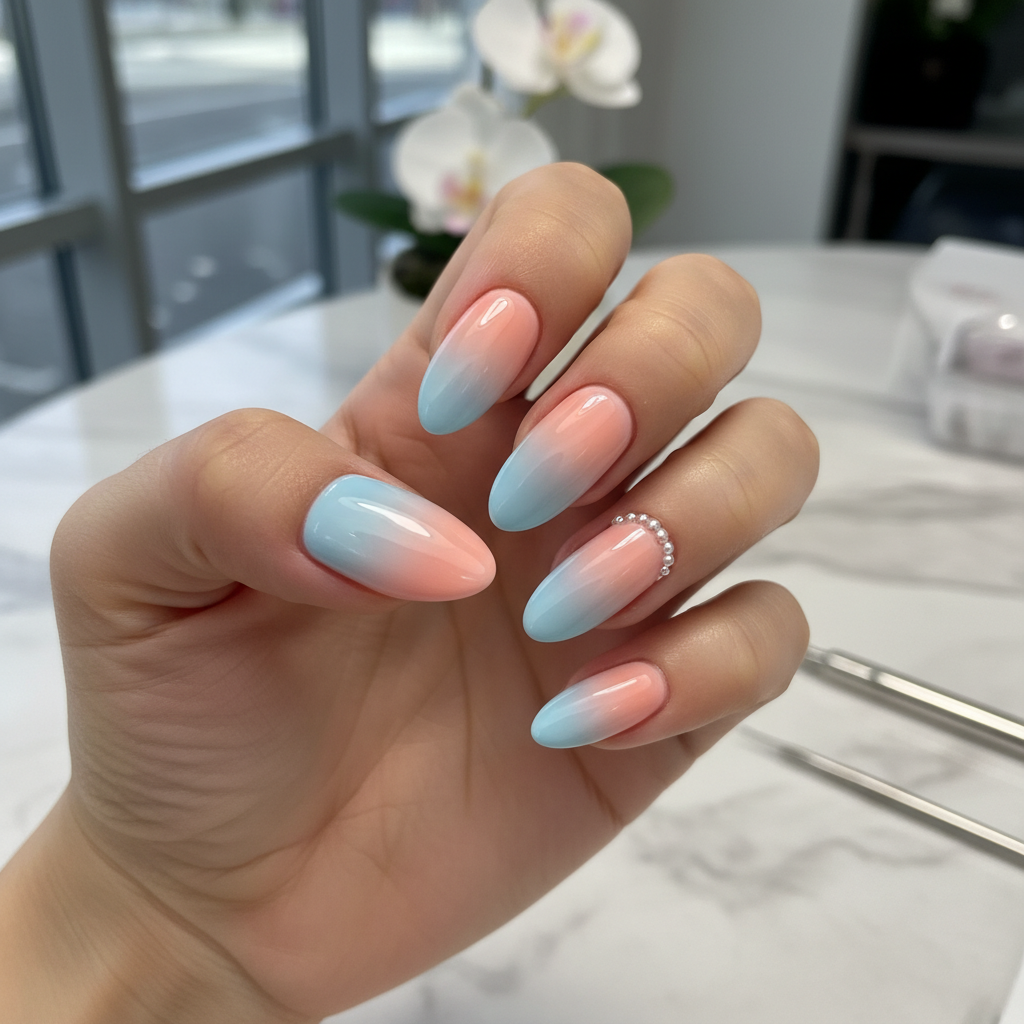
Photo-real Salon Ombre Nails
Ombre inspired nail art with clean, photo-real finish and professional salon quality
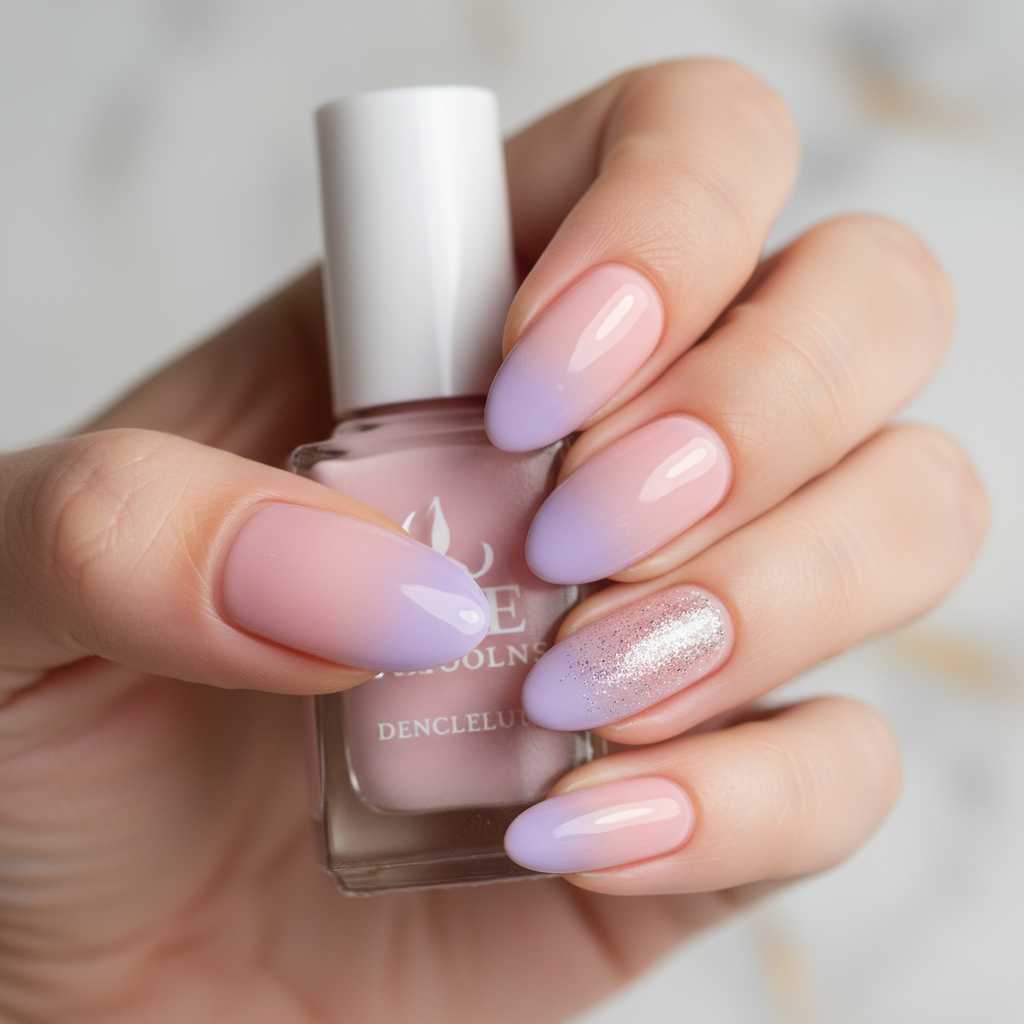
Photo-real Salon Ombre Nails
Ombre inspired nail art with clean, photo-real finish and professional salon quality
More Designs
Flawless Salon Ombre Nails: Gradient Perfection
Achieve photo-real salon-quality ombre nails at home with this stunning design. This tutorial guides you through creating a seamless gradient for a professional and polished look.
Supplies You'll Need
- Light pink nail polish
- White nail polish
- Cosmetic sponge
- Base coat
- Top coat
- Liquid latex or cuticle protector
How To Recreate It
- Apply a base coat to protect your natural nails and let it dry completely.
- Apply 2 coats of light pink nail polish and let them dry completely.
- On a cosmetic sponge, apply strips of light pink and white nail polish next to each other.
- Dab the sponge onto your nails, starting from the base and blending upwards to create the ombre effect. Repeat until the desired gradient is achieved.
- Clean up any excess polish on your skin using a brush and acetone.
- Apply a glossy top coat to seal the design and add shine. Let it dry completely.
Expert Tip
For a smoother gradient, dampen the cosmetic sponge slightly before applying the polish. This helps the colors blend more seamlessly and prevents the sponge from absorbing too much product.
Try These Variations
- →Reverse Ombre: Start with a darker color at the base and fade to a lighter color at the tip.
- →Glitter Ombre: Add a glitter top coat or apply glitter only to the tips for a sparkling effect.
- →Multi-Color Ombre: Use three or more colors to create a more complex gradient.
Aftercare Tips
- ✓Use cuticle oil daily to keep your nails and cuticles hydrated.
- ✓Avoid picking or biting your nails.
- ✓Moisturize your hands regularly.
Safe Removal
- 1.Soak cotton pads in acetone-based nail polish remover.
- 2.Place the cotton pads on your nails and wrap them in foil. Let them sit for 5-10 minutes.
- 3.Remove the foil and cotton pads, and gently scrape off any remaining polish.
Quick Facts
Why It's Trending
Ombre nails are experiencing a resurgence as a sophisticated yet customizable nail trend, offering a versatile canvas for various color combinations and personal styles.
Seasonal Styling
This design is versatile and works year-round, but lighter color combinations are perfect for spring and summer, while deeper hues complement fall and winter.
Color Variations
Perfect For
Why People Love It
Instagram and Pinterest are flooded with salon ombre nail designs, proving its popularity among nail art enthusiasts.
Daily Maintenance
- 💅Apply a top coat every 2-3 days to maintain shine and prevent chipping.
- 💅Avoid harsh chemicals that can dull the polish.
- 💅Wear gloves when doing household chores.
Common Issues & Fixes
- ⚠
- ⚠
- ⚠
- ⚠
Design Inspiration
Inspired by the seamless gradient effects seen in professional salon manicures and the desire to recreate that look at home.
Explore Similar Designs
Colors in this Design
Techniques Used
Perfect For
Nail Shapes
More Categories to Explore
Popular Colors
Popular Techniques
Perfect Occasions
FAQs
Can I use regular makeup sponges for this design?
Yes, but cosmetic sponges with a finer texture will yield the best results. Avoid sponges with large pores.
How do I prevent the polish from getting all over my skin?
Apply liquid latex or a cuticle protector around your nails before applying the sponge.
What if I don't have liquid latex?
You can use petroleum jelly (Vaseline) around your nails as a barrier, but be careful not to get it on the nail itself.
How long does it take for the ombre nails to dry completely?
It depends on the polish, but typically 30-60 minutes. Use a quick-drying top coat to speed up the process.
Can I use gel polish for this design?
Yes, you can, but you'll need a UV/LED lamp to cure each layer.
Is this design suitable for short nails?
Absolutely! Ombre looks great on nails of any length.