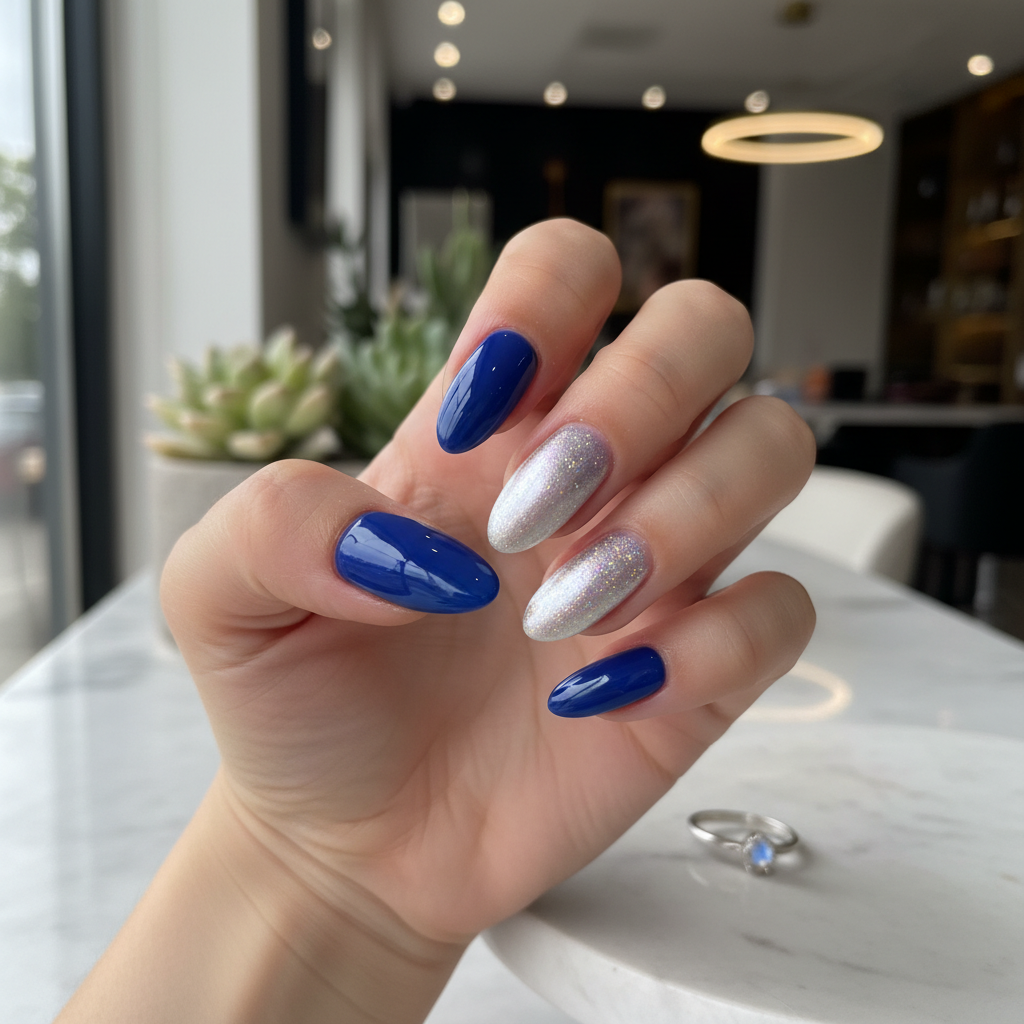
Photo-real Salon Ombre Nails
Ombre inspired nail art with clean, photo-real finish and professional salon quality
Created: October 5, 2025 at 11:48 AM
More Ombre Designs
Beautiful Photo-real Salon Ombre Nails
Ombre inspired nail art with beautiful, photo-real finish and professional salon quality
Gorgeous Photo-real Salon Ombre Nails
Ombre inspired nail art with gorgeous, photo-real finish and professional salon quality
Stunning Photo-real Salon Ombre Nails
Ombre inspired nail art with stunning, photo-real finish and professional salon quality
Sophisticated Photo-real Salon Ombre Nails
Ombre inspired nail art with sophisticated, photo-real finish and professional salon quality
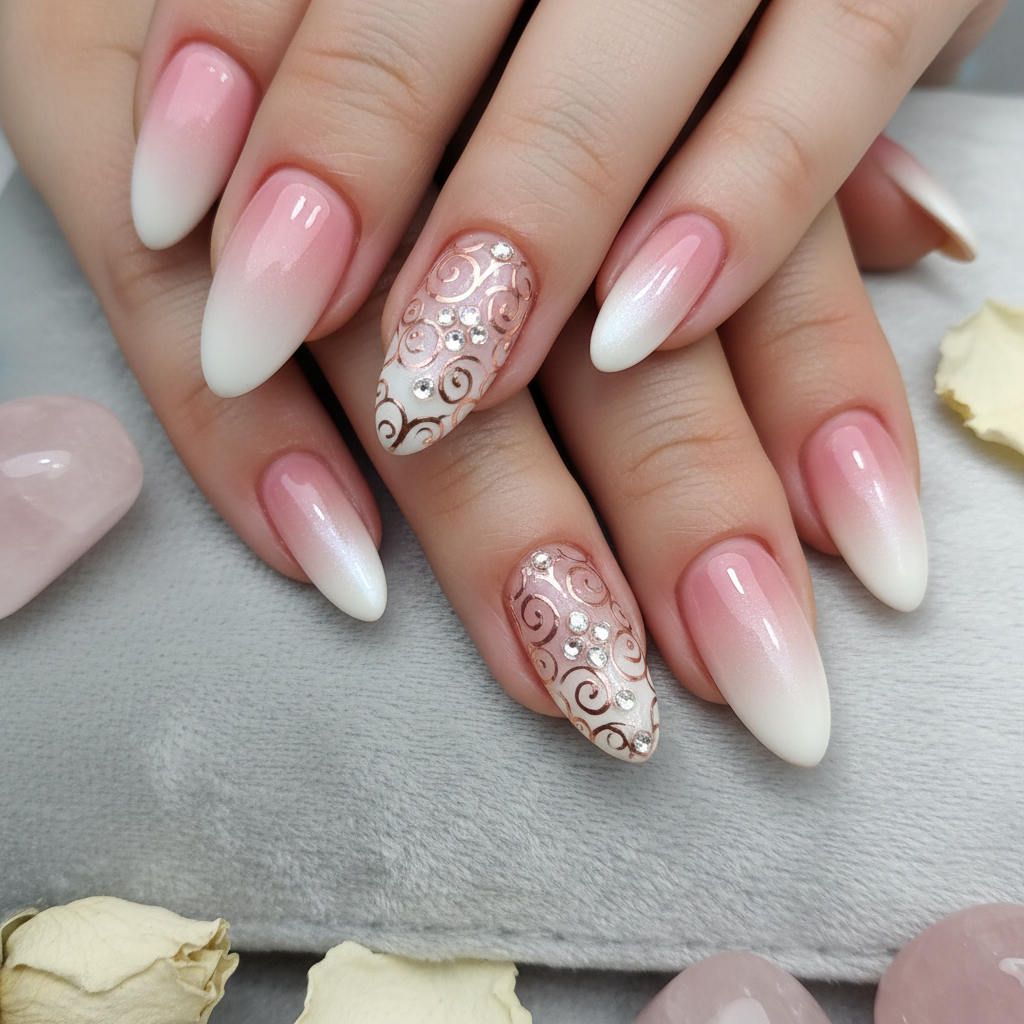
Photo-real Salon Ombre Nails
Ombre inspired nail art with elegant, photo-real finish and professional salon quality
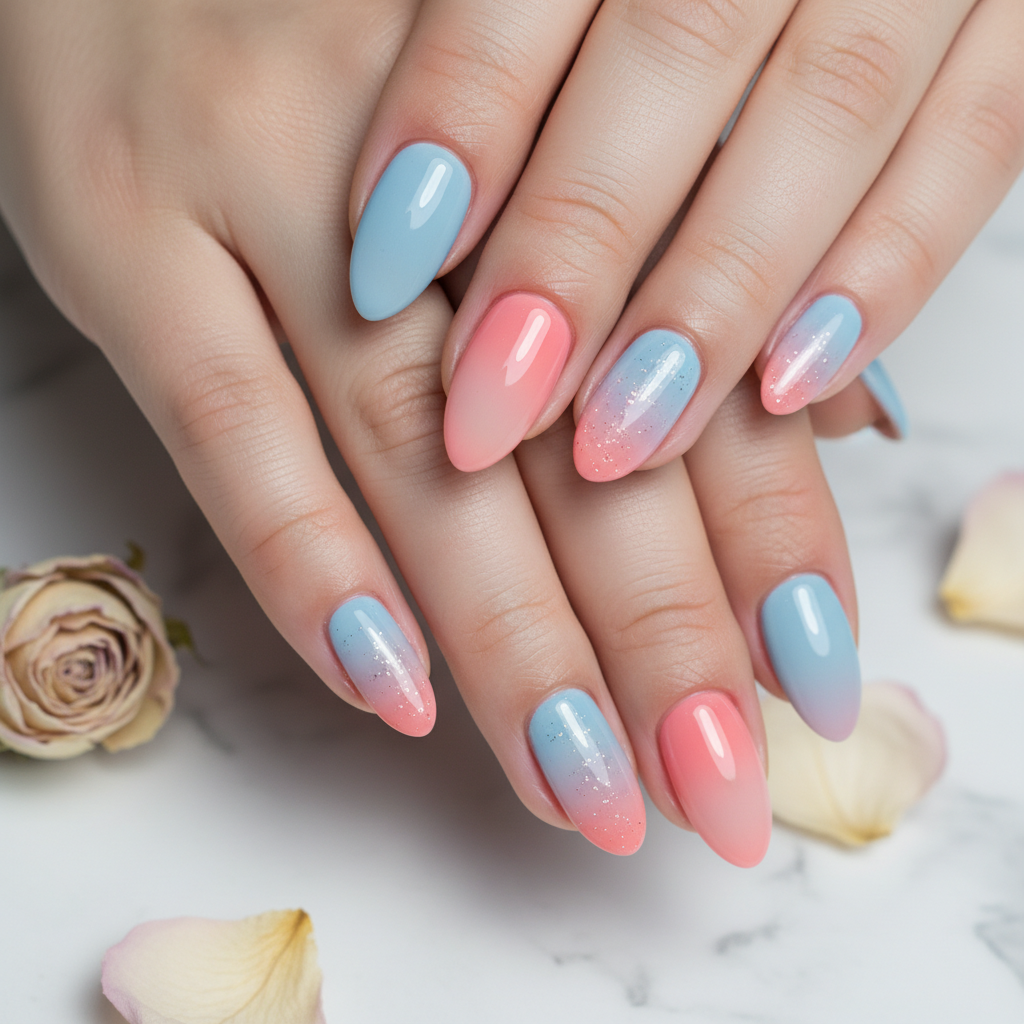
Photo-real Salon Ombre Nails
Ombre inspired nail art with clean, photo-real finish and professional salon quality
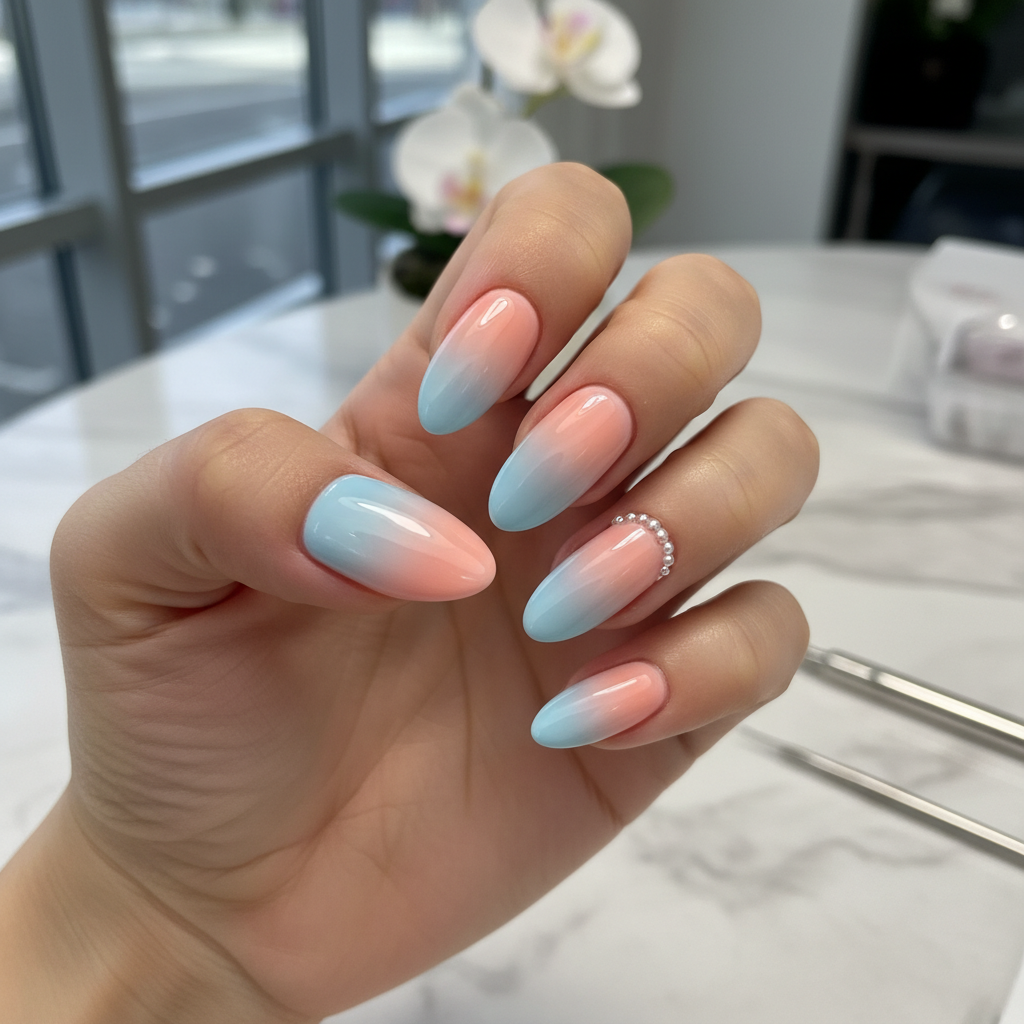
Photo-real Salon Ombre Nails
Ombre inspired nail art with clean, photo-real finish and professional salon quality
More Designs
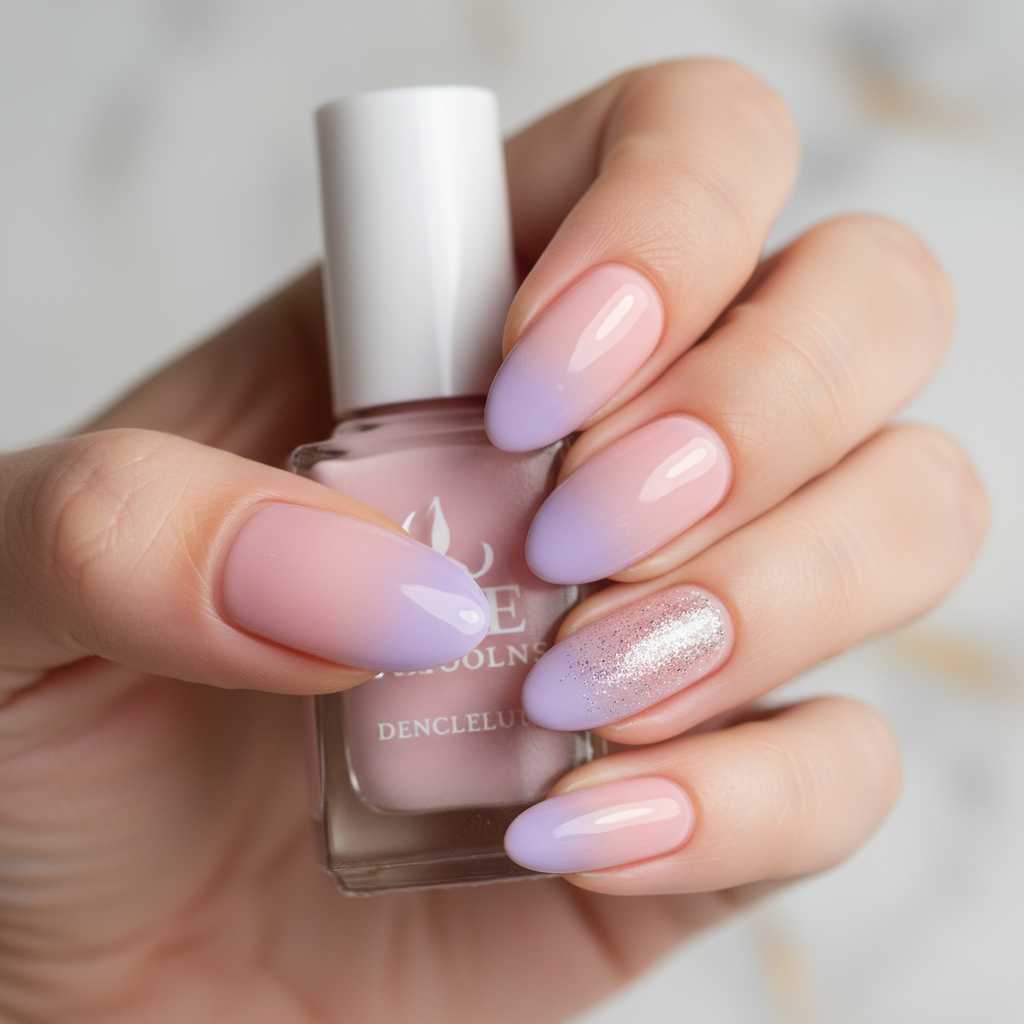
Flawless Salon Ombre Nails: Gradient Perfection
Achieve a professional, photo-real ombre effect on your nails with this stunning design. The clean gradient and high-quality finish make it look like you just stepped out of a salon.
Supplies You'll Need
- Light pink nail polish
- White nail polish
- Makeup sponge
- Base coat
- Top coat
- Cuticle oil
How To Recreate It
- Apply a base coat to protect your nails.
- Apply two coats of light pink nail polish as your base color.
- On a makeup sponge, apply a stripe of white nail polish next to a stripe of light pink nail polish, slightly overlapping.
- Dab the sponge onto your nails, starting from the base and moving towards the tip, to create the ombre effect. Repeat for desired opacity.
- Clean up any excess polish around your cuticles.
- Apply a generous layer of top coat for a smooth, glossy finish.
Expert Tip
To achieve a truly photo-real ombre, use a high-quality makeup sponge and gently dab the colors onto your nails. Avoid pressing too hard, as this can create harsh lines.
Try These Variations
- →Use glitter polish at the tip for a sparkling ombre.
- →Try a vertical ombre instead of a horizontal one.
- →Incorporate a thin line of silver or gold glitter between the ombre colors.
Aftercare Tips
- ✓Avoid harsh chemicals and prolonged exposure to water.
- ✓Moisturize your hands regularly to keep your skin healthy.
- ✓Use a gentle nail polish remover to avoid drying out your nails.
Safe Removal
- 1.Soak cotton pads in nail polish remover.
- 2.Place the pads on your nails and wrap with foil for 5-10 minutes.
- 3.Gently remove the foil and wipe away the polish.
Quick Facts
Why It's Trending
Ombre nails are a classic, but the focus is now on achieving a flawless, airbrushed look that rivals professional salon results.
Seasonal Styling
Perfect year-round, but consider brighter, warmer shades for spring and summer, and deeper, richer hues for fall and winter.
Color Variations
Perfect For
Why People Love It
Instagram and Pinterest are flooded with salon-worthy ombre nail designs, inspiring users to recreate the look at home.
Daily Maintenance
- 💅Apply cuticle oil daily to keep your nails hydrated.
- 💅Wear gloves when doing household chores to protect your manicure.
- 💅Reapply top coat every 2-3 days to maintain shine and prevent chipping.
Common Issues & Fixes
- ⚠Uneven OmbreApply more layers of the sponge, focusing on the areas with less color.
- ⚠Harsh lines between colorsUse a clean brush dipped in nail polish remover to gently blend the lines.
- ⚠ChippingEnsure you are applying a thick enough layer of top coat and reapply every few days.
Design Inspiration
Inspired by the desire to recreate the flawless ombre effect typically achieved only in professional nail salons, providing an accessible and beautiful alternative.
Explore Similar Designs
Colors in this Design
Techniques Used
Perfect For
Nail Shapes
More Categories to Explore
Popular Colors
Popular Techniques
Perfect Occasions
FAQs
What is the best sponge to use for ombre nails?
A high-quality makeup sponge with a fine texture works best.
How do I prevent air bubbles in my top coat?
Roll the bottle of top coat instead of shaking it, and apply in thin, even layers.
Can I use gel polish for this design?
Yes, gel polish can be used for ombre nails. You will need a UV/LED lamp to cure the polish.
How do I clean the makeup sponge after using it?
You can clean the sponge with nail polish remover, but it's often easier to just use a new one each time.
What's the best way to protect my skin from getting polish on it?
Apply a liquid latex barrier around your nails before painting.
My ombre looks patchy. How can I fix it?
Apply more thin layers of the colors using the sponge, focusing on the patchy areas, until you achieve a smooth, even gradient.