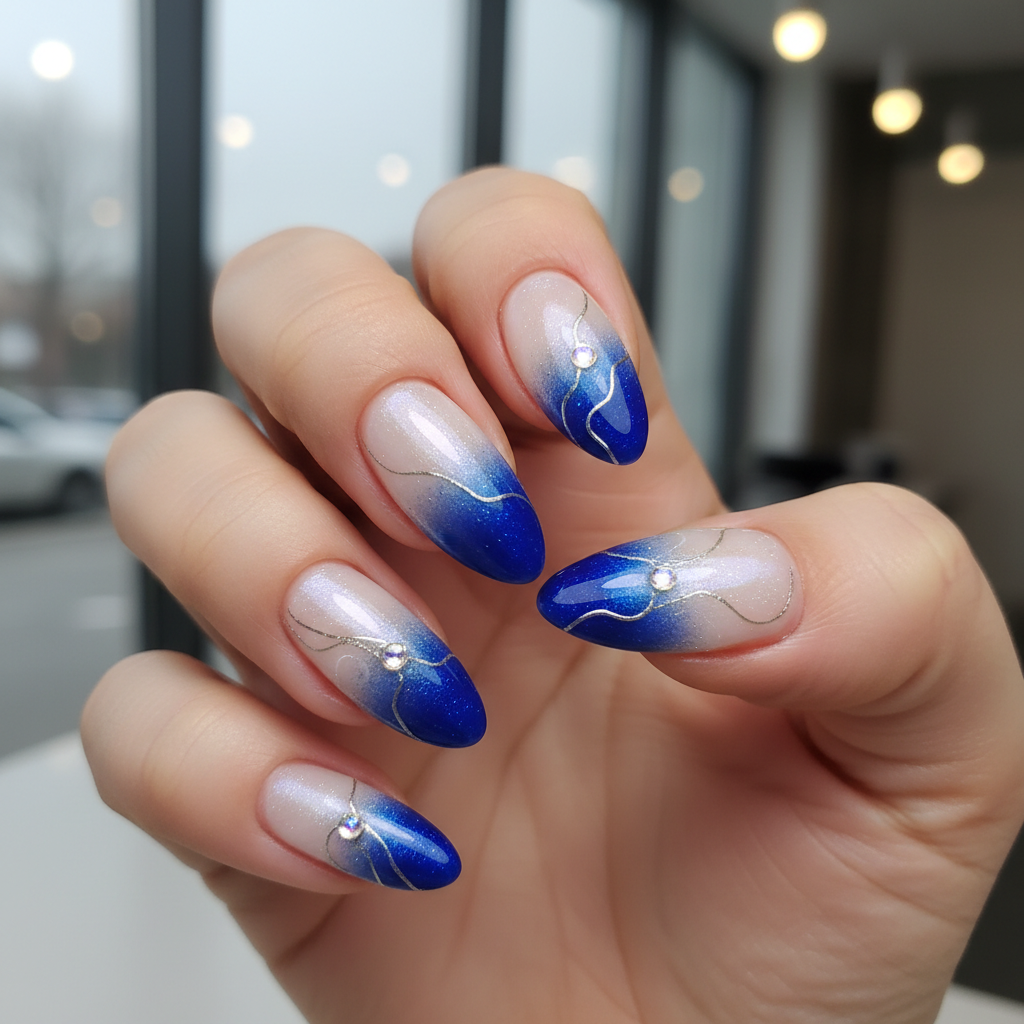
Gorgeous Photo-real Salon Ombre Nails
Ombre inspired nail art with gorgeous, photo-real finish and professional salon quality
Created: October 5, 2025 at 06:15 PM
More Ombre Designs
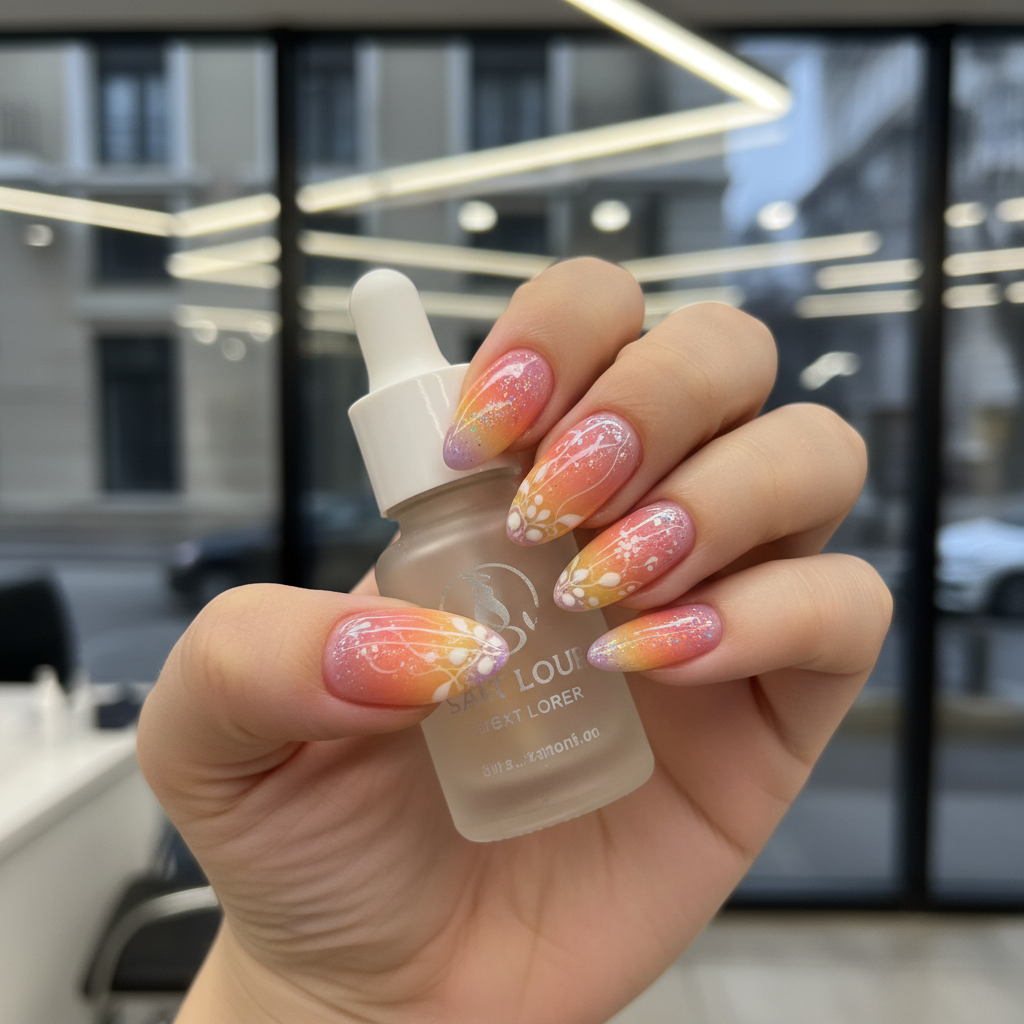
Beautiful Photo-real Salon Ombre Nails
Ombre inspired nail art with beautiful, photo-real finish and professional salon quality
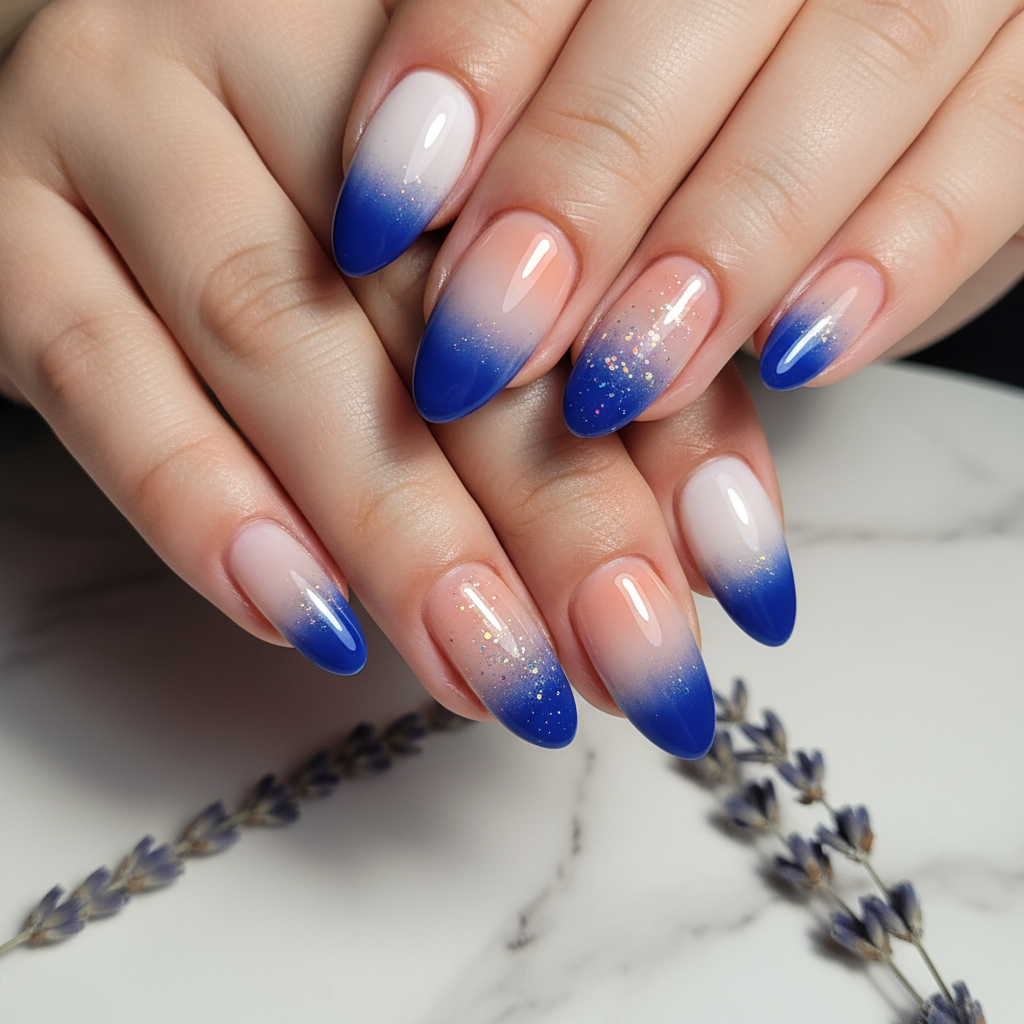
Stunning Photo-real Salon Ombre Nails
Ombre inspired nail art with stunning, photo-real finish and professional salon quality
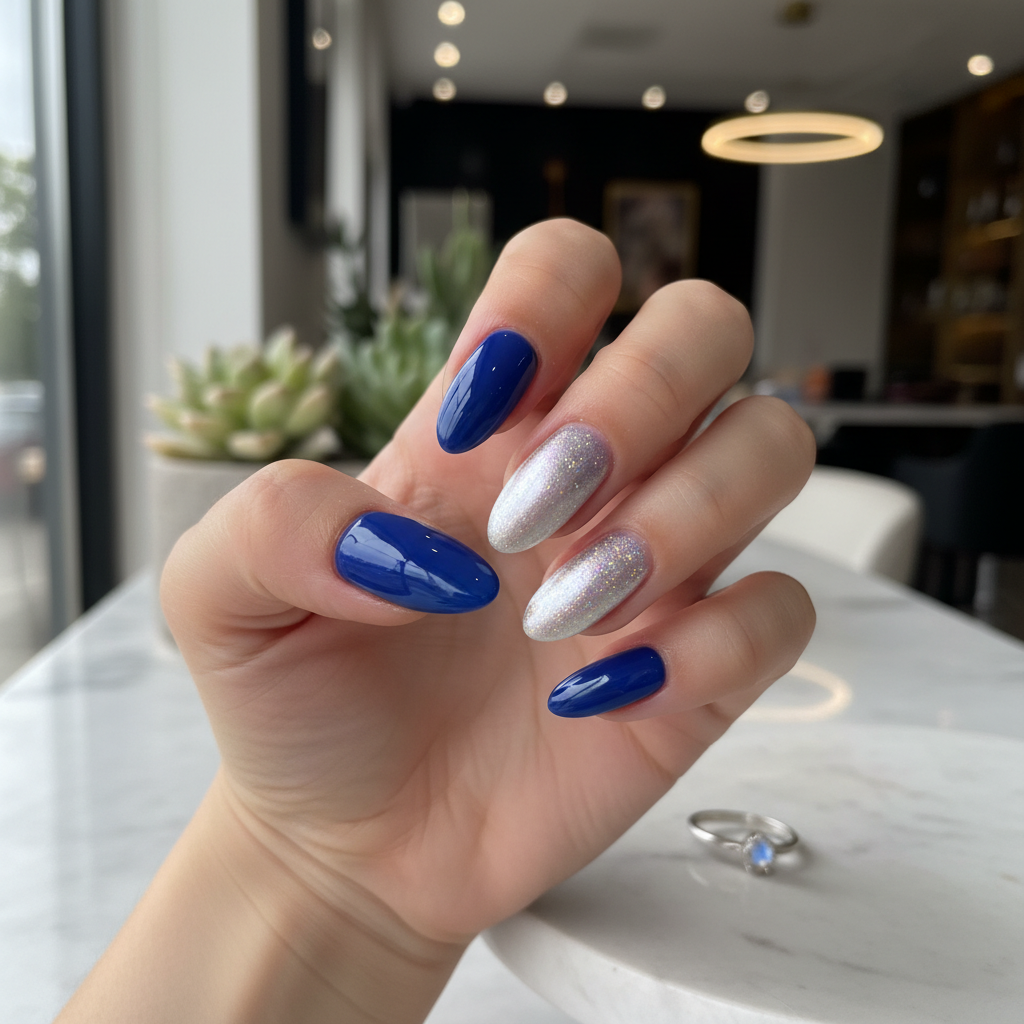
Sophisticated Photo-real Salon Ombre Nails
Ombre inspired nail art with sophisticated, photo-real finish and professional salon quality
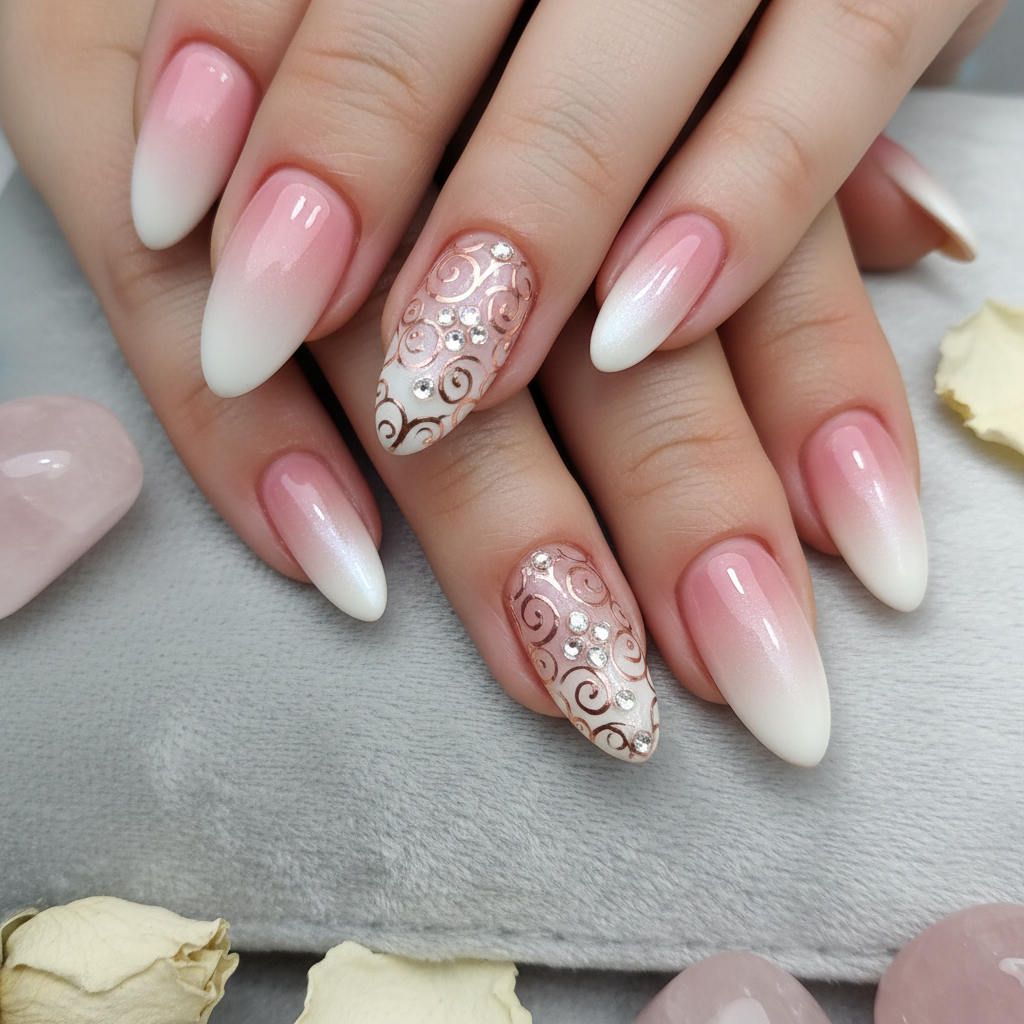
Photo-real Salon Ombre Nails
Ombre inspired nail art with elegant, photo-real finish and professional salon quality
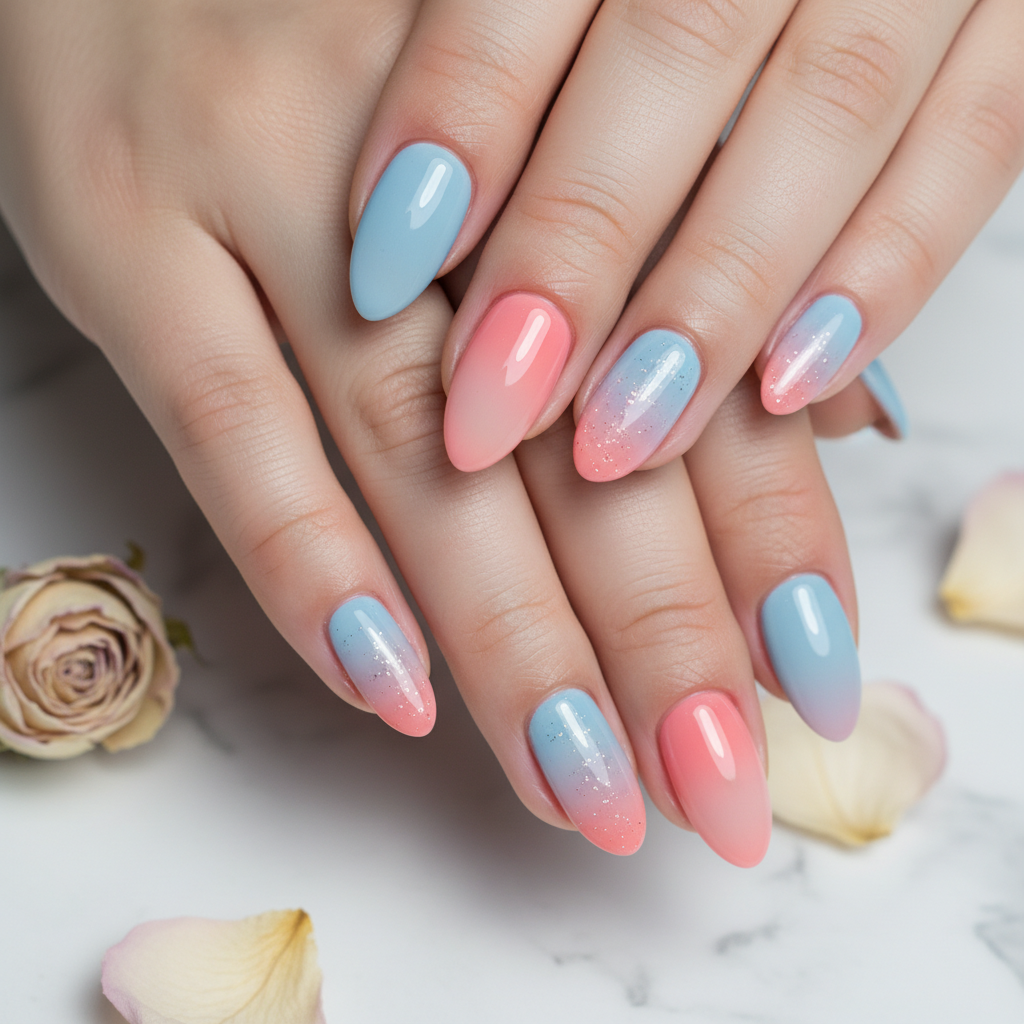
Photo-real Salon Ombre Nails
Ombre inspired nail art with clean, photo-real finish and professional salon quality
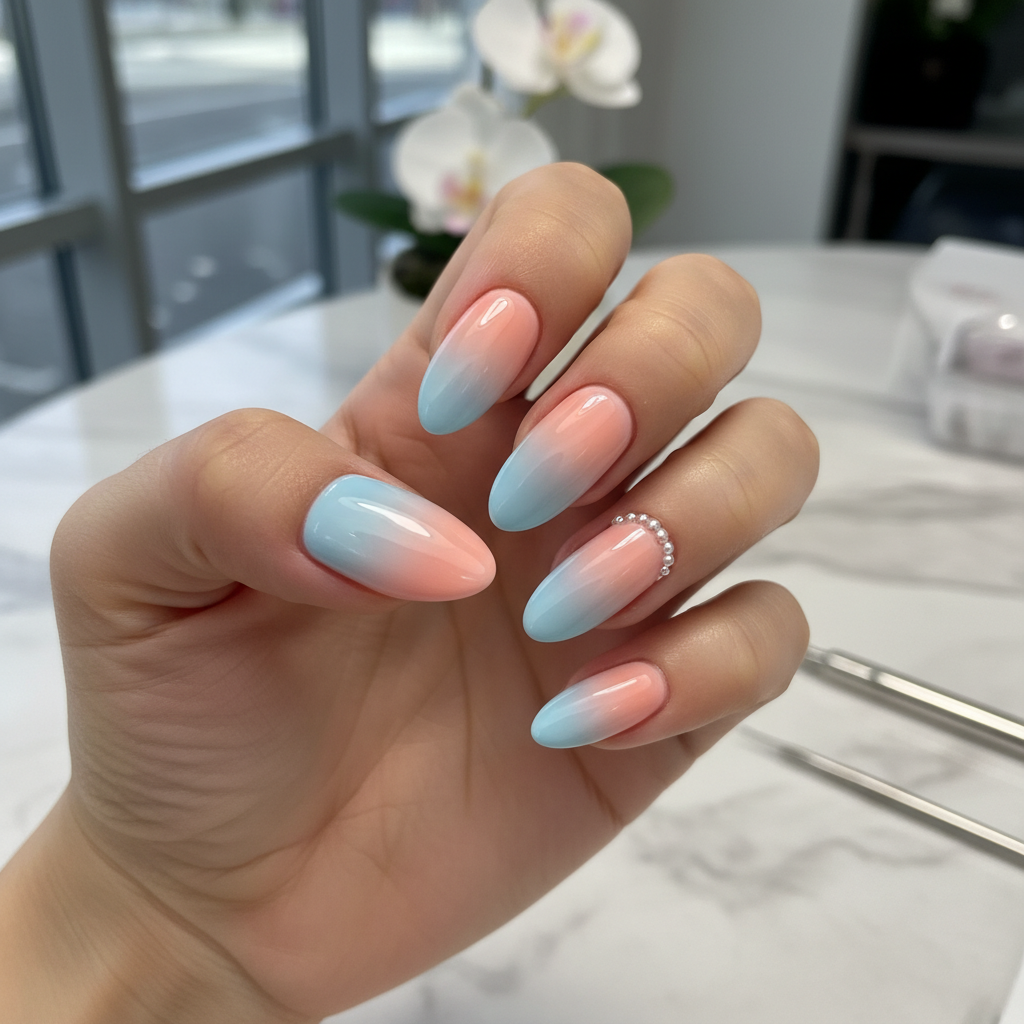
Photo-real Salon Ombre Nails
Ombre inspired nail art with clean, photo-real finish and professional salon quality
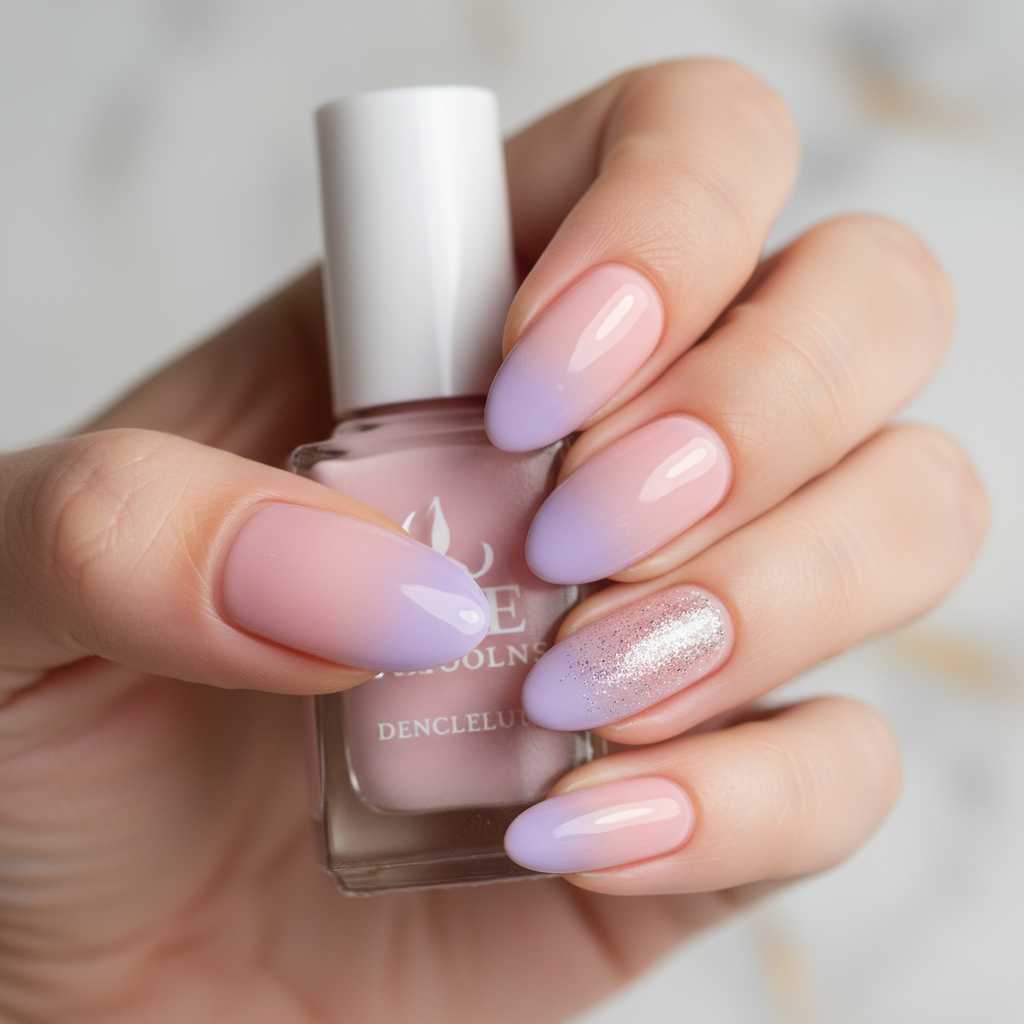
Photo-real Salon Ombre Nails
Ombre inspired nail art with clean, photo-real finish and professional salon quality
More Designs
Photo-Real Salon Ombre Nails: Flawless Gradient Perfection
Experience the epitome of nail artistry with our Photo-Real Salon Ombre nails. This design showcases an incredibly seamless, airbrushed gradient transition of colors, achieving a flawless, high-gloss finish that looks professionally perfected right out of a photoshoot. It's the ultimate choice for those seeking understated elegance with uncompromising quality.
Supplies You'll Need
- High-quality gel polishes (milky white, soft nude-pink)
- Fine-cell ombre sponge
- UV/LED curing lamp
- Gel top coat (no-wipe)
- Lint-free wipes & cleanser
- Precision detail brush
How To Recreate It
- Perform meticulous nail prep, including shaping, cuticle care, and dehydrating the nail plate.
- Apply a thin layer of gel base coat and cure. Then, apply a thin, even coat of the lightest ombre color (milky white) to the entire nail and cure.
- Apply the soft nude-pink gel polish to a fine-cell ombre sponge. Dab gently onto the tip of the nail, blending upwards into the milky white. Repeat with thin layers, curing after each blend to build up the gradient without streaks.
- Using a precision detail brush, softly feather the transition line between colors to ensure a 'photo-real' seamless blend, curing as needed.
- Once the desired gradient is achieved, apply a smooth, self-leveling layer of high-gloss gel top coat, capping the free edge. Cure thoroughly.
- Cleanse the inhibition layer with gel cleanser for a pristine, reflective finish.
Expert Tip
Achieving a 'photo-real' ombre hinges on applying extremely thin layers of gel polish and curing after each blending pass. This allows you to build the gradient slowly and flawlessly, preventing bulkiness and ensuring an utterly smooth transition without visible lines.
Try These Variations
- →Introduce a subtle touch of fine holographic glitter only on the fade line for extra shimmer.
- →Experiment with a 'reverse' ombre, where the lighter color is at the tip, blending into the darker base.
- →Opt for a velvety matte top coat finish to give this seamless ombre a sophisticated, modern twist.
Aftercare Tips
- ✓Wear gloves when doing housework or using harsh chemicals to protect your manicure.
- ✓Keep nails moisturized; dry nails and cuticles can impact the longevity of your gel polish.
- ✓Avoid excessive exposure to prolonged hot water, like extended baths or hot tubs, immediately after application.
Safe Removal
- 1.Gently file off the top coat to break the seal, being careful not to file into the natural nail.
- 2.Soak nails in acetone-soaked cotton pads wrapped in foil for 10-15 minutes.
- 3.Gently push off softened gel with an orange wood stick, then lightly buff any remaining residue. Rehydrate nails and cuticles with oil.
Quick Facts
Why It's Trending
The demand for truly flawless nail art has propelled 'photo-real' finishes to the forefront. This design's popularity stems from its ability to deliver a pristine, almost untouched gradient that looks impeccable from every angle, making it an Instagram favorite for those who value precision and elegance.
Seasonal Styling
While this timeless design is perfect year-round, it truly shines during spring and summer with lighter color palettes or adds a sophisticated touch to formal winter events. It's especially popular for bridal and professional occasions where a polished, understated look is desired.
Color Variations
Perfect For
Why People Love It
This 'photo-real' ombre is a staple among high-end salons and a coveted look on social media, frequently spotted on fashion influencers and celebrities. Its unparalleled flawlessness makes it a trending favorite for those aiming for a polished, aspirational aesthetic.
Daily Maintenance
- 💅Apply cuticle oil daily to keep cuticles healthy and prevent lifting.
- 💅Avoid using nails as tools to prevent chipping and maintain the pristine finish.
- 💅Schedule infills every 3-4 weeks to maintain the integrity and appearance of the design.
Common Issues & Fixes
- ⚠Streaky blend: Apply thinner layers of gel, use a finer sponge, and blend with lighter, more even pressure.
- ⚠Bubbles in finish: Ensure the top coat is applied smoothly, avoid over-brushing, and allow it to self-level before curing.
- ⚠Premature chipping: Proper nail preparation is key; ensure no oils or debris are on the nail plate before application, and always cap the free edge.
- ⚠Dull finish: Ensure the UV/LED lamp is new enough and powerful enough for proper curing, and thoroughly cleanse the inhibition layer with quality cleanser.
Design Inspiration
Inspired by high-fashion runway aesthetics and the pursuit of ultimate perfection in professional photography, this design embodies timeless elegance and a commitment to flawless, 'airbrushed' beauty. It draws from classic salon demand for impeccably blended, sophisticated nail art.
Explore Similar Designs
Colors in this Design
Techniques Used
Perfect For
Nail Shapes
More Categories to Explore
Popular Colors
Popular Techniques
Perfect Occasions
FAQs
How long does a photo-real salon ombre typically last?
With professional application and proper aftercare, your photo-real ombre can last beautifully for 3 to 4 weeks, maintaining its high-gloss and seamless blend.
What makes this 'photo-real' ombre different from a standard ombre?
The 'photo-real' distinction refers to an exceptionally smooth, airbrushed-like gradient with no visible lines or brush strokes, achieved through advanced layering and blending techniques. It's a level of perfection often only seen in professional photography.
Can I achieve this photo-real ombre look at home?
While you can attempt a basic ombre at home, achieving this 'photo-real' salon quality requires specialized tools, professional-grade gel polishes, and advanced blending skills, making it challenging for beginners.
Is this design suitable for shorter nails?
While possible on shorter nails, the full beauty and seamless transition of the gradient are best showcased on medium to long nail lengths, allowing ample space for the colors to blend gracefully.
Are there specific color combinations that work best for a 'photo-real' effect?
Softer, complementary colors with a similar tone difference (like nude to pink, or white to light blue) tend to create the most 'photo-real' and seamless transitions. High contrast colors are possible but require even more meticulous blending.
Does this require special maintenance?
Beyond standard gel manicure aftercare like daily cuticle oil and avoiding harsh chemicals, no special maintenance is required. However, treating your nails gently will prolong their pristine appearance.