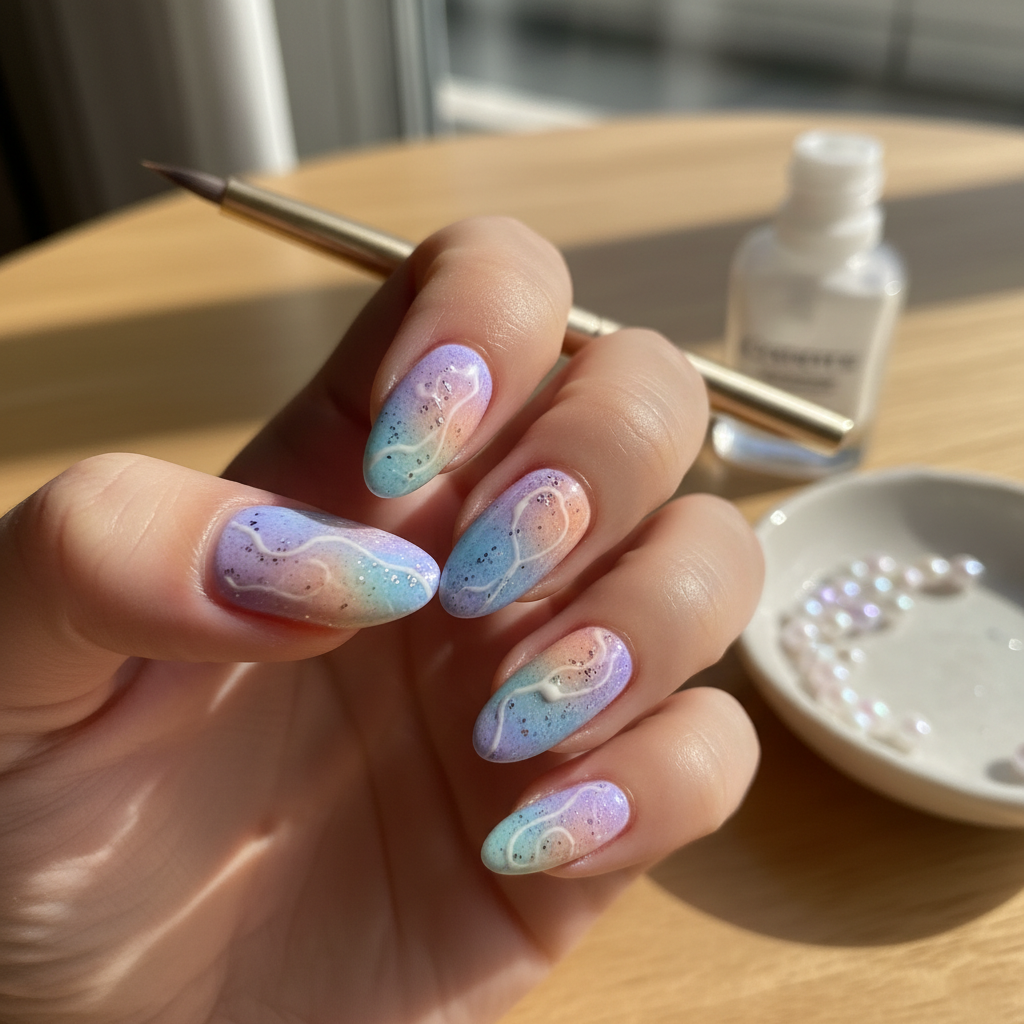
Photo-real Salon Sponging Nails
Sponging inspired nail art with clean, photo-real finish and professional salon quality
Created: October 5, 2025 at 11:55 AM
More Sponging Designs
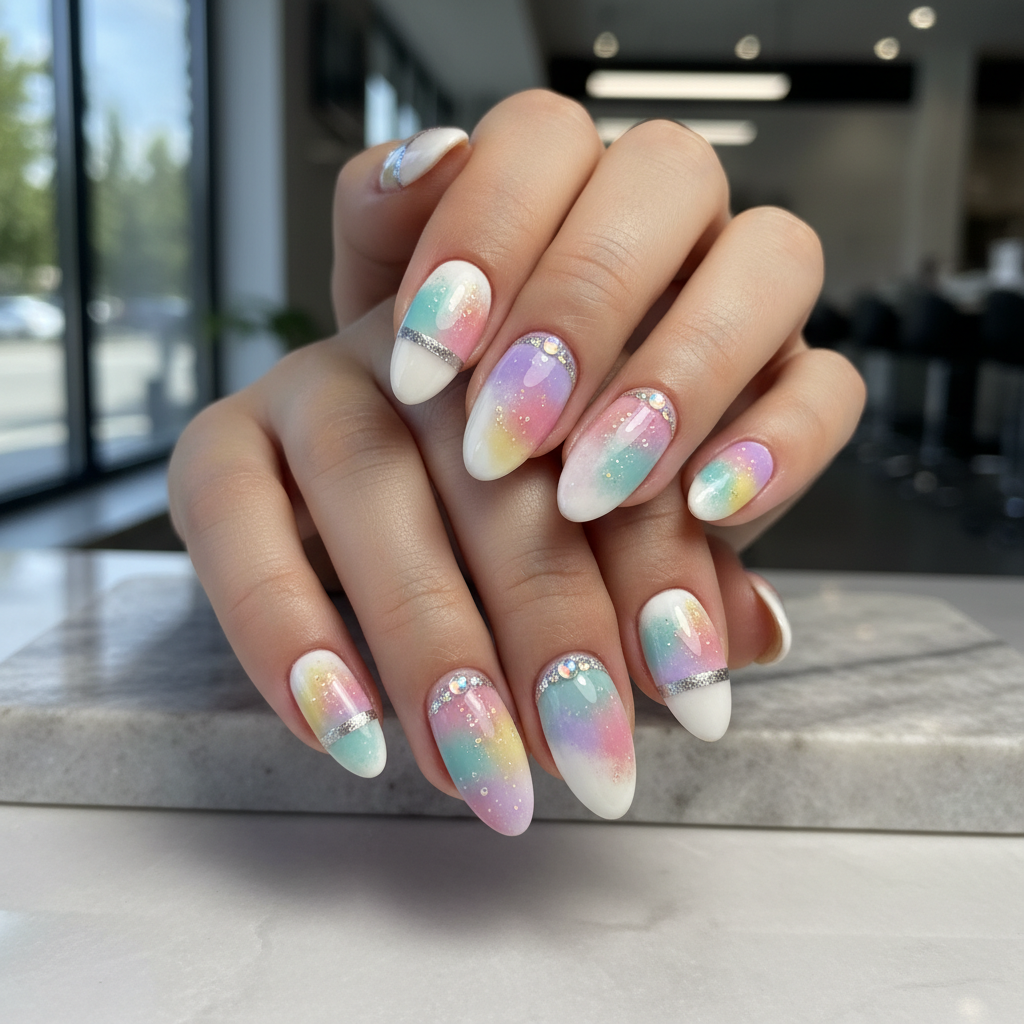
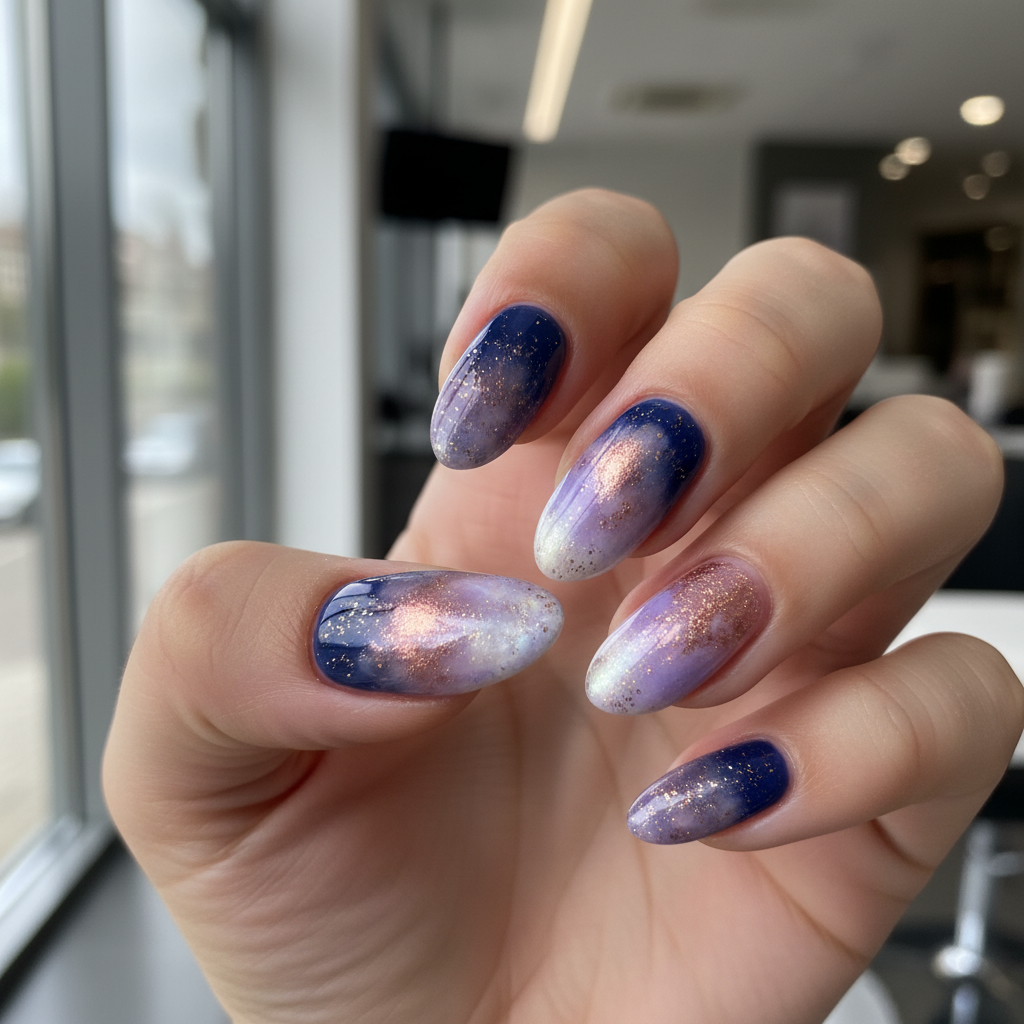
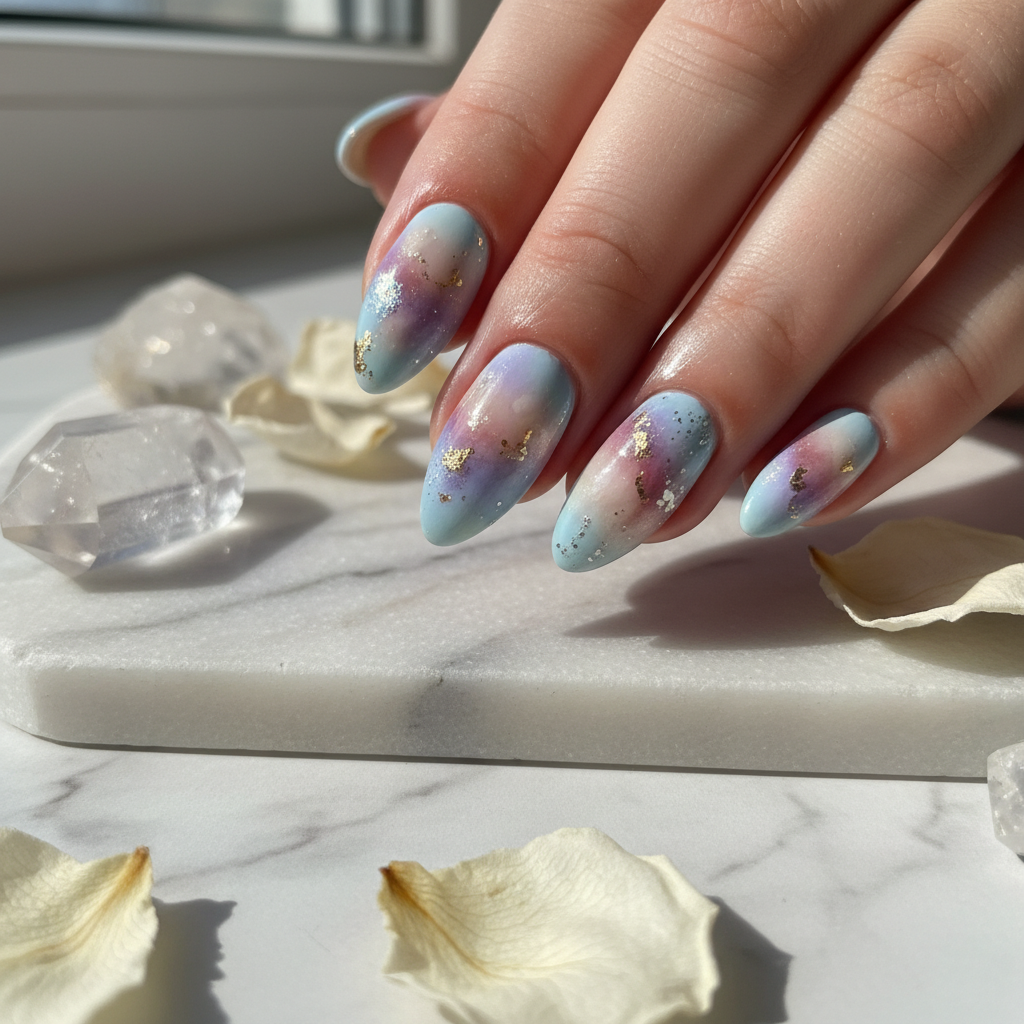
Beautiful Photo-real Salon Sponging Nails
Sponging inspired nail art with beautiful, photo-real finish and professional salon quality
Beautiful Photo-real Salon Sponging Nails
Sponging inspired nail art with beautiful, photo-real finish and professional salon quality
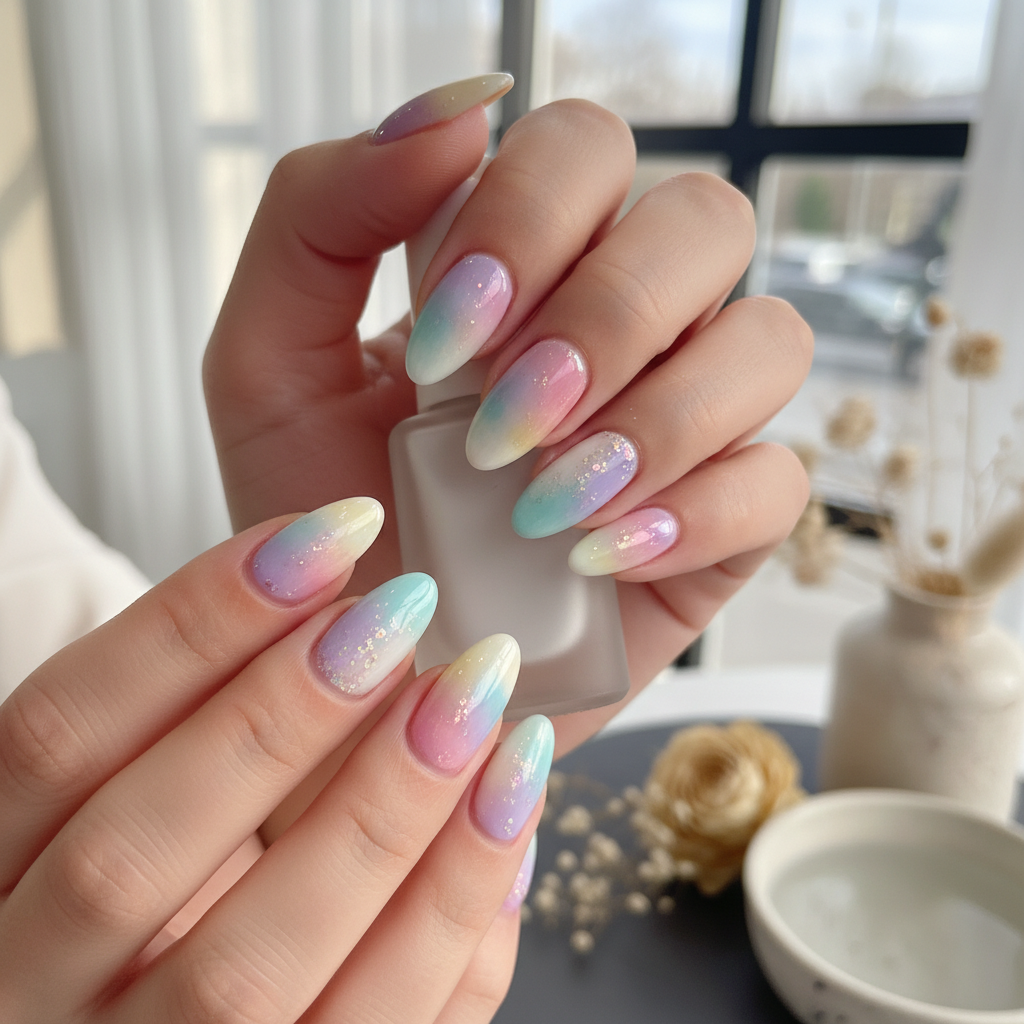
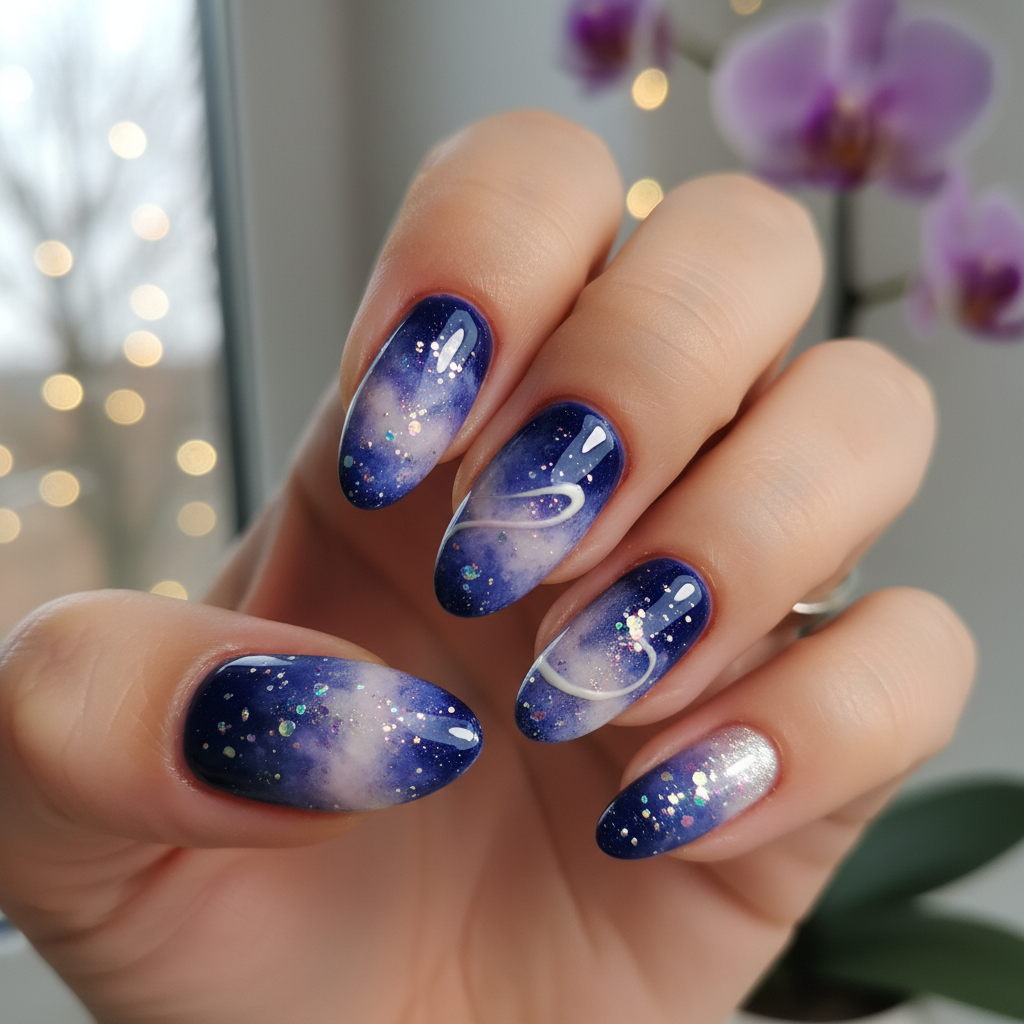
Gorgeous Photo-real Salon Sponging Nails
Sponging inspired nail art with gorgeous, photo-real finish and professional salon quality
Gorgeous Photo-real Salon Sponging Nails
Sponging inspired nail art with gorgeous, photo-real finish and professional salon quality
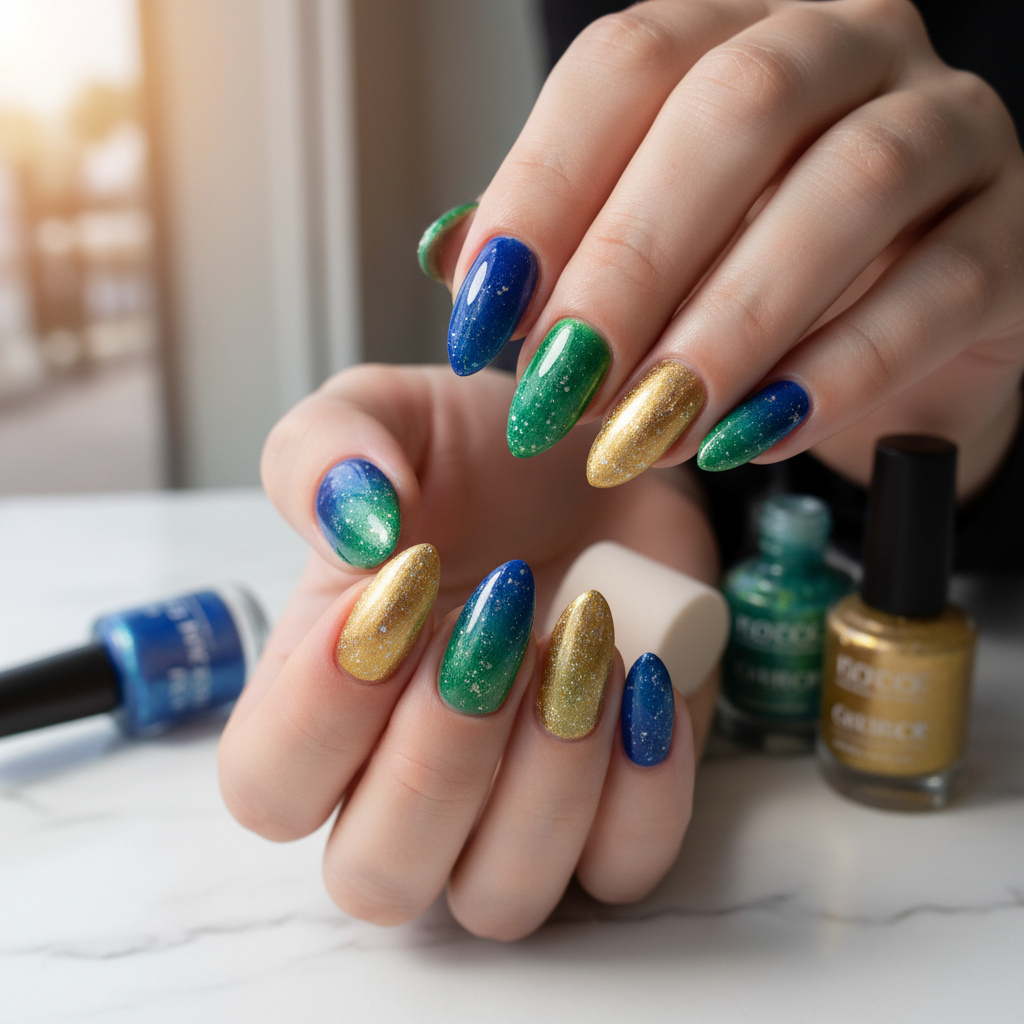
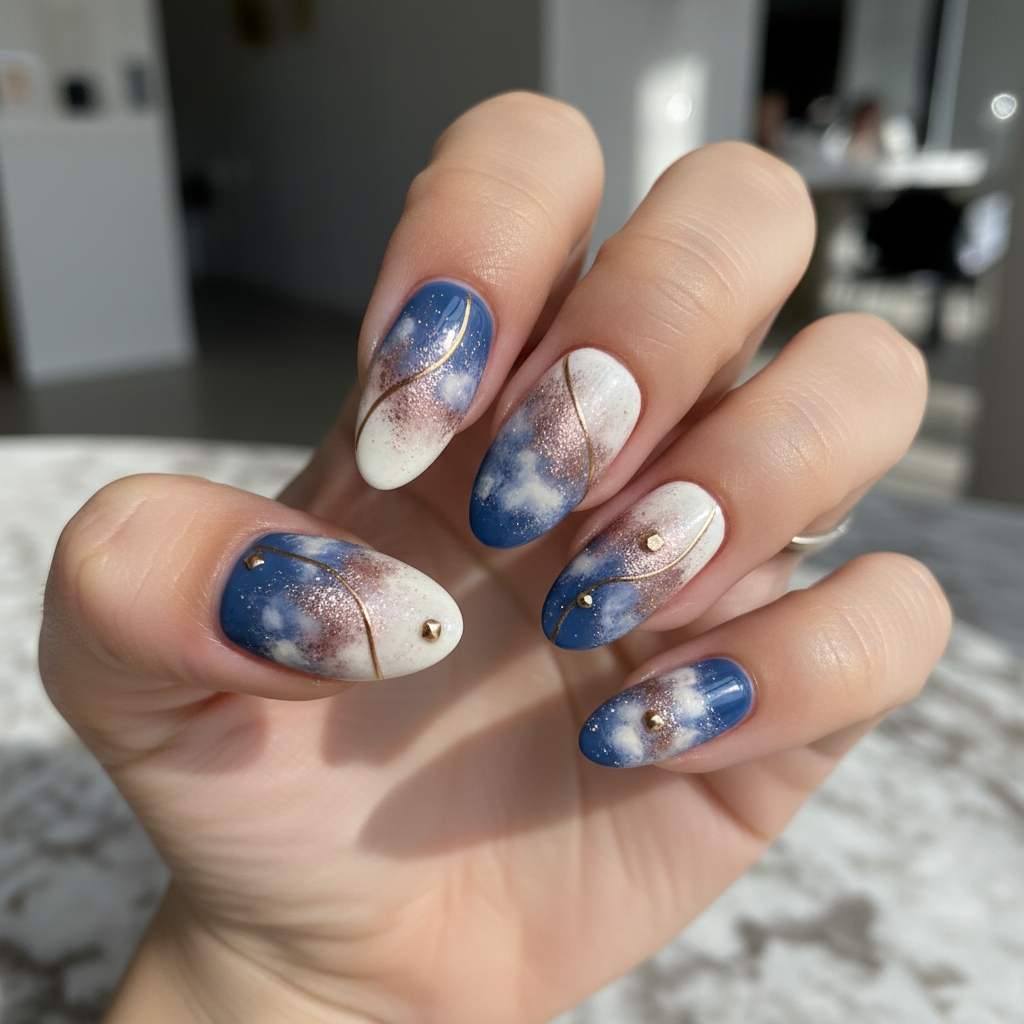
Stunning Photo-real Salon Sponging Nails
Sponging inspired nail art with stunning, photo-real finish and professional salon quality
Stunning Photo-real Salon Sponging Nails
Sponging inspired nail art with stunning, photo-real finish and professional salon quality
Sophisticated Photo-real Salon Sponging Nails
Sponging inspired nail art with sophisticated, photo-real finish and professional salon quality
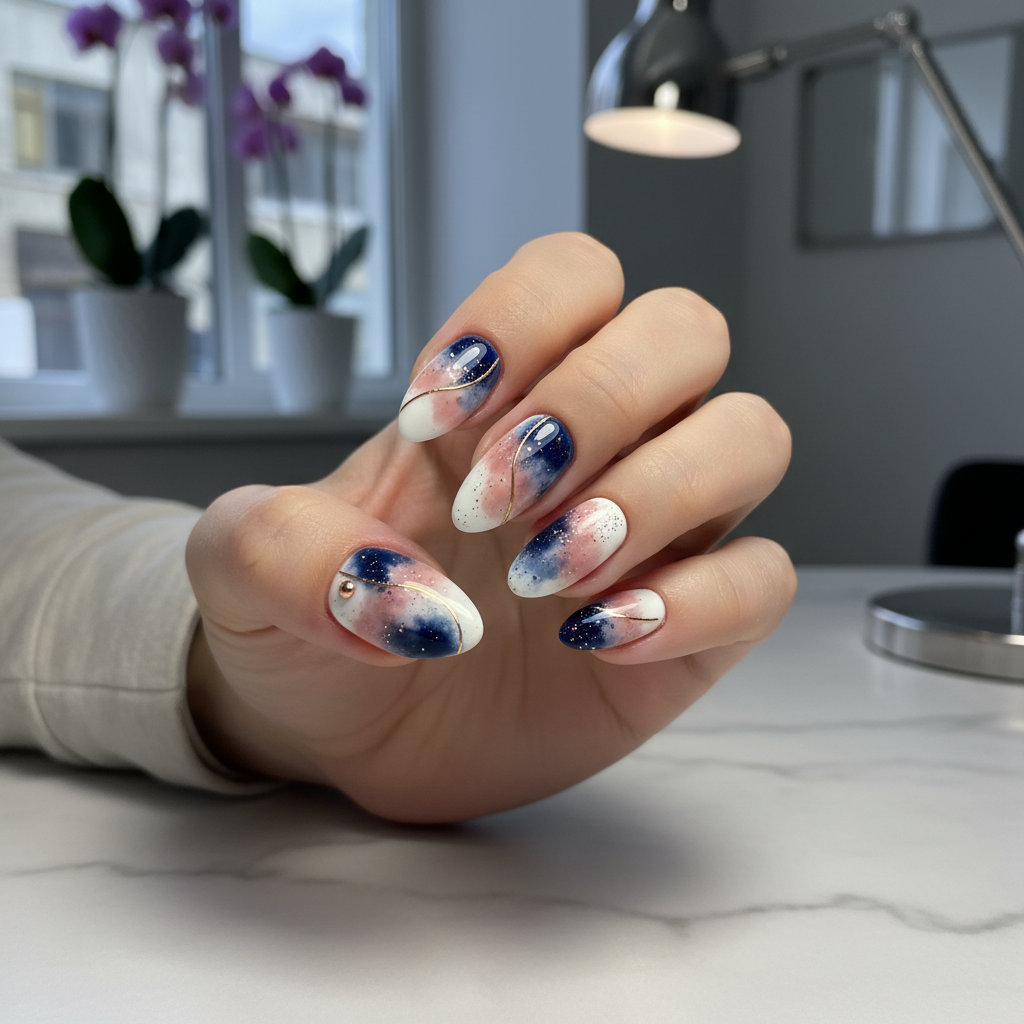
Photo-real Salon Sponging Nails
Sponging inspired nail art with elegant, photo-real finish and professional salon quality
Sophisticated Photo-real Salon Sponging Nails
Sponging inspired nail art with sophisticated, photo-real finish and professional salon quality
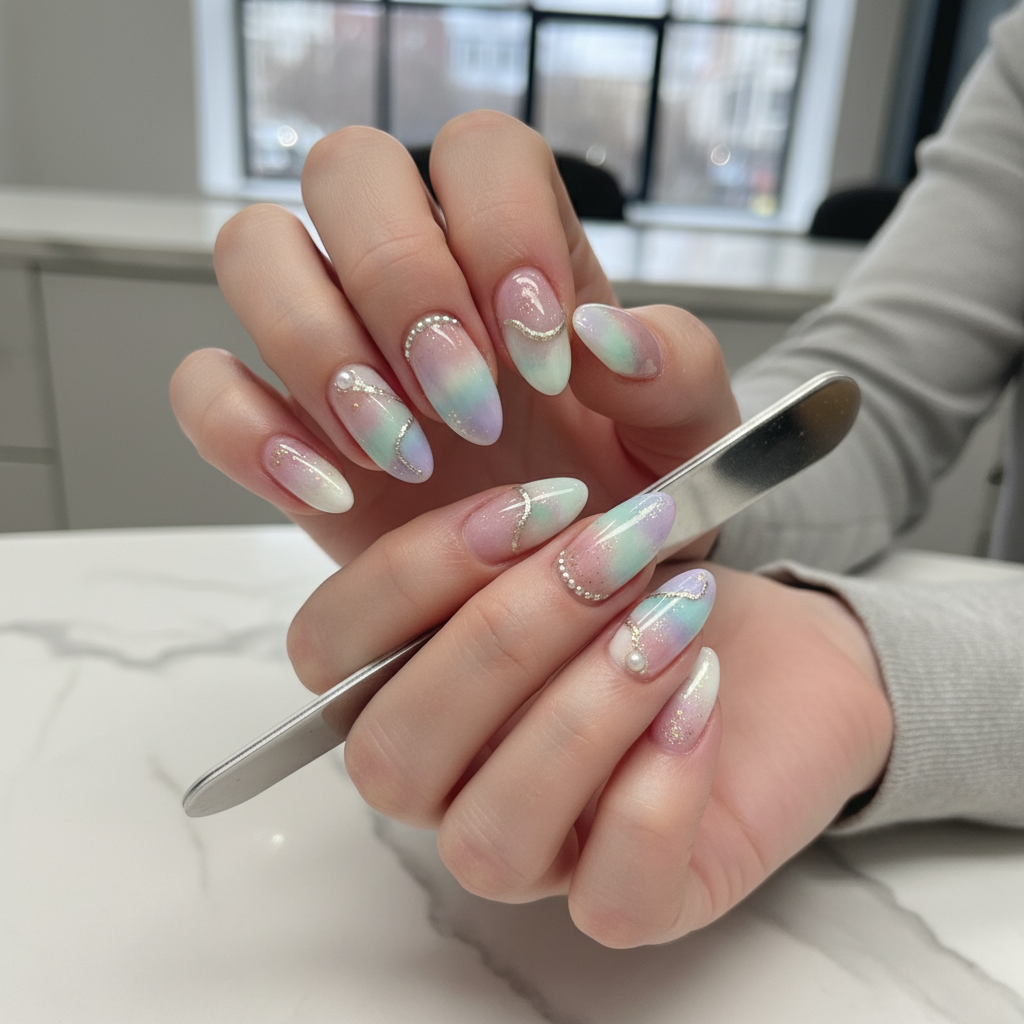
Photo-real Salon Sponging Nails
Sponging inspired nail art with elegant, photo-real finish and professional salon quality
More Designs
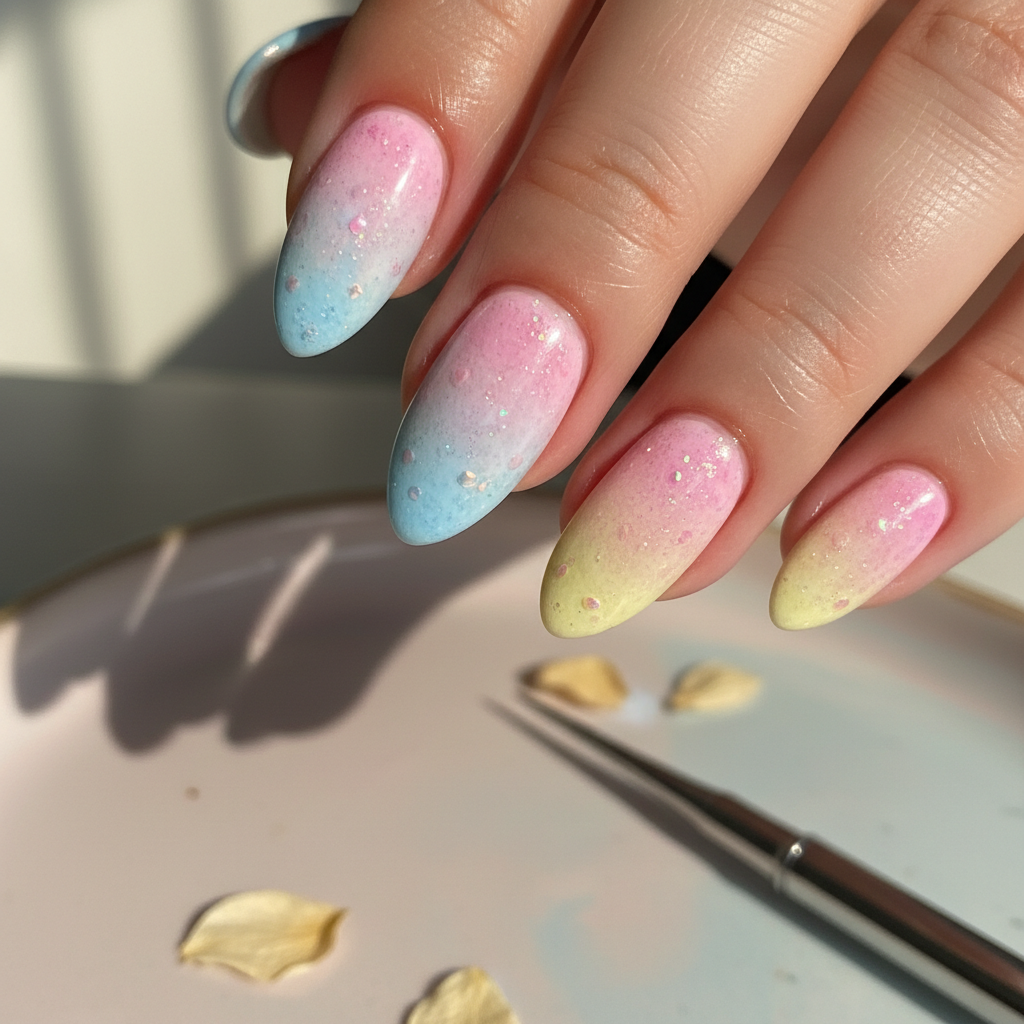
Salon Sponging Nails: Photo-Real Ombre Manicure
Achieve a flawless, airbrushed effect with this salon-worthy sponging technique. This design creates a seamless gradient, offering a modern and sophisticated look that's easier than it appears.
Supplies You'll Need
- Base coat
- Pastel Pink nail polish
- Lilac nail polish
- White nail polish
- Makeup sponge
- Top coat
How To Recreate It
- Apply a base coat to protect your nails.
- Apply one or two coats of pastel pink polish to your entire nail as a base color.
- On a makeup sponge, create a gradient by painting stripes of pastel pink, lilac, and white polishes next to each other.
- Dab the sponge onto your nail, starting from the cuticle and working your way to the tip. Repeat until you achieve the desired gradient effect.
- Clean up any excess polish around your cuticles with a brush and acetone.
- Apply a top coat to seal and protect your design, adding shine or a matte finish.
Expert Tip
Use a new, clean makeup sponge for each nail to avoid color contamination. Slightly dampen the sponge before applying the polish to help create a smoother blend.
Try These Variations
- →Use glitter polish for a sparkling effect.
- →Incorporate nail stickers or decals for added detail.
- →Try a reverse gradient, with the darkest color at the tip.
- →Add a fine line of silver or gold glitter polish at the gradient's transition point for definition.
Aftercare Tips
- ✓Moisturize your hands and cuticles regularly.
- ✓Wear gloves when doing housework or gardening.
- ✓Avoid using your nails as tools.
Safe Removal
- 1.Soak cotton balls in nail polish remover.
- 2.Place the cotton balls on your nails and wrap them in foil for 5-10 minutes.
- 3.Gently remove the cotton balls and wipe away any remaining polish.
Quick Facts
Why It's Trending
Ombre and gradient nails are always in style, and the sponging technique allows for a more accessible and customizable way to achieve the look at home.
Seasonal Styling
Perfect for spring and summer when pastel and bright colors are popular, but can be adapted for fall and winter with darker, more muted tones.
Color Variations
Perfect For
Why People Love It
Instagram and TikTok are flooded with stunning gradient nail art tutorials, making this design highly sought after. The smooth, professional finish elevates any look.
Daily Maintenance
- 💅Apply a top coat every 2-3 days to maintain shine and prevent chipping.
- 💅Avoid harsh chemicals and prolonged exposure to water.
- 💅Use cuticle oil daily to keep your nails hydrated.
Common Issues & Fixes
- ⚠Uneven gradientApply more layers of polish with the sponge, focusing on the areas that need more color.
- ⚠Streaky finishUse a finer-pored sponge and dab the polish more lightly.
- ⚠Too much polish on the skinUse a small brush dipped in acetone to carefully clean up around the cuticles.
- ⚠Colors are muddyEnsure the sponge is clean between each nail. Apply thinner layers of polish to the sponge for better blending.
Design Inspiration
Inspired by professional salon techniques that achieve airbrushed nail looks, this design aims to simplify the process for at-home application.
Explore Similar Designs
Colors in this Design
Techniques Used
Perfect For
Nail Shapes
More Categories to Explore
Popular Colors
Popular Techniques
Perfect Occasions
FAQs
Can I use gel polish for this design?
Yes, you can use gel polish, but you'll need a UV/LED lamp to cure each layer.
What kind of sponge is best for sponging nails?
A high-density makeup sponge or a wedge-shaped sponge is ideal for creating a smooth gradient.
How can I prevent the polish from drying on the sponge?
Work quickly and apply the polish to the sponge just before dabbing it onto your nail.
How many layers of sponging do I need?
It depends on the desired intensity of the gradient. Start with one layer and add more until you achieve the look you want.
Can I use multiple colors for this design?
Absolutely! Experiment with different color combinations to create unique and personalized looks.
How to make the design last longer?
Always use a good quality base coat and top coat. Reapply top coat every other day. Avoid excessive handwashing.