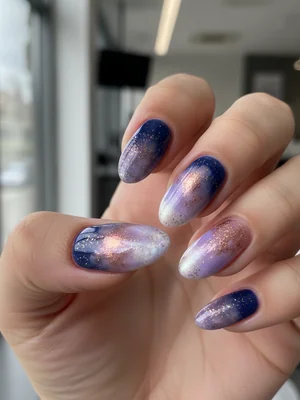
Photo-real Salon Sponging Nails - Sponging nail art - featuring nail art, elegant, red - nail art inspiration and design ideas
Photo-real Salon Sponging Nails
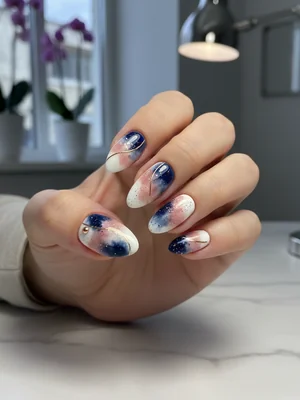
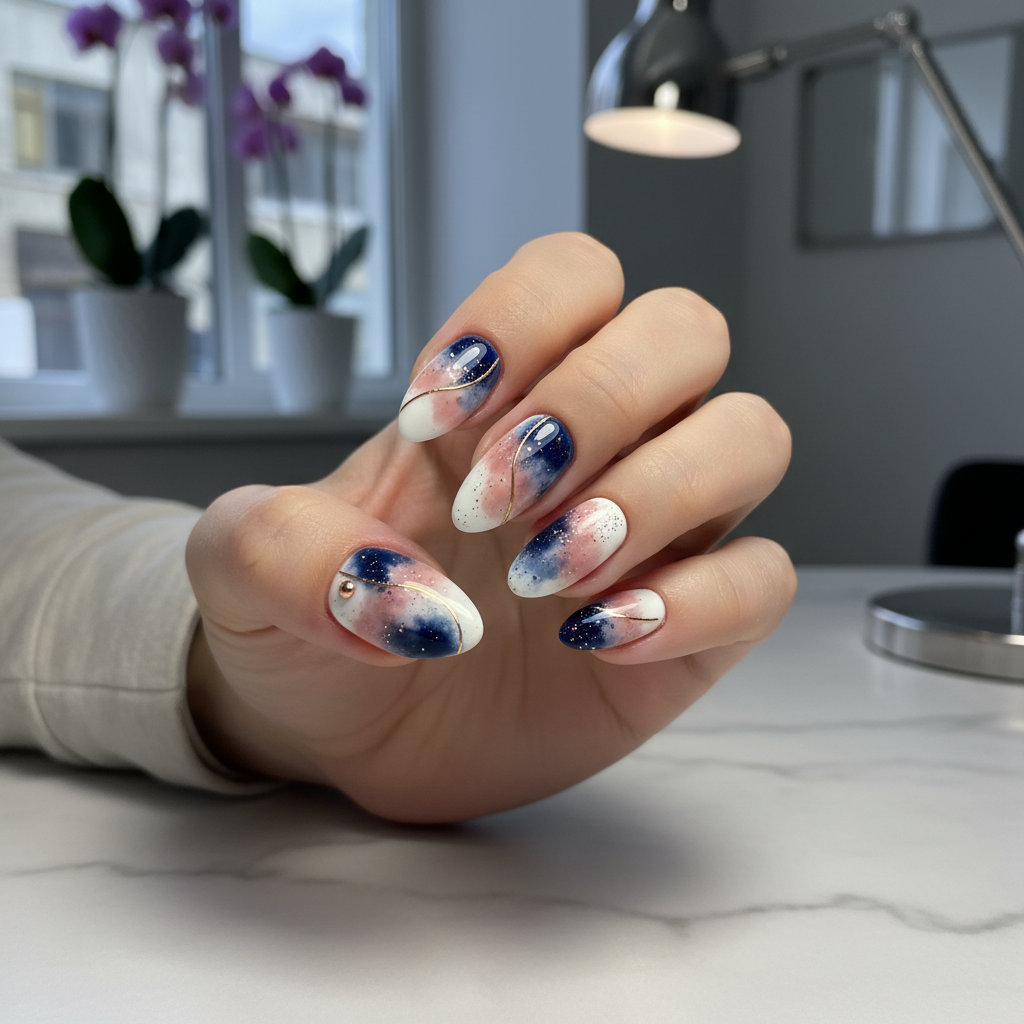
Elegant Photo-Real Sponging Nails: Salon Quality Gradient Art
Discover the exquisite blend of diffused color and high-definition finish with our Photo-Real Sponging Nails. This design artfully layers hues to create a seamless, almost photographic gradient, elevating the classic sponging technique to a truly elegant salon-quality masterpiece.
- Fine-pore makeup sponge or nail art sponge
- Base coat
- 2-3 highly pigmented nail polishes (coordinating shades)
- High-shine top coat
- Clean-up brush and acetone
- Prepare nails by filing, buffing, and applying a thin layer of base coat, then cure if using gel.
- Apply one to two coats of your lightest base color, ensuring full opacity, and let dry completely (or cure).
- Dab small amounts of your chosen blending colors onto a palette, then lightly load the sponge with a blend of two colors.
- Gently and repeatedly dab the sponge onto the nail, starting at the free edge and working upwards, creating a seamless, diffused transition. Layer lightly for depth, allowing thin layers to dry between applications.
- Clean up any polish around the cuticles and sidewalls using a fine brush dipped in acetone for a sharp, professional finish.
- Seal the design with a generous layer of high-gloss top coat to enhance the 'photo-real' effect and ensure durability, then cure if using gel.
Expert Tip
The secret to achieving a truly photo-real and seamless sponged gradient lies in applying very thin, buildable layers with a light hand. Don't press too hard, and allow each layer to partially dry; this prevents a thick, clumpy finish and allows for smooth color diffusion.
Similar Styles
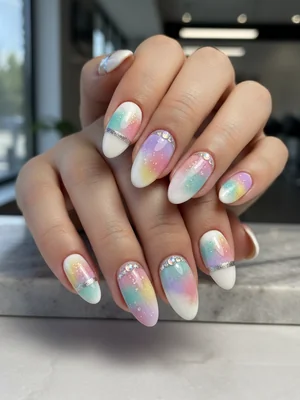
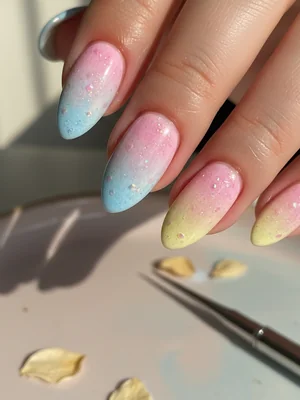
Beautiful Photo-real Salon Sponging Nails
Sponging inspired nail art with beautiful, photo-real finish and professional salon quality
Beautiful Photo-real Salon Sponging Nails
Sponging inspired nail art with beautiful, photo-real finish and professional salon quality
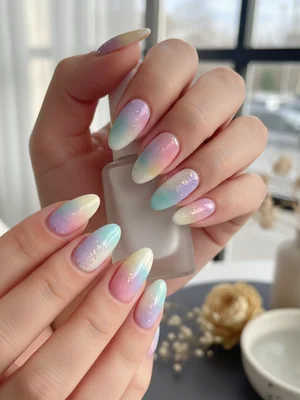
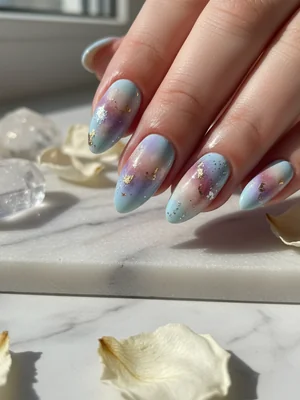
Gorgeous Photo-real Salon Sponging Nails
Sponging inspired nail art with gorgeous, photo-real finish and professional salon quality
Gorgeous Photo-real Salon Sponging Nails
Sponging inspired nail art with gorgeous, photo-real finish and professional salon quality
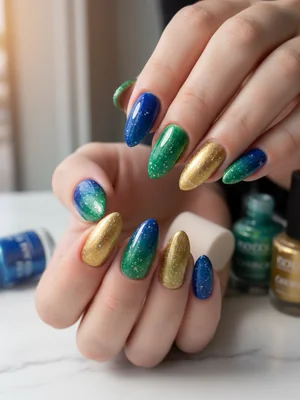
Stunning Photo-real Salon Sponging Nails
Sponging inspired nail art with stunning, photo-real finish and professional salon quality

Stunning Photo-real Salon Sponging Nails
Sponging inspired nail art with stunning, photo-real finish and professional salon quality

Sophisticated Photo-real Salon Sponging Nails
Sponging inspired nail art with sophisticated, photo-real finish and professional salon quality
Sophisticated Photo-real Salon Sponging Nails
Sponging inspired nail art with sophisticated, photo-real finish and professional salon quality
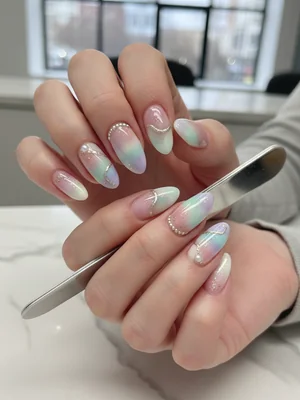
Photo-real Salon Sponging Nails
Sponging inspired nail art with elegant, photo-real finish and professional salon quality

Photo-real Salon Sponging Nails
Sponging inspired nail art with clean, photo-real finish and professional salon quality

Photo-real Salon Sponging Nails
Sponging inspired nail art with clean, photo-real finish and professional salon quality

Photo-real Salon Sponging Nails
Sponging inspired nail art with clean, photo-real finish and professional salon quality
Explore Similar Designs
Colors in this Design
Techniques Used
Perfect For
Nail Shapes
Frequently Asked Questions
How long does a Photo-Real Sponging manicure typically last?
With professional application and proper aftercare, expect your Photo-Real Sponging Nails to last 2-3 weeks with gel polish, or 7-10 days with regular lacquer.
Can this elegant sponging design be customized with any colors?
Absolutely! The beauty of Photo-Real Sponging is its versatility. We can create stunning blends with virtually any color palette, from vibrant to muted, to perfectly match your personal style or event.
Is this design suitable for shorter nails?
While longer nails provide more canvas for the gradient, this design can certainly be adapted for shorter lengths. The effect will be more subtle, but still offer a beautiful, diffused look.
What's the key difference between this and a regular ombre?
This photo-real sponging focuses on achieving an extremely soft, almost imperceptible color blend using a gentle dabbing technique, creating a highly diffused and 'organic' transition, as opposed to a more distinct gradient line often seen in traditional ombre.
Will the sponging technique damage my natural nails?
No, when performed by a professional, the sponging technique itself is very gentle and will not damage your natural nails. We prioritize nail health with proper prep and application.
How do I ensure the 'photo-real' finish stays glossy?
The 'photo-real' finish is best maintained by using a high-quality, high-shine top coat and reapplying it every few days. Also, avoid harsh chemicals that can dull the shine.
Aftercare Tips
- ✓Moisturize your cuticles daily with nourishing oil to keep them healthy and prevent lifting.
- ✓Keep your nails dry and clean; prolonged exposure to water can compromise polish adhesion.
- ✓Avoid harsh chemicals like strong detergents or alcohol-based sanitizers without protection.
Safe Removal
- 1.If using traditional polish, soak a cotton ball with non-acetone remover and gently wipe away.
- 2.For gel polish, lightly buff the top coat, then soak cotton with acetone, place on the nail, and wrap with foil for 10-15 minutes.
- 3.Gently push off softened gel with a cuticle pusher, avoiding scraping the natural nail.