Gorgeous Photo-real Salon Sponging Nails - Sponging nail art - featuring nail art, red - nail art inspiration and design ideas
Gorgeous Photo-real Salon Sponging Nails
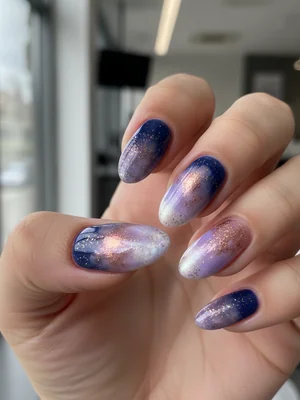
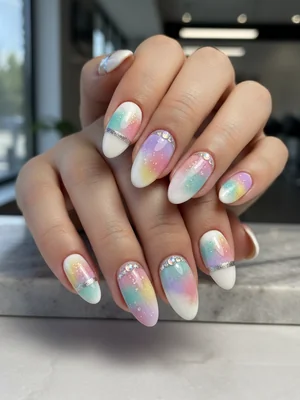
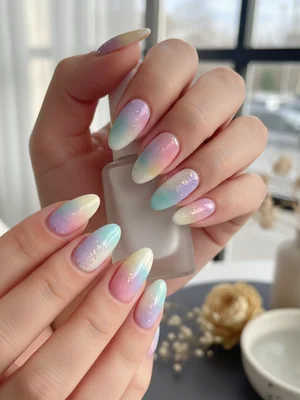
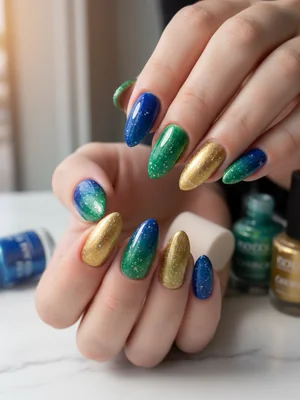
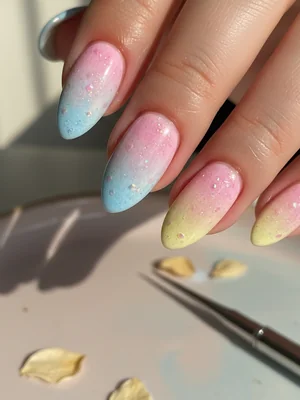
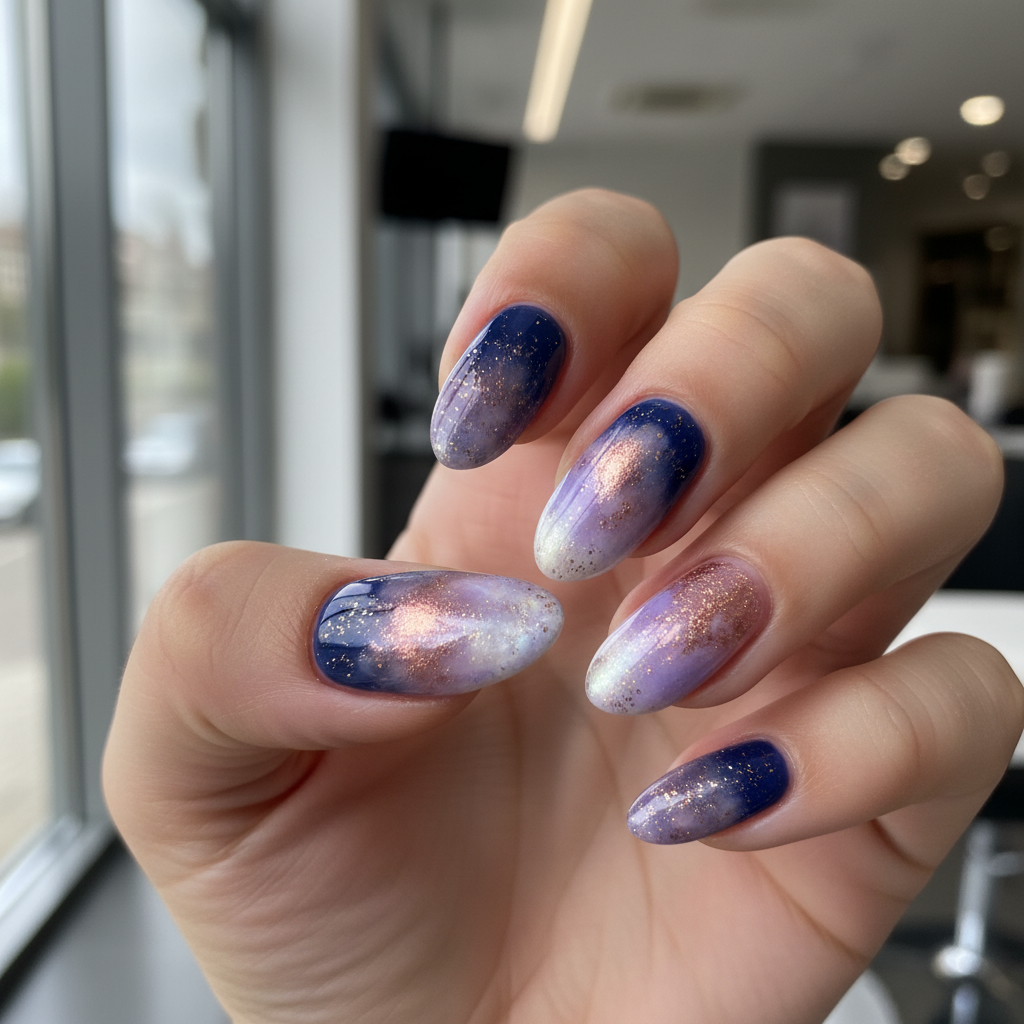
Photo-Real Sponging Nails: Seamless Salon Gradient Art
Discover the magic of Photo-Real Sponging Nails, a stunning design that elevates the classic sponging technique to salon-grade perfection. This unique nail art delivers a seamless, airbrushed gradient, creating an unbelievably smooth and professional finish that truly looks photo-realistic.
- Base Coat
- 2-3 Complementary Gel Polishes
- Dense Cosmetic Sponge (makeup wedge)
- Tweezers (for sponge manipulation)
- Clean-up Brush & Acetone
- No-Wipe Gel Top Coat
- Prep nails by filing, buffing, and cleaning. Apply a base coat and cure according to product instructions.
- Apply a light base color (e.g., white or the lightest gradient shade, like Sky Blue) over the entire nail and cure.
- Apply a small amount of your chosen gradient colors (e.g., Navy Blue and White) side-by-side onto a piece of cosmetic sponge, blending the edges slightly.
- Gently dab the sponge onto the nail, moving it slightly to create a seamless gradient. Build thin layers, curing after each pass, until desired depth and photo-real blend are achieved.
- Carefully clean up any polish on the surrounding skin using a thin brush dipped in acetone.
- Apply a high-shine no-wipe top coat over the entire design and cure thoroughly for a glossy, photo-real finish.
Expert Tip
For a truly photo-real finish, ensure your sponge is only lightly saturated with polish for each pass. Build up the color in thin, even layers, curing diligently between each application to prevent muddying and achieve that seamless, airbrushed depth.
Similar Styles
Beautiful Photo-real Salon Sponging Nails
Sponging inspired nail art with beautiful, photo-real finish and professional salon quality
Beautiful Photo-real Salon Sponging Nails
Sponging inspired nail art with beautiful, photo-real finish and professional salon quality
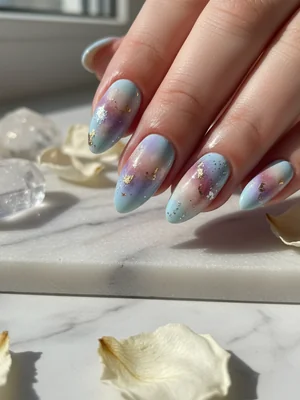
Gorgeous Photo-real Salon Sponging Nails
Sponging inspired nail art with gorgeous, photo-real finish and professional salon quality
Stunning Photo-real Salon Sponging Nails
Sponging inspired nail art with stunning, photo-real finish and professional salon quality

Stunning Photo-real Salon Sponging Nails
Sponging inspired nail art with stunning, photo-real finish and professional salon quality

Sophisticated Photo-real Salon Sponging Nails
Sponging inspired nail art with sophisticated, photo-real finish and professional salon quality
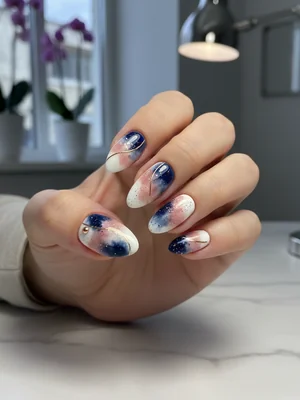
Photo-real Salon Sponging Nails
Sponging inspired nail art with elegant, photo-real finish and professional salon quality
Sophisticated Photo-real Salon Sponging Nails
Sponging inspired nail art with sophisticated, photo-real finish and professional salon quality
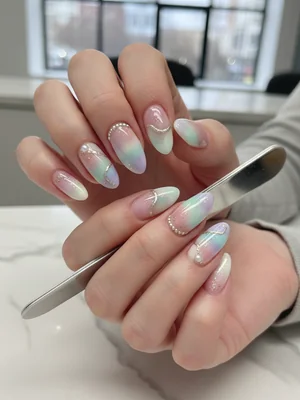
Photo-real Salon Sponging Nails
Sponging inspired nail art with elegant, photo-real finish and professional salon quality

Photo-real Salon Sponging Nails
Sponging inspired nail art with clean, photo-real finish and professional salon quality

Photo-real Salon Sponging Nails
Sponging inspired nail art with clean, photo-real finish and professional salon quality

Photo-real Salon Sponging Nails
Sponging inspired nail art with clean, photo-real finish and professional salon quality
Explore Similar Designs
Techniques Used
Perfect For
Nail Shapes
Frequently Asked Questions
What makes this 'Photo-Real' Sponging different?
It refers to the incredibly smooth, almost airbrushed transition of colors achieved through meticulous layering and a high-gloss finish, making the gradient appear perfectly seamless and professional, as if digitally rendered.
Can I achieve this 'salon quality' sponging at home?
While the basic sponging technique is accessible, achieving the 'salon quality' and 'photo-real' seamlessness requires practice with sponge saturation, precise application, and careful layering to avoid a patchy or muddy look.
How long do Photo-Real Sponging Nails typically last?
With proper gel application, meticulous curing, and consistent aftercare, your Photo-Real Sponging Nails can beautifully last 2-3 weeks without chipping or losing their glossy finish.
What type of sponge is best for this design?
A dense, fine-pored cosmetic sponge (like a makeup wedge or a specialized nail art sponge) is crucial for achieving the smoothest, most seamless blend required for a photo-real effect.
Is this design suitable for shorter nails?
Absolutely! While longer nails offer a larger canvas for an expansive gradient, a stunning, more compact photo-real sponge design can still be created and look incredibly chic on shorter lengths.
Can I combine this design with other nail art elements?
This seamless gradient acts as a beautiful, sophisticated base. You can subtly enhance it with minimalist line art, delicate stamping on an accent nail, or strategically placed tiny rhinestones without overpowering the core design.
Aftercare Tips
- ✓Keep nails dry and avoid harsh chemicals or prolonged water exposure for the first 24 hours post-application.
- ✓Moisturize hands and cuticles regularly to support nail health and enhance the overall appearance.
- ✓Report any lifting, chipping, or unusual changes to your nail technician promptly for professional advice.
- ✓Never pick or peel at the polish, as this can severely damage your natural nail plate.
Safe Removal
- 1.Gently file off the top coat to break the seal, being careful not to file into your natural nail.
- 2.Soak cotton pads in 100% acetone, place them firmly on each nail, and wrap with foil or clips for 10-15 minutes.
- 3.Gently push off the softened gel polish with an orange wood stick or metal pusher; never force or scrape.