
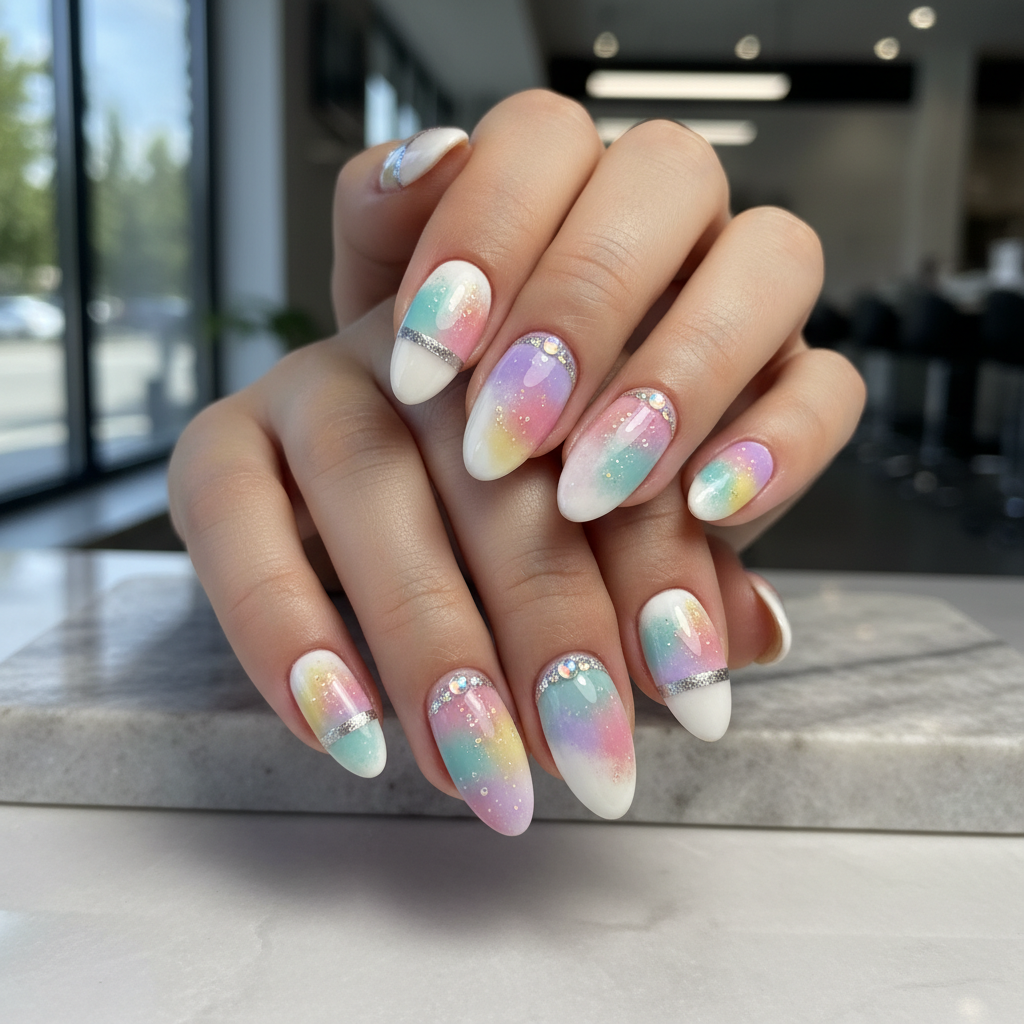
Photo-real Salon Sponging Nails
Sponging inspired nail art with clean, photo-real finish and professional salon quality
Created: October 5, 2025 at 11:56 AM
More Sponging Designs
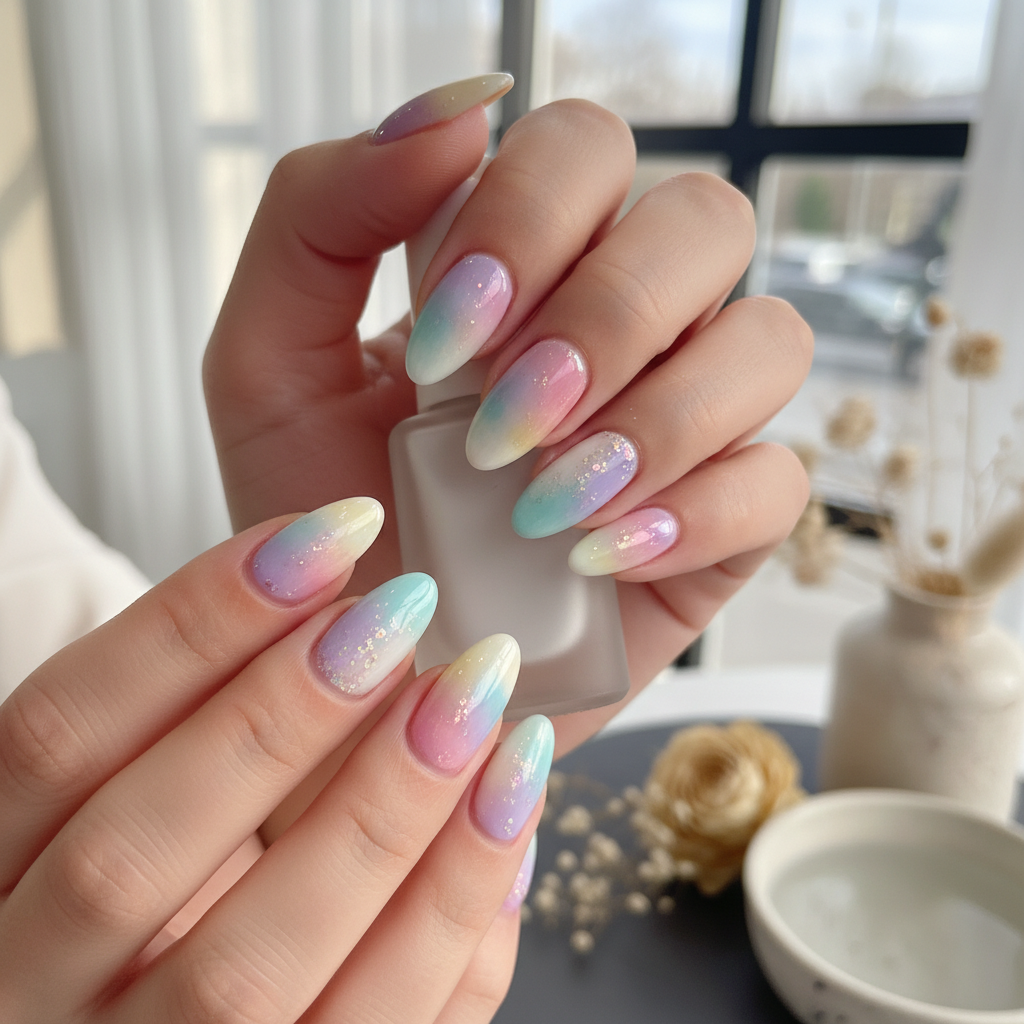
Beautiful Photo-real Salon Sponging Nails
Sponging inspired nail art with beautiful, photo-real finish and professional salon quality
Beautiful Photo-real Salon Sponging Nails
Sponging inspired nail art with beautiful, photo-real finish and professional salon quality
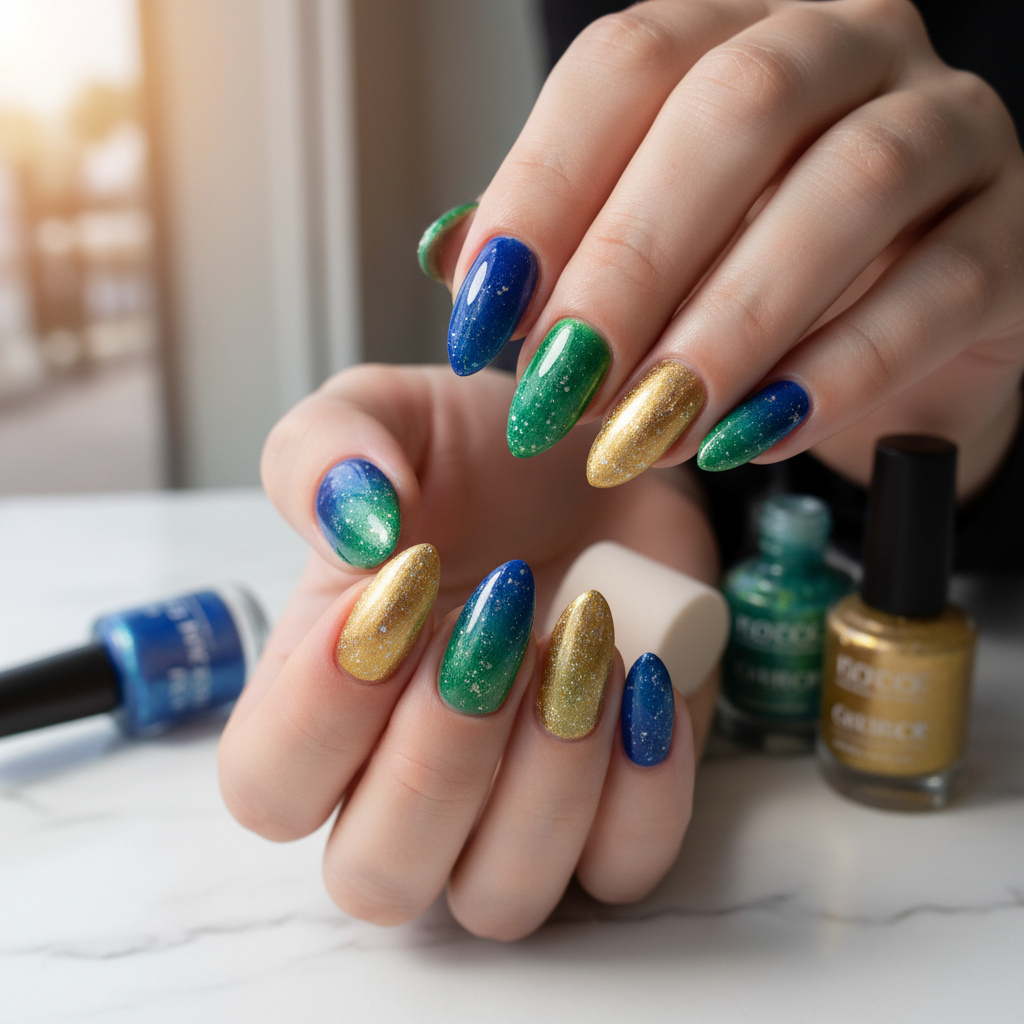
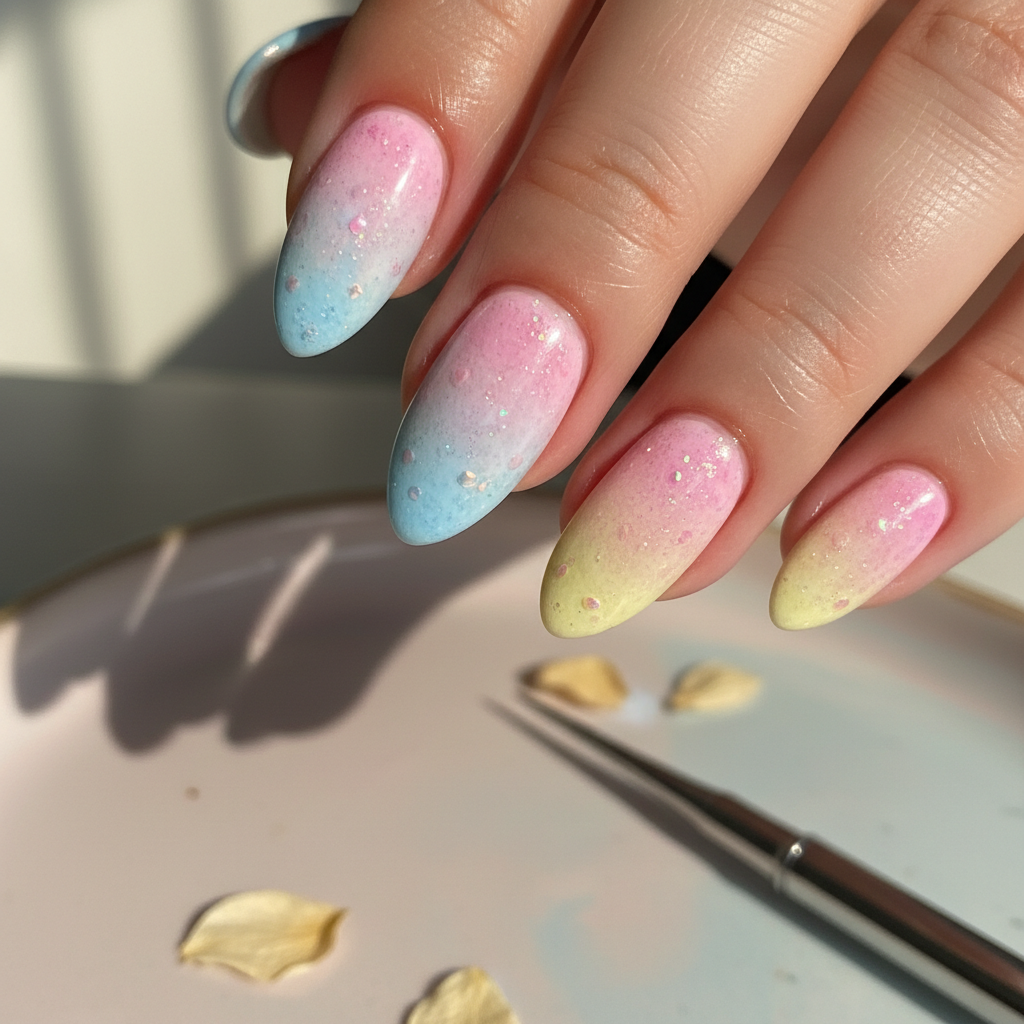
Gorgeous Photo-real Salon Sponging Nails
Sponging inspired nail art with gorgeous, photo-real finish and professional salon quality
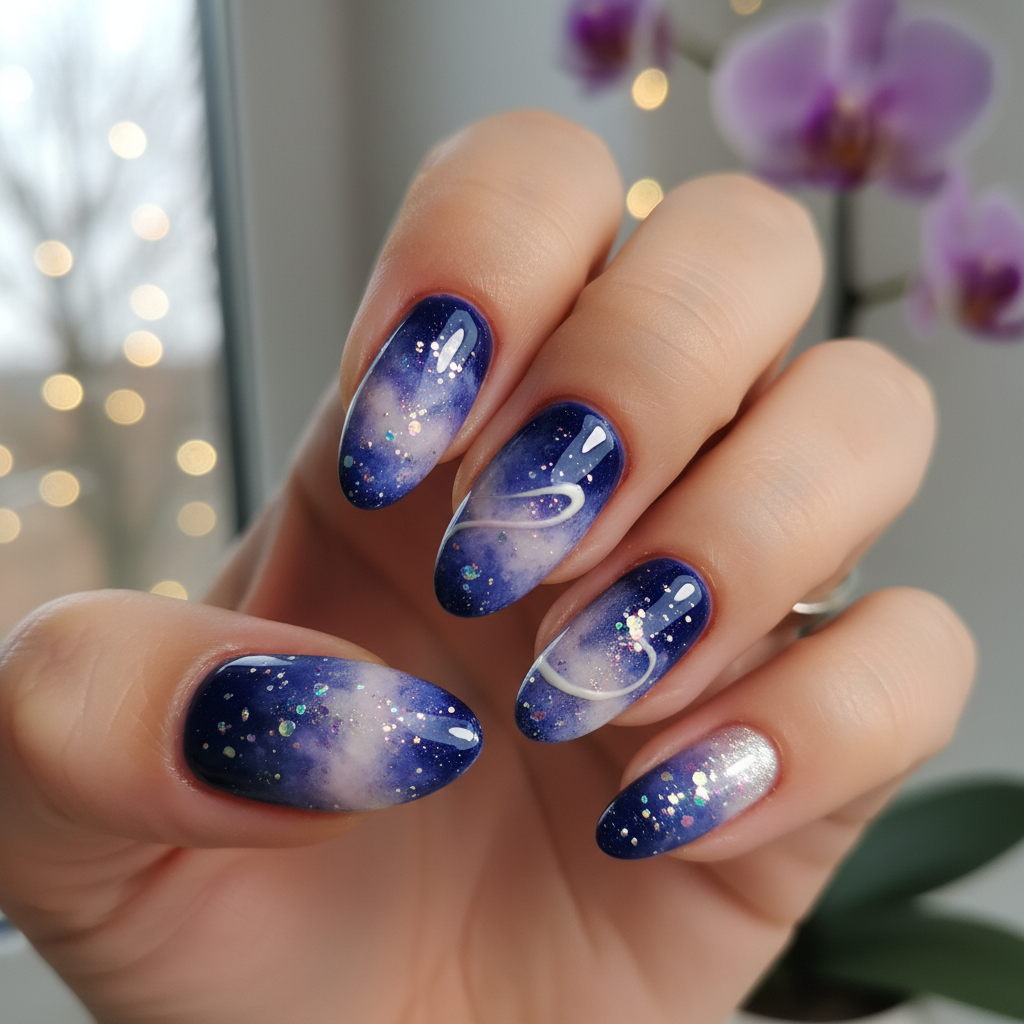
Gorgeous Photo-real Salon Sponging Nails
Sponging inspired nail art with gorgeous, photo-real finish and professional salon quality
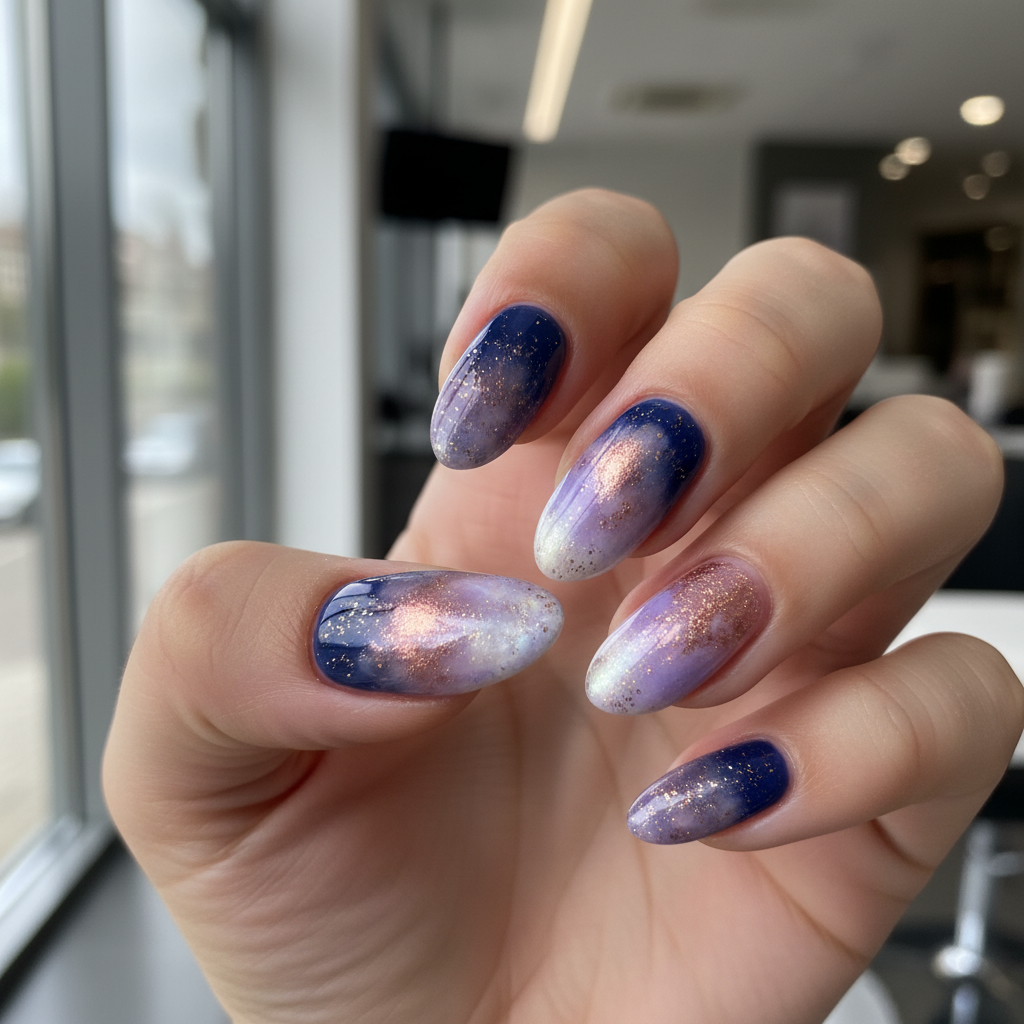
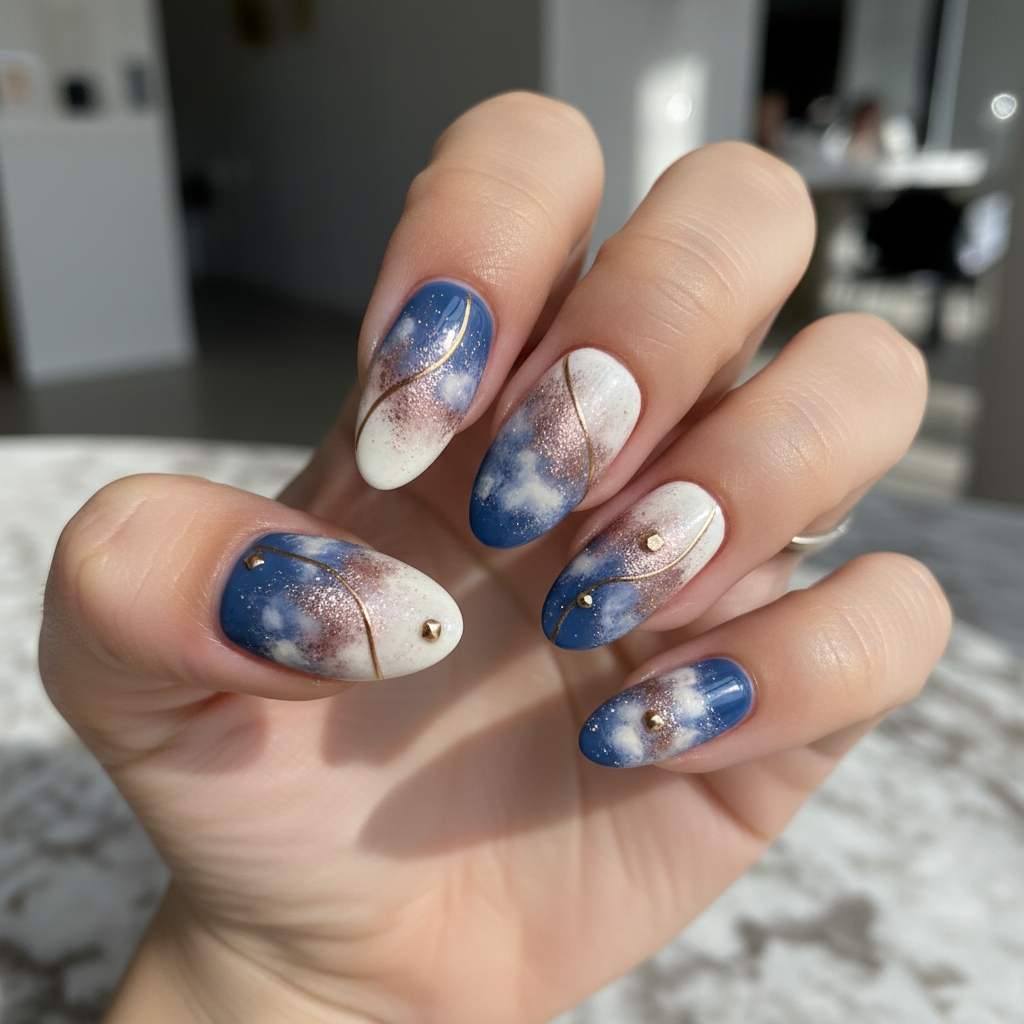
Stunning Photo-real Salon Sponging Nails
Sponging inspired nail art with stunning, photo-real finish and professional salon quality
Stunning Photo-real Salon Sponging Nails
Sponging inspired nail art with stunning, photo-real finish and professional salon quality
Sophisticated Photo-real Salon Sponging Nails
Sponging inspired nail art with sophisticated, photo-real finish and professional salon quality
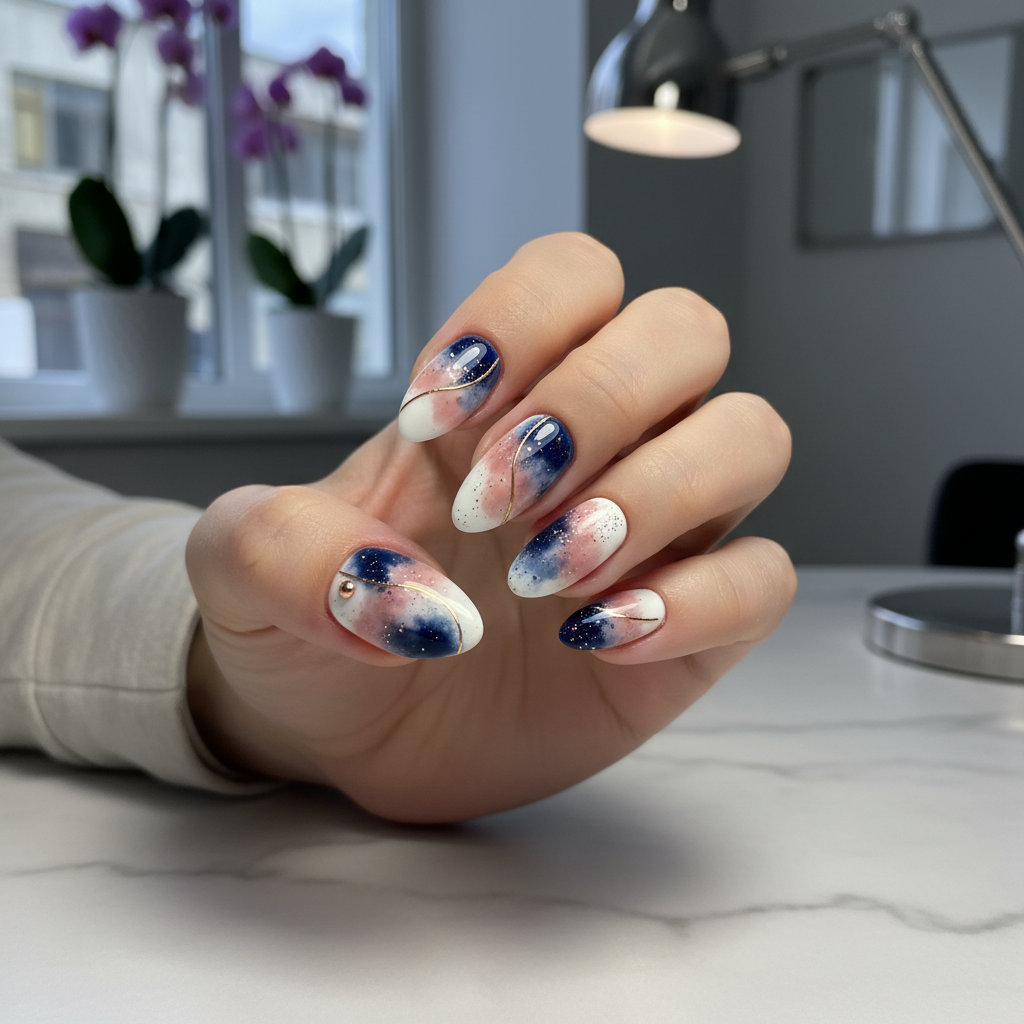
Photo-real Salon Sponging Nails
Sponging inspired nail art with elegant, photo-real finish and professional salon quality
Sophisticated Photo-real Salon Sponging Nails
Sponging inspired nail art with sophisticated, photo-real finish and professional salon quality
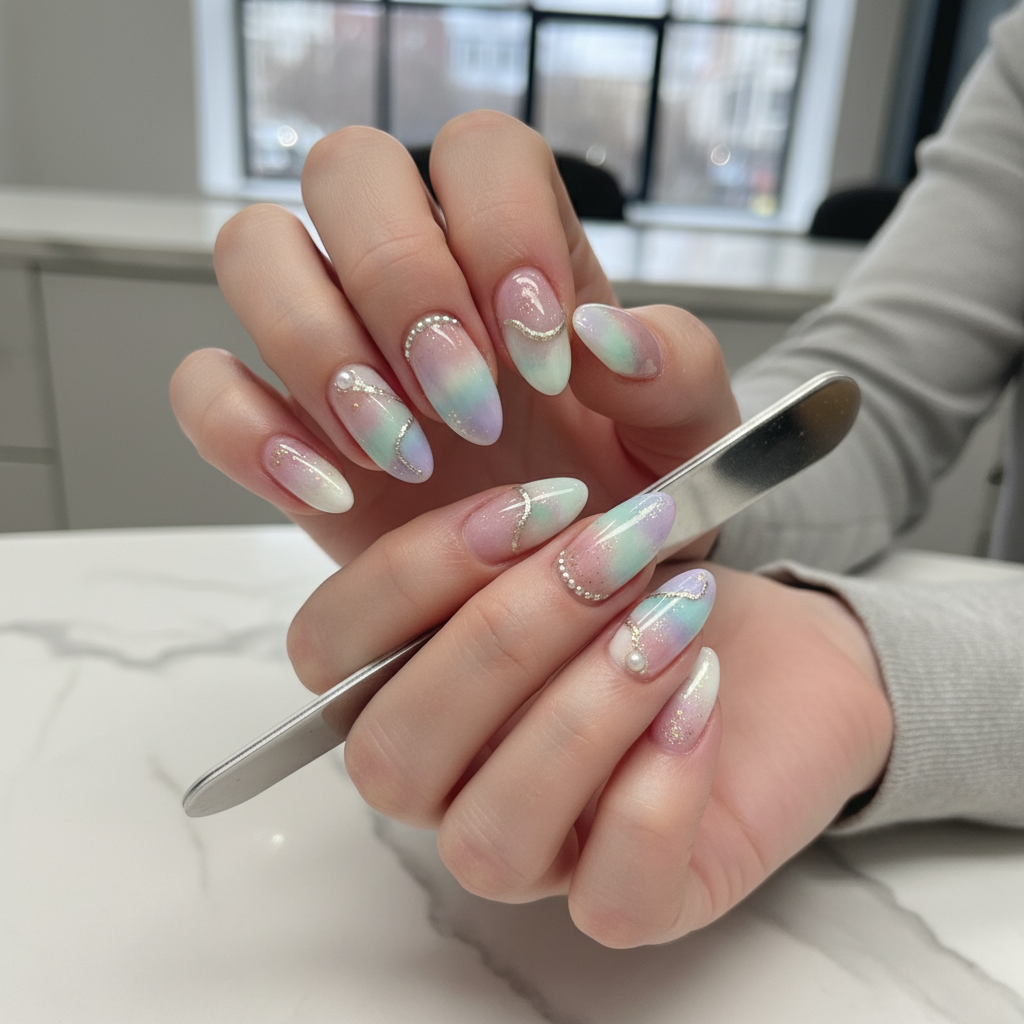
Photo-real Salon Sponging Nails
Sponging inspired nail art with elegant, photo-real finish and professional salon quality
More Designs
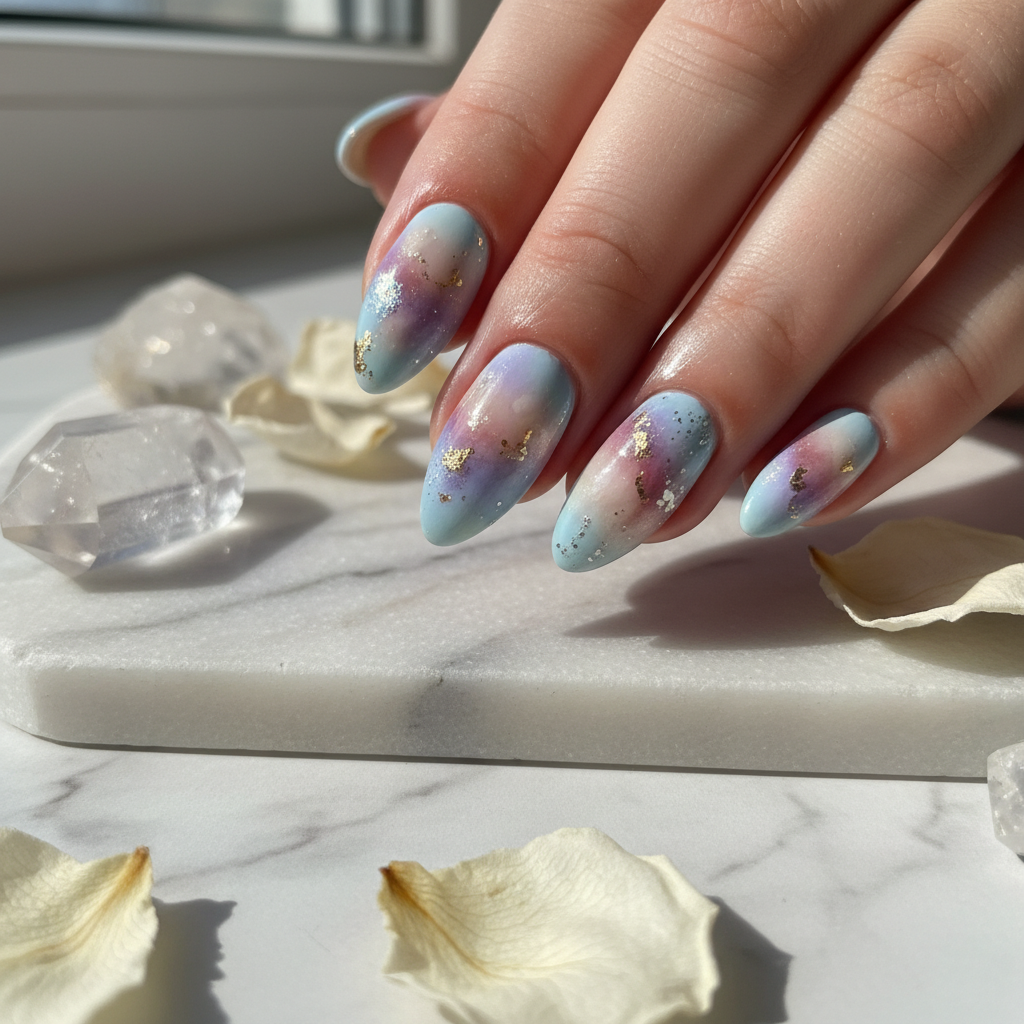
Photo-Real Sponging Nails: Salon-Quality Design
Achieve a flawless, airbrushed effect with this salon-quality sponging nail design. This technique blends colors seamlessly for a photo-realistic finish, perfect for adding depth and dimension to your manicure.
Supplies You'll Need
- Base coat
- Light Pink nail polish
- White nail polish
- Dusty Rose nail polish
- Makeup sponge (fine pore)
- Top coat
How To Recreate It
- Apply a base coat to protect your nails.
- Apply 2-3 thin coats of Light Pink as your base color, allowing each coat to dry.
- On a makeup sponge, apply stripes of White, Light Pink, and Dusty Rose, ensuring they slightly overlap.
- Dab the sponge onto your nails, starting at the cuticle and working your way to the tip, to create a blended gradient. Repeat for desired color intensity.
- Clean up any excess polish on your skin with a brush and acetone.
- Seal with a glossy top coat for a smooth, photo-real finish.
Expert Tip
Dampening the makeup sponge slightly before applying the polish will help create a smoother gradient and prevent the sponge from absorbing too much polish. Ensure you lightly dab for the best photo-real effect.
Try These Variations
- →Use a matte top coat for a modern twist.
- →Add subtle glitter accents for a touch of sparkle.
- →Incorporate a thin line of silver or gold glitter polish at the base of the nail for added elegance.
Aftercare Tips
- ✓Moisturize your hands and cuticles regularly.
- ✓Wear gloves when doing household chores.
- ✓Avoid picking or biting your nails.
Safe Removal
- 1.Soak a cotton pad in nail polish remover.
- 2.Press the pad onto your nail for a few seconds.
- 3.Wipe away the polish.
Quick Facts
Why It's Trending
Sponging nail art is trending due to its ability to create complex designs without advanced tools or skills, offering a salon-worthy look at home.
Seasonal Styling
Experiment with deeper, richer colors like burgundy and emerald green in autumn and winter, or opt for bright pastels in spring and summer.
Color Variations
Perfect For
Why People Love It
Instagram and Pinterest are filled with recreations of this design, showcasing its popularity among nail art enthusiasts seeking a professional-looking finish at home.
Daily Maintenance
- 💅Apply a top coat every 2-3 days to maintain shine and prevent chipping.
- 💅Avoid harsh chemicals that can dull the finish.
- 💅Use cuticle oil daily to keep nails hydrated.
Common Issues & Fixes
- ⚠Uneven gradient.Apply multiple thin layers of the sponged colors and blend carefully.
- ⚠Air bubbles.Use a fresh sponge and avoid pressing too hard.
- ⚠Polish smudging.Allow each layer of polish to dry completely before sponging.
Design Inspiration
Inspired by the smooth, blended gradients of professional airbrushing techniques, translated into an accessible sponging method.
Explore Similar Designs
Colors in this Design
Techniques Used
Perfect For
Nail Shapes
More Categories to Explore
Popular Colors
Popular Techniques
Perfect Occasions
FAQs
Can I use any type of sponge?
A fine-pore makeup sponge works best for a smooth, blended effect.
How do I clean up the edges?
Use a small brush dipped in acetone to carefully clean up any excess polish around your nails.
How many layers of sponging should I do?
2-3 layers are usually sufficient, but you can add more for a more intense color.
Will this work on short nails?
Yes, the design can be adapted for shorter nails by adjusting the placement of the colors on the sponge.
What if the polish is too thick and goopy?
Add a few drops of nail polish thinner to the polish to get a more fluid consistency.
Can I use gel polish?
Yes, you can use gel polish, curing each layer under a UV/LED lamp according to the polish instructions.