Photo-real Salon Sponge Nails
Sponge inspired nail art with clean, photo-real finish and professional salon quality
Created: October 5, 2025 at 11:55 AM
More Sponge Designs
Beautiful Photo-real Salon Sponge Nails
Sponge inspired nail art with beautiful, photo-real finish and professional salon quality
Beautiful Photo-real Salon Sponge Nails
Sponge inspired nail art with beautiful, photo-real finish and professional salon quality

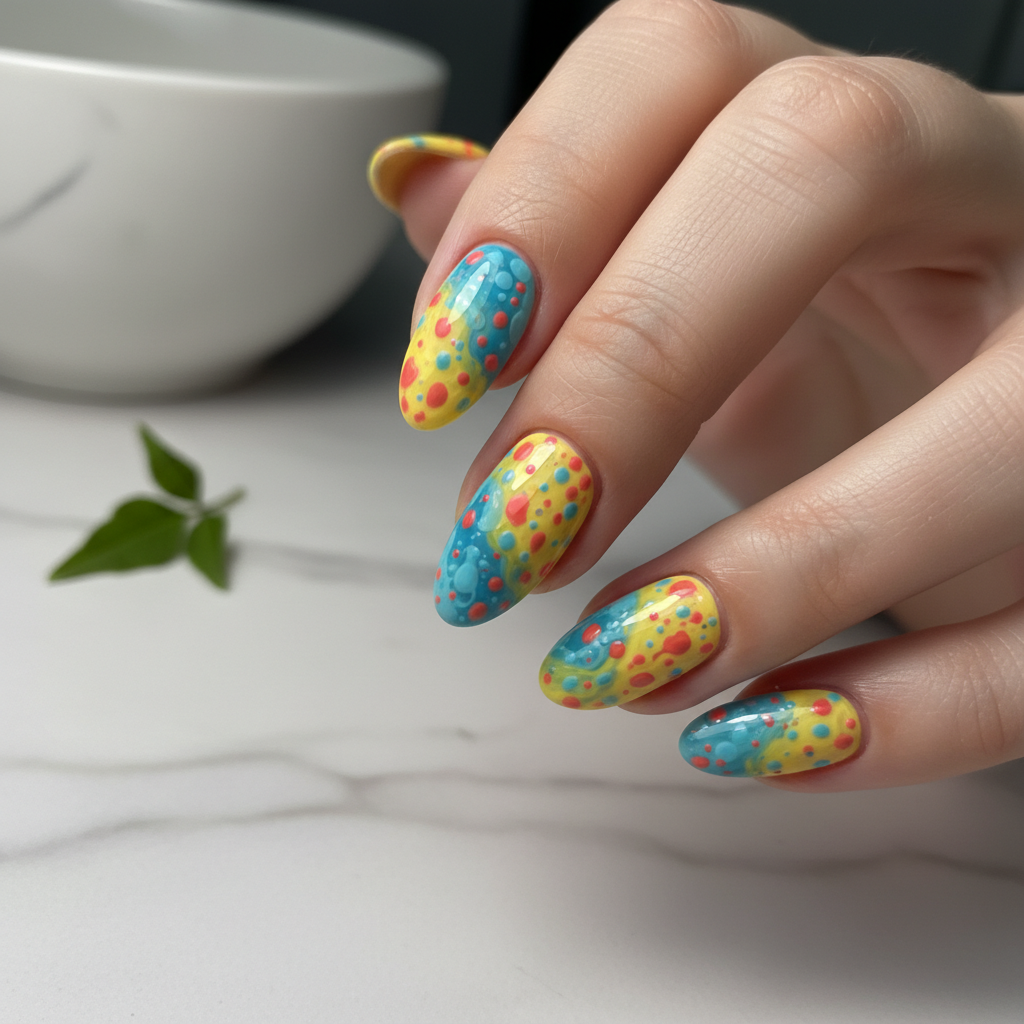
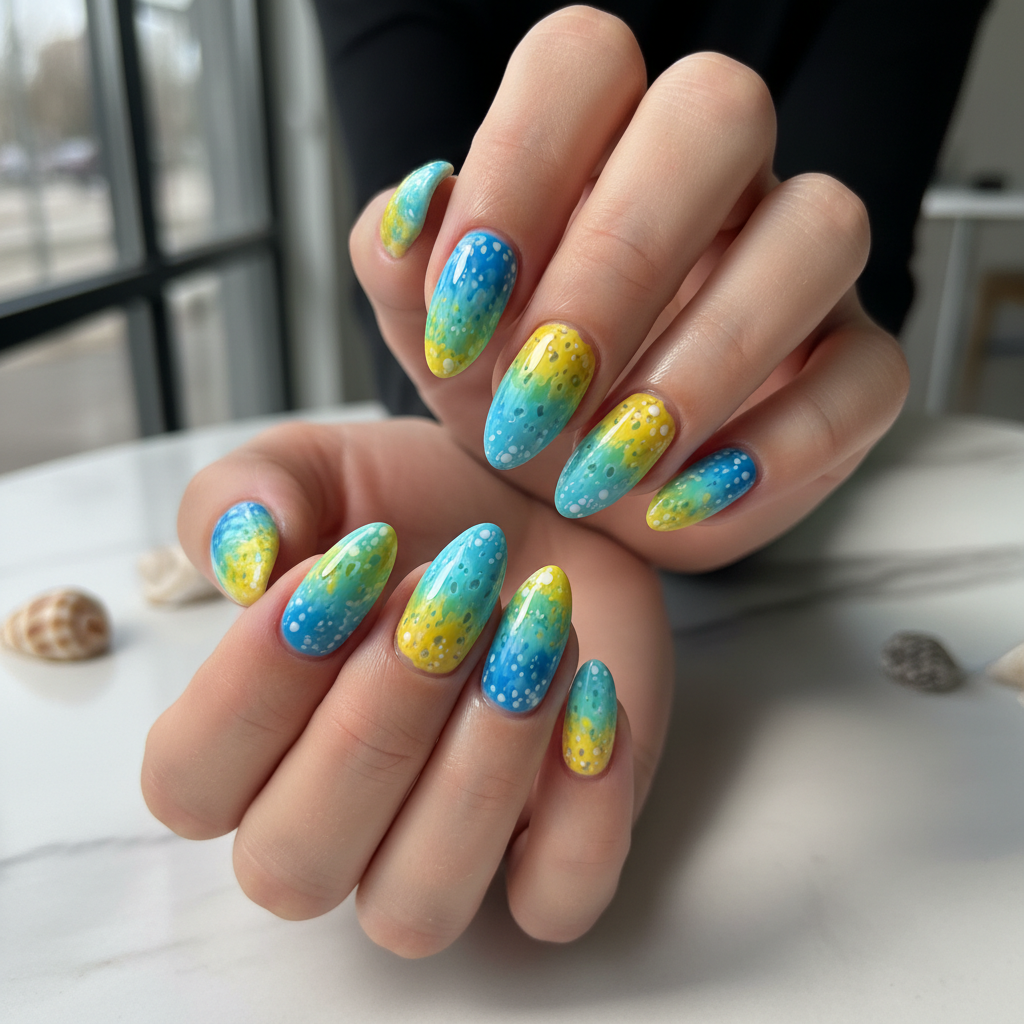
Gorgeous Photo-real Salon Sponge Nails
Sponge inspired nail art with gorgeous, photo-real finish and professional salon quality
Gorgeous Photo-real Salon Sponge Nails
Sponge inspired nail art with gorgeous, photo-real finish and professional salon quality
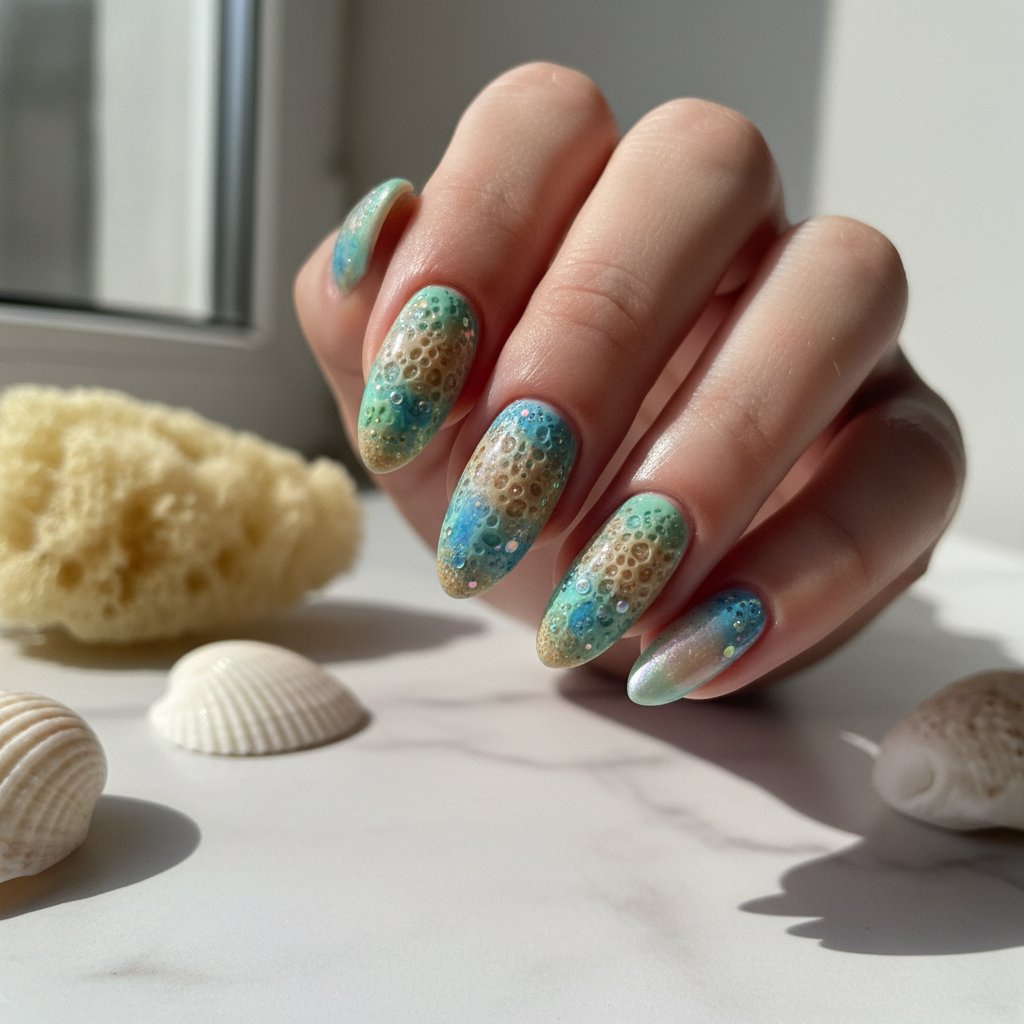
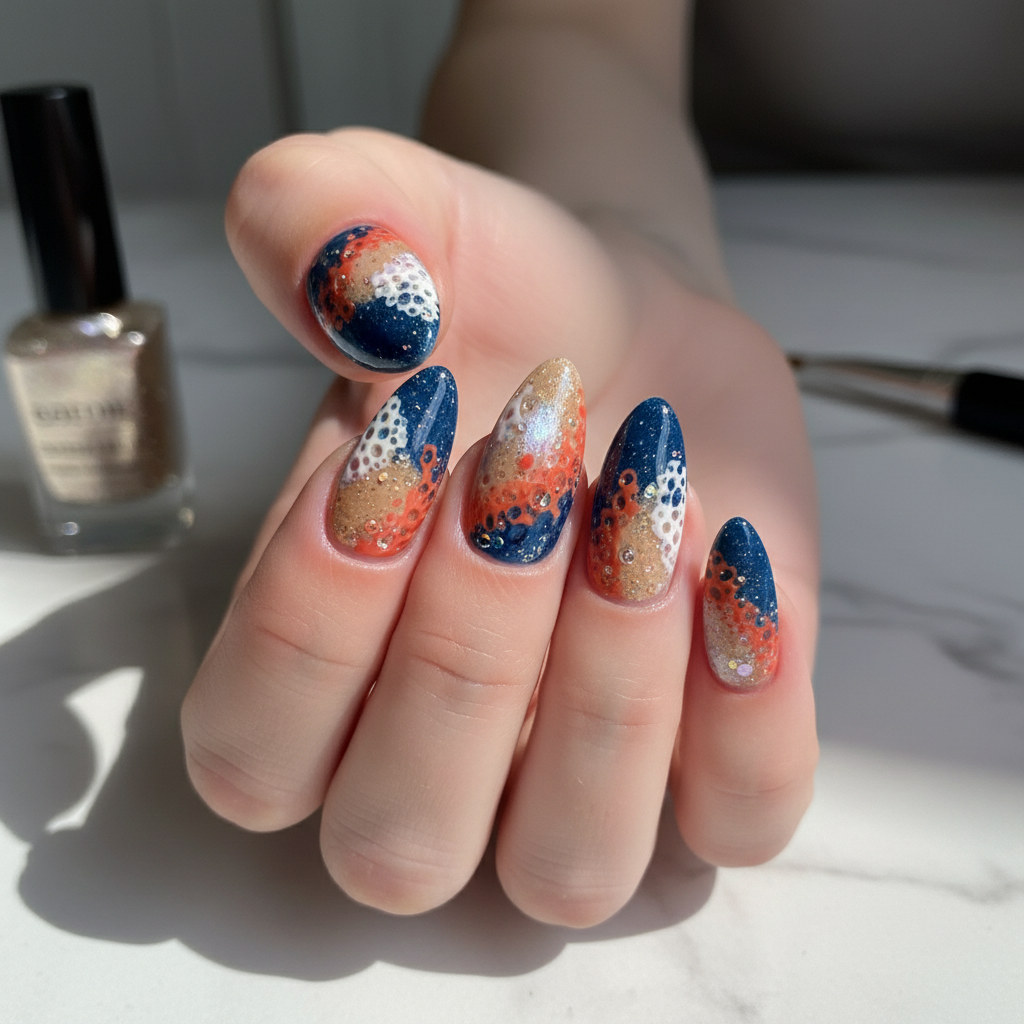
Stunning Photo-real Salon Sponge Nails
Sponge inspired nail art with stunning, photo-real finish and professional salon quality
Stunning Photo-real Salon Sponge Nails
Sponge inspired nail art with stunning, photo-real finish and professional salon quality
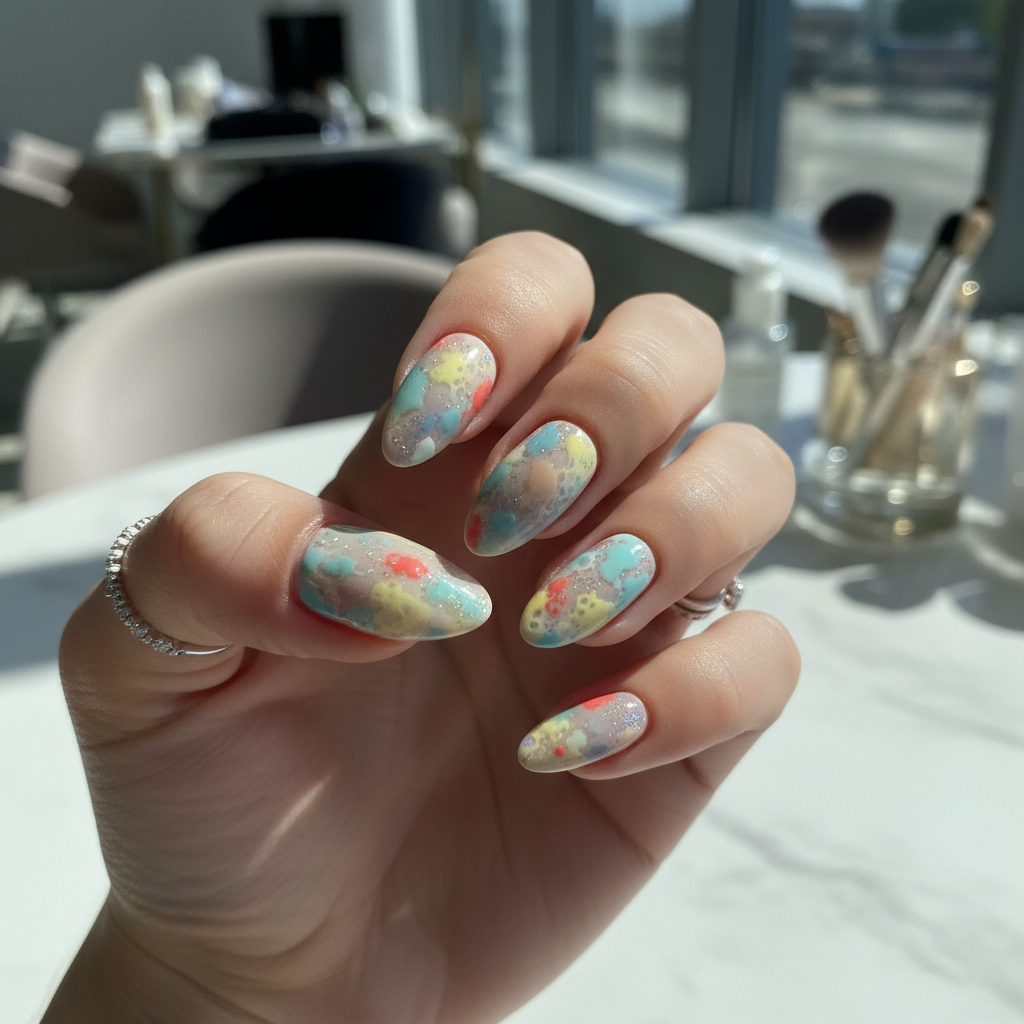
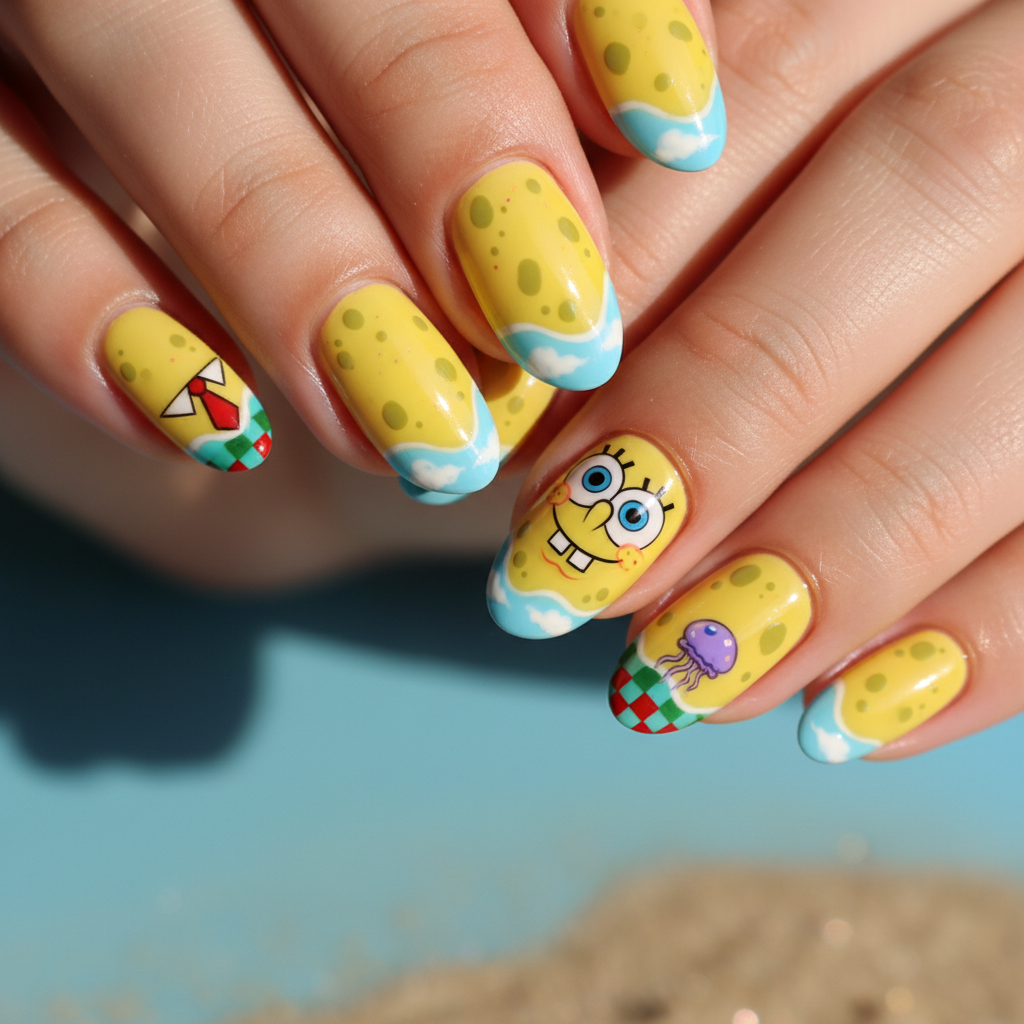
Sophisticated Photo-real Salon Sponge Nails
Sponge inspired nail art with sophisticated, photo-real finish and professional salon quality
Sophisticated Photo-real Salon Sponge Nails
Sponge inspired nail art with sophisticated, photo-real finish and professional salon quality
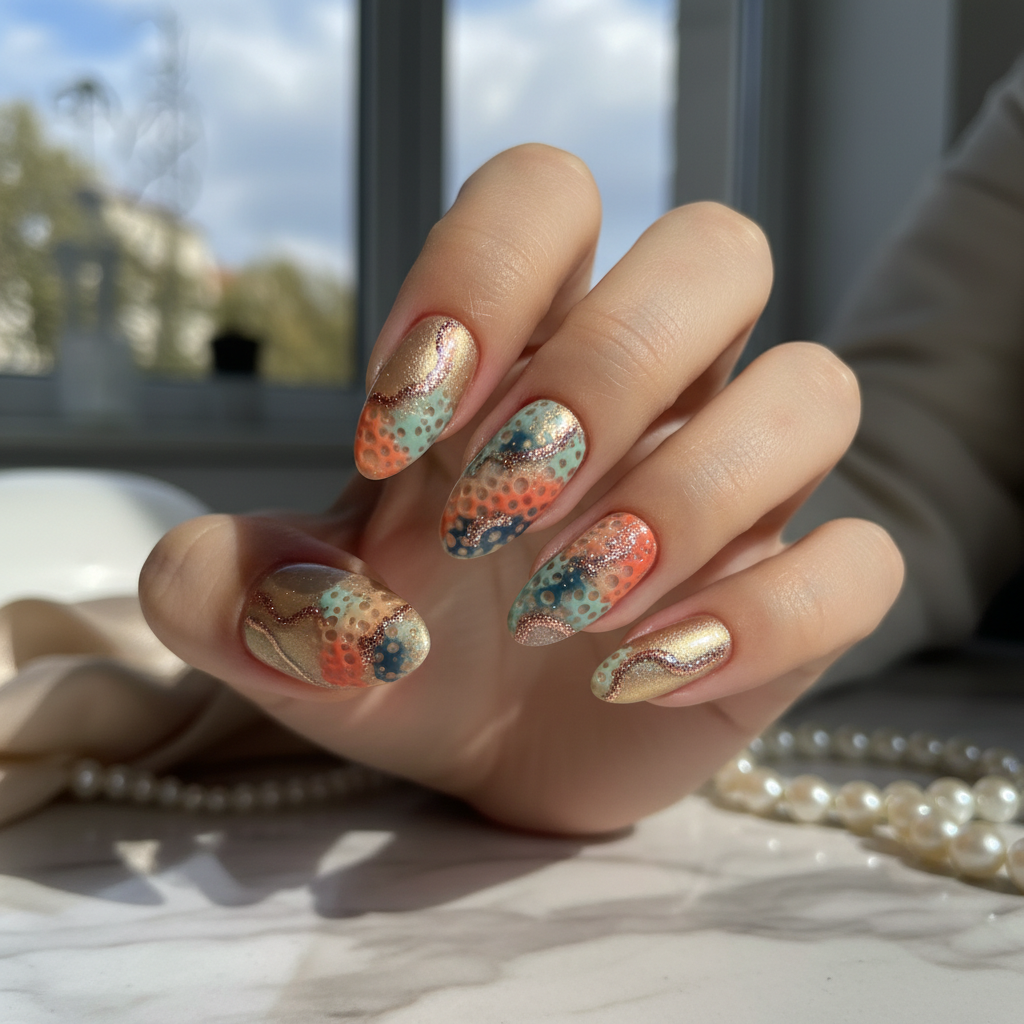
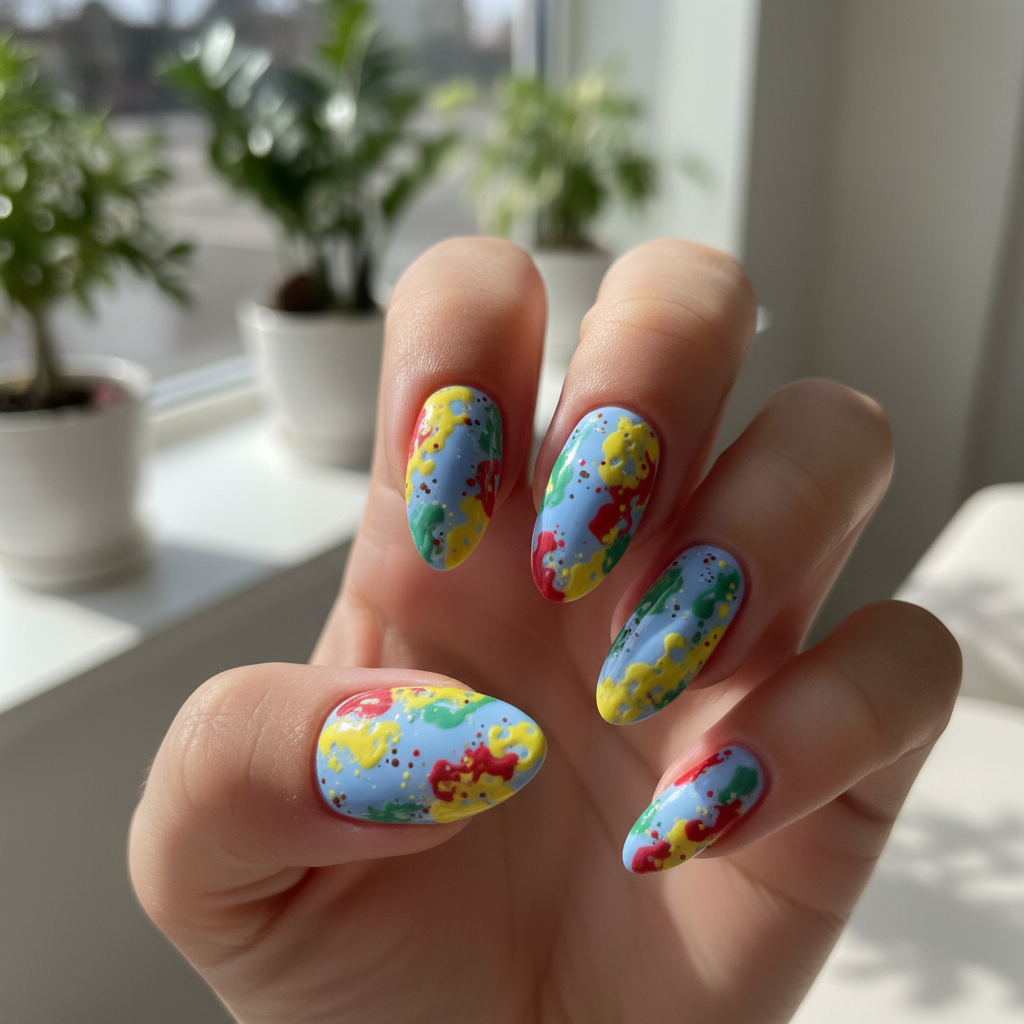
Photo-real Salon Sponge Nails
Sponge inspired nail art with elegant, photo-real finish and professional salon quality
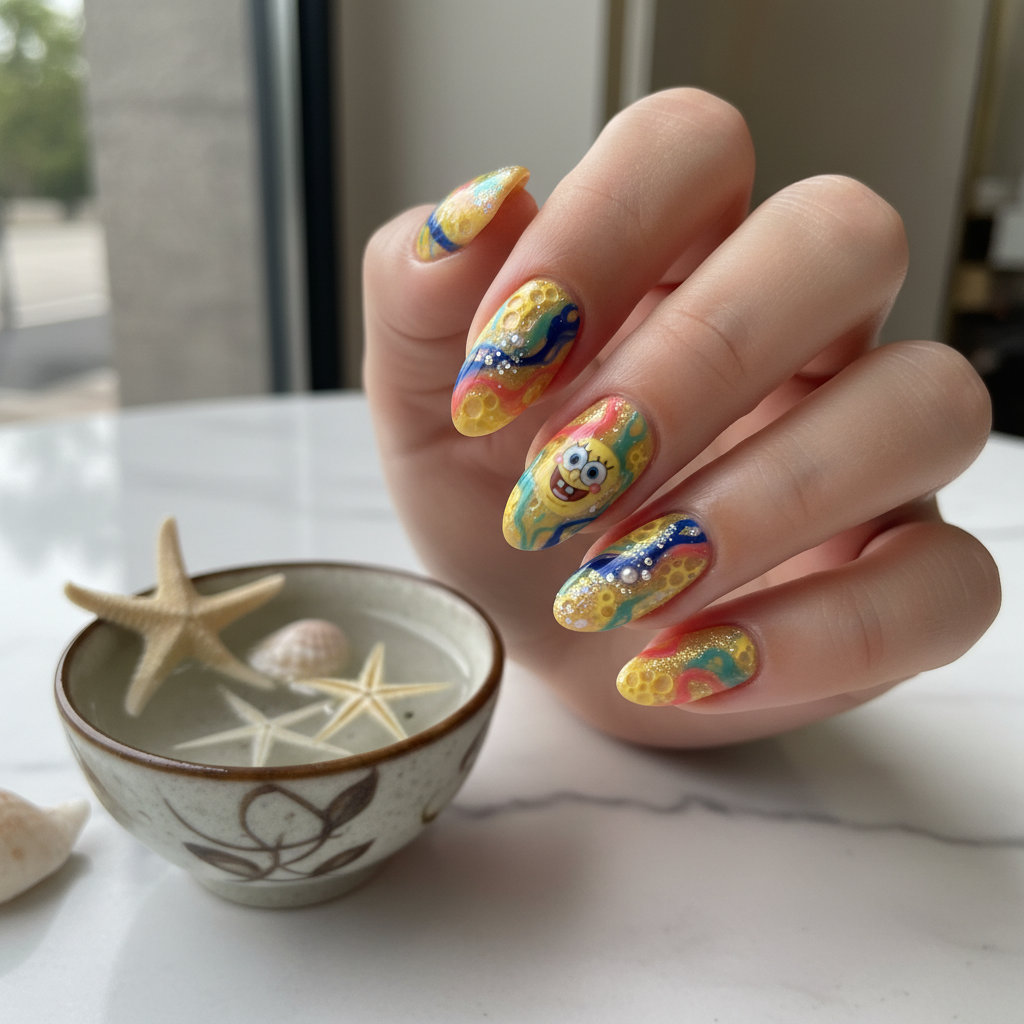
Photo-real Salon Sponge Nails
Sponge inspired nail art with elegant, photo-real finish and professional salon quality
More Designs
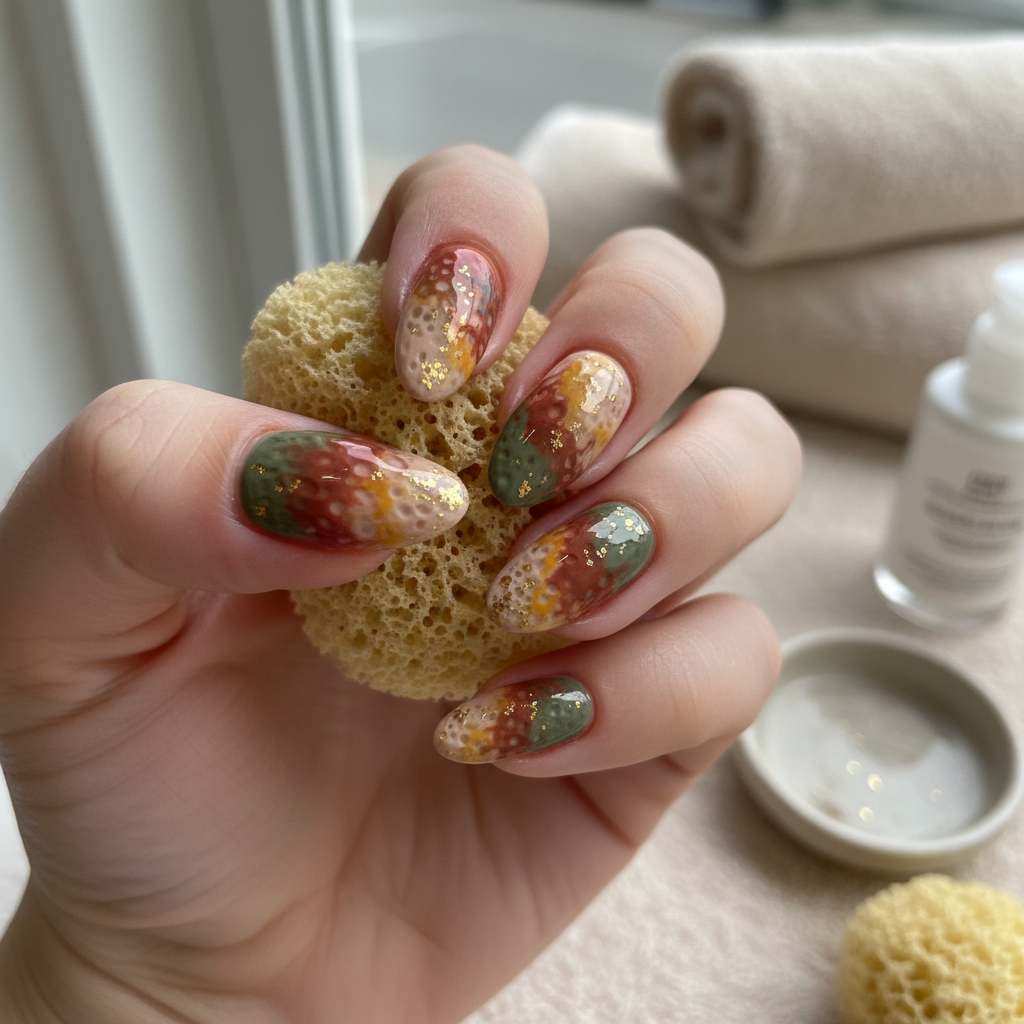
Salon-Quality Sponge Nail Art: Photo-Real Finish Nails
Achieve professional salon-quality nails at home with this stunning sponge nail art design. This technique creates a smooth, photo-real finish that looks professionally done and is surprisingly easy to master.
Supplies You'll Need
- Base coat
- 2-3 nail polish colors
- Makeup sponge (new)
- Top coat
- Liquid latex or tape (optional)
- Nail polish remover
How To Recreate It
- Apply a base coat and let it dry completely.
- Apply liquid latex or tape around your cuticles for easy cleanup (optional).
- Apply stripes of your chosen nail polish colors onto the makeup sponge.
- Dab the sponge onto your nails, repeating until you achieve the desired gradient and coverage.
- Remove the liquid latex or tape.
- Apply a top coat for a smooth, glossy finish.
Expert Tip
Cut your makeup sponge into smaller pieces for better control and to avoid absorbing too much polish. Gently dab the sponge to create a smooth transition between colors.
Try These Variations
- →Glitter sponge nails: Add glitter polish to the sponge for a sparkling effect.
- →Reverse sponge nails: Apply the darkest color at the base and fade to a lighter color at the tip.
- →Textured sponge nails: Use a textured polish as one of your colors.
Aftercare Tips
- ✓Moisturize your hands and cuticles daily with cuticle oil.
- ✓Avoid picking or peeling off the polish.
- ✓Keep your nails trimmed and filed.
Safe Removal
- 1.Soak a cotton ball in nail polish remover.
- 2.Place the cotton ball on your nail and hold for a few seconds.
- 3.Wipe away the polish, repeating as necessary.
Quick Facts
Why It's Trending
The photo-real finish provides a clean, professional look, making it popular for those seeking salon-quality results at home.
Seasonal Styling
Perfect for spring and summer with bright, pastel colors; try deeper, jewel tones for fall and winter.
Color Variations
Perfect For
Why People Love It
Instagram and TikTok are full of tutorials and stunning examples of sponge nail art, making it a popular trend.
Daily Maintenance
- 💅Apply a top coat every 2-3 days to extend the life of your manicure.
- 💅Avoid harsh chemicals that can damage the polish.
- 💅Wear gloves when doing household chores.
Common Issues & Fixes
- ⚠Uneven application: Apply multiple thin layers with the sponge.
- ⚠Too much polish on the sponge: Dab the sponge on a paper towel before applying to the nail.
- ⚠Streaky finish: Ensure the sponge is clean and the colors are blending smoothly.
- ⚠Colors not blending: Use a softer sponge or apply more pressure when dabbing.
Design Inspiration
The desire to create a smooth, airbrushed gradient effect without the need for expensive equipment inspired this design.
Explore Similar Designs
Techniques Used
Perfect For
Nail Shapes
More Categories to Explore
Popular Colors
Popular Techniques
Perfect Occasions
FAQs
What type of sponge should I use?
A new, unused makeup sponge with a fine texture is best.
How do I prevent the polish from getting on my skin?
Apply liquid latex or tape around your cuticles before sponging.
My nails are bumpy after using the sponge. What can I do?
Apply a generous layer of top coat to smooth out any imperfections.
How do I clean up the edges?
Use a small brush dipped in nail polish remover to clean up any polish on your skin.
What are the best colors for this effect?
Any colors you love! Experiment with contrasting and complementary shades.