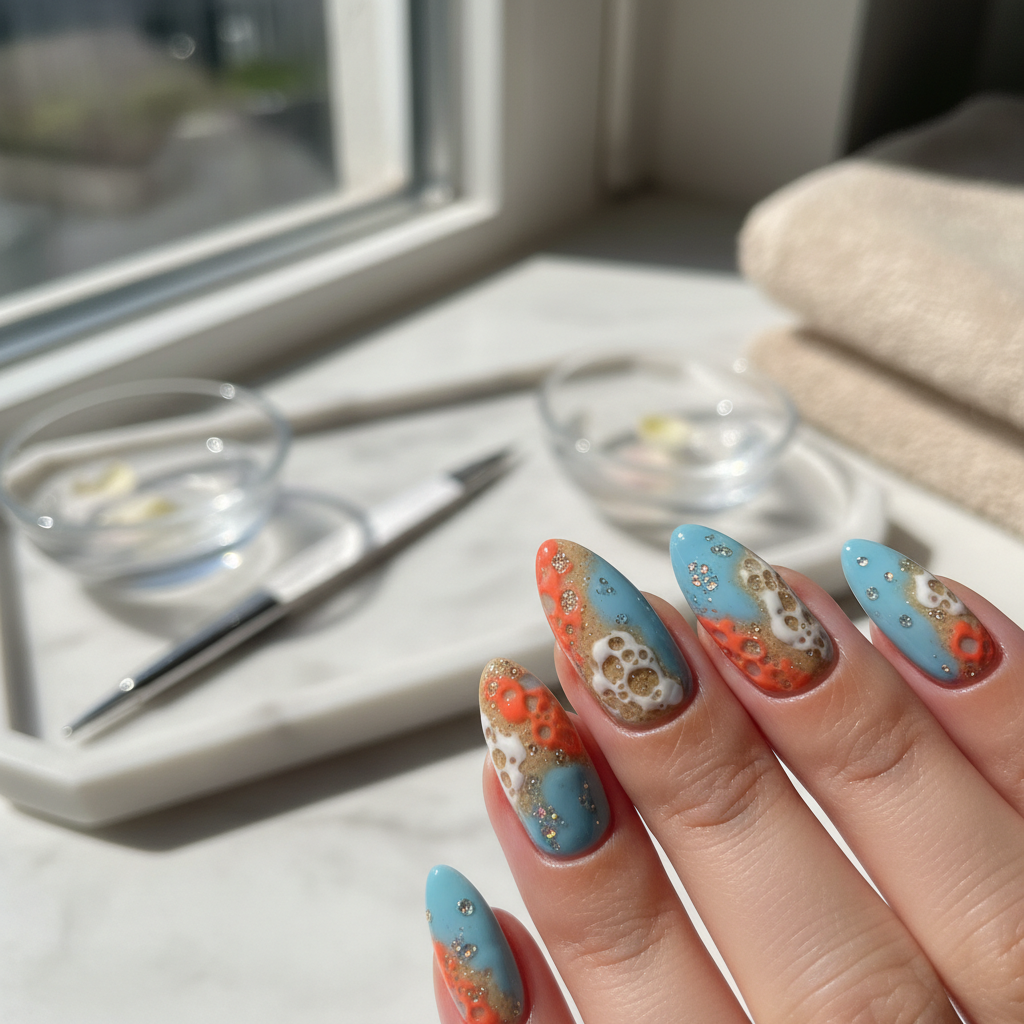
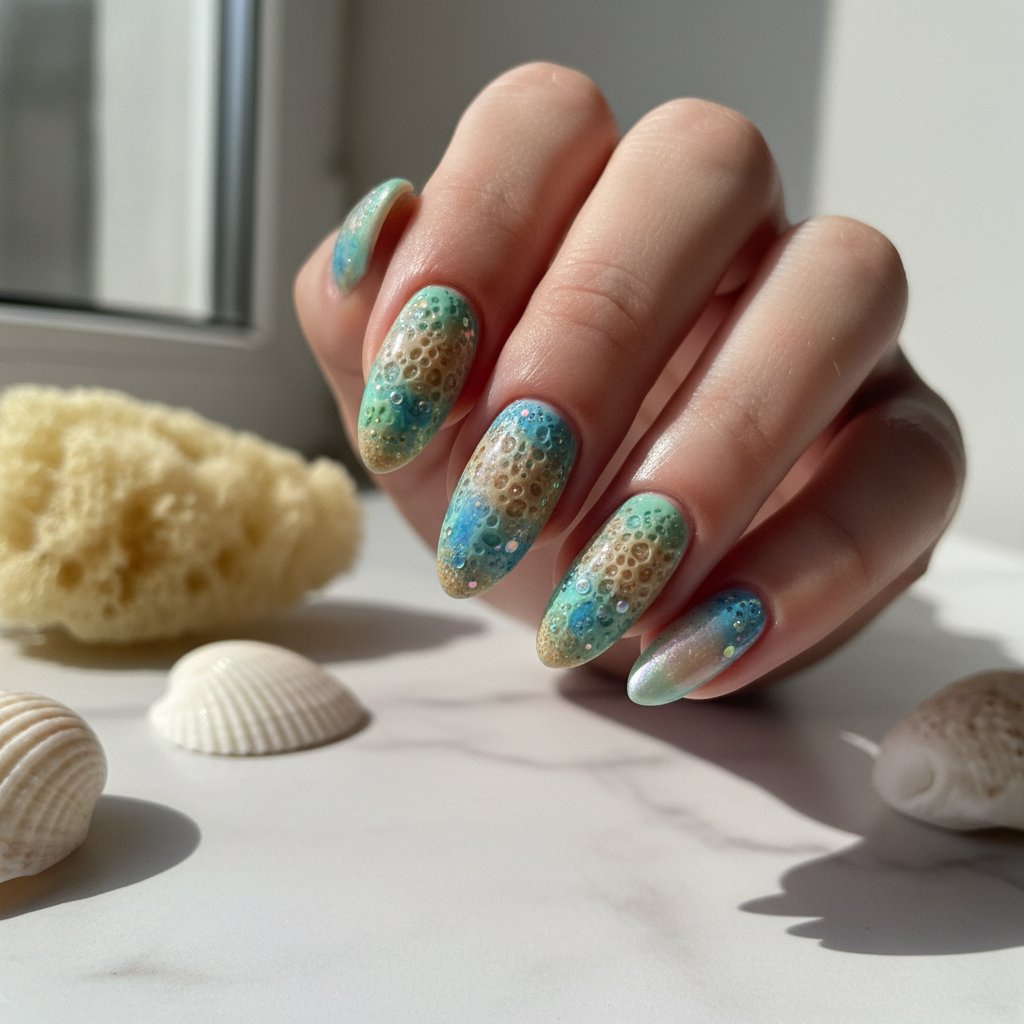
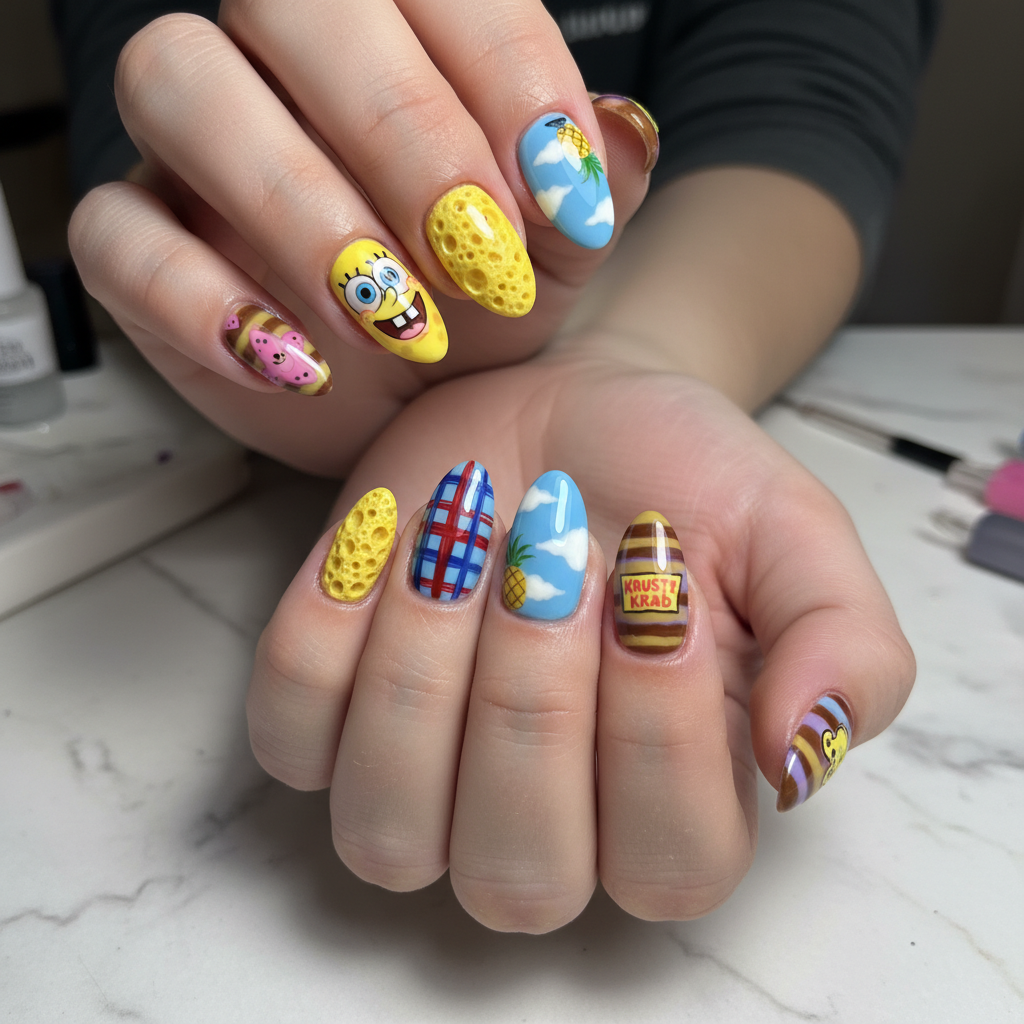
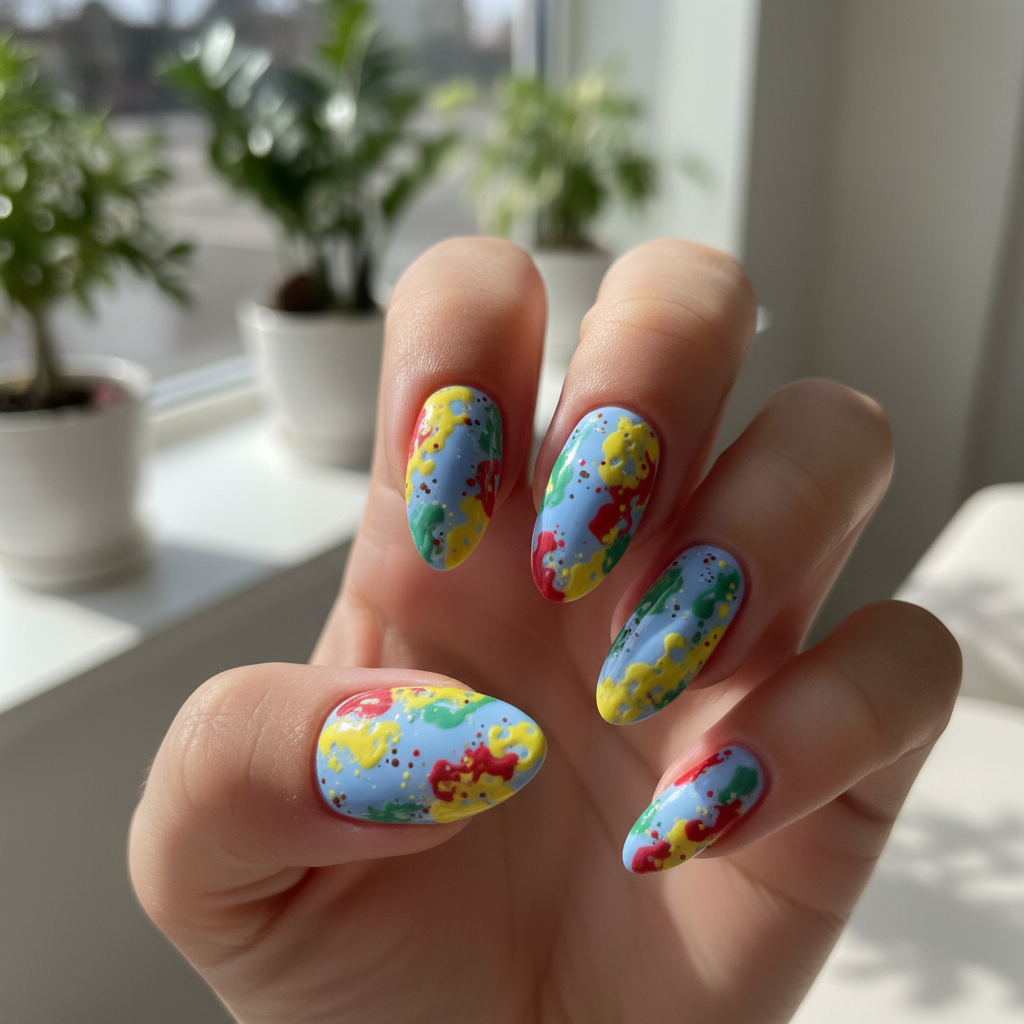
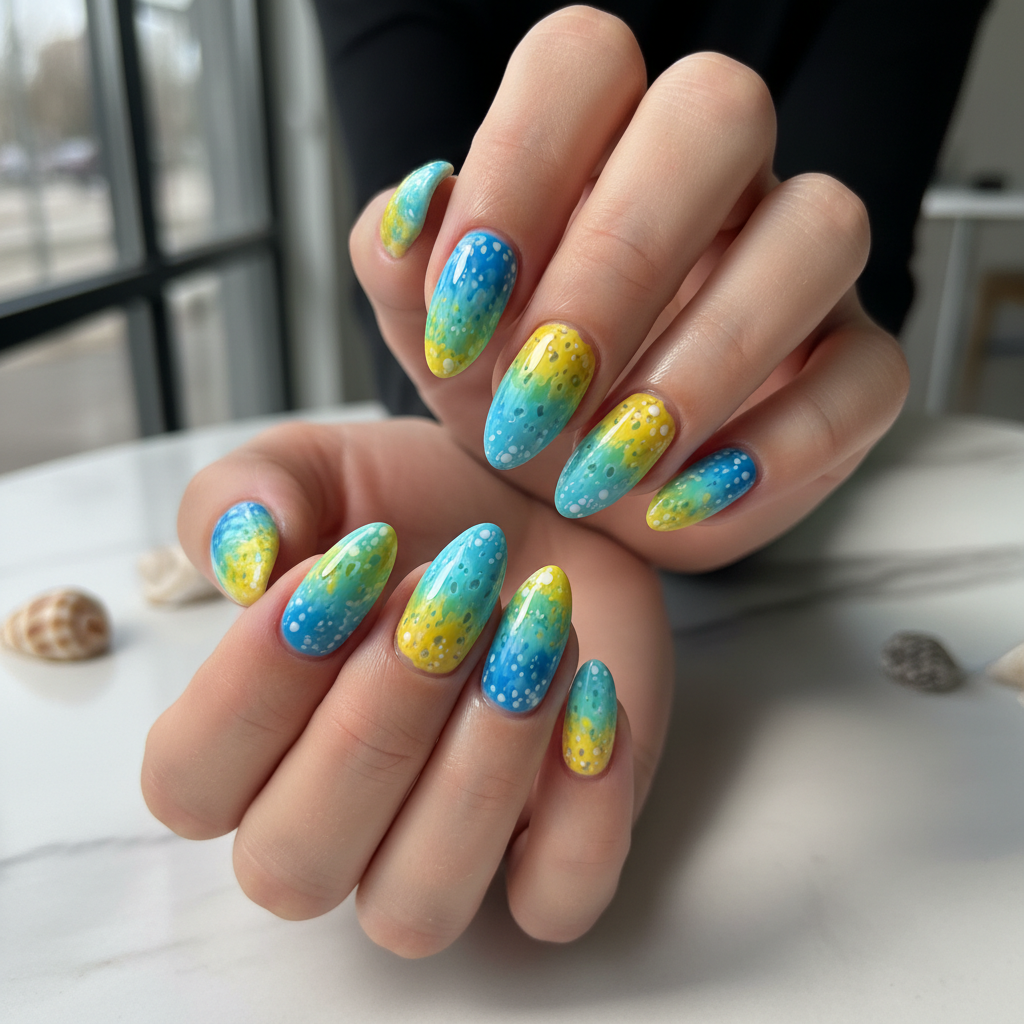
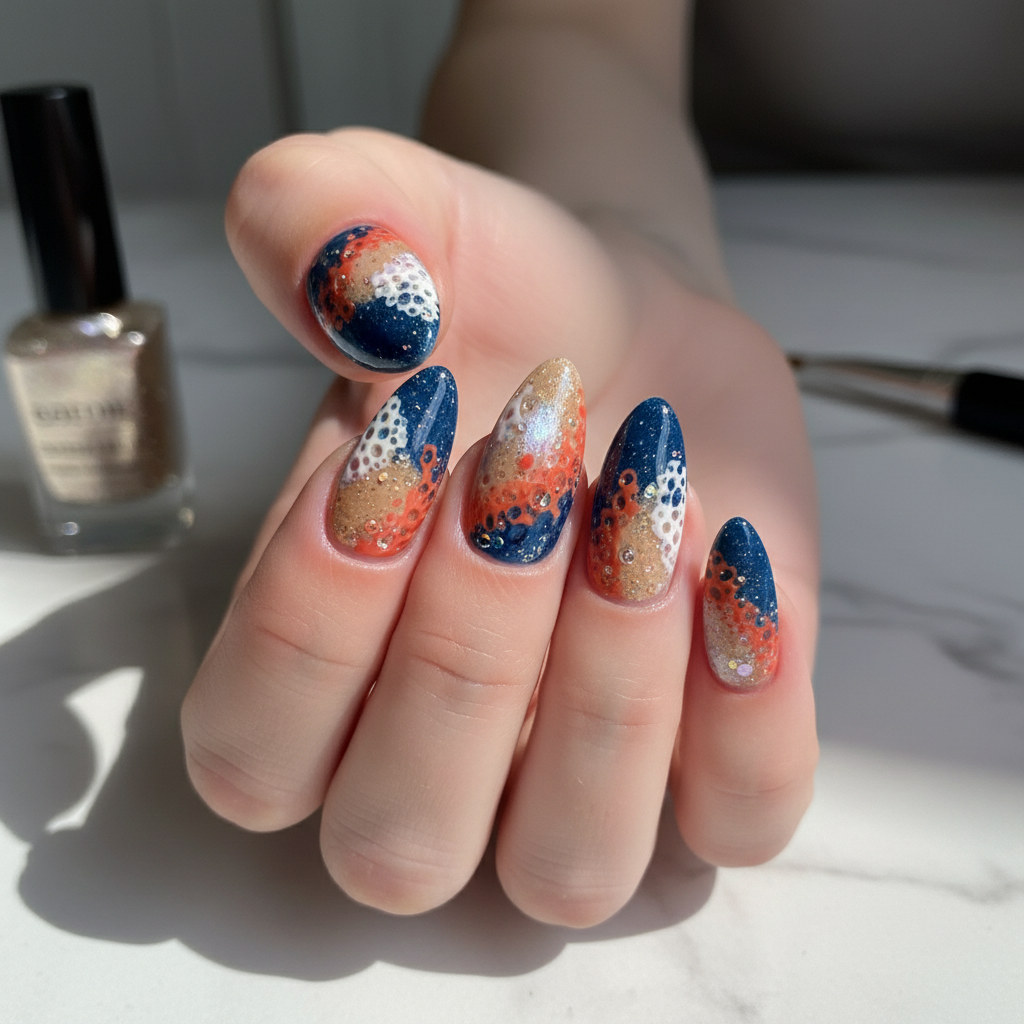
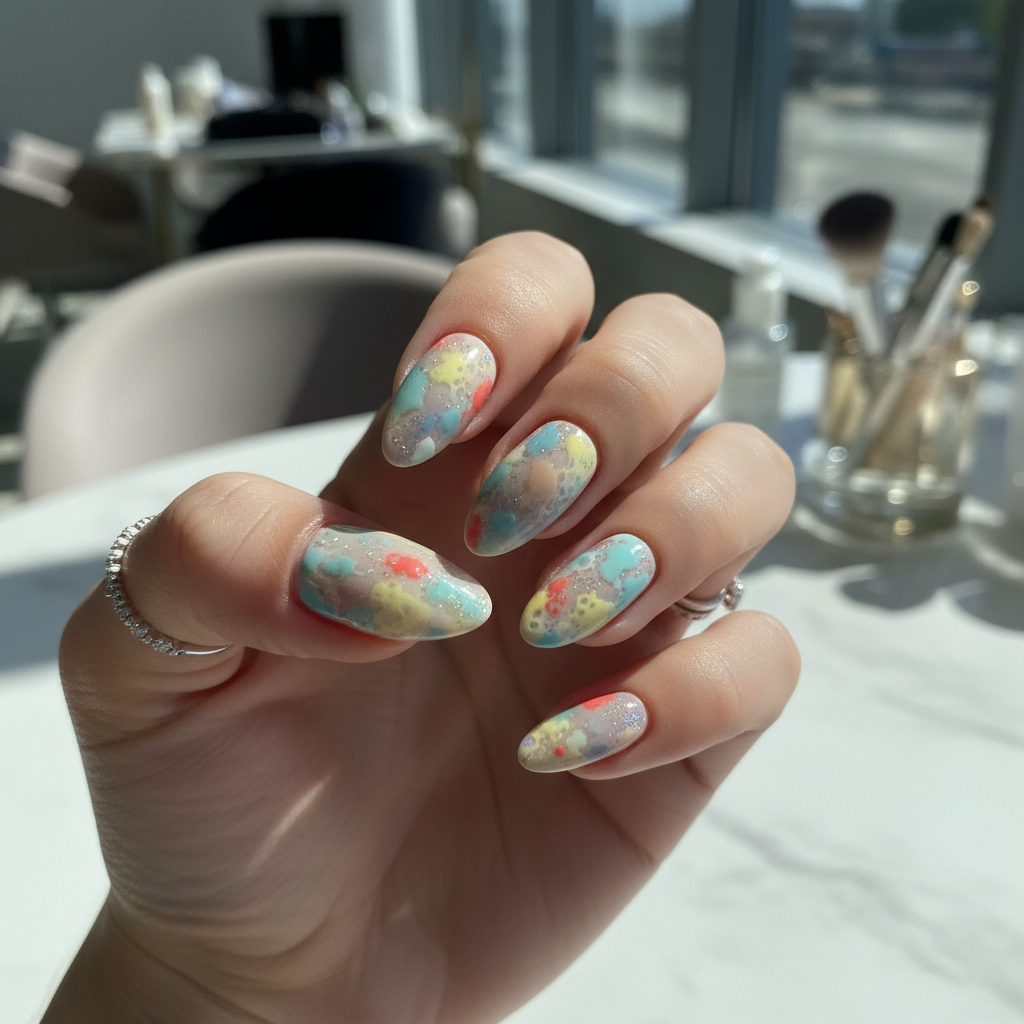
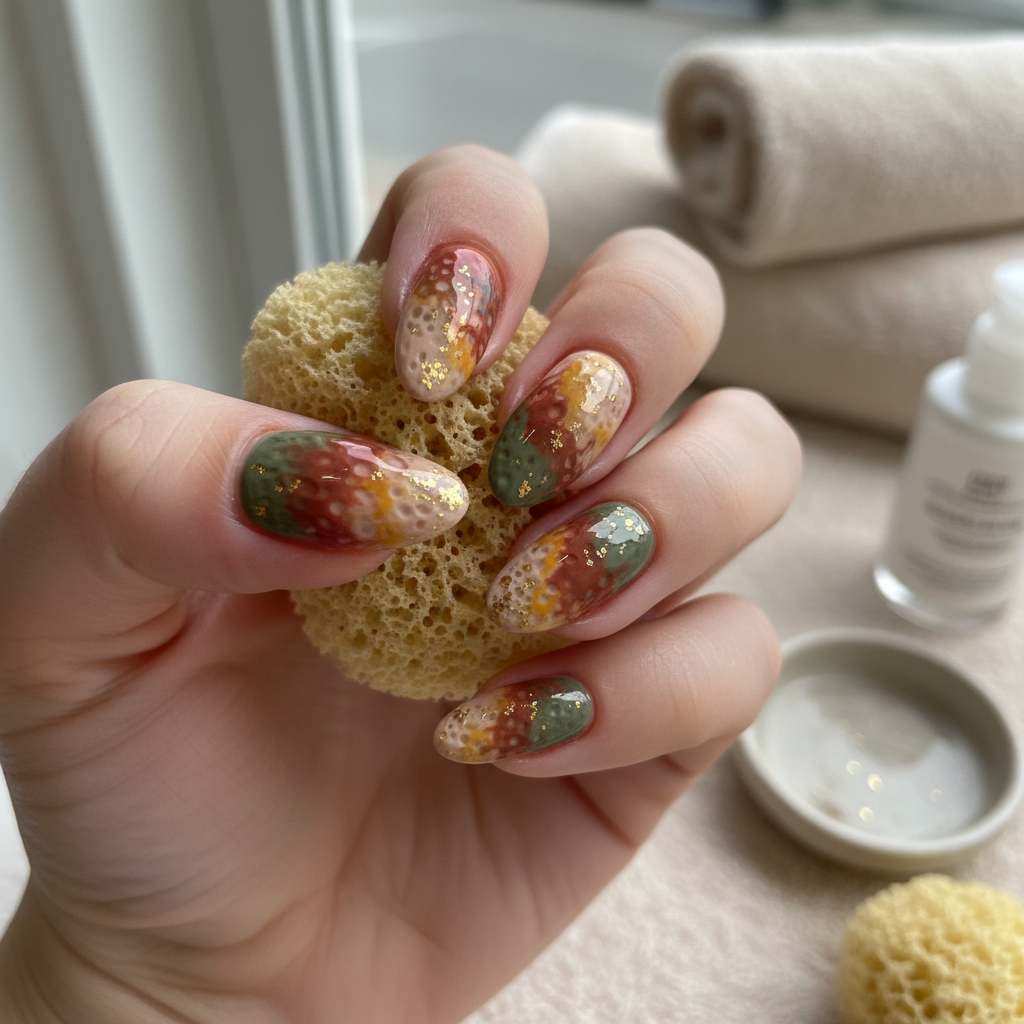
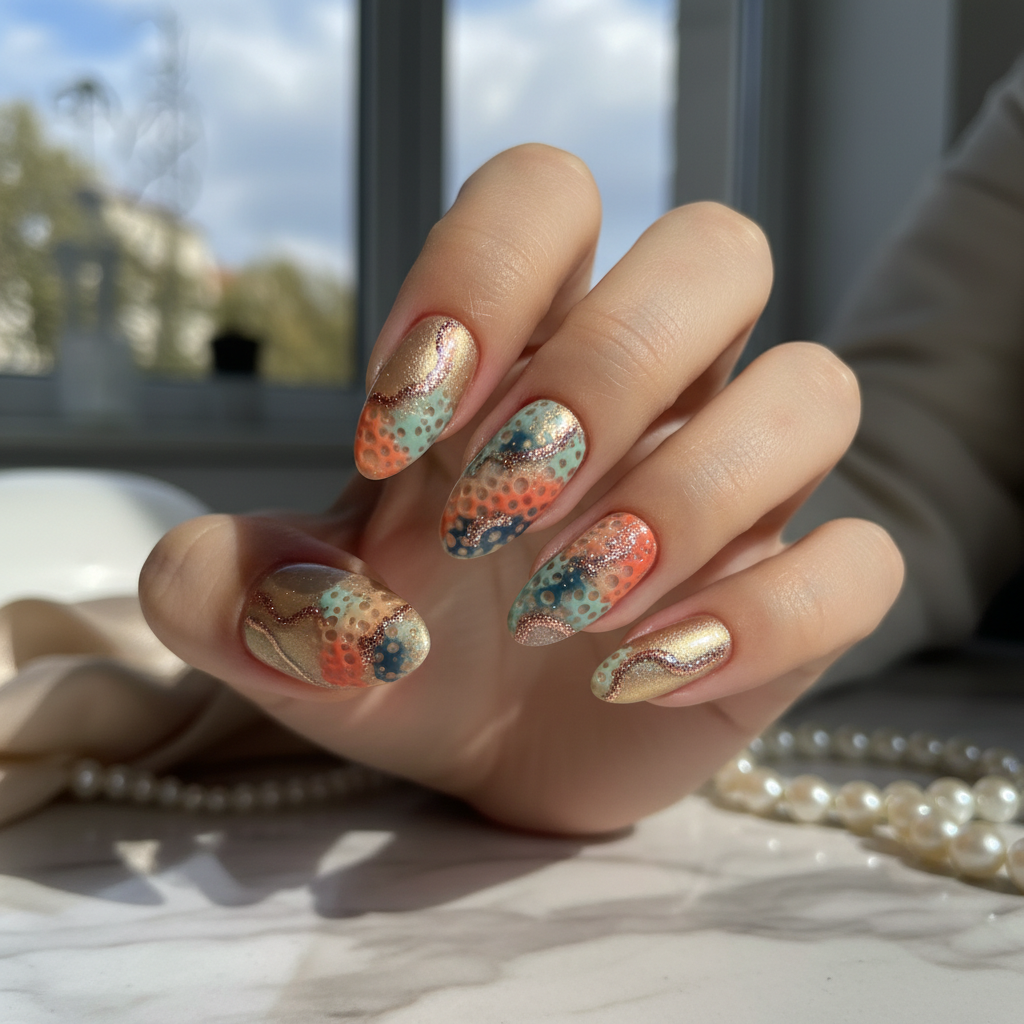
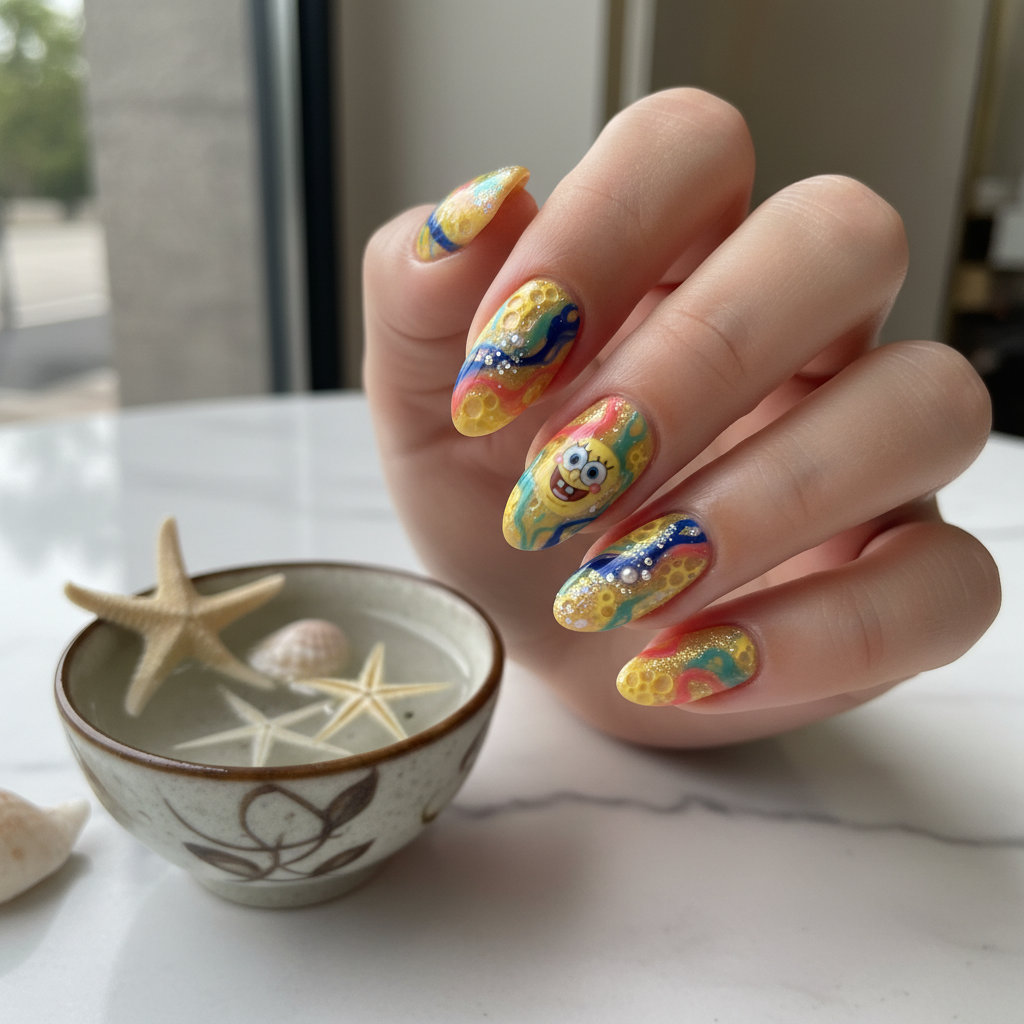
Photo-real Salon Sponge Nails
Sponge inspired nail art with clean, photo-real finish and professional salon quality
Created: October 5, 2025 at 11:55 AM
More Sponge Designs
Beautiful Photo-real Salon Sponge Nails
Sponge inspired nail art with beautiful, photo-real finish and professional salon quality
Beautiful Photo-real Salon Sponge Nails
Sponge inspired nail art with beautiful, photo-real finish and professional salon quality
Gorgeous Photo-real Salon Sponge Nails
Sponge inspired nail art with gorgeous, photo-real finish and professional salon quality
Gorgeous Photo-real Salon Sponge Nails
Sponge inspired nail art with gorgeous, photo-real finish and professional salon quality
Stunning Photo-real Salon Sponge Nails
Sponge inspired nail art with stunning, photo-real finish and professional salon quality
Stunning Photo-real Salon Sponge Nails
Sponge inspired nail art with stunning, photo-real finish and professional salon quality
Sophisticated Photo-real Salon Sponge Nails
Sponge inspired nail art with sophisticated, photo-real finish and professional salon quality
Sophisticated Photo-real Salon Sponge Nails
Sponge inspired nail art with sophisticated, photo-real finish and professional salon quality
Photo-real Salon Sponge Nails
Sponge inspired nail art with elegant, photo-real finish and professional salon quality
Photo-real Salon Sponge Nails
Sponge inspired nail art with elegant, photo-real finish and professional salon quality
More Designs
Salon Sponge Nails: Photo-Real & Professional Finish
Achieve a flawless, airbrushed look with this salon-worthy sponge nail art design. This technique uses layering and blending to create a smooth, gradient effect, perfect for a polished and professional appearance.
Supplies You'll Need
- Base coat
- Multiple nail polish colors (3-4)
- Cosmetic sponge (wedge-shaped)
- Top coat
- Liquid latex or tape (for cuticle protection)
- Nail polish remover
How To Recreate It
- Apply a base coat to protect your nails.
- Apply liquid latex or tape around your cuticles to prevent polish from getting on your skin.
- Apply stripes of your chosen nail polish colors onto the cosmetic sponge, slightly overlapping.
- Dab the sponge onto your nails, layering the colors to create a gradient effect. Repeat until desired opacity is achieved.
- Clean up any polish on your skin with nail polish remover.
- Apply a top coat for shine and protection.
Expert Tip
Dampen the sponge slightly before applying polish to prevent it from absorbing too much product, ensuring a smoother and more even application. Also, practice on a piece of paper first to get the hang of the technique.
Try These Variations
- →Glitter Gradient: Add a layer of glitter polish to the sponge for a sparkling effect.
- →Reverse Gradient: Apply the darkest color at the tip and fade towards the cuticle.
- →Accent Nail: Create a sponge gradient on one or two accent nails and paint the rest with a solid color.
Aftercare Tips
- ✓Use cuticle oil daily to keep your nails and cuticles hydrated.
- ✓Wear gloves when doing housework or gardening.
- ✓Avoid picking or biting your nails.
Safe Removal
- 1.Soak cotton pads in nail polish remover and place them on your nails.
- 2.Wrap your nails in foil and let them sit for 5-10 minutes.
- 3.Remove the foil and cotton pads, and gently wipe away the polish.
Quick Facts
Why It's Trending
The sponge technique is trending due to its ability to create a seamless gradient effect that looks professionally done without requiring advanced skills.
Seasonal Styling
Perfect for spring and summer, allowing for bright and cheerful color combinations, but versatile enough for darker, moodier gradients in fall and winter.
Color Variations
Perfect For
Why People Love It
Instagram and Pinterest are filled with examples of stunning salon sponge nails, proving its popularity and versatility in the nail art community.
Daily Maintenance
- 💅Apply a top coat every 2-3 days to prolong the life of your manicure.
- 💅Avoid harsh chemicals that can damage the polish.
- 💅Keep your hands moisturized to prevent chipping.
Common Issues & Fixes
- ⚠Uneven gradient: Apply more layers of polish and blend carefully with the sponge.
- ⚠Porous/bubbly texture: Dampen the sponge slightly and avoid applying too much pressure.
- ⚠Polish on skin: Clean up with a small brush or cotton swab dipped in nail polish remover.
- ⚠Color too light/dark: Adjust the amount of each color applied to the sponge.
Design Inspiration
Inspired by the smooth, airbrushed finish of professional salon manicures and the desire to achieve a similar effect at home using accessible techniques.
Explore Similar Designs
Colors in this Design
Techniques Used
Perfect For
Nail Shapes
More Categories to Explore
Popular Colors
Popular Techniques
Perfect Occasions
FAQs
What kind of sponge should I use?
A cosmetic wedge sponge works best for creating a smooth gradient.
Can I use regular makeup sponges?
Yes, as long as they are clean and free of oils or makeup residue.
How do I prevent the polish from getting all over my fingers?
Apply liquid latex or tape around your cuticles before you start. This will create a barrier and make cleanup much easier.
How many layers should I apply?
It depends on the opacity of your polishes. Start with 2-3 layers and add more as needed until you achieve the desired effect.
How do I make the gradient look seamless?
Blend the colors carefully with the sponge, dabbing gently and layering the colors where they meet.
Why does my sponge absorb too much product?
Try dampening the sponge slightly before applying the polish. This will prevent it from soaking up too much product.
