Photo-real Salon Sponge Nails
Sponge inspired nail art with clean, photo-real finish and professional salon quality
Created: October 5, 2025 at 11:55 AM
More Sponge Designs
Beautiful Photo-real Salon Sponge Nails
Sponge inspired nail art with beautiful, photo-real finish and professional salon quality
Beautiful Photo-real Salon Sponge Nails
Sponge inspired nail art with beautiful, photo-real finish and professional salon quality

Gorgeous Photo-real Salon Sponge Nails
Sponge inspired nail art with gorgeous, photo-real finish and professional salon quality
Gorgeous Photo-real Salon Sponge Nails
Sponge inspired nail art with gorgeous, photo-real finish and professional salon quality
Stunning Photo-real Salon Sponge Nails
Sponge inspired nail art with stunning, photo-real finish and professional salon quality
Stunning Photo-real Salon Sponge Nails
Sponge inspired nail art with stunning, photo-real finish and professional salon quality
Sophisticated Photo-real Salon Sponge Nails
Sponge inspired nail art with sophisticated, photo-real finish and professional salon quality
Sophisticated Photo-real Salon Sponge Nails
Sponge inspired nail art with sophisticated, photo-real finish and professional salon quality
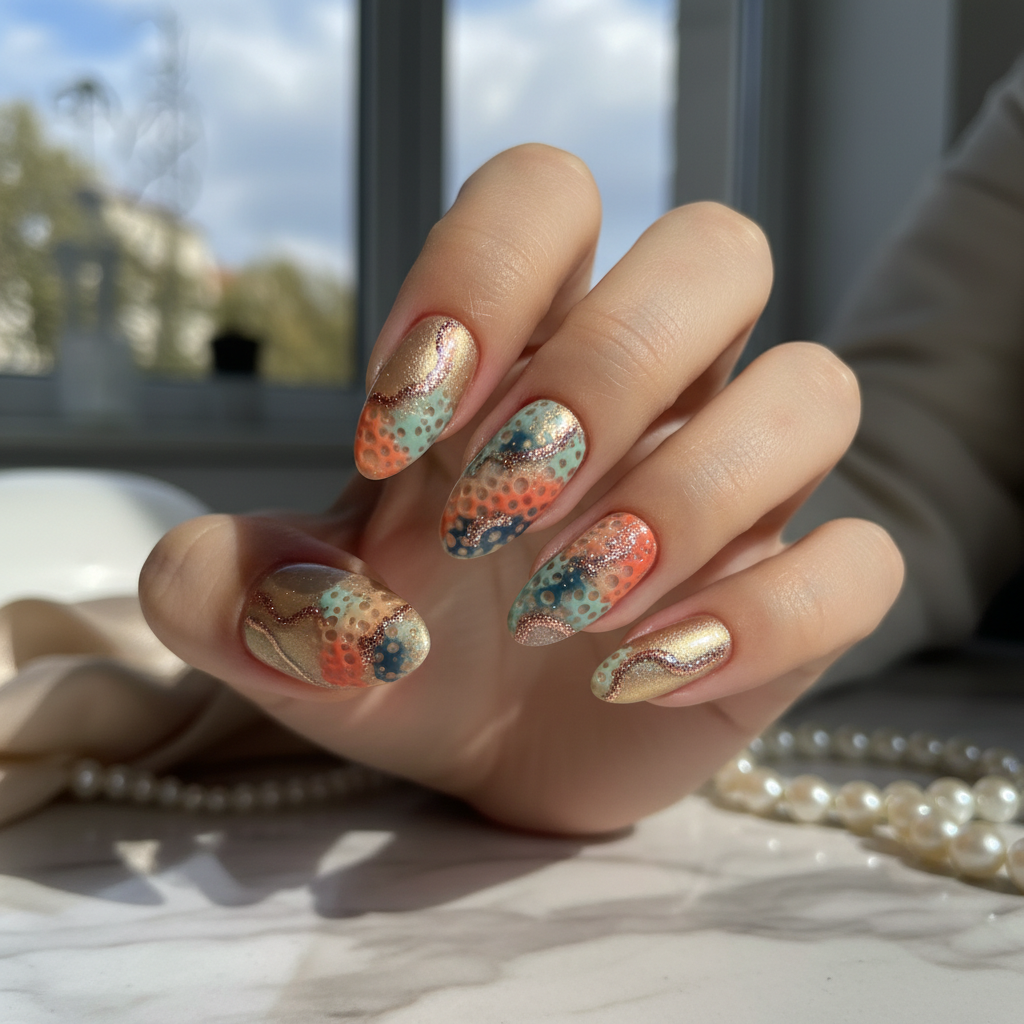
Photo-real Salon Sponge Nails
Sponge inspired nail art with elegant, photo-real finish and professional salon quality
Photo-real Salon Sponge Nails
Sponge inspired nail art with elegant, photo-real finish and professional salon quality
More Designs
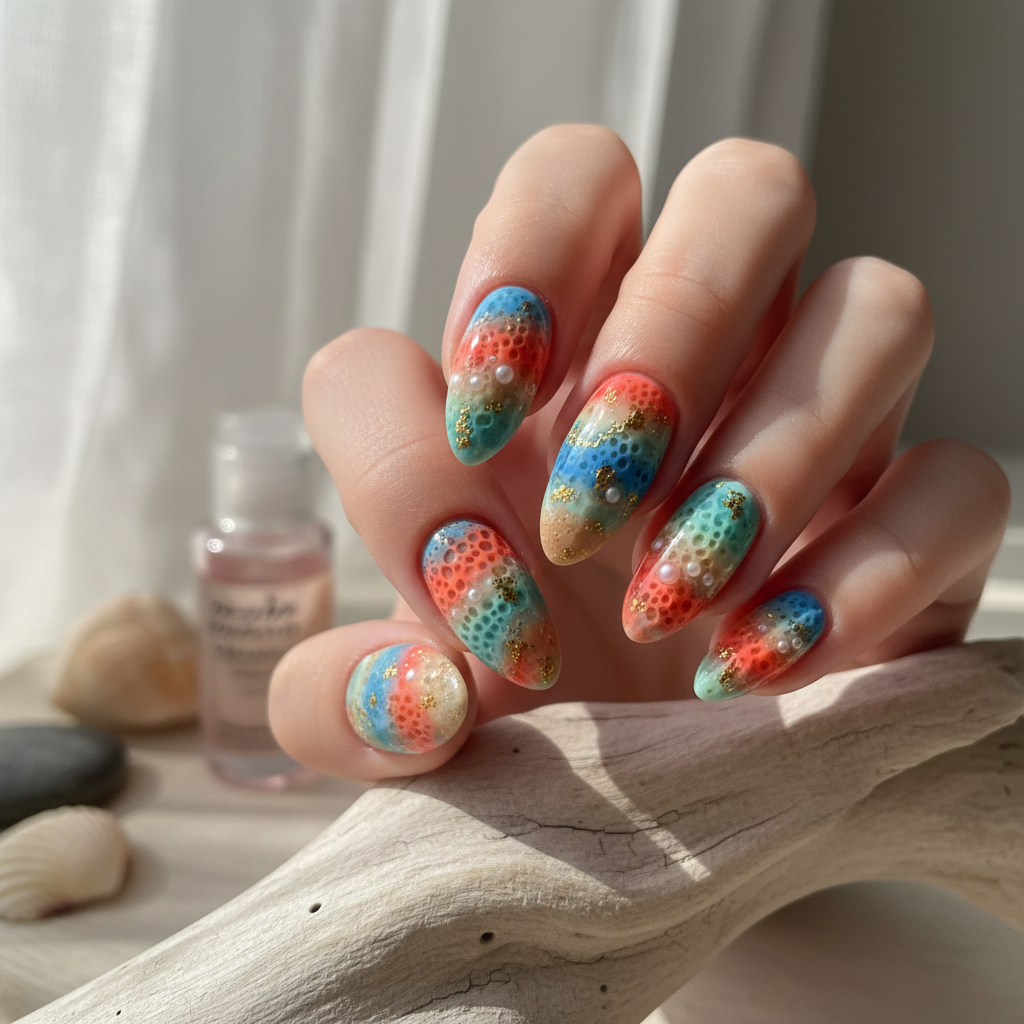
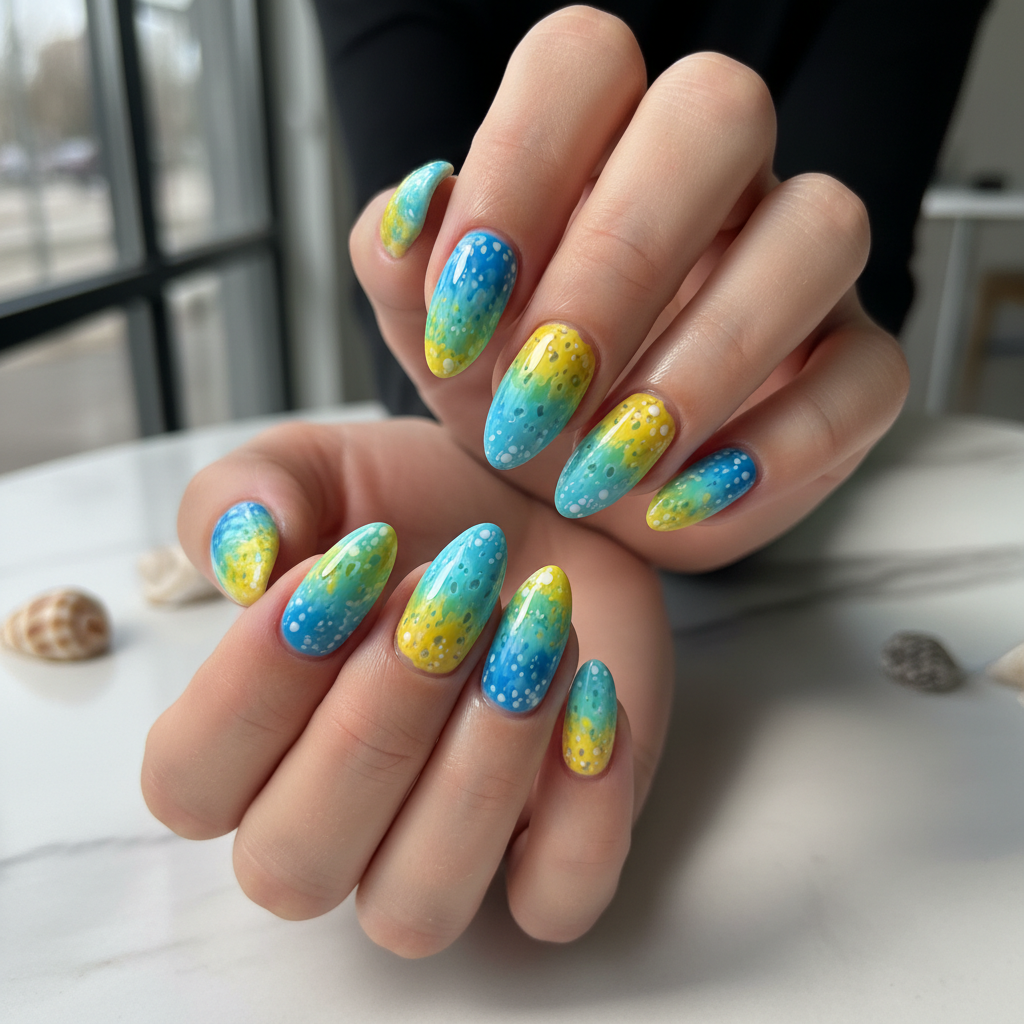
Salon Sponge Nails: Photo-Real Gradient Nail Art
Achieve a professional salon-quality look with this stunning sponge nail art design. This technique blends colors seamlessly for a photo-real gradient effect that's both eye-catching and sophisticated.
Supplies You'll Need
- Base Coat
- Top Coat
- Cosmetic Sponges (wedge-shaped)
- 2-3 Nail Polish Colors
- Nail Polish Remover
- Cuticle Oil
How To Recreate It
- Apply a base coat to protect your nails and let it dry completely.
- Apply a thin layer of the lightest color as a base on all nails. Let dry.
- On a cosmetic sponge, apply stripes of your chosen colors next to each other, slightly overlapping.
- Gently dab the sponge onto your nail, starting at the cuticle and moving towards the tip. Repeat for desired opacity.
- Clean up any excess polish on your skin with a nail polish remover and a small brush.
- Apply a generous top coat to smooth the surface and add shine. Let dry completely.
Expert Tip
Use a high-quality top coat to create a smooth, glossy finish that mimics professional salon results. Multiple thin layers are better than one thick layer to avoid smudging.
Try These Variations
- →Add glitter to the gradient for a sparkling effect.
- →Use different types of sponges for textured effects.
- →Incorporate negative space by masking off sections of the nail before sponging.
Aftercare Tips
- ✓Keep nails moisturized with cuticle oil.
- ✓Avoid picking or peeling the polish.
- ✓Use a gentle nail polish remover when removing the design.
Safe Removal
- 1.Soak a cotton pad in nail polish remover and hold it on the nail for 20-30 seconds.
- 2.Wipe the polish off gently. Repeat if necessary.
Quick Facts
Why It's Trending
The 'clean girl' aesthetic and minimalist designs are trending, and sponge nails offer a soft, diffused color that perfectly complements this trend.
Seasonal Styling
Perfect for spring and summer with pastel gradients, or autumn and winter with deeper, jewel-toned blends.
Color Variations
Perfect For
Why People Love It
Instagram and TikTok are filled with stunning examples of sponge nail art, with users praising its ease and professional results.
Daily Maintenance
- 💅Apply cuticle oil daily to keep your nails hydrated.
- 💅Wear gloves when doing household chores to protect your manicure.
- 💅Avoid harsh chemicals that can damage the polish.
Common Issues & Fixes
- ⚠Uneven gradientApply multiple thin layers of the sponged polish and blend with a clean sponge or brush.
- ⚠Air bubblesTap the sponge gently instead of pressing hard to avoid trapping air.
- ⚠Messy applicationUse liquid latex around the nails before applying the polish for easy cleanup.
- ⚠Streaky finishEnsure the sponge is slightly damp, not soaking wet, to help the polish blend smoothly.
Design Inspiration
Inspired by the smooth gradients and blended colors seen in professional airbrush makeup techniques, translated for nail art. The salon quality aesthetic comes from evenness in blending and shine.
Explore Similar Designs
Colors in this Design
Techniques Used
Perfect For
Nail Shapes
More Categories to Explore
Popular Colors
Popular Techniques
Perfect Occasions
FAQs
What kind of sponge should I use?
Cosmetic sponges (wedge-shaped) work best for creating a smooth gradient. Avoid using sponges with large pores.
How do I prevent the polish from soaking into the sponge?
Lightly dampen the sponge with water before applying the polish to prevent excessive absorption.
Can I use gel polish with this technique?
Yes, gel polish can be used with this technique, but you will need a UV or LED lamp to cure each layer.
How do I clean the sponge?
Unfortunately, sponges are difficult to clean completely. It's best to use a new sponge for each manicure or color combination.
How long will this manicure last?
With proper application and care, a sponge nail manicure can last up to a week.
Why does my gradient look muddy?
Avoid using too much polish on the sponge. Apply thin layers and blend carefully. Also, choose colors that blend well together.