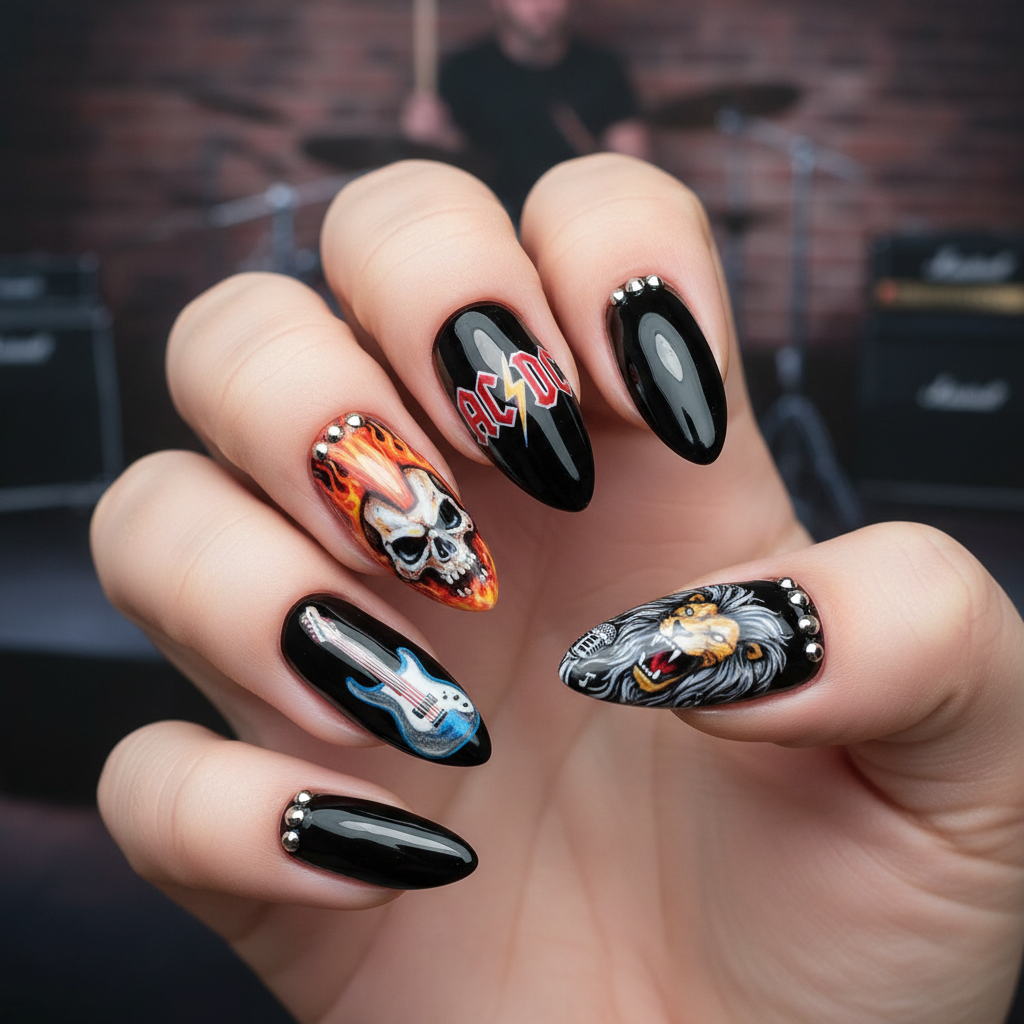
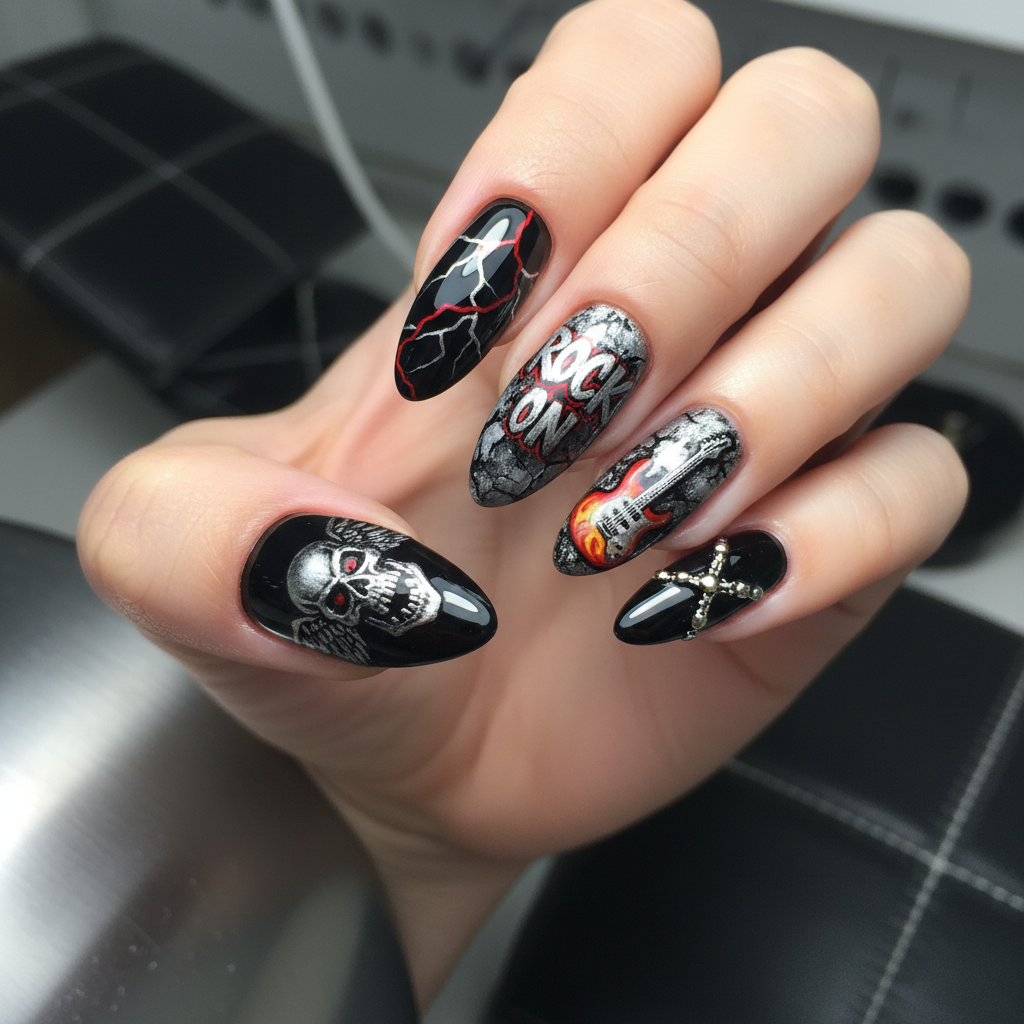
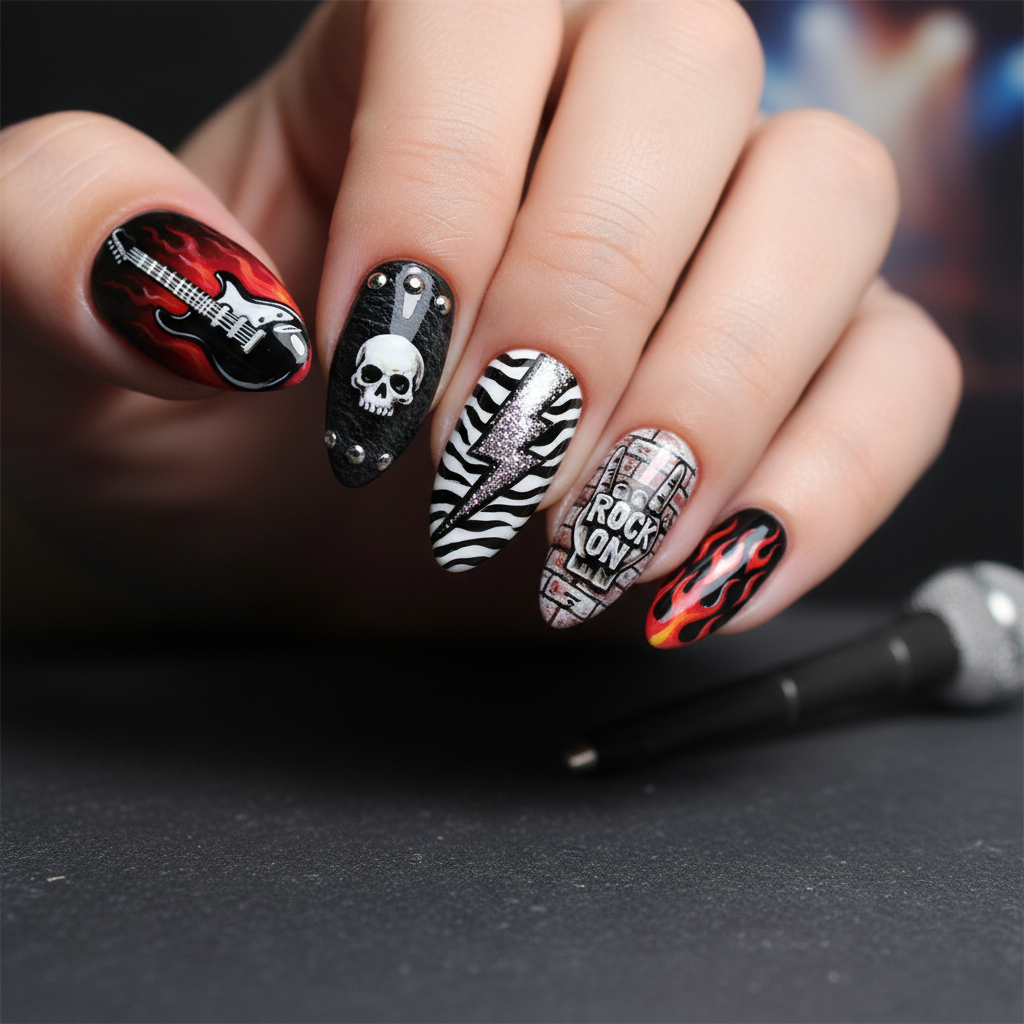
Photo-real Salon Rock Nails
Rock inspired nail art with clean, photo-real finish and professional salon quality
Created: October 5, 2025 at 12:57 PM
More Rock Designs
More Designs
Salon Rock Nails: Photo-Real Rock Design Nail Art
Achieve a striking, photo-realistic rock texture on your nails with this salon-quality design. This unique nail art mimics the intricate details and rugged beauty of natural stone, creating a bold and sophisticated statement.
Supplies You'll Need
- Base coat
- Gray nail polish (various shades)
- Brown nail polish
- Black nail polish
- Detailing brush
- Matte or Glossy top coat
How To Recreate It
- Apply a base coat and let it dry completely.
- Apply a base color of light gray or beige.
- Using a detailing brush, create rock-like patterns with darker shades of gray and brown, layering the colors for depth.
- Add highlights with white polish to create a realistic rock texture.
- Use black polish to create shadows and deepen crevices.
- Finish with a matte or glossy top coat to seal the design.
Expert Tip
Use a sponge to dab on different shades of polish for a more organic and blended rock texture. Practice on a nail art palette first to perfect the technique before applying it to your nails.
Try These Variations
- →Add gold or silver flakes for a geode effect.
- →Use different shades of brown and beige for a sandstone look.
- →Incorporate glitter or iridescent polish for a shimmering rock effect.
Aftercare Tips
- ✓Moisturize hands regularly to prevent dryness.
- ✓Avoid picking or biting your nails.
- ✓Protect your nails from excessive water exposure.
Safe Removal
- 1.Soak cotton pads in acetone-based nail polish remover.
- 2.Place the pads on your nails and wrap them in foil for 10-15 minutes.
- 3.Gently remove the polish with a cotton pad or orange stick.
Quick Facts
Why It's Trending
The natural and earthy aesthetic is currently trending, and rock-inspired nail art provides a unique and edgy twist on this trend.
Seasonal Styling
Perfect for fall and winter, as the earthy tones complement seasonal wardrobes and aesthetics. Also great for summer music festivals.
Color Variations
Perfect For
Why People Love It
Instagram and Pinterest are flooded with rock nail designs, proving its popularity and appeal. Influencers love this design for its unique and eye-catching look.
Daily Maintenance
- 💅Apply cuticle oil daily to keep nails healthy.
- 💅Avoid harsh chemicals that can damage the design.
- 💅Wear gloves when doing household chores.
- 💅Touch up any chips or imperfections with a detail brush.
Common Issues & Fixes
- ⚠Polish is too thick.Use a nail polish thinner to restore the polish's consistency.
- ⚠Design looks too flat.Add more layers of shading and highlights to create depth.
- ⚠Polish is chipping easily.Ensure you are using a high-quality top coat and reapply it every few days.
- ⚠Bubbles in the top coat.Apply thin layers of top coat and allow each layer to dry completely before applying the next.
Design Inspiration
The beauty of natural rock formations, geological textures, and the raw elegance of the earth inspired this design.
Explore Similar Designs
Colors in this Design
Techniques Used
Perfect For
Nail Shapes
More Categories to Explore
Popular Colors
Popular Techniques
Perfect Occasions
FAQs
How long does this design last?
With proper care, this design can last up to 2 weeks.
Can I do this design with gel polish?
Yes, gel polish can be used for this design; just cure each layer according to the manufacturer's instructions.
What brushes are best for detailing?
A fine-tipped detailing brush or a liner brush works best for creating the intricate rock patterns.
Can I use acrylic paint instead of nail polish?
Yes, acrylic paint can be used for detailing, but seal it with a top coat to protect it from chipping.
How do I create a matte finish?
Apply a matte top coat after the design is complete and dry.
Is this design suitable for beginners?
This design is quite advanced and requires patience and skill. Start with simpler rock-like patterns before attempting this photo-realistic design.