Photo-real Salon Rock Nails
Rock inspired nail art with clean, photo-real finish and professional salon quality
Created: October 5, 2025 at 12:57 PM
More Rock Designs
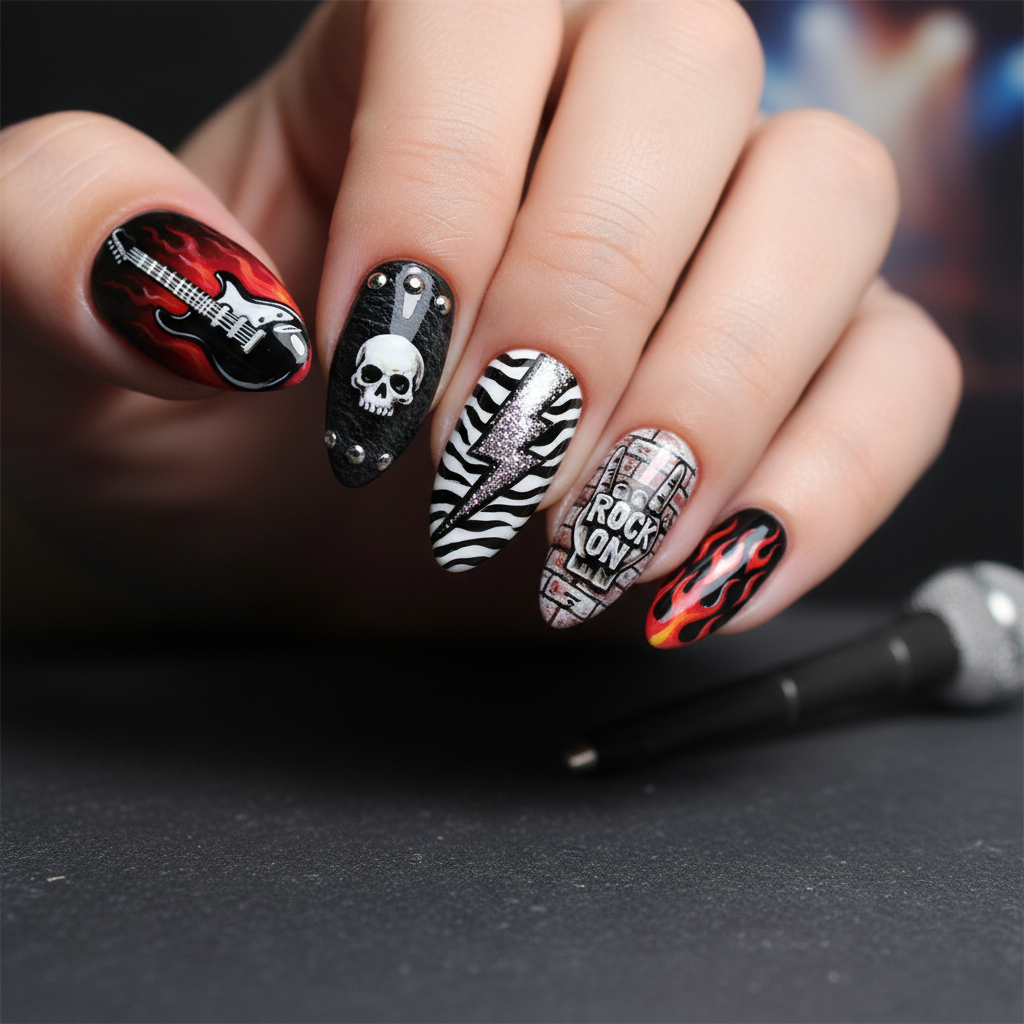
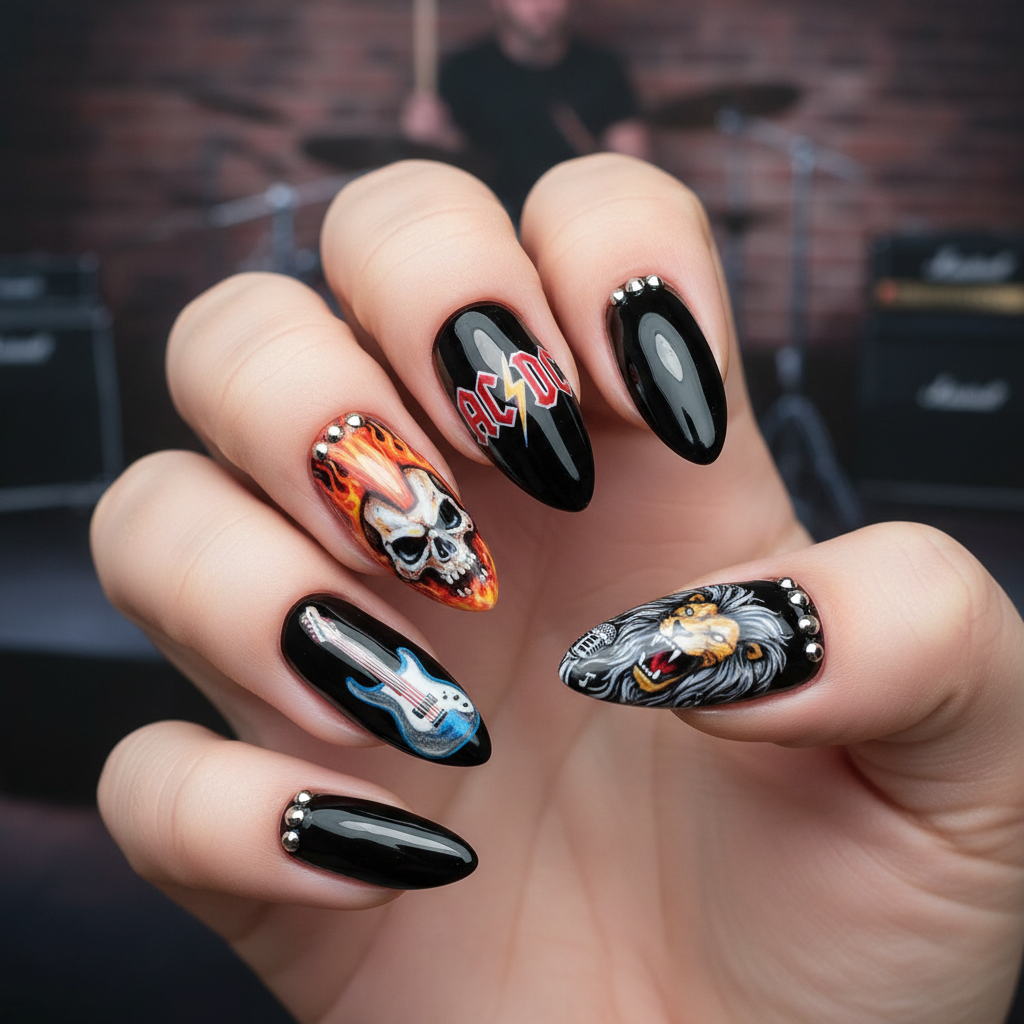
More Designs
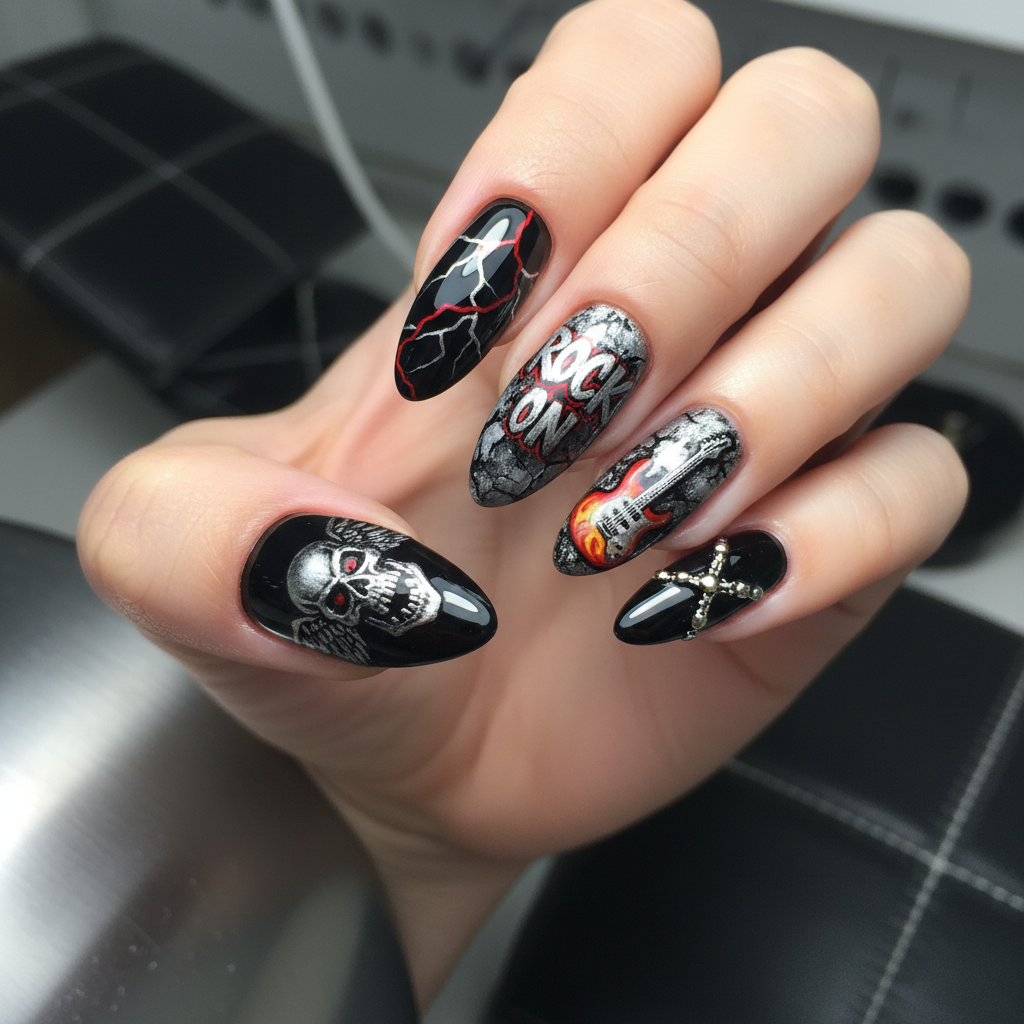
Photo-Real Rock Nail Art: Salon Quality Design
Achieve stunning, photo-realistic rock-inspired nails with this salon-quality design. These nails mimic the texture and color variations of real rock formations, creating a unique and eye-catching look.
Supplies You'll Need
- Assorted gray, brown, and beige nail polishes
- Matte top coat
- Thin nail art brush
- Sponge or makeup wedge
- Nail art dotting tool
- Base coat
How To Recreate It
- Apply a base coat to protect your nails.
- Create an ombre base using gray, brown, and beige polishes with a sponge.
- Use a thin brush to add fine lines and cracks, mimicking rock texture.
- Apply a matte top coat to enhance the realistic, stony appearance.
- Add highlights with a slightly lighter shade using a dotting tool for dimension.
Expert Tip
Use a dry brush technique with a dark brown or black polish to create depth and texture, resembling natural rock formations. Experiment with layering matte and glossy finishes for added realism.
Try These Variations
- →Add gold or silver accents for a geode effect.
- →Incorporate glitter for a sparkling crystal-like finish.
- →Use different shades of brown and gray for varying rock types.
Aftercare Tips
- ✓Use a gentle nail polish remover when taking off the design.
- ✓Apply a nail strengthener to keep your nails healthy.
- ✓Moisturize your hands and nails after removal.
Safe Removal
- 1.Soak cotton pads in nail polish remover and place them on your nails.
- 2.Wrap each nail in foil and let it sit for 10-15 minutes.
Quick Facts
Why It's Trending
Realistic textures and natural elements are highly popular in nail art, making rock-inspired designs a current trend.
Seasonal Styling
Great for fall and winter to complement earth-toned outfits, but versatile enough for any season.
Color Variations
Perfect For
Why People Love It
Instagram and Pinterest are filled with nail artists showcasing their incredible photo-real rock designs, inspiring many to recreate the look.
Daily Maintenance
- 💅Apply cuticle oil daily to keep the surrounding skin moisturized.
- 💅Avoid harsh chemicals and excessive water exposure.
- 💅Wear gloves when doing household chores.
Common Issues & Fixes
- ⚠Ombre effect looks patchy.Use a makeup sponge to gently blend the colors together.
- ⚠Texture looks too uniform.Vary the pressure and angle when applying the texture with the brush.
- ⚠Matte top coat dulls the colors too much.Use a satin top coat instead, or layer a thin coat of glossy top coat before the matte finish.
Design Inspiration
Natural rock formations, geological patterns, and the beauty of earthy tones inspired this design.
Explore Similar Designs
Colors in this Design
Techniques Used
Perfect For
Nail Shapes
More Categories to Explore
Popular Colors
Popular Techniques
Perfect Occasions
FAQs
How do I achieve the realistic rock texture?
Use a combination of dry brushing, stippling, and thin brush strokes with different shades of polish.
What kind of brushes should I use?
A fine detail brush and a small, stiff brush are ideal for creating the texture.
Can I use gel polish for this design?
Yes, gel polish works well for this design and will provide a longer-lasting finish.
How long will this design last?
With proper application and care, this design can last up to two weeks.
Is it possible to do this design on short nails?
Yes, but the details may be more challenging to create. Consider simplifying the design slightly.
Where can I find inspiration for different rock formations?
Look at geological guides, nature photography, and online resources for various rock patterns and textures.