Photo-real Salon Preppie Nails
Preppie inspired nail art with clean, photo-real finish and professional salon quality
Created: October 5, 2025 at 12:59 PM
More Preppie Designs
More Designs
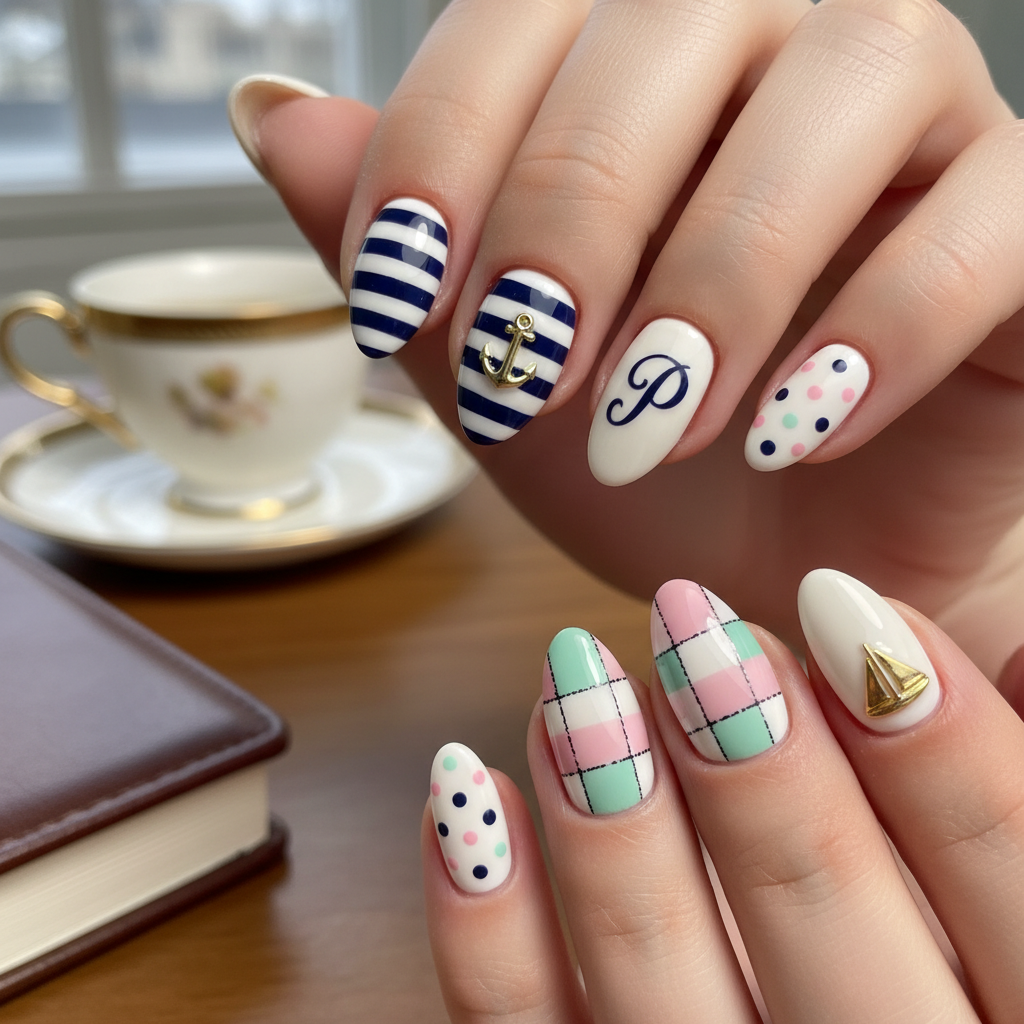
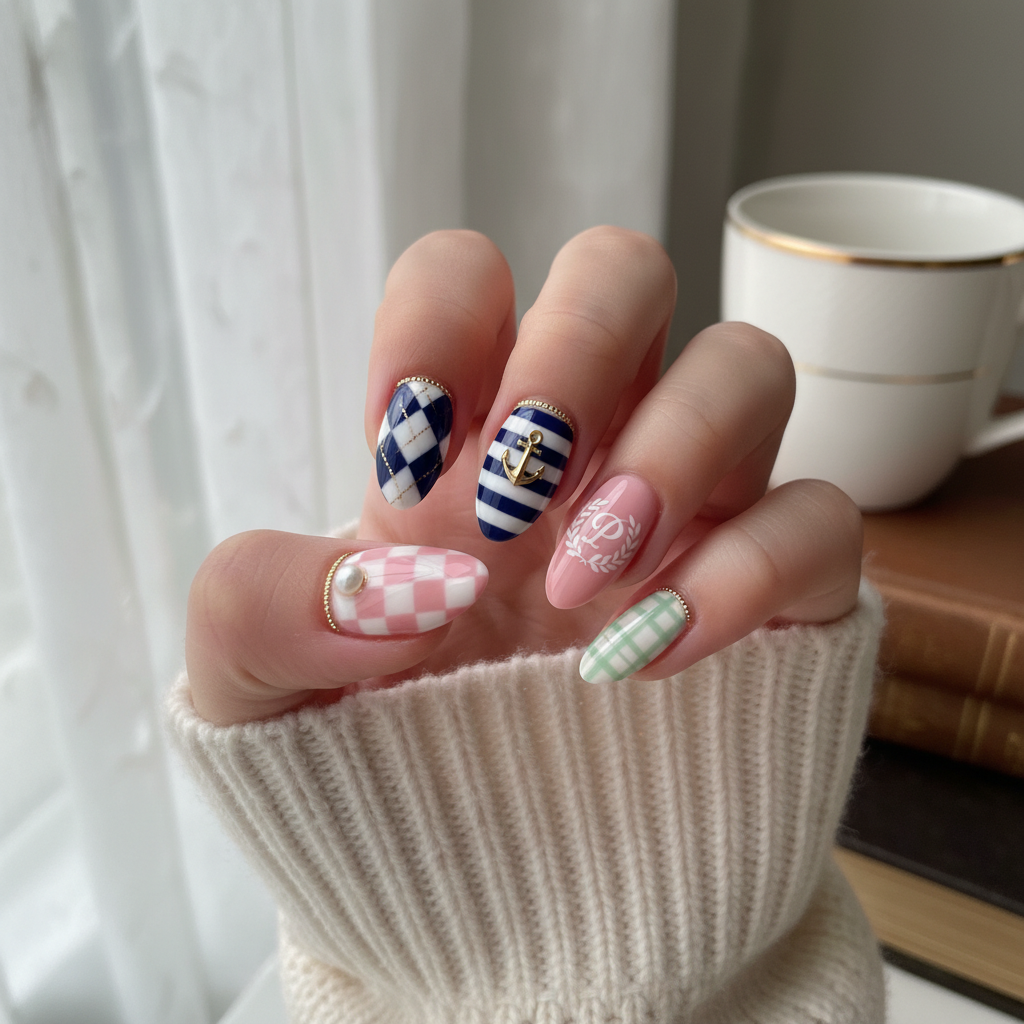
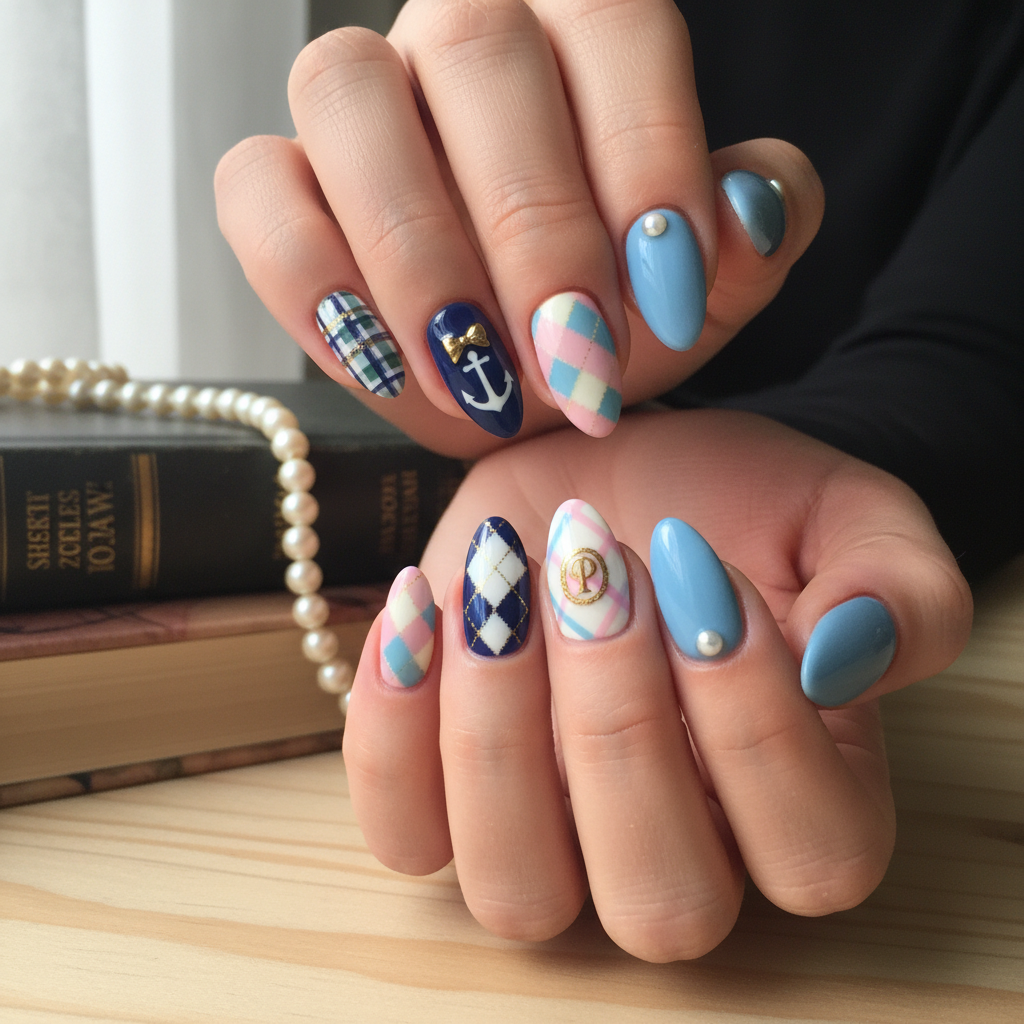
Salon-Quality Preppy Nails: Photo-Real Chic Design
Elevate your style with these meticulously crafted Preppie nails, boasting a photo-real finish that mirrors salon-quality artistry. This design blends classic preppy elements with modern techniques for a sophisticated, polished look.
Supplies You'll Need
- Base Coat
- Gel Polish (Navy Blue, White, Pastel Pink, Hunter Green)
- Fine Detail Brush
- Top Coat
- LED/UV Lamp
- Nail Art Stamping Kit (Optional)
How To Recreate It
- Apply a thin layer of base coat and cure under the LED/UV lamp.
- Apply 2-3 thin coats of your base color (e.g., pastel pink or navy blue) and cure after each coat.
- Using a fine detail brush, carefully create preppy patterns (argyle, stripes, etc.) with contrasting colors.
- If using stamping, apply the stamping polish and transfer the design to your nails.
- Apply a glossy top coat to seal the design and cure under the lamp.
- Cleanse the nails with rubbing alcohol to remove any sticky residue.
Expert Tip
Use a light hand when applying gel polish to prevent clumping and ensure a smooth, photo-real finish. Practice your fine line detailing on a practice nail before applying to your actual nails.
Try These Variations
- →Incorporate small gold studs or embellishments for added flair.
- →Use a matte top coat for a modern twist on the classic design.
- →Try different preppy patterns, such as plaid or gingham.
Aftercare Tips
- ✓Moisturize hands regularly to keep skin healthy.
- ✓Avoid harsh chemicals that can damage the manicure.
- ✓Schedule regular touch-ups or removal with a professional.
Safe Removal
- 1.File off the top layer of gel polish.
- 2.Soak cotton balls in acetone and place them on your nails, securing with foil.
- 3.After 10-15 minutes, gently remove the gel polish with a cuticle pusher.
Quick Facts
Why It's Trending
The resurgence of preppy aesthetics in fashion and beauty is driving demand for clean, sophisticated nail designs like this.
Seasonal Styling
Perfect for spring and autumn, complementing classic preppy wardrobes. Ideal for back-to-school or holiday gatherings.
Color Variations
Perfect For
Why People Love It
Instagram and Pinterest are flooded with this design, proving its trendy appeal and widespread popularity within the fashion community.
Daily Maintenance
- 💅Apply cuticle oil daily to keep nails hydrated.
- 💅Wear gloves when doing household chores to protect the manicure.
- 💅Avoid using your nails as tools to prevent chipping.
Common Issues & Fixes
- ⚠Gel polish is clumping.Apply thinner coats and cure for the recommended time.
- ⚠Fine lines are uneven.Use a very fine detail brush and practice your technique.
- ⚠Stamping isn't transferring cleanly.Ensure the stamping plate and stamper are clean and use a stamping polish specifically designed for nail art.
Design Inspiration
Inspired by classic preppy fashion and a desire for sophisticated, polished nail art.
Explore Similar Designs
Colors in this Design
Techniques Used
Perfect For
Nail Shapes
More Categories to Explore
Popular Colors
Popular Techniques
Perfect Occasions
FAQs
How long will this design last?
With proper care, gel polish can last up to 2-3 weeks without chipping.
Can I achieve this design with regular nail polish?
Yes, but gel polish provides a more durable and glossy finish. Regular polish may chip sooner.
Is it difficult to create the preppy patterns?
It requires a steady hand and some practice, but with the right tools and patience, it's achievable.
What if I don't have a stamping kit?
You can hand-paint the patterns with a fine detail brush, or use nail stickers as an alternative.
How do I prevent the gel polish from shrinking?
Cap the free edge of your nails with each coat of gel polish to prevent shrinkage.
Can I use builder gel for this design?
Yes, builder gel can be used to add strength and length to your nails before applying the design.