Photo-real Salon Preppie Nails
Preppie inspired nail art with clean, photo-real finish and professional salon quality
Created: October 5, 2025 at 12:59 PM
More Preppie Designs
More Designs
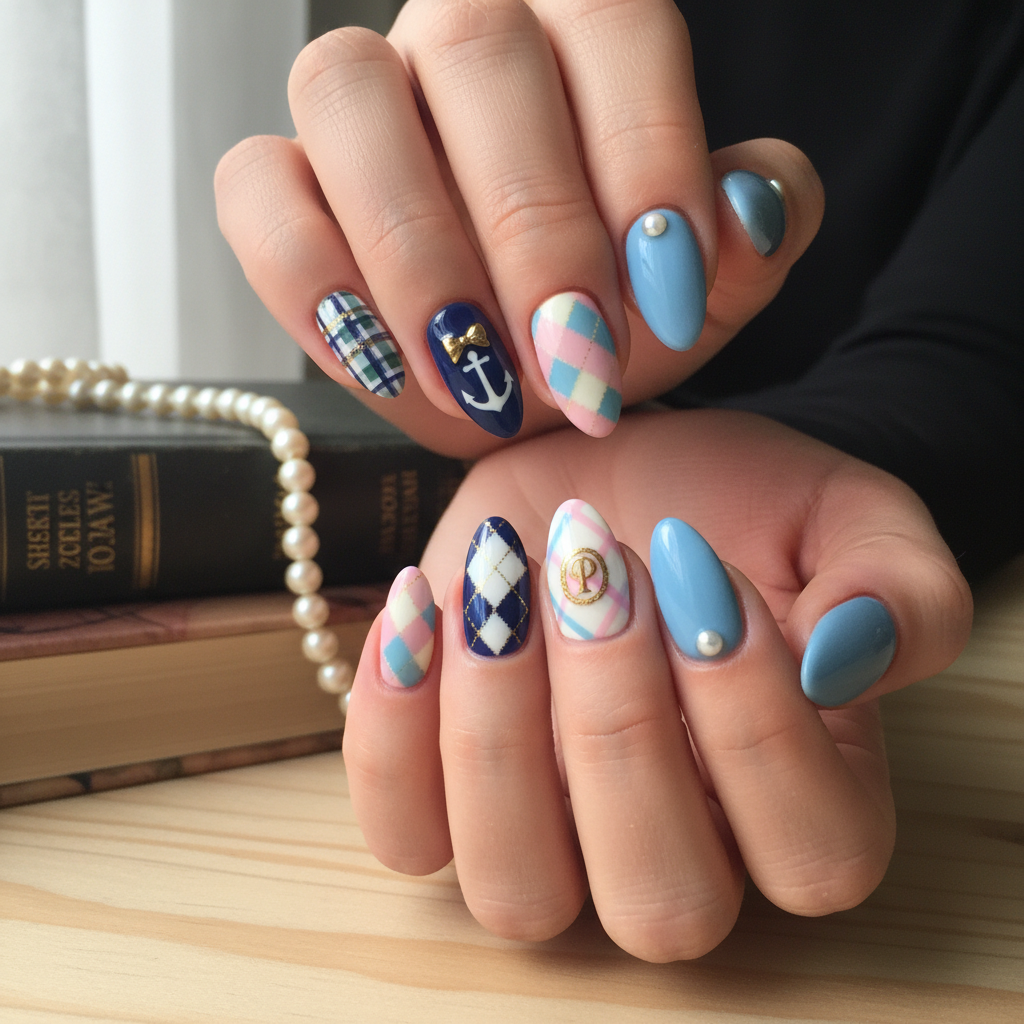
Photo-Real Preppie Nail Art: Salon-Worthy Designs
Achieve the ultimate preppie aesthetic with these photo-realistic nail designs. This sophisticated look brings classic patterns and colors to your fingertips with a flawless, salon-quality finish, perfect for any occasion.
Supplies You'll Need
- Base coat
- Navy Blue Gel Polish
- White Gel Polish
- Thin Nail Art Brush
- Top coat
- Nail Art Decals (optional)
How To Recreate It
- Apply a base coat and cure.
- Apply two coats of Navy Blue Gel Polish and cure after each coat.
- Using a thin nail art brush, create white stripes or plaid patterns on select nails.
- Alternatively, apply pre-made preppie-themed nail decals.
- Apply a glossy top coat to all nails and cure.
- Cleanse the nail with alcohol to remove any sticky residue.
Expert Tip
Use a fine-tipped brush and steady hand for creating intricate patterns. Practice on paper first to perfect your technique before applying to your nails.
Try These Variations
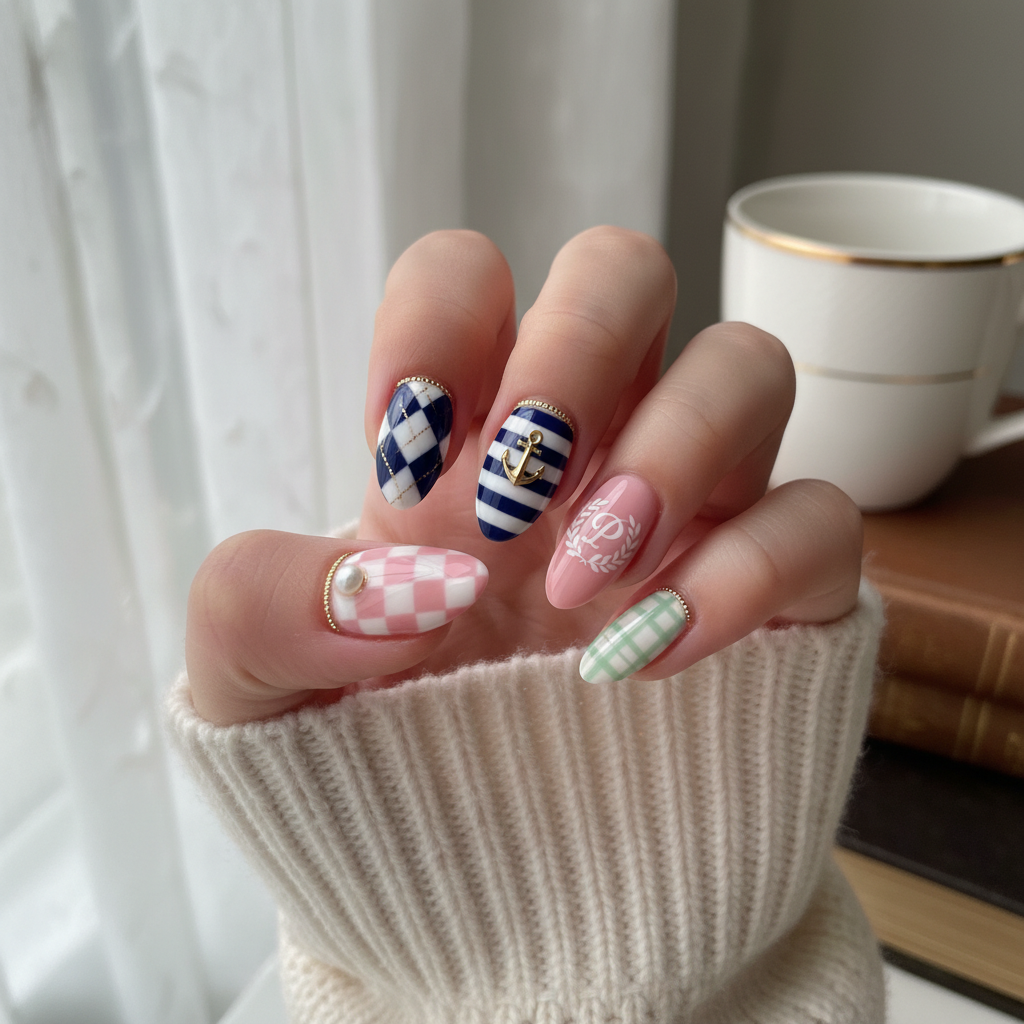
- →Use pastel colors like baby blue and lavender for a softer preppie look.
- →Incorporate gold accents or glitter for a more glamorous twist.
- →Try argyle patterns for a classic preppie touch.
Aftercare Tips
- ✓Keep your hands moisturized with a quality hand cream.
- ✓Avoid prolonged exposure to water, as it can weaken the adhesion of the gel polish.
- ✓Gently push back your cuticles with a cuticle pusher.
Safe Removal
- 1.File the top coat to break the seal.
- 2.Soak cotton balls in acetone, place them on your nails, and wrap with foil. Wait 10-15 minutes.
- 3.Gently scrape off the softened gel polish with a cuticle pusher.
Quick Facts
Why It's Trending
The resurgence of classic styles and the demand for clean, sophisticated nail art are driving the popularity of preppie-inspired designs.
Seasonal Styling
Perfect for fall and winter, these preppie nails complement cozy sweaters and holiday attire. They also look chic in spring and summer with lighter, pastel variations.
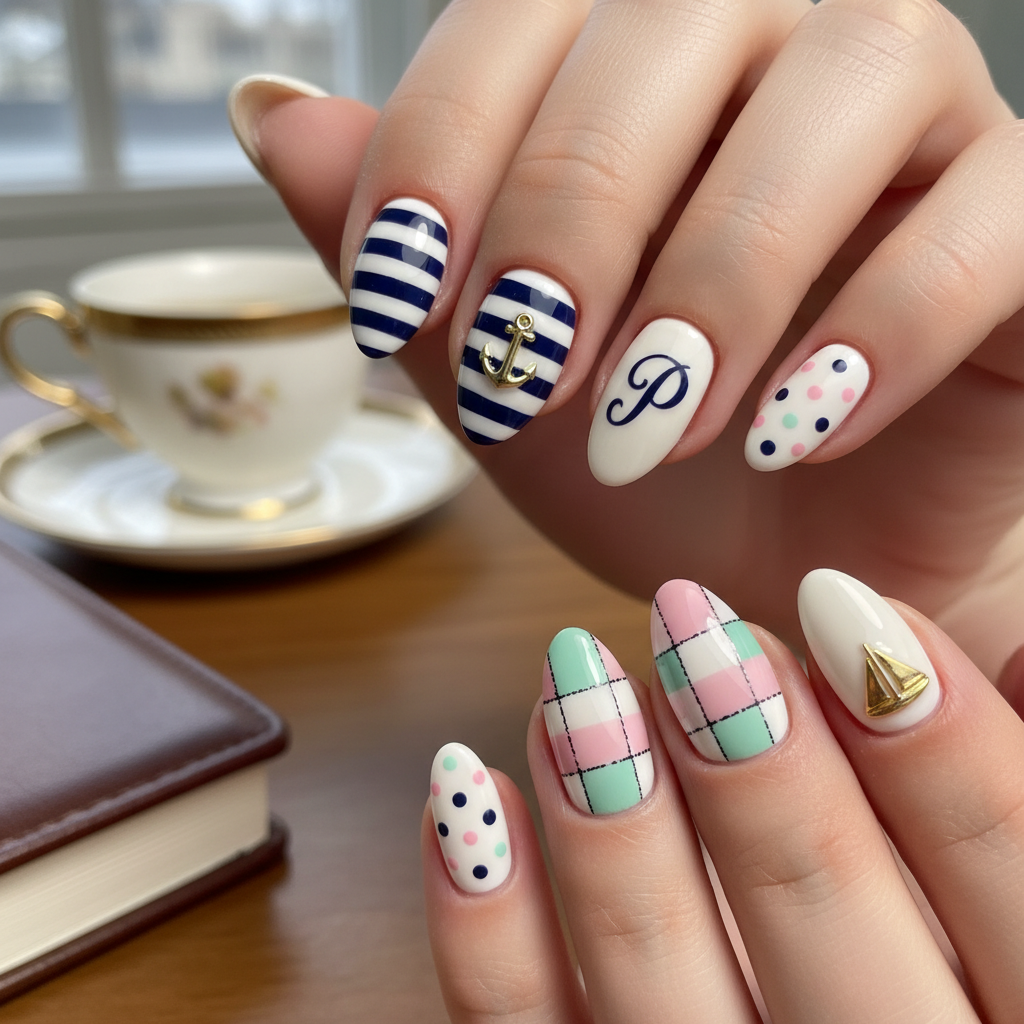
Color Variations
Perfect For
Why People Love It
Instagram and Pinterest are flooded with stunning preppie nail art, proving its widespread appeal and popularity among nail enthusiasts.
Daily Maintenance
- 💅Apply cuticle oil daily to keep your nails hydrated.
- 💅Wear gloves when doing household chores to protect your manicure.
- 💅Avoid using your nails as tools to prevent chipping or breaking.
Common Issues & Fixes
- ⚠Streaky Polish ApplicationApply thinner coats of polish and allow each coat to dry completely before applying the next.
- ⚠Chipped PolishEnsure the nail surface is properly prepped before applying the base coat. Use a high-quality top coat to seal the design.
- ⚠Uneven Pattern ApplicationPractice your design on paper before applying to your nails. Use a steady hand and a fine-tipped brush.
Design Inspiration
Inspired by classic preppie fashion, including plaid skirts, striped sweaters, and nautical themes, this nail art embodies sophistication and timeless style.
Explore Similar Designs
Colors in this Design
Techniques Used
Perfect For
Nail Shapes
More Categories to Explore
Popular Colors
Popular Techniques
Perfect Occasions
FAQs
Can I achieve this look with regular nail polish?
Yes, but gel polish is recommended for a longer-lasting and more durable finish.
How long will this nail art last?
With proper application and care, gel polish preppie nail art can last up to two weeks.
What nail shape is best for this design?
Square or almond shapes are ideal for showcasing preppie patterns and colors.
Are nail art decals necessary?
No, you can create the designs freehand or with stamping techniques, but decals can make the process easier and faster.
What is the best way to create straight lines?
Use striping tape or a very fine nail art brush with a steady hand.
Can I add a matte top coat?
Yes, a matte top coat can add a modern twist to the classic preppie design.