Photo-real Salon Preppie Nails
Preppie inspired nail art with clean, photo-real finish and professional salon quality
Created: October 5, 2025 at 12:59 PM
More Preppie Designs
More Designs
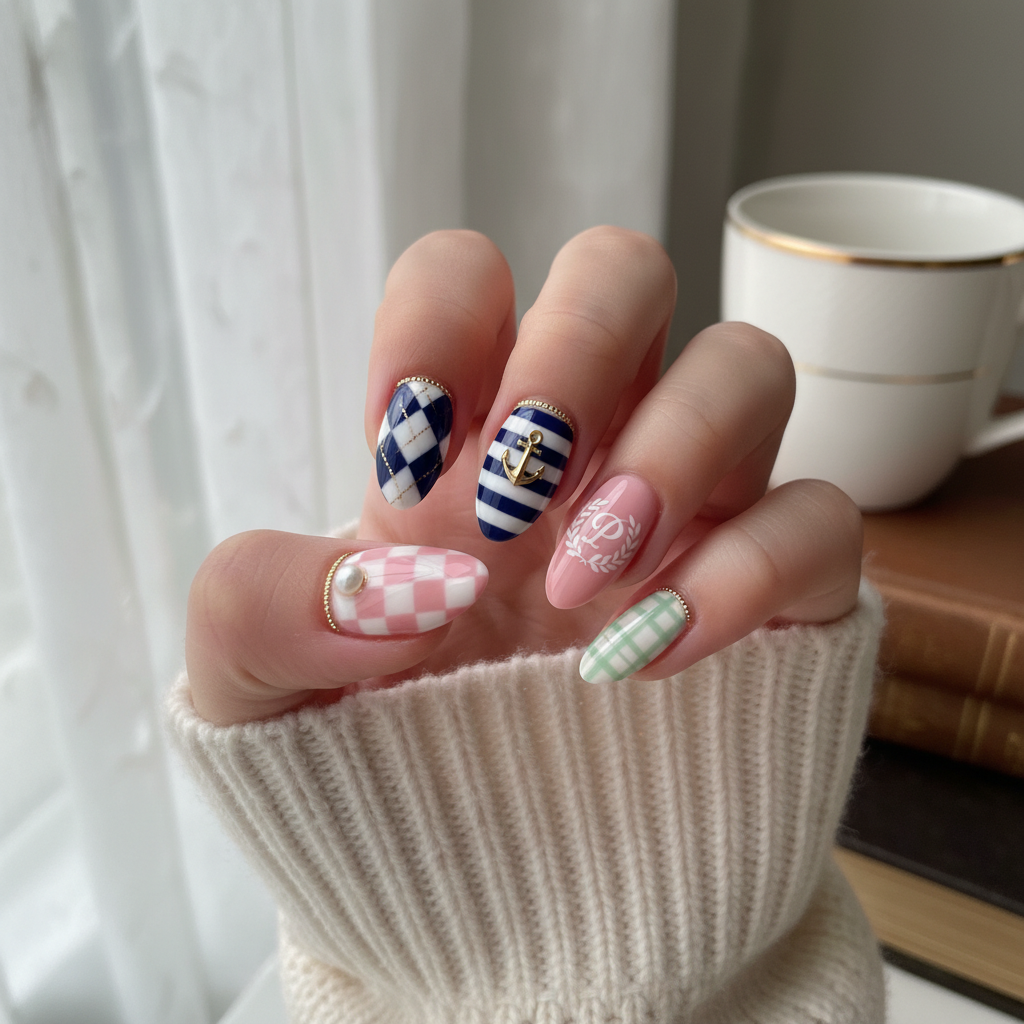
Preppie Perfection: Photo-Real Nail Art Design
Elevate your nail game with this sophisticated Preppie-inspired design. Achieve a clean, photo-real finish that looks like you just stepped out of a professional salon, showcasing timeless elegance.
Supplies You'll Need
- Navy Blue nail polish
- Cream nail polish
- Red nail polish
- Fine-tipped nail art brush
- Gold striping tape or polish
- High-quality top coat
How To Recreate It
- Apply a base coat to protect your nails.
- Paint each nail with the cream color as a base.
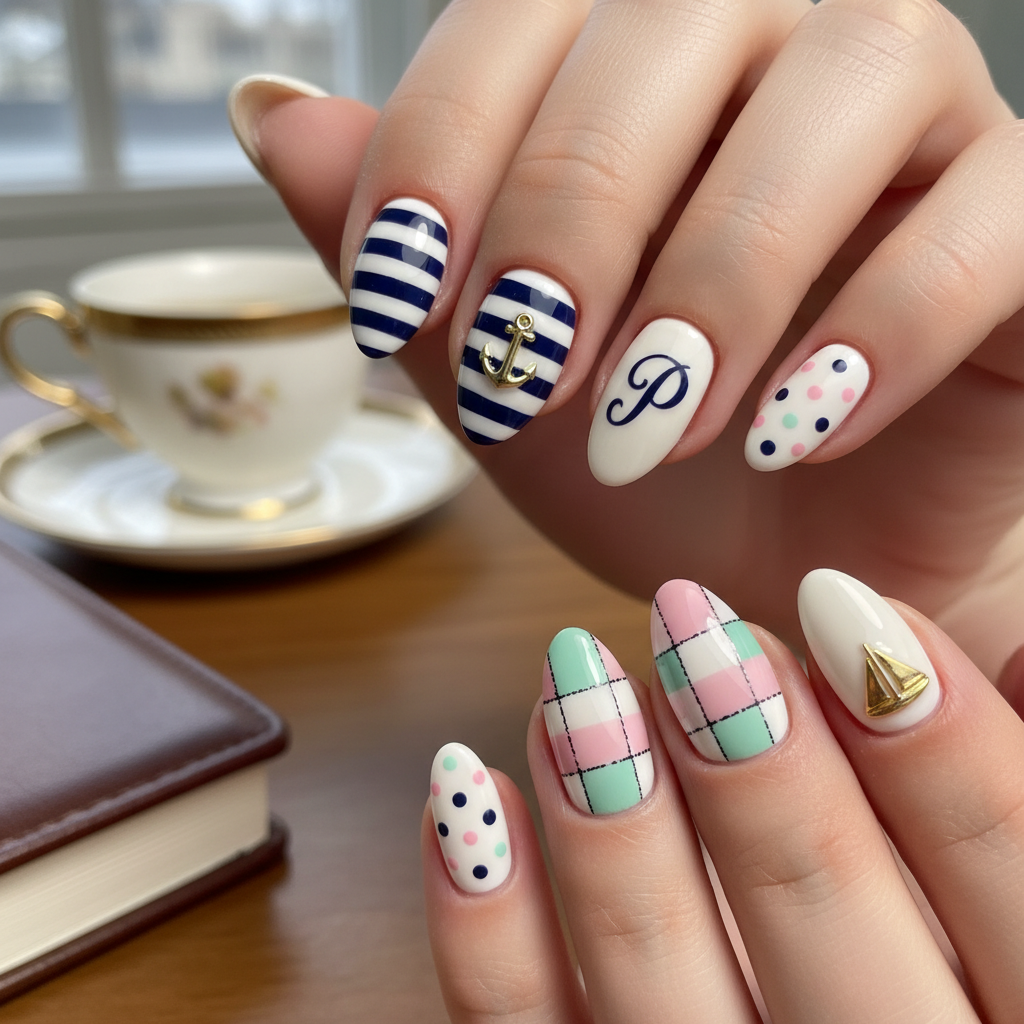
- Using a fine-tipped brush, create navy blue and red stripes with precise lines.
- Add gold striping tape or draw thin gold lines for accent.
- Clean up any imperfections with a nail art brush and acetone.
- Finish with a high-quality glossy top coat for a photo-real finish.
Expert Tip
Use a very fine detail brush and steady hand to achieve clean, crisp lines for the stripes. Practice on a nail art practice pad first.
Try These Variations
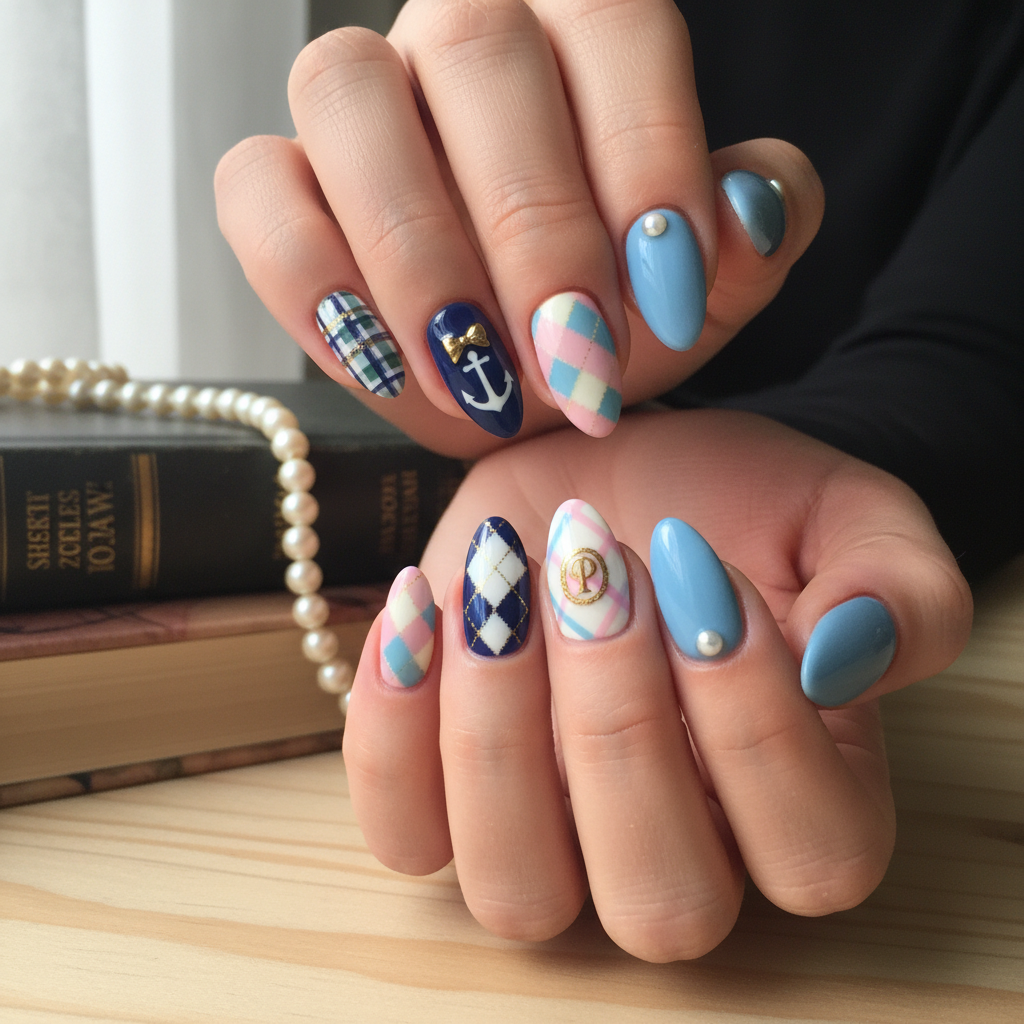
- →Use pastel colors for a softer Preppie look.
- →Incorporate small, nautical-themed decals like anchors or sailboats.
- →Opt for a matte finish instead of glossy for a modern twist.
Aftercare Tips
- ✓Use cuticle oil daily to keep nails healthy.
- ✓Wear gloves when doing housework to protect your nails.
- ✓Avoid picking or peeling the polish.
Safe Removal
- 1.Soak cotton balls in acetone and place them on your nails.
- 2.Wrap each nail with foil and let it sit for 10-15 minutes.
- 3.Gently remove the polish with a cotton ball or scraper.
Quick Facts
Why It's Trending
The resurgence of classic and sophisticated styles makes this Preppie design a modern favorite for those seeking polished elegance.
Seasonal Styling
Perfect for any season, but particularly shines in the spring and fall when classic Preppie styles are most prominent.
Color Variations
Perfect For
Why People Love It
Popular among fashion bloggers and influencers for its elegant and timeless appeal.
Daily Maintenance
- 💅Apply top coat every 2-3 days to prevent chipping.
- 💅Avoid harsh chemicals that can dull the polish.
- 💅Keep hands moisturized to prevent cuticle damage.
Common Issues & Fixes
- ⚠Stripes are not straight.Use striping tape as a guide or practice with a fine-tipped brush on a practice pad.
- ⚠Polish is chipping quickly.Ensure you're using a high-quality top coat and reapplying every 2-3 days.
- ⚠Bubbles in the polish.Apply thin, even coats and avoid shaking the polish bottle vigorously.
Design Inspiration
Classic Preppie fashion, nautical themes, and the desire for a clean, polished salon look.
Explore Similar Designs
Colors in this Design
Techniques Used
Perfect For
Nail Shapes
More Categories to Explore
Popular Colors
Popular Techniques
Perfect Occasions
FAQs
What type of brush should I use for the stripes?
A very fine-tipped nail art brush is essential for creating precise stripes.
Can I use regular tape instead of striping tape?
While you can, striping tape is thinner and more flexible, providing cleaner lines.
How do I prevent the polish from smudging?
Allow each layer to dry completely before applying the next and use a quick-drying top coat.
Is this design suitable for short nails?
Yes, but you might need to adjust the width of the stripes to fit the nail size.
How can I achieve a truly photo-realistic look?
Focus on clean lines, precise application, and a flawless, high-shine top coat.
What is the best top coat to use?
Seche Vite or INM Out The Door are great options for achieving a high-shine, fast-drying finish.