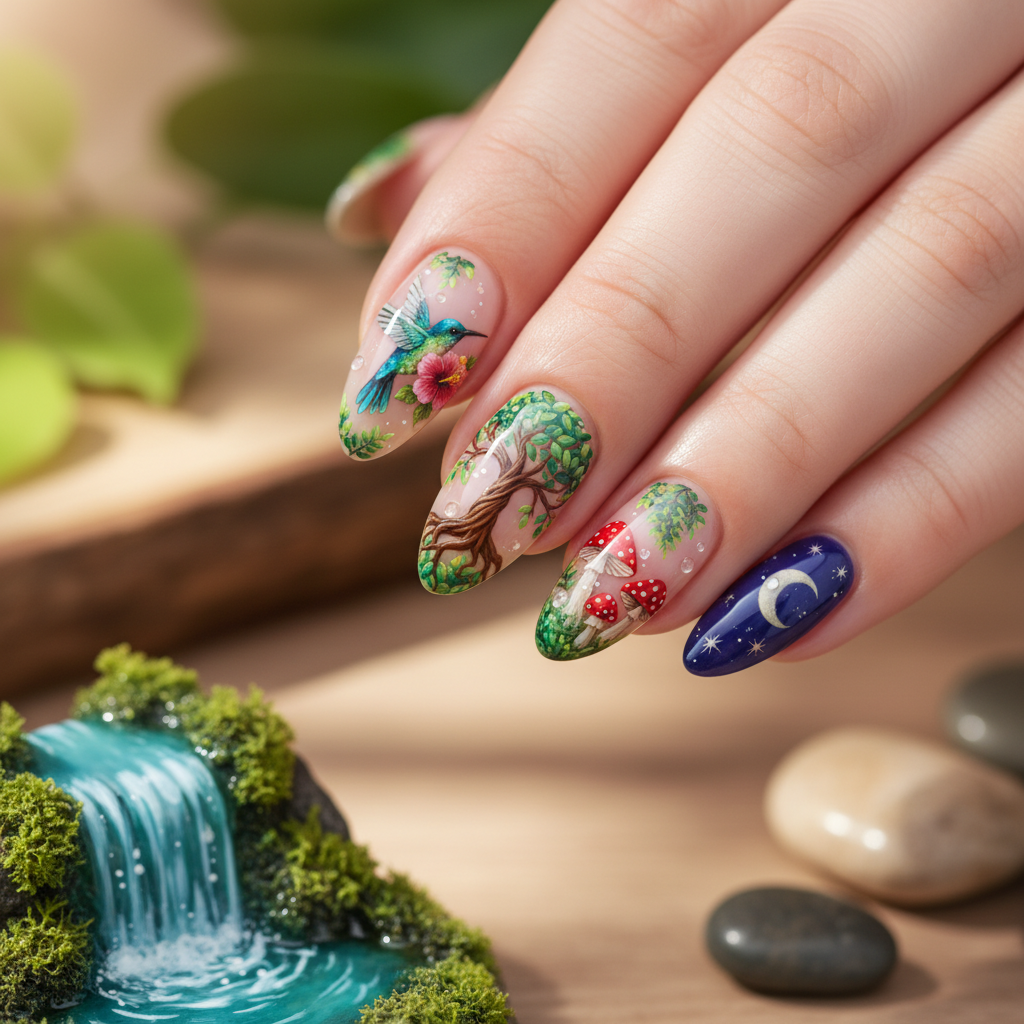
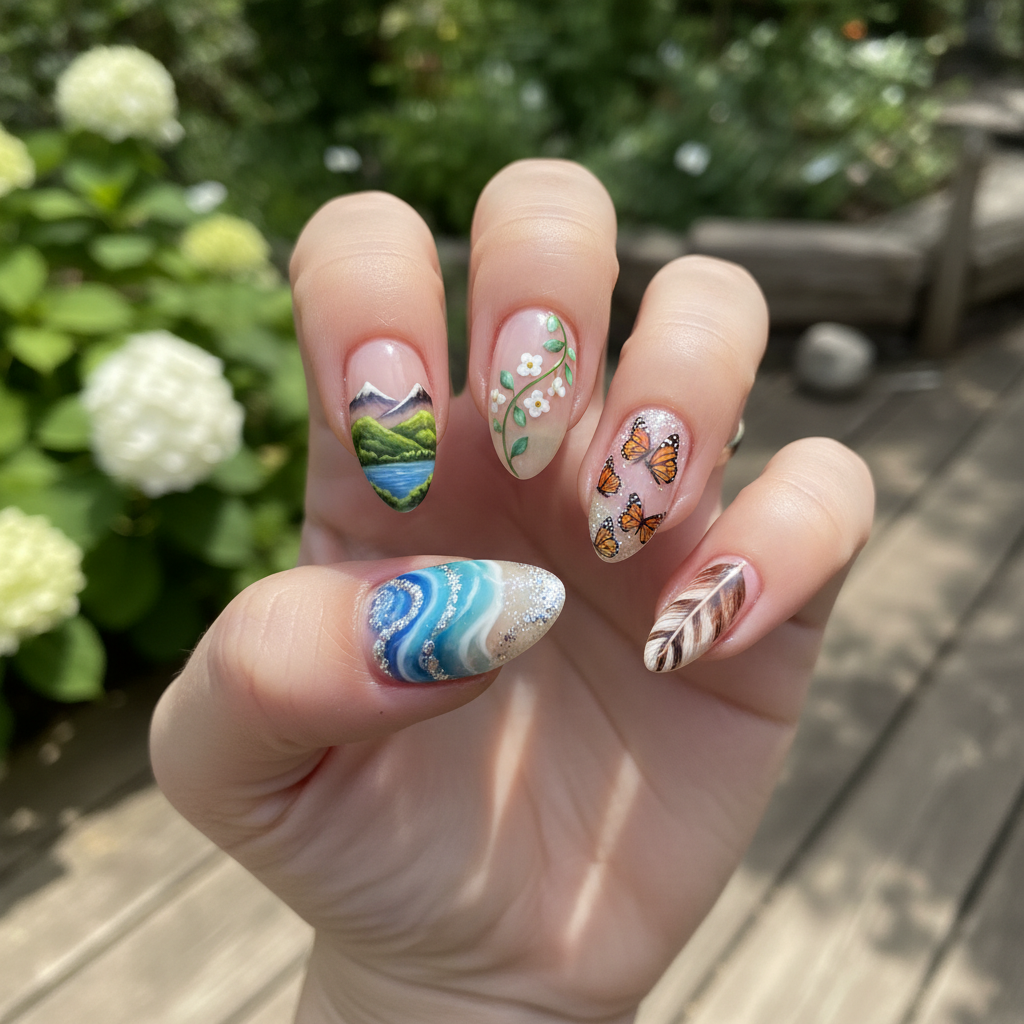
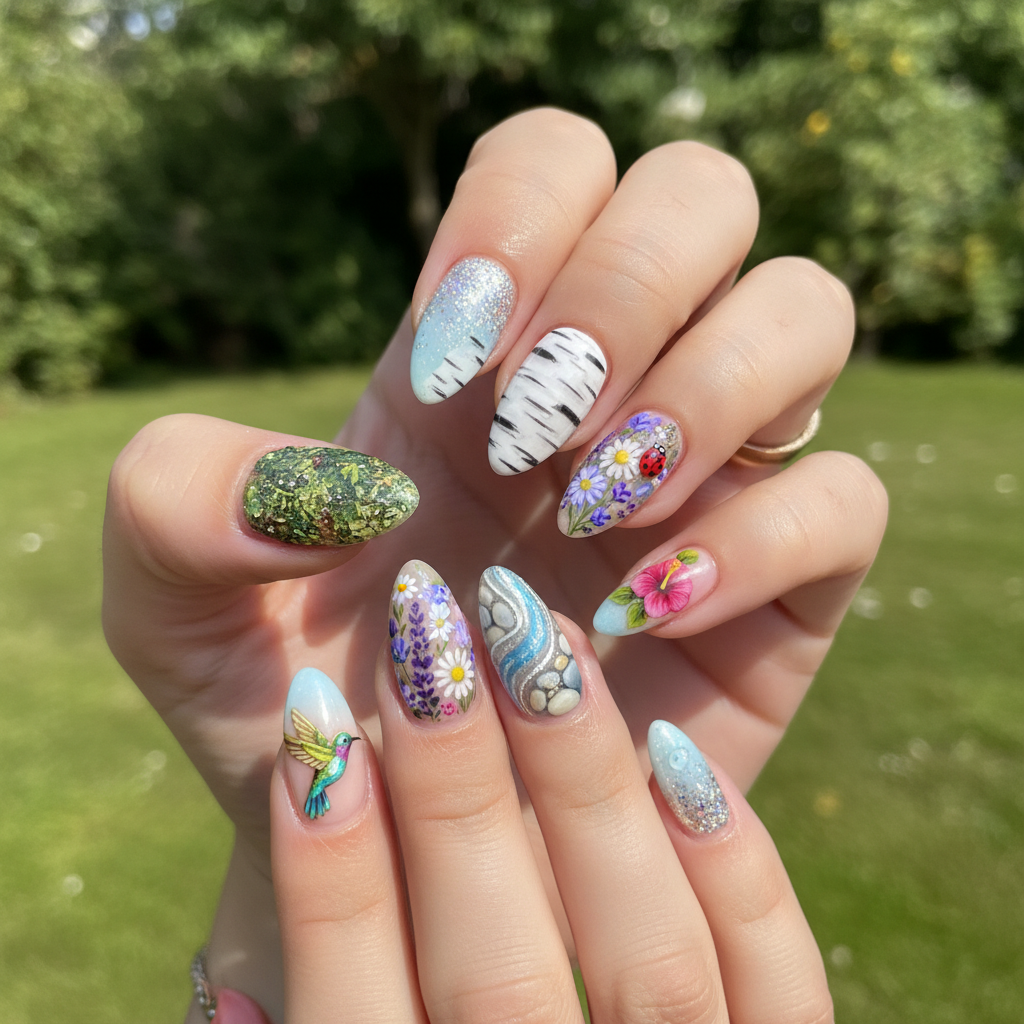
Photo-real Salon Nature Nails
Nature inspired nail art with clean, photo-real finish and professional salon quality
Created: October 5, 2025 at 12:47 PM
More Nature Designs
More Designs
Photo-Real Salon Nature Nails: A Breathtaking Design
Embrace the beauty of the outdoors with these stunning photo-real nature nails. This design features intricate details and a salon-quality finish, bringing the tranquility of nature to your fingertips. It's a perfect blend of artistry and natural elegance.
Supplies You'll Need
- Nail Polish (various shades)
- Fine Detail Nail Art Brushes
- Dotting Tool
- Acrylic Paints (optional)
- Top Coat
- Base Coat
How To Recreate It
- Apply a base coat to protect your natural nails.
- Paint the base color using earthy tones like light brown or beige.
- Using fine detail brushes, carefully paint realistic nature elements (leaves, flowers, etc.) onto each nail, layering colors for depth.
- If using airbrushing, create subtle ombre effects to enhance the realism.
- Allow the design to fully dry, then seal it with a glossy top coat.
- Clean up any excess polish around the cuticles for a professional finish.
Expert Tip
Use high-quality acrylic paints and fine detail brushes for the most realistic results. Practice your nature-inspired designs on paper first to perfect your technique.
Try These Variations
- →Incorporate pressed dried flowers for a textured effect.
- →Add glitter accents to mimic sunlight glistening on leaves.
- →Focus on a specific natural element, like a particular type of flower or tree bark, for the entire design.
Aftercare Tips
- ✓Use cuticle oil daily to keep your nails and cuticles healthy.
- ✓Avoid picking or biting your nails to prevent damage to the design.
- ✓Consider using a nail strengthener to promote nail growth.
Safe Removal
- 1.Soak cotton pads in acetone-based nail polish remover.
- 2.Place the soaked cotton pads on each nail and wrap with foil.
- 3.Let it sit for 10-15 minutes, then gently remove the polish.
Quick Facts
Why It's Trending
Nature-inspired beauty trends are surging, with people seeking ways to connect with the outdoors in their everyday lives. These nails offer a sophisticated and artistic expression of this trend.
Seasonal Styling
Perfect for spring and summer to reflect blooming flowers and lush greenery. Also suitable for autumn to capture the changing colors of leaves.
Color Variations
Perfect For
Why People Love It
Instagram and Pinterest are flooded with nature-inspired nail art, proving its popularity. This design allows you to showcase your artistic flair and love for the environment.
Daily Maintenance
- 💅Avoid harsh chemicals that can damage the nail art.
- 💅Apply a top coat every few days to maintain the shine and protect the design.
- 💅Keep your hands moisturized to prevent the polish from cracking.
- 💅Wear gloves when doing household chores.
Common Issues & Fixes
- ⚠The paint is bleeding and not creating clean lines.Use a smaller, finer brush and ensure your paint is not too watery.
- ⚠The top coat is smudging the design.Allow the design to completely dry before applying the top coat, and use a quick-drying top coat.
- ⚠The airbrush is splattering.Thin the airbrush paint properly and adjust the air pressure.
- ⚠The design is chipping quicklyEnsure the nail plate is properly prepped and use a high-quality base and top coat.
Design Inspiration
Inspired by the intricate details and serene beauty of the natural world, from lush forests to delicate wildflowers.
Explore Similar Designs
Colors in this Design
Techniques Used
Perfect For
Nail Shapes
More Categories to Explore
Popular Colors
Popular Techniques
Perfect Occasions
FAQs
How long will this design last?
With proper care, this design can last up to 2 weeks.
Can I do this at home?
While possible, this design is best achieved by a professional nail artist due to its complexity.
What if I don't have an airbrush?
You can achieve a similar effect using sponges and layering techniques.
What nail shape works best for this design?
Almond or oval shapes tend to complement the natural aesthetic best.
Is this design suitable for short nails?
While possible on shorter nails, the details might be more challenging to execute, and the impact may be reduced.
What is the best top coat to use?
A gel top coat will offer the best shine and longevity.