Photo-real Salon Punk Nails - Punk nail art - featuring nail art, red - nail art inspiration and design ideas
Photo-real Salon Punk Nails
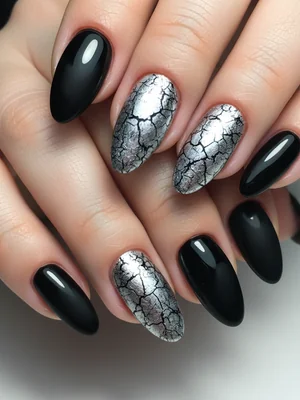
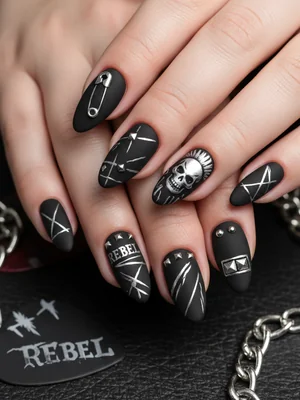
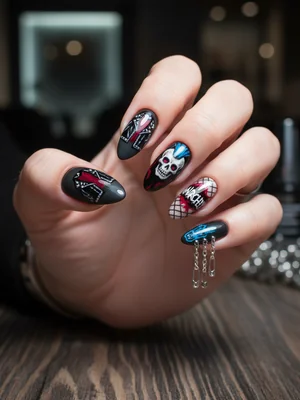
Edgy Glam: Photo-Real Punk Rock Salon Nails
Unleash your inner rebel with these photo-realistic punk rock nails. This salon-quality design combines edgy aesthetics with a flawless finish, perfect for making a bold statement.
Edgy Glam: Photo-Real Punk Rock Salon Nails
Unleash your inner rebel with these photo-realistic punk rock nails. This salon-quality design combines edgy aesthetics with a flawless finish, perfect for making a bold statement.
- Black Gel Polish
- Red Gel Polish
- Silver Studs
- Fine Detail Nail Art Brushes
- Top Coat Gel Polish
- LED/UV Nail Lamp
- Apply a base coat and cure under an LED/UV lamp.
- Apply 2-3 coats of black gel polish, curing after each layer.
- Use fine detail brushes and red/white gel polish to create graffiti-inspired designs and patterns.
- Carefully apply silver studs in strategic locations.
- Apply a generous layer of top coat gel polish to seal the design and create a photo-real finish, then cure.
- Cleanse with alcohol to remove any sticky residue.
Expert Tip
Use a fine-tipped brush and highly pigmented gel polishes for crisp, detailed graffiti designs. Practice your freehand designs on paper first to build confidence.
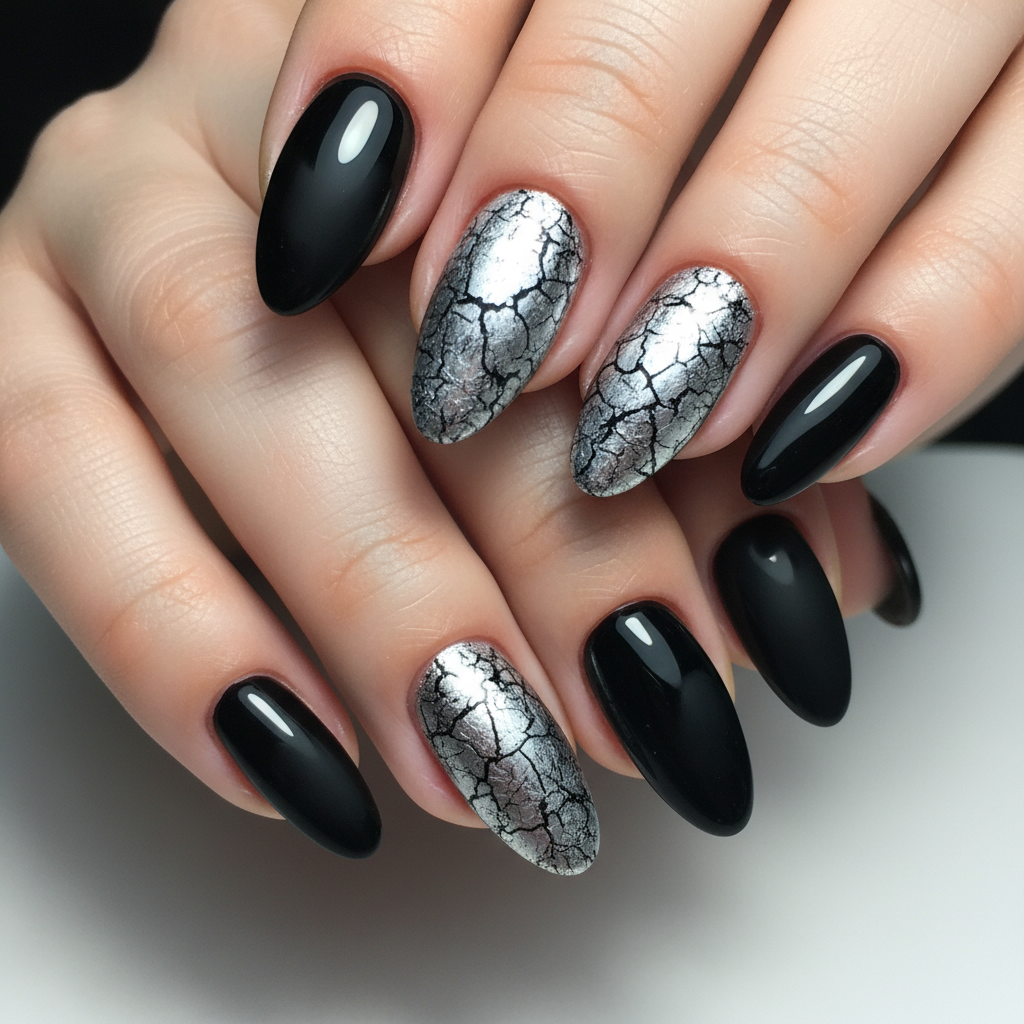
Similar Styles
Explore Similar Designs
Nail Shapes
Frequently Asked Questions
How long does this design last?
With proper application and maintenance, this design can last up to 2-3 weeks.
Can I do this design at home?
Yes, but it requires advanced nail art skills and professional-grade products.
What kind of studs should I use?
Opt for small, flat-backed studs that adhere easily to the nail surface.
Can I use regular nail polish instead of gel polish?
While possible, gel polish provides a more durable and longer-lasting finish.
How can I protect the studs from snagging?
Ensure the studs are fully embedded in the top coat for a smooth, sealed finish.
What if I mess up the graffiti design?
You can wipe it off with a lint-free wipe and alcohol before curing, then try again.
Aftercare Tips
- ✓Moisturize hands regularly to prevent dryness.
- ✓Avoid picking at the design to prevent chipping.
- ✓Schedule infills every 2-3 weeks to maintain the look.
Safe Removal
- 1.File off the top layer of gel polish.
- 2.Soak cotton balls in acetone, place them on the nails, and wrap with foil for 10-15 minutes.
- 3.Gently remove the softened gel polish with a cuticle pusher.