
Photo-real Salon Pearl Nails - Pearl nail art - featuring nail art, red - nail art inspiration and design ideas
Photo-real Salon Pearl Nails
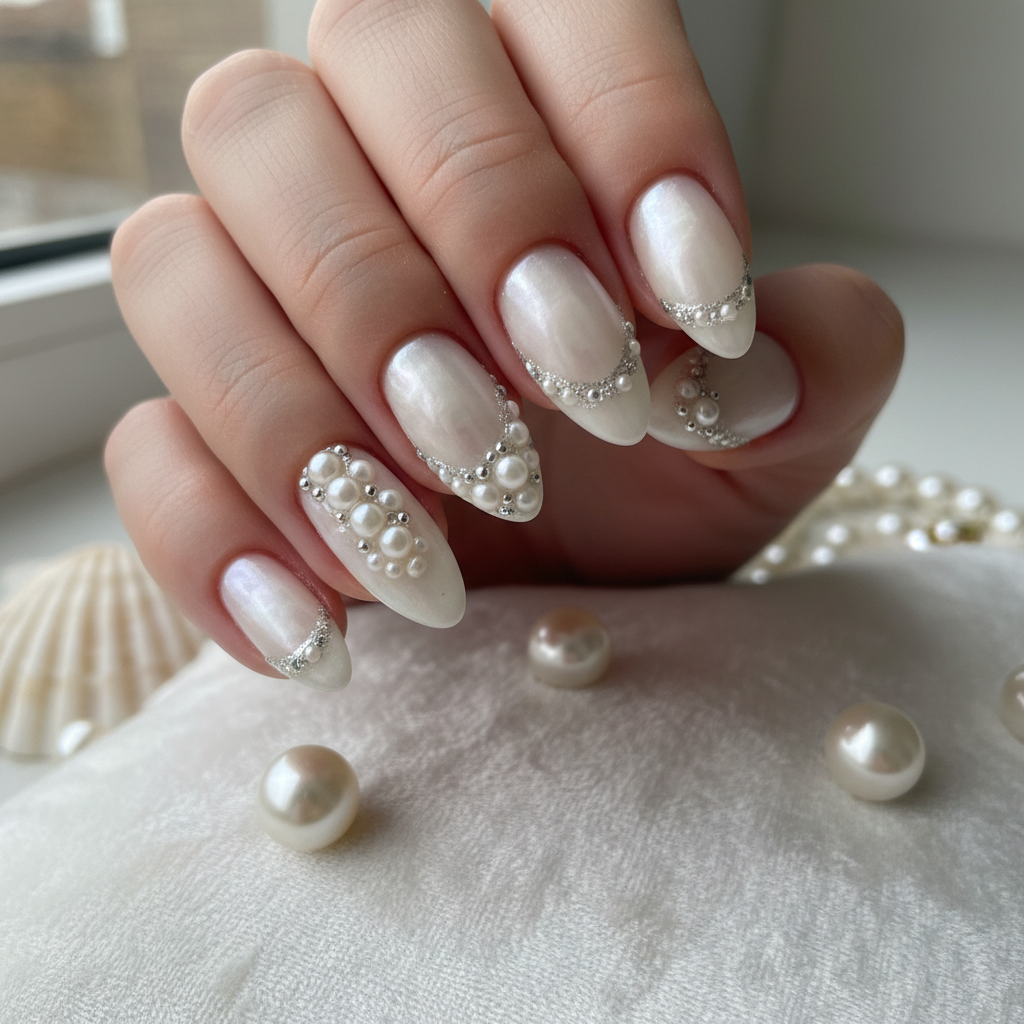
Photo-Real Pearl Salon Nails: Elegant Iridescent Finish
Immerse your nails in the luxurious glow of our Photo-Real Salon Pearl Nails. This exquisite Pearl.Design captures the natural luster and iridescent sheen of genuine pearls, delivering a professional, clean finish that exudes sophisticated elegance.
- UV/LED Gel Base Coat
- Sheer Nude or Milky White Gel Polish
- High-Quality Iridescent Pearl Pigment Powder
- Non-Wipe Gel Top Coat
- Applicator Brush (silicone or sponge)
- Cleanser Solution & Lint-Free Wipes
- Perform thorough nail preparation: shape, push back cuticles, and gently buff the nail plate.
- Apply a thin layer of gel base coat, cure, then apply one coat of sheer nude or milky white gel polish and cure fully.
- Apply a thin, non-wipe gel top coat (do not cure fully; flash cure for 15-20 seconds to leave it tacky).
- Gently rub the iridescent pearl pigment powder onto the tacky layer using an applicator, ensuring an even, seamless photo-real sheen.
- Dust off excess powder, seal the free edge, and apply two layers of high-gloss non-wipe top coat, curing each layer thoroughly.
- Finish with cuticle oil and a gentle hand massage for a truly professional salon experience.
Expert Tip
Achieving that 'photo-real' effect relies on a perfectly smooth base and the even, light application of a high-quality iridescent pigment. Work in thin layers and buff gently to build depth without appearing streaky or textured.
Similar Styles


Explore Similar Designs
Colors in this Design
Techniques Used
Perfect For
Nail Shapes
Frequently Asked Questions
How long does a Photo-Real Pearl manicure last?
With proper application and aftercare, this gel-based design can typically last 2-3 weeks without chipping or losing its luster.
Can I achieve this look at home?
While possible with practice, achieving the 'photo-real' salon quality requires advanced techniques, specific gel products, and a UV/LED lamp, making professional application highly recommended.
Is the pearl pigment safe for nails?
Yes, professional-grade iridescent pearl pigments are formulated to be safe for nail application, similar to other cosmetic pigments.
Will the pearl effect fade over time?
The high-gloss top coat protects the pigment, ensuring the iridescent effect remains vibrant. Regular top coat reapplications can help maintain its shine.
How do I choose the right pearl shade for my skin tone?
Cooler skin tones often suit opalescent whites and soft pinks, while warmer tones can glow with creamy pearls or champagne shades. Your nail artist can help you pick the perfect match.
Aftercare Tips
- ✓Avoid using your nails as tools to prevent chipping or breaking.
- ✓Gently push back cuticles after showering to keep the nail bed looking neat.
- ✓Use an acetone-free nail polish remover for any touch-ups on the surrounding skin.
Safe Removal
- 1.Gently buff off the top layer of the gel polish to break the seal.
- 2.Soak nails in acetone-soaked cotton pads wrapped in foil for 10-15 minutes.
- 3.Carefully scrape off softened gel with a wooden stick, then lightly buff remaining residue.