
Halloween Black White Skulls Red Blood Halloween Nails - Halloween Nail Art nail art - featuring red, black, white, halloween - nail art inspiration and design ideas
Halloween Black White Skulls Red Blood Halloween Nails
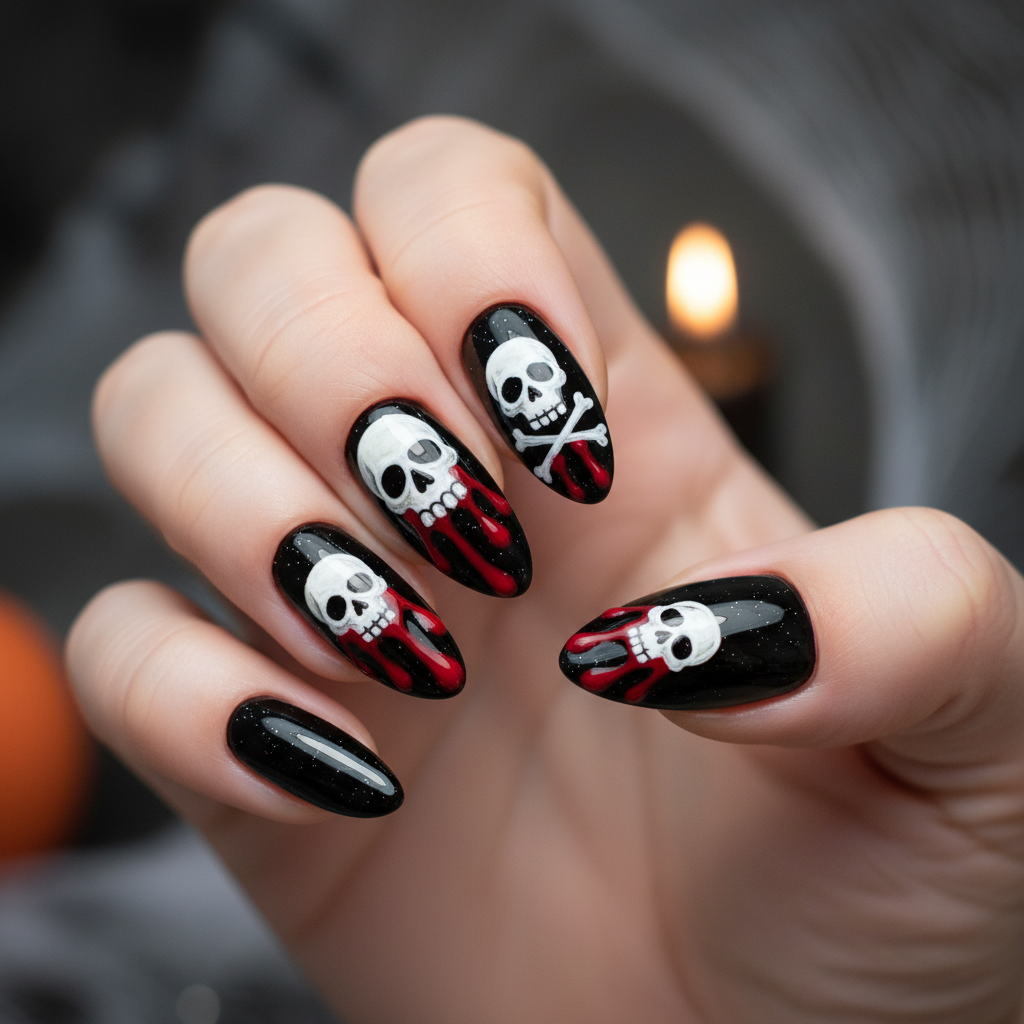
Spooky Skull & Blood Drip Halloween Nails: Black & White
Unleash your inner ghoul with this striking Halloween nail art, featuring a dramatic black base that sets the stage for crisp white skulls. Vivid red blood drips cascade down the nails, creating a chillingly realistic and absolutely unforgettable spooky statement for your fingertips.
- Gel polish (Black, White, Red)
- Fine detail brush
- Dotting tool (for skull eyes/nose)
- Glossy top coat
- Nail cleanser/rubbing alcohol
- UV/LED curing lamp
- Prep nails; apply and cure two coats of jet black gel polish for a solid base.
- Using a fine detail brush and opaque white gel polish, carefully hand-paint skull outlines and fill them in on your chosen accent nails. Cure.
- With a dotting tool or a very fine brush, add black dots for eye sockets and an inverted triangle for the nose to the white skulls. Cure.
- Apply small dots of vibrant red gel polish near the cuticle line or tip, then gently drag the polish downwards with a clean detail brush to create realistic blood drips. Cure each drip as you go to prevent spreading.
- Once all designs are complete and cured, apply a generous layer of glossy top coat over all nails, ensuring to cap the free edge, and cure thoroughly.
- Wipe off the inhibition layer with nail cleanser for a brilliant, long-lasting shine.
Colors in This Design
Expert Tip
For truly realistic blood drips, ensure your red polish isn't too thick; a slightly thinner consistency allows for smoother, more organic-looking drips. Practice on a nail swatch first to master the drip effect before applying to clients.
Similar Styles
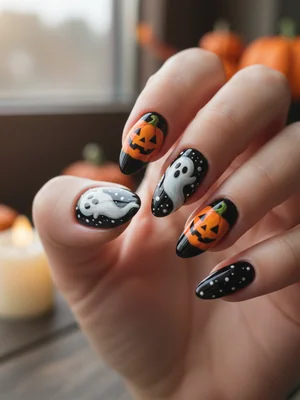
Black Orange Pumpkins White Ghost Silhouettes Halloween Nails
Spooky Halloween nail art with black base, orange pumpkins, and white ghost silhouettes

Black Green Witch Hats Purple Glitter Halloween Nails
Spooky Halloween nail art with black base, green witch hats, and purple glitter

Orange Black Stripes White Ghosts Halloween Nails
Halloween nail art with orange base, black stripes, and tiny white ghosts

Festive Halloween Orange Black Cats White Halloween Nails
Festive Halloween nails with orange base, black cats, and white moon details

Black Orange Pumpkins White Ghost Silhouettes Halloween Nails
Spooky Halloween nail art with black base, orange pumpkins, and white ghost silhouettes

Spooky Halloween Black Orange Pumpkins Green Halloween Nails
Spooky Halloween nails with black base, orange pumpkins, and green witch details

Festive Halloween Orange Black Cats White Halloween Nails
Festive Halloween nails with orange base, black cats, and white moon details

Orange Black Stripes White Ghosts Halloween Nails
Halloween nail art with orange base, black stripes, and tiny white ghosts
Explore Similar Designs
Colors in this Design
Techniques Used
Perfect For
Nail Shapes
Frequently Asked Questions
Can I use regular polish for this Halloween nail art design?
Yes, but gel polish is highly recommended as it offers longer wear, vibrant color, and allows for more intricate detail work without drying too quickly, which is crucial for hand-painting skulls and drips.
How long does this Skull & Blood Drip design typically last?
With proper gel application and diligent aftercare, this detailed design can last 2-3 weeks without chipping or fading, keeping your spooky look fresh throughout the Halloween season.
Is this design suitable for shorter nails?
While longer nails provide more canvas for intricate skull and blood drip details, simplified versions of the skulls and more subtle drips can certainly be adapted for shorter nail lengths.
Can I get this done with nail stamps instead of hand-painting?
Yes, skull stamping plates are readily available and can significantly reduce the difficulty and time required for the skulls. However, the realistic red blood drips would still likely need to be hand-painted for the best effect.
Will the red 'blood' polish stain my natural nails?
No, with a proper base coat applied before the colored polishes, your natural nails are protected, and staining from the red polish is highly unlikely.
What if my blood drips don't look realistic?
Practice is key! Use a slightly thinner red polish and experiment with different amounts on your brush or dotting tool. Start with a small dot and slowly drag downwards, varying the length and thickness to mimic natural blood flow.
Aftercare Tips
- ✓Moisturize hands and cuticles regularly to keep the skin around your nails supple.
- ✓Avoid picking or peeling at the gel polish, as this can damage your natural nail bed.
- ✓Keep nails dry and clean; prolonged exposure to water can compromise the longevity of the design.
- ✓If any lifting occurs, refrain from pulling and seek professional repair to prevent further damage.
Safe Removal
- 1.Gently file off the glossy top coat and the majority of the colored gel polish to break the seal.
- 2.Soak nails in acetone for 10-15 minutes, ensuring the polish is fully submerged.
- 3.Carefully push off the softened gel polish with a wood stick or cuticle pusher, never force it. Repeat soaking if necessary.