Photo-real Salon Gradient Nails - Gradient nail art - featuring nail art, gradient, elegant, red - nail art inspiration and design ideas
Photo-real Salon Gradient Nails
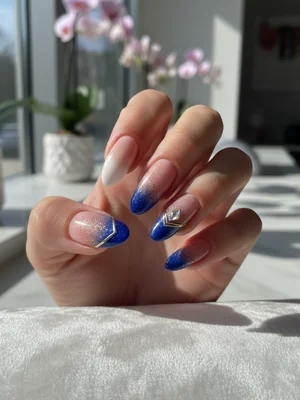
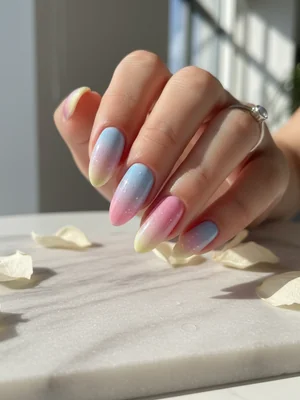
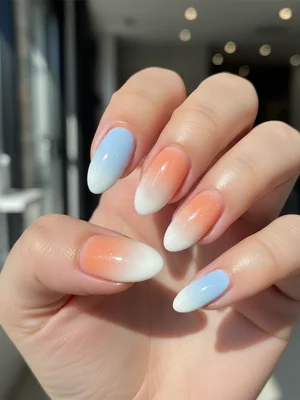
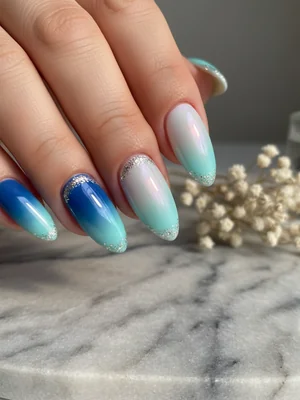
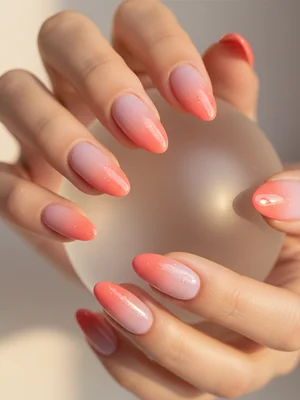
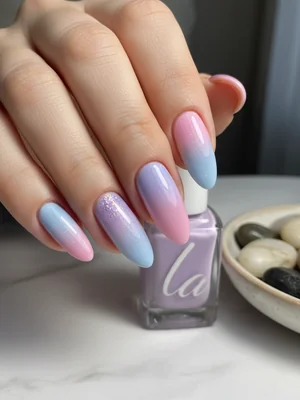
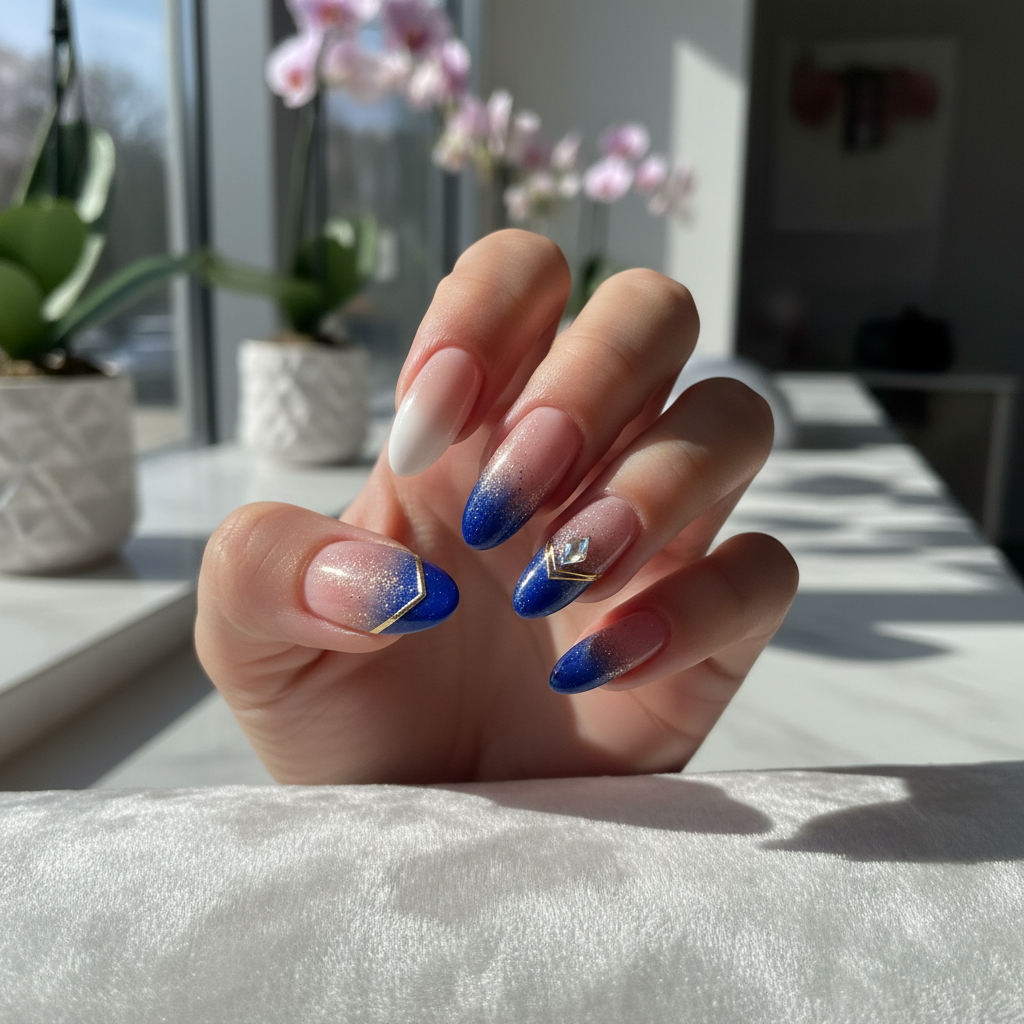
Photo-Real Salon Blends: Seamless Color Transition Nails
This design features a mesmerizing, photo-real salon **gradient** that transitions flawlessly from one hue to another, creating an incredibly smooth and professional finish. It embodies a sophisticated aesthetic, making your nails look expertly crafted with seamless, high-definition color blends.
- Gel polishes (base, two blend shades, top coat)
- Makeup sponge or ombre brush
- Lint-free wipes
- Isopropyl alcohol
- LED/UV nail lamp
- Dotting tool (for clean-up)
- Prep nails, apply base coat, and cure. Apply one thin layer of your lighter blending color and cure.
- On a palette, apply stripes of your chosen blend colors. Dab a slightly damp makeup sponge or ombre brush into the colors, ensuring a seamless mix on the sponge itself.
- Gently dab and feather the color onto the nail, starting from the cuticle and moving towards the free edge, or vice-versa, depending on your desired color blend direction. Cure after each layer.
- Repeat sponging 2-3 times, curing after each layer, until the photo-real, seamless transition is achieved and the colors are opaque.
- Apply a non-wipe high-shine top coat, ensuring smooth coverage, and cure thoroughly for a durable, sophisticated finish.
Expert Tip
Achieving a true photo-real color blend requires very thin layers and consistent, gentle dabbing with your sponge or brush. Overlap your color zones slightly and build opacity gradually to ensure a truly seamless, airbrushed transition without harsh lines.
Similar Styles
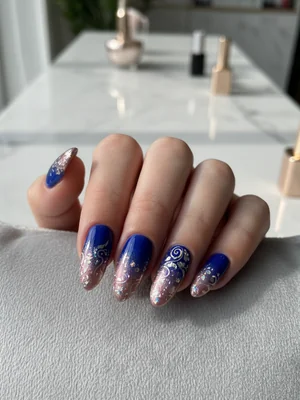
Beautiful Photo-real Salon Gradient Nails
Gradient inspired nail art with beautiful, photo-real finish and professional salon quality
Beautiful Photo-real Salon Gradient Nails
Gradient inspired nail art with beautiful, photo-real finish and professional salon quality
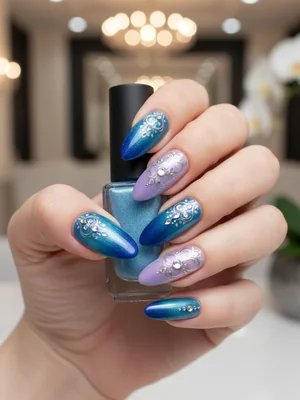
Gorgeous Photo-real Salon Gradient Nails
Gradient inspired nail art with gorgeous, photo-real finish and professional salon quality
Gorgeous Photo-real Salon Gradient Nails
Gradient inspired nail art with gorgeous, photo-real finish and professional salon quality

Stunning Photo-real Salon Gradient Nails
Gradient inspired nail art with stunning, photo-real finish and professional salon quality
Sophisticated Photo-real Salon Gradient Nails
Gradient inspired nail art with sophisticated, photo-real finish and professional salon quality
Stunning Photo-real Salon Gradient Nails
Gradient inspired nail art with stunning, photo-real finish and professional salon quality
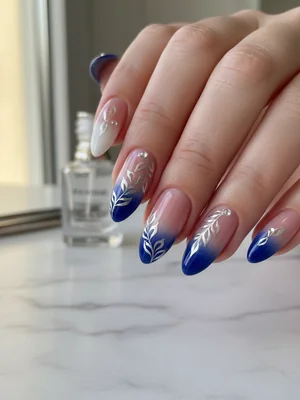
Photo-real Salon Gradient Nails
Gradient inspired nail art with elegant, photo-real finish and professional salon quality
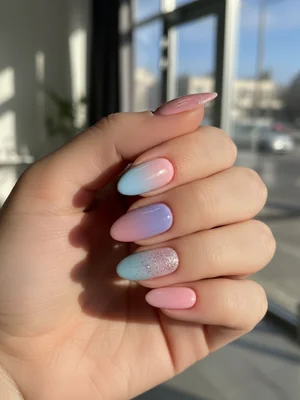
Photo-real Salon Gradient Nails
Gradient inspired nail art with clean, photo-real finish and professional salon quality
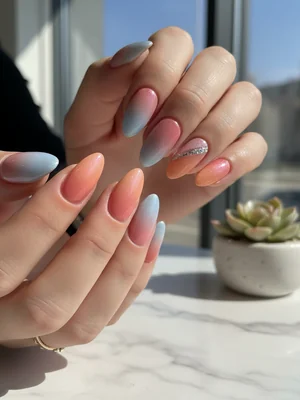
Photo-real Salon Gradient Nails
Gradient inspired nail art with clean, photo-real finish and professional salon quality
Photo-real Salon Gradient Nails
Gradient inspired nail art with clean, photo-real finish and professional salon quality
Explore Similar Designs
Techniques Used
Nail Shapes
Frequently Asked Questions
What makes this color blend 'photo-real'?
It's the ultra-fine, imperceptible transition between colors, achieved through meticulous layering and blending, making the shift appear as smooth and high-definition as a photograph.
How long does this photo-real design last?
With proper application and aftercare, this gel-based design can last 2-3 weeks without chipping or losing its sophisticated shine.
Can I choose any colors for this blending technique?
Absolutely! While the technique focuses on seamless blending, you can select any two or three colors that complement each other for your personalized photo-real look.
Is this design suitable for shorter nails?
While color transitions often look stunning on medium to long nails, a skilled technician can adapt the design for shorter nails, often using fewer colors or a more subtle blend to maintain the refined effect.
Does this blending technique damage natural nails?
No, when applied and removed correctly by a professional, gel polish and this blending technique are safe and non-damaging to your natural nails.
Aftercare Tips
- ✓Avoid prolonged water exposure and hot showers immediately after application (first 24 hours).
- ✓Refrain from picking or biting your nails to protect the design.
- ✓Moisturize hands and cuticles regularly to enhance the overall appearance.
- ✓Contact your nail technician immediately if you notice any lifting or chipping.
Safe Removal
- 1.Gently file off the top coat layer using a fine-grit file, being careful not to file into your natural nail.
- 2.Soak cotton balls in acetone, place them on each nail, and secure with foil wraps for 10-15 minutes.
- 3.Gently push off the softened gel with an orangewood stick; do not force or scrape aggressively.