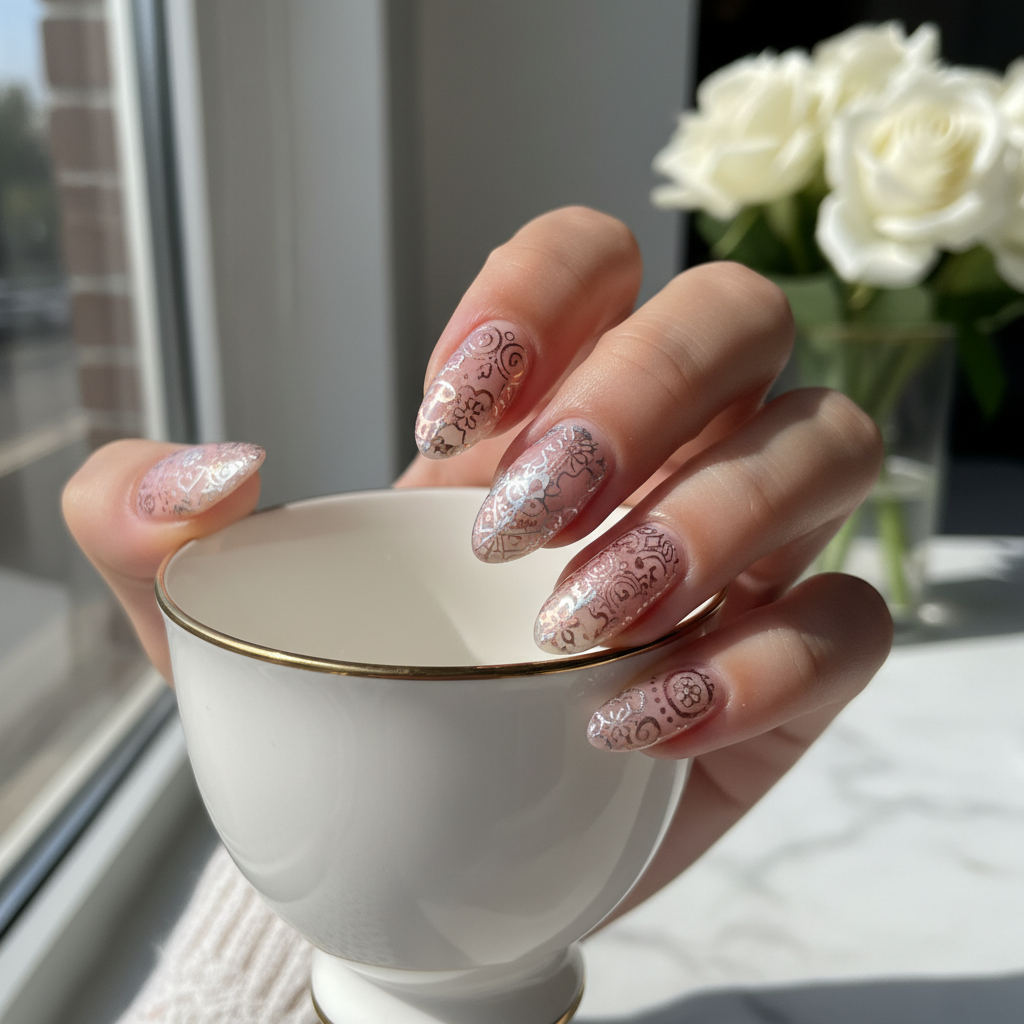
Stunning Photo-real Salon Stamping Nails
Stamping inspired nail art with stunning, photo-real finish and professional salon quality
Created: October 5, 2025 at 06:13 PM
More Stamping Designs
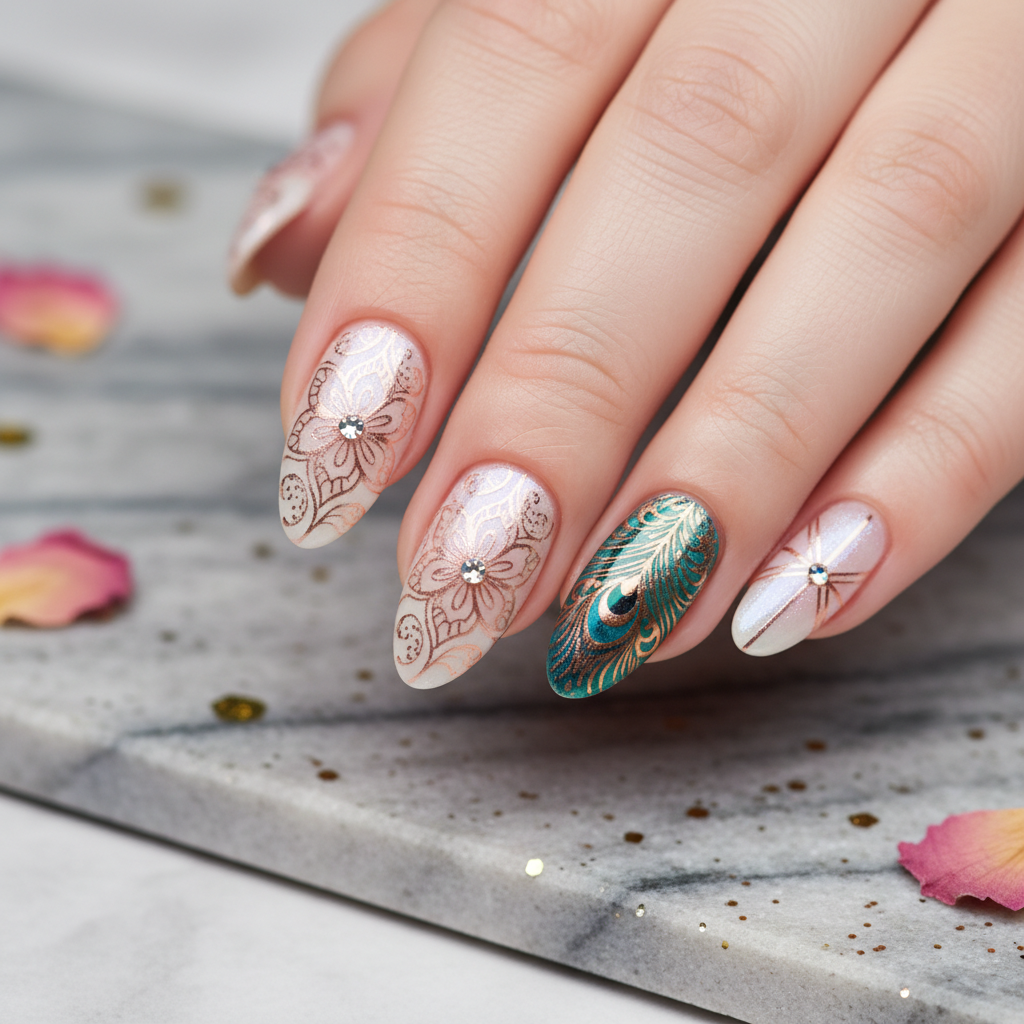
Beautiful Photo-real Salon Stamping Nails
Stamping inspired nail art with beautiful, photo-real finish and professional salon quality
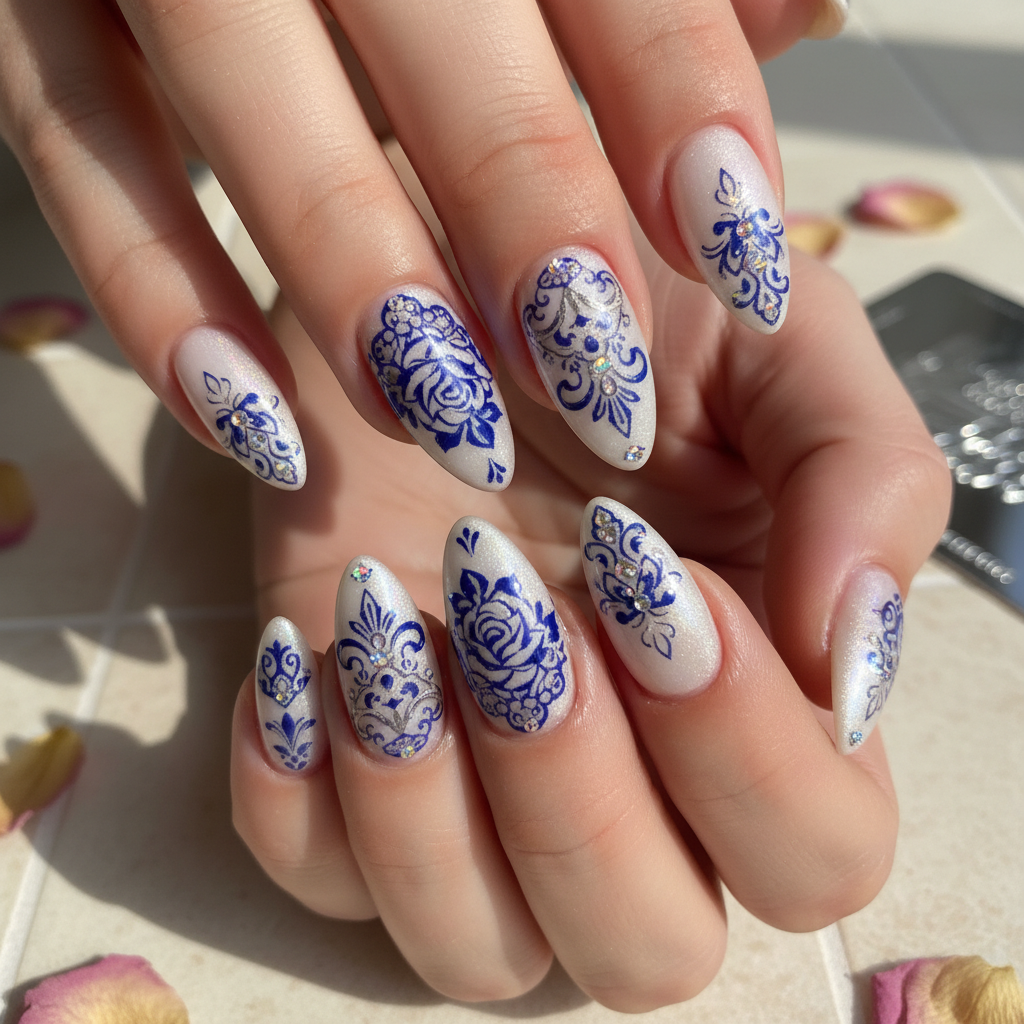
Gorgeous Photo-real Salon Stamping Nails
Stamping inspired nail art with gorgeous, photo-real finish and professional salon quality
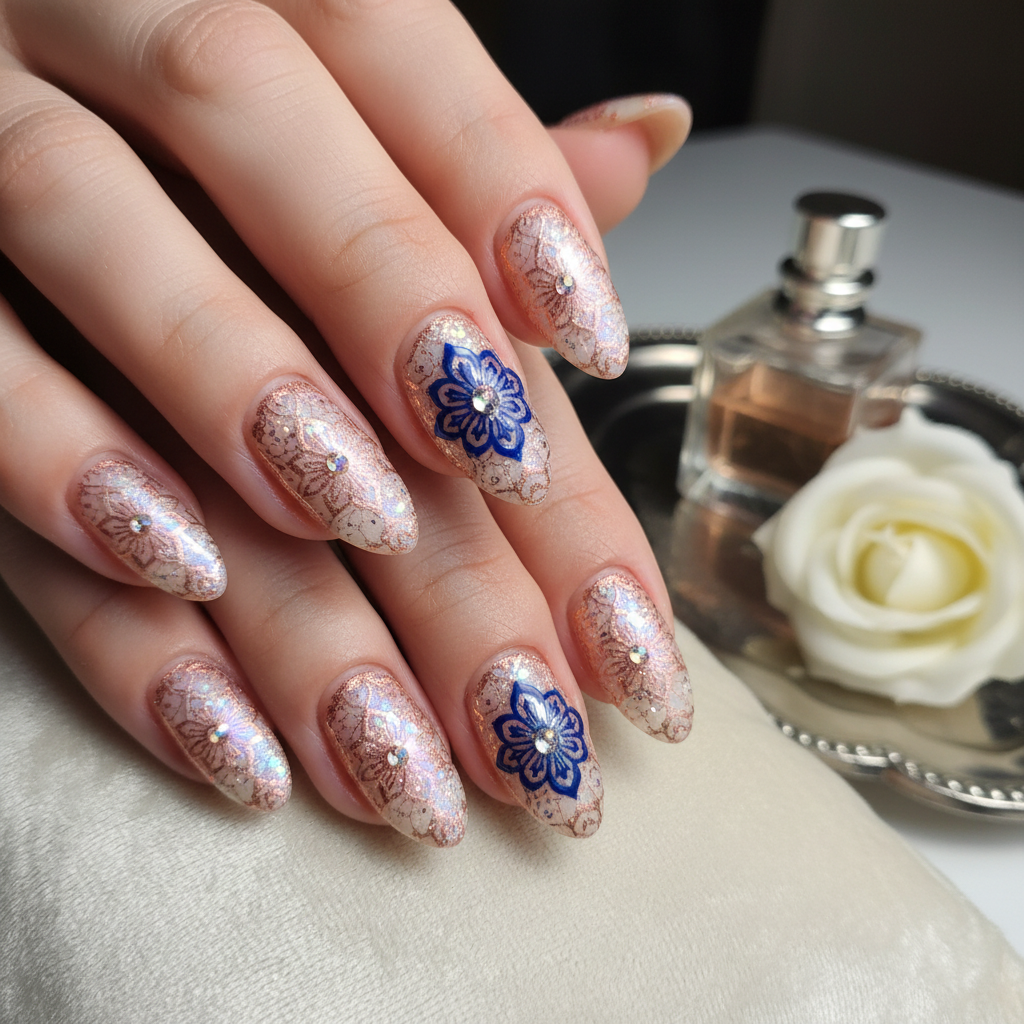
Sophisticated Photo-real Salon Stamping Nails
Stamping inspired nail art with sophisticated, photo-real finish and professional salon quality
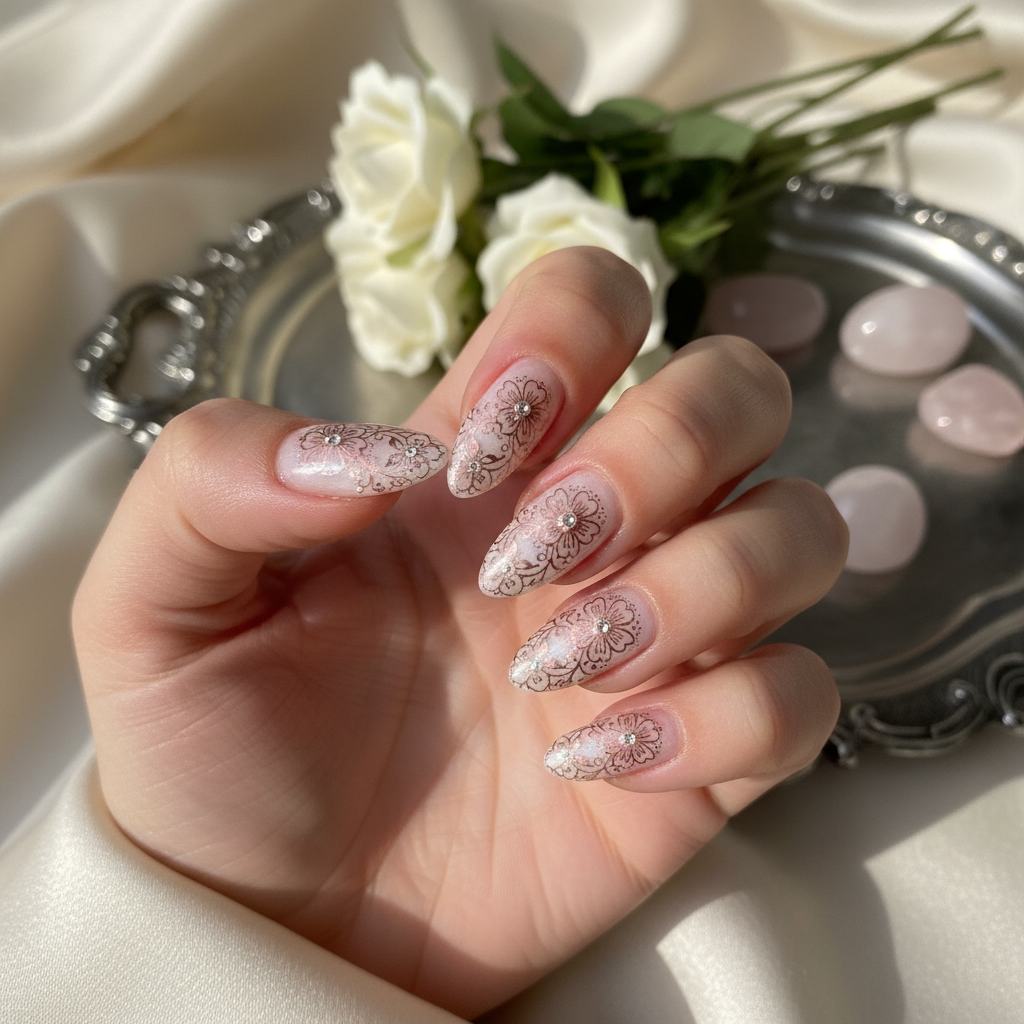
Photo-real Salon Stamping Nails
Stamping inspired nail art with elegant, photo-real finish and professional salon quality
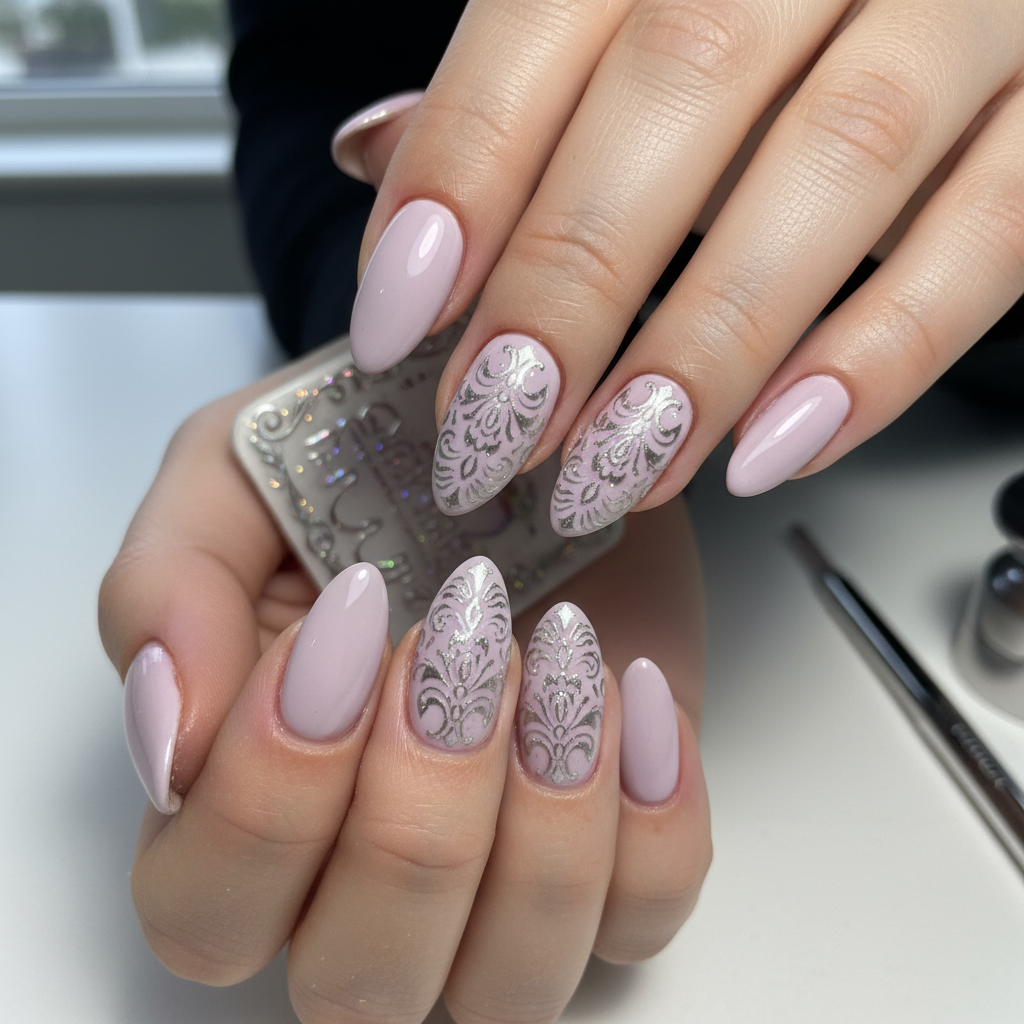
Photo-real Salon Stamping Nails
Stamping inspired nail art with clean, photo-real finish and professional salon quality
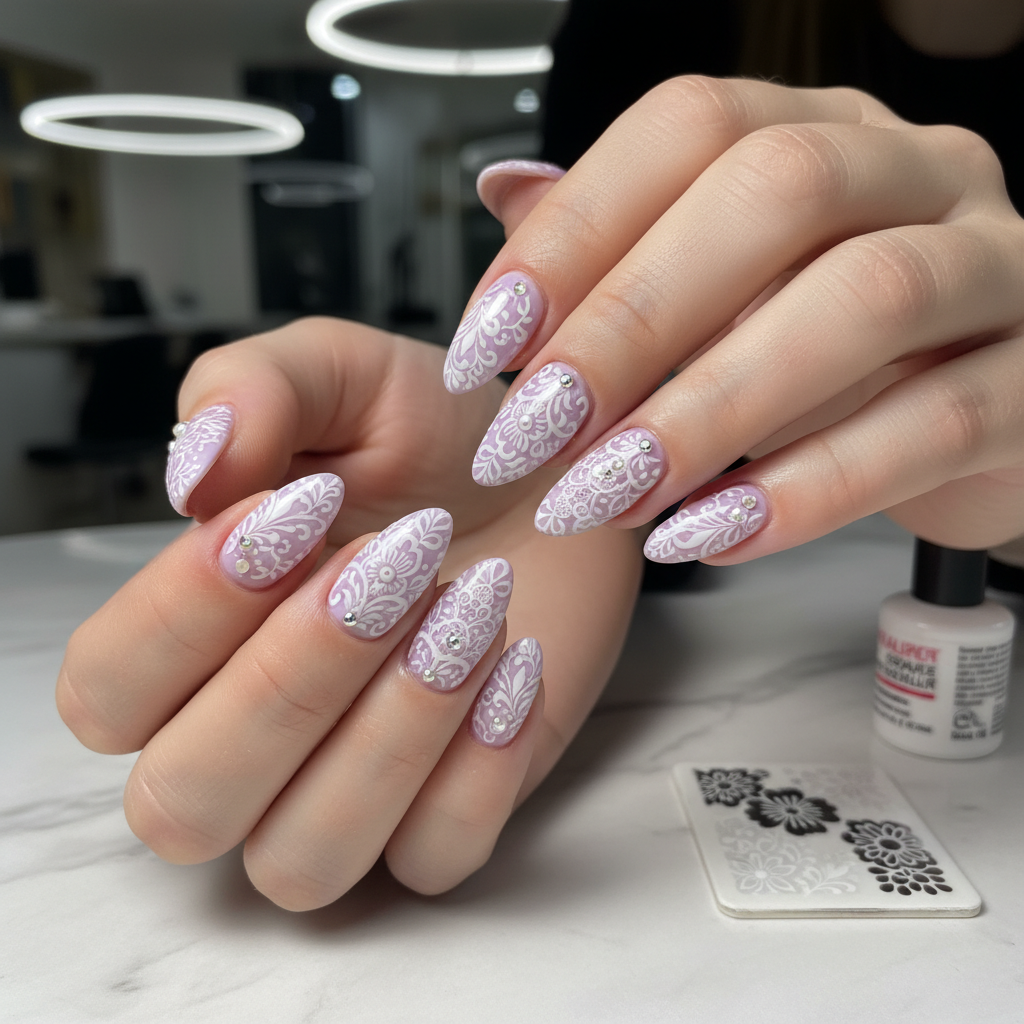
Photo-real Salon Stamping Nails
Stamping inspired nail art with clean, photo-real finish and professional salon quality
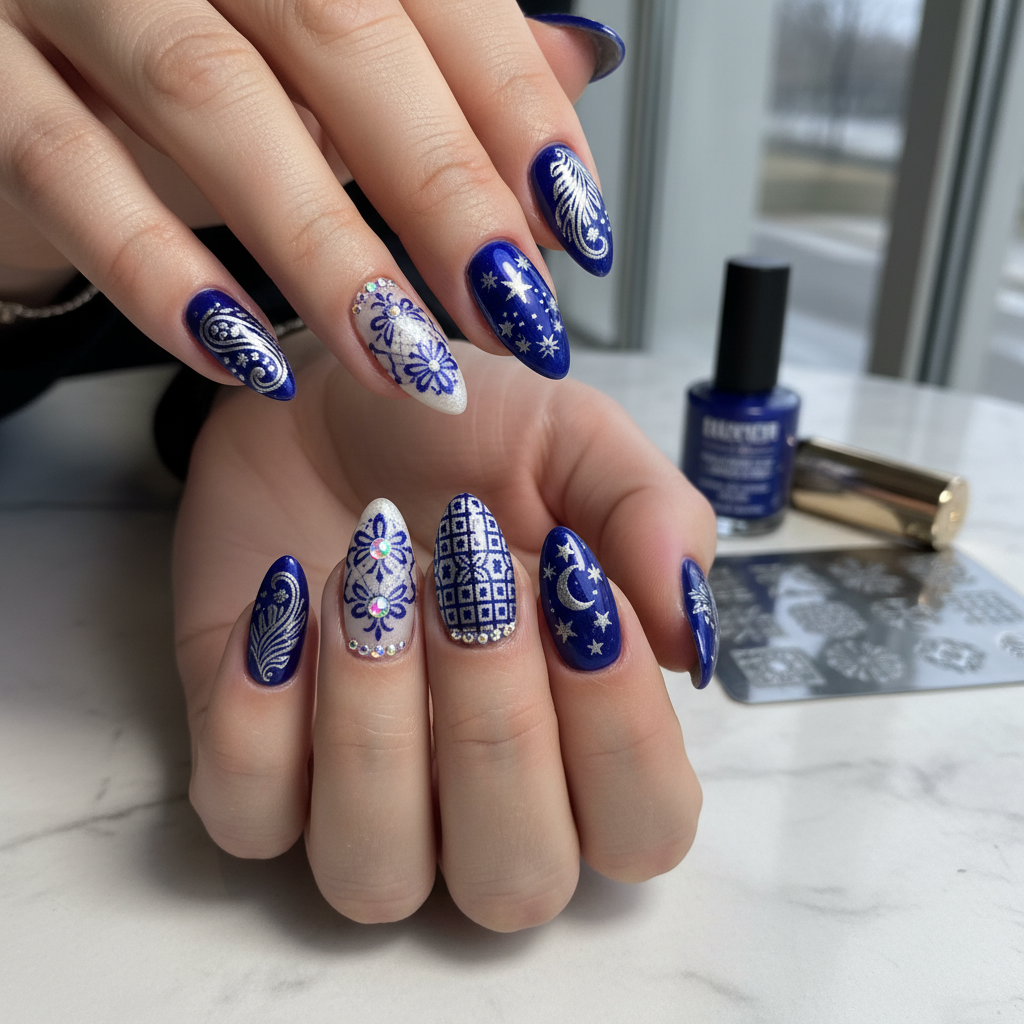
Photo-real Salon Stamping Nails
Stamping inspired nail art with clean, photo-real finish and professional salon quality
More Designs
Photo-Real Salon Stamping Nails: Ultra-Detailed Manicure
Experience the pinnacle of nail art with our Photo-Real Salon Stamping Nails, a design that redefines intricate detail. This professional-grade manicure features stunning, almost photographic imagery transferred seamlessly onto your nails, offering unparalleled clarity and depth. Prepare for a truly unique and sophisticated statement that captures attention with its high-resolution beauty.
Supplies You'll Need
- High-resolution stamping plates (fine-line designs)
- Specialized opaque stamping polish (black, white, metallic)
- Crystal clear silicone stamper (for perfect visibility)
- Lint roller or sticky tape (for cleaning stamper)
- Gel base coat & no-wipe gel top coat
- Cuticle pusher & nippers, nail file, buffer
How To Recreate It
- Perform full nail prep: clean, file, buff, push back cuticles. Apply a dehydrator and primer.
- Apply one or two thin, even coats of gel base color (e.g., nude or light grey), curing each layer under a UV/LED lamp.
- Select a high-resolution design from your stamping plate. Apply a generous amount of specialized stamping polish over the chosen design, then quickly scrape off excess at a 45-degree angle.
- Roll your crystal clear stamper firmly and quickly over the design to pick it up entirely. Carefully align the image over your nail (use a steady hand for precise placement) and roll it onto the nail, ensuring full transfer.
- Once satisfied with the placement and detail, clean up any polish around the cuticles with a fine brush dipped in acetone. Seal the design with a high-gloss, no-wipe gel top coat, ensuring even coverage, and cure thoroughly.
- Apply cuticle oil and gently buff skin around the nails for a salon-quality finish.
Expert Tip
Achieving photo-realism in stamping relies on speed and the right tools. Work quickly from polish application to transfer, ensuring your stamping polish is opaque and your stamper is perfectly clean for crisp, high-definition images.
Try These Variations
- →Monochromatic Marvel: Use sepia-toned stamping polish on a creamy white base for a vintage photographic effect.
- →Nature's Canvas: Feature hyper-realistic floral or fauna designs on a soft gradient background for a living art feel.
- →Architectural Edge: Employ detailed cityscapes or intricate geometric patterns in metallic stamping polish over a matte black base for a dramatic contrast.
Aftercare Tips
- ✓Wear gloves when doing household chores or gardening to protect the integrity of the design.
- ✓Refrain from picking or biting your nails, as this can lift the gel and stamp prematurely.
- ✓Keep your hands well-moisturized, focusing on the nails and cuticles to prolong manicure life.
Safe Removal
- 1.Gently file off the top layer of the gel top coat to break the seal.
- 2.Soak nails in acetone-soaked cotton pads wrapped in foil for 10-15 minutes.
- 3.Gently push off the softened gel and stamping with a wooden stick, never forcing it.
Quick Facts
Why It's Trending
The demand for highly personalized and intricate nail art is soaring, and Photo-Real Stamping Nails meet this trend perfectly. It elevates classic stamping to an art form, allowing for hyper-detailed, almost lifelike patterns that stand out on social media and in person. It's the ultimate upgrade for those seeking a truly bespoke and visually rich manicure.
Seasonal Styling
While versatile year-round, this design truly shines when customized. Opt for delicate florals or nature scenes in spring/summer, intricate gothic or abstract patterns for fall/winter, or festive, highly detailed motifs for holidays. Its professional finish makes it suitable for any season or sophisticated event.
Color Variations
Perfect For
Why People Love It
This design is an Instagram showstopper, captivating audiences with its incredible detail and professional finish. It's often highlighted by nail artists for its precision and by clients for its unique, luxurious appeal, making it a highly requested and admired manicure style.
Daily Maintenance
- 💅Reapply a clear top coat every 7-10 days to maintain gloss and protect the intricate design.
- 💅Apply cuticle oil daily to keep cuticles healthy and prevent lifting around the nail edges.
- 💅Avoid using nails as tools to prevent chipping or damage to the detailed stamped art.
Common Issues & Fixes
- ⚠
- ⚠
- ⚠
- ⚠
Design Inspiration
This design draws inspiration from fine art photography, intricate lace patterns, miniature paintings, and the desire to push the boundaries of traditional stamping. It's about bringing a level of detail and realism to nail art that makes each nail a tiny, wearable canvas.
Explore Similar Designs
Colors in this Design
Techniques Used
Perfect For
Nail Shapes
More Categories to Explore
Popular Colors
Popular Techniques
Perfect Occasions
FAQs
How long do Photo-Real Stamping Nails typically last?
With proper application and aftercare using gel products, this detailed stamping design can last 3-4 weeks without chipping, just like a standard gel manicure.
Can I get custom 'photo-real' images on my nails?
While the term implies photo-realism, it refers to the detail level of the stamp. Custom images would require specialized printing, but you can choose from a vast array of highly intricate and detailed stamping plates to personalize your look.
Is this design suitable for shorter nails?
While medium to long nails best showcase the intricate detail, skilled artists can adapt smaller, less complex photo-real designs to shorter nails for a striking effect.
Why is this design considered 'Advanced'?
Achieving photo-real results requires meticulous plate cleaning, precise polish application, lightning-fast scraping, and accurate stamper placement, all while working with highly detailed patterns – skills that come with practice.
What's the difference between regular stamping and 'photo-real' stamping?
'Photo-real' stamping refers to the extremely fine lines and high-density detail of the images on the stamping plate, allowing for patterns that mimic photographic quality rather than simpler outlines or designs typically found on basic stamping plates.
Does this design feel thick on the nails?
When applied by a professional, the design should feel smooth and comfortable. The stamping layer itself is very thin, and the top coat seals everything seamlessly without excessive bulk.