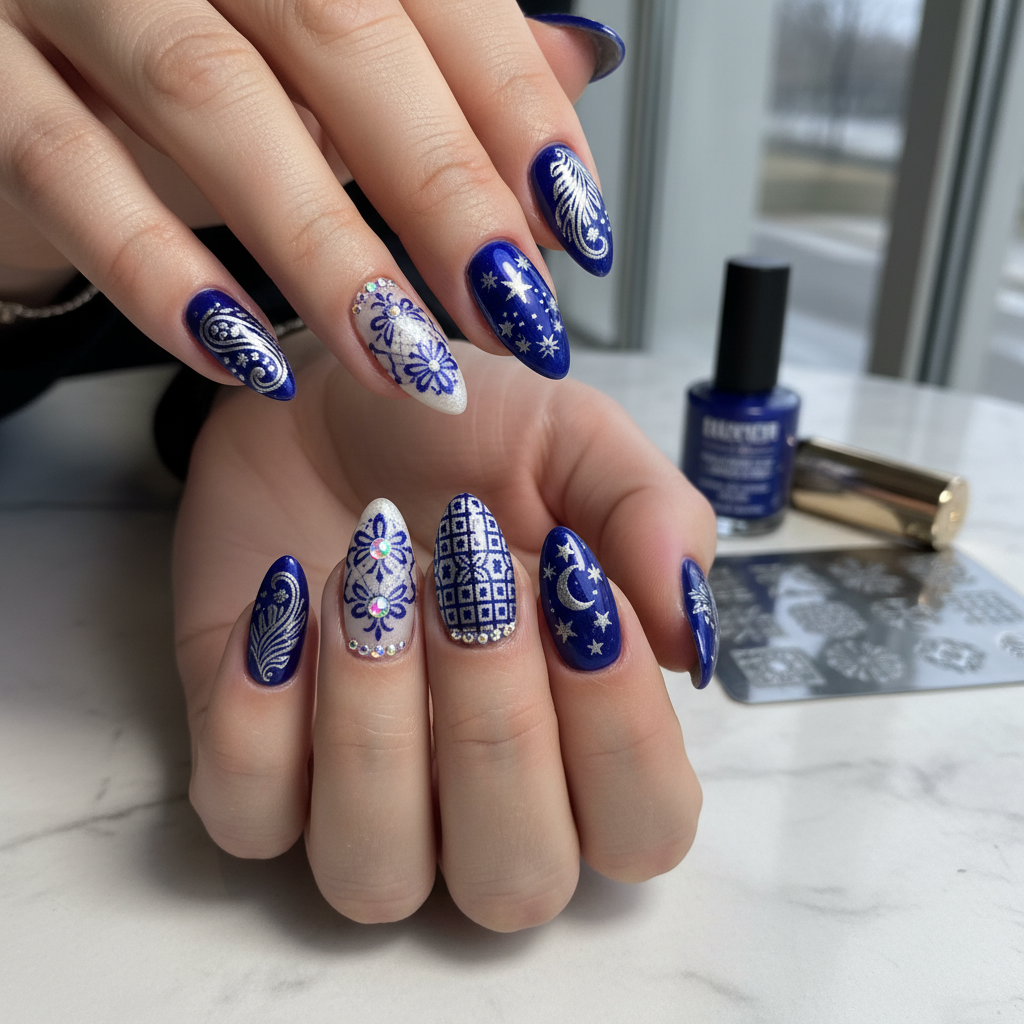
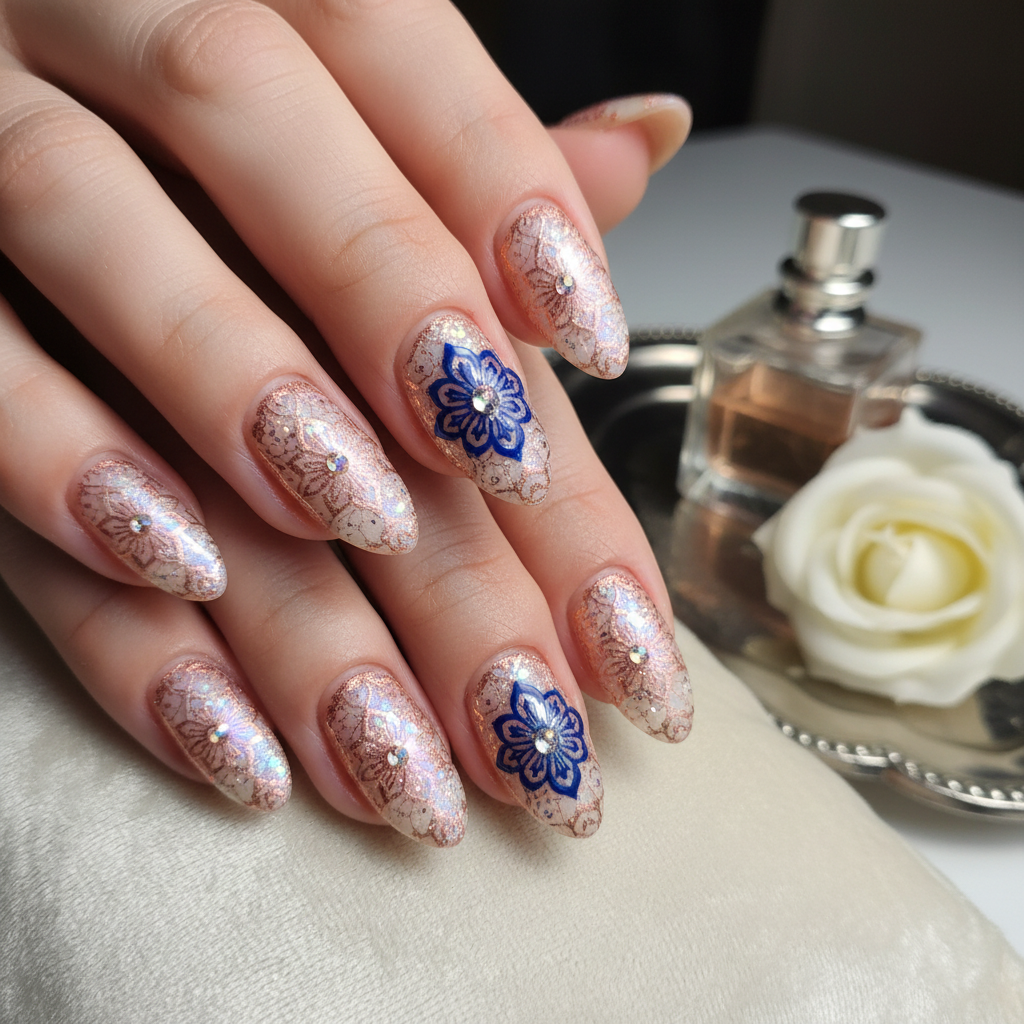
Photo-real Salon Stamping Nails
Stamping inspired nail art with clean, photo-real finish and professional salon quality
Created: October 5, 2025 at 11:47 AM
More Stamping Designs
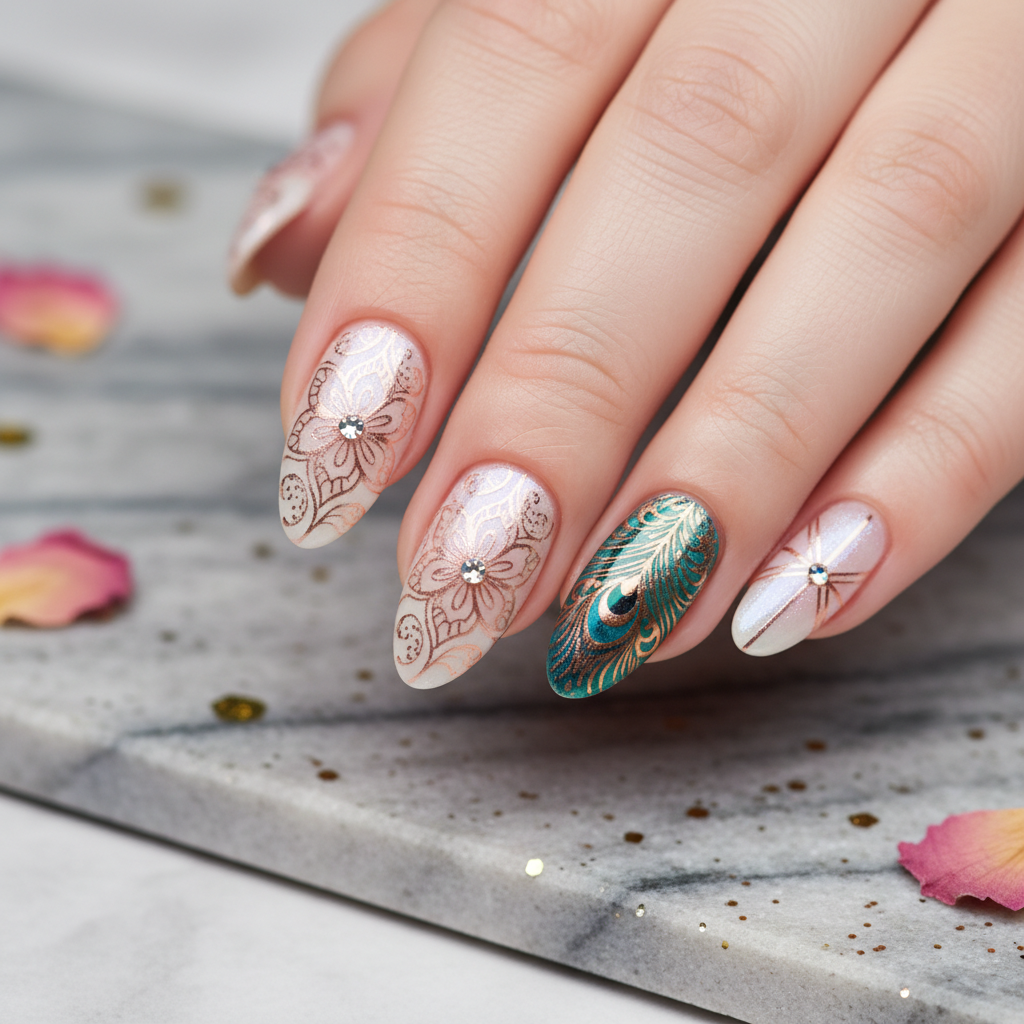
Beautiful Photo-real Salon Stamping Nails
Stamping inspired nail art with beautiful, photo-real finish and professional salon quality
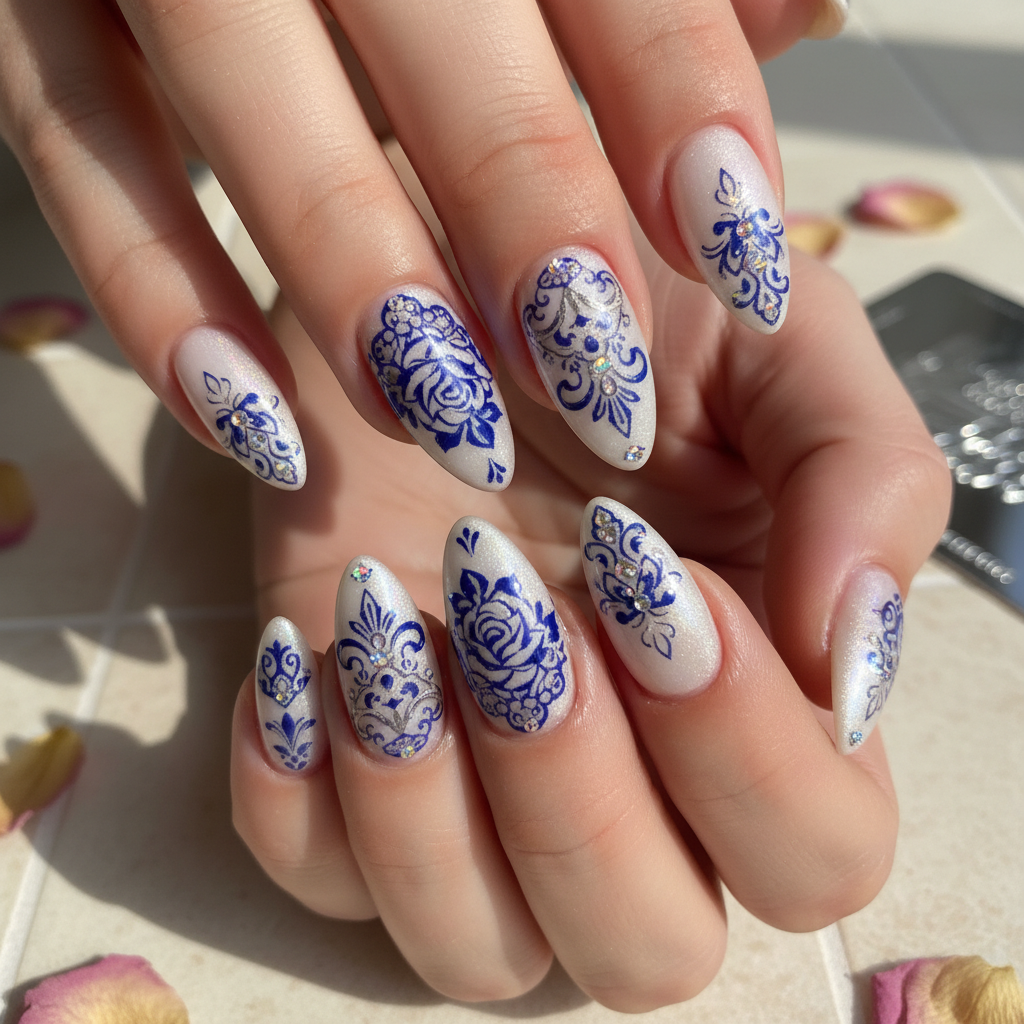
Gorgeous Photo-real Salon Stamping Nails
Stamping inspired nail art with gorgeous, photo-real finish and professional salon quality
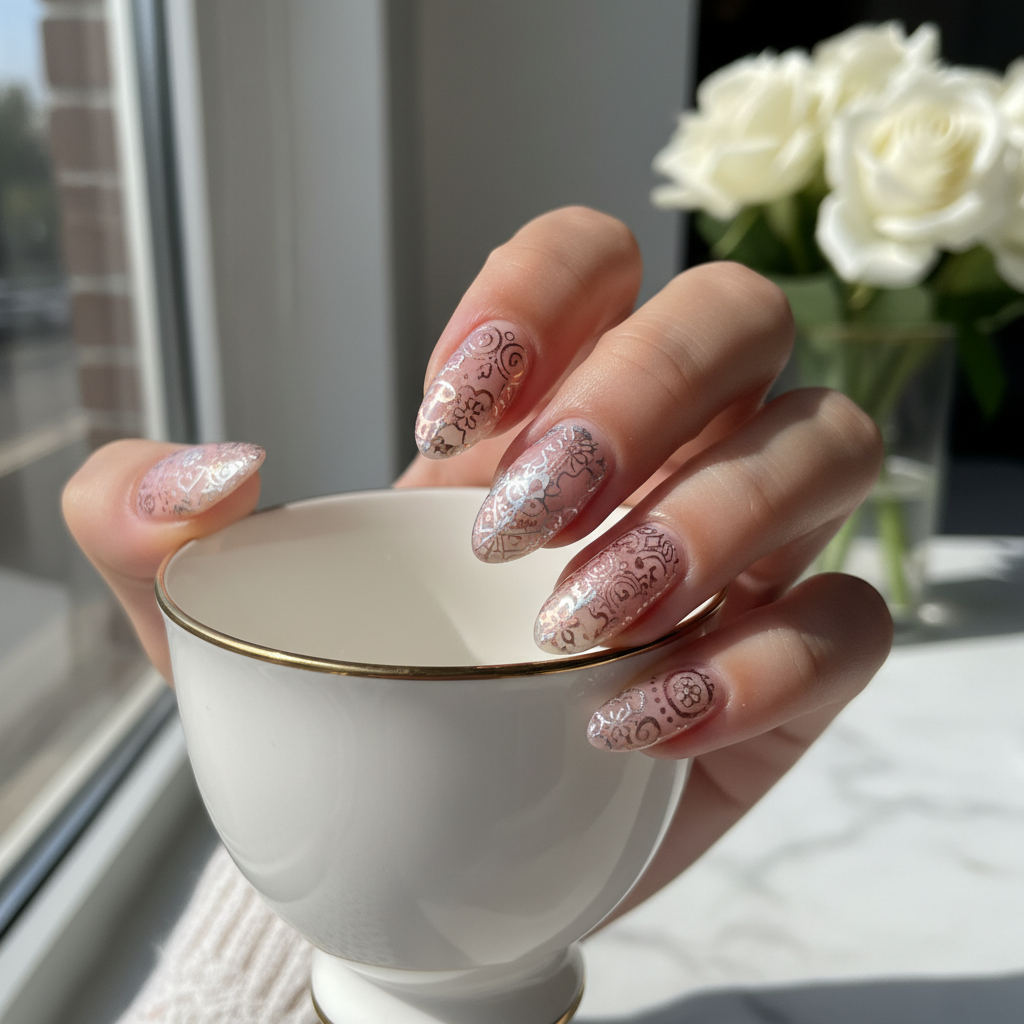
Stunning Photo-real Salon Stamping Nails
Stamping inspired nail art with stunning, photo-real finish and professional salon quality
Sophisticated Photo-real Salon Stamping Nails
Stamping inspired nail art with sophisticated, photo-real finish and professional salon quality
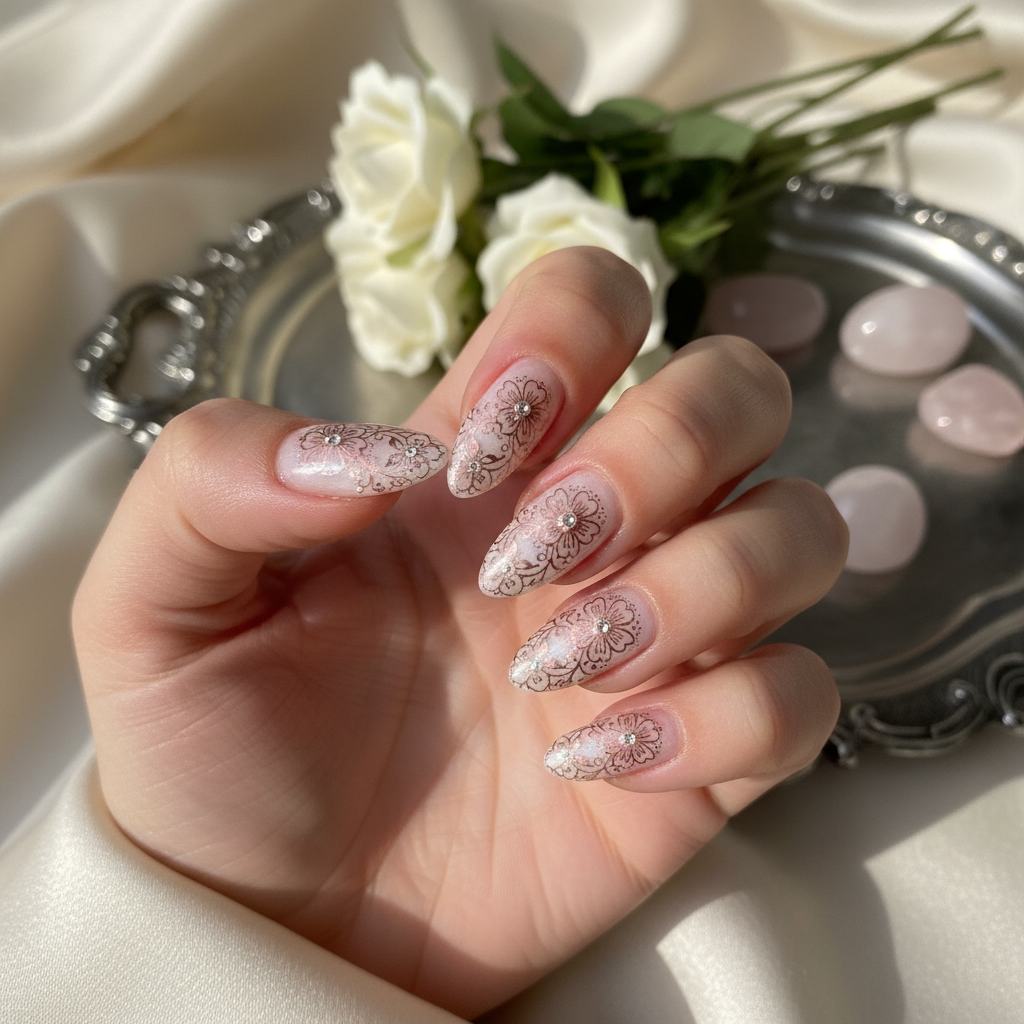
Photo-real Salon Stamping Nails
Stamping inspired nail art with elegant, photo-real finish and professional salon quality
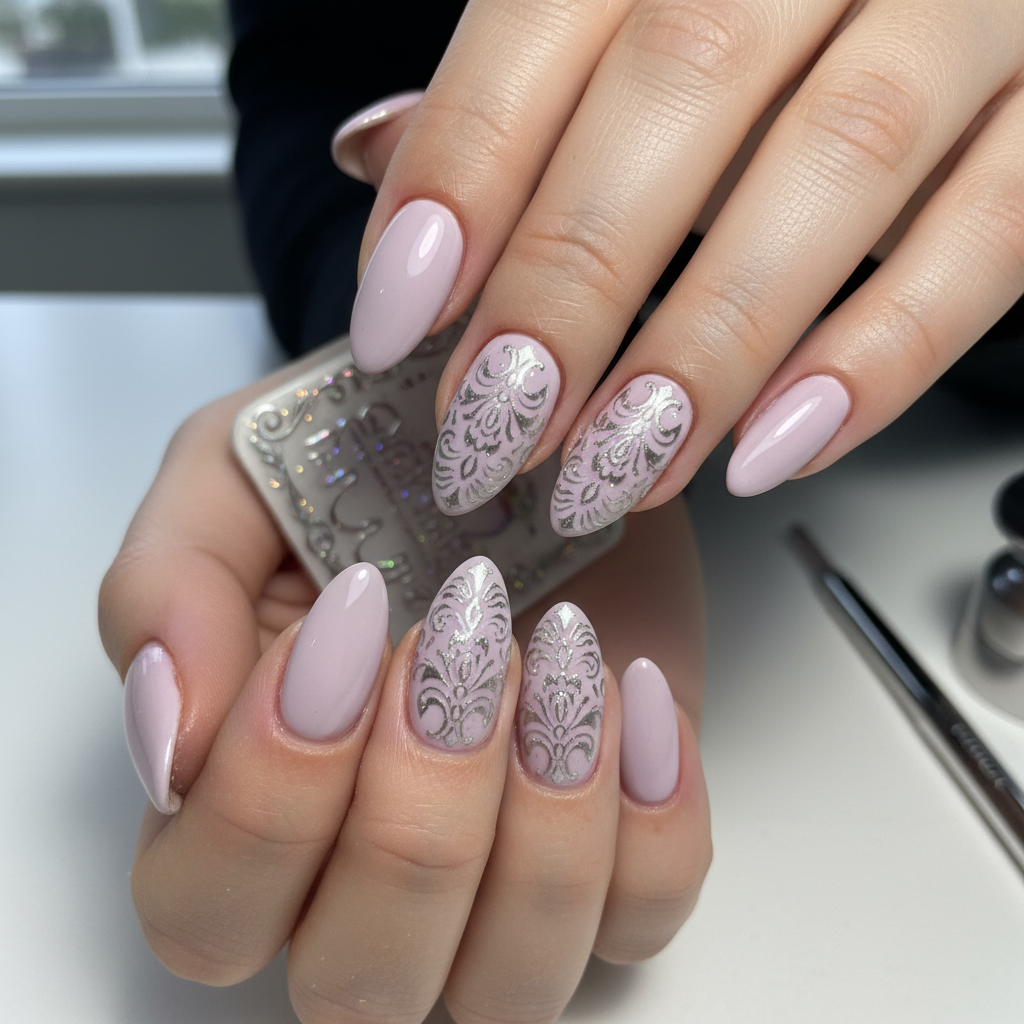
Photo-real Salon Stamping Nails
Stamping inspired nail art with clean, photo-real finish and professional salon quality
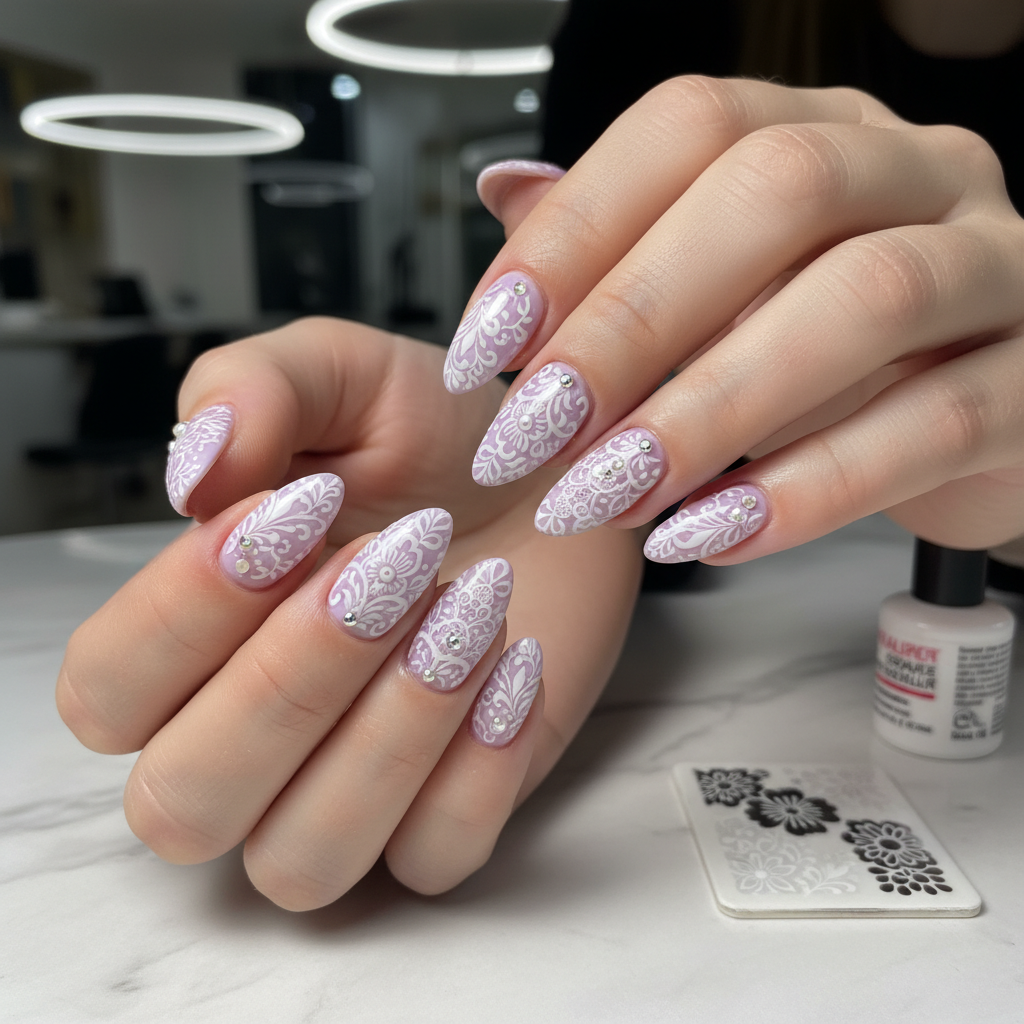
Photo-real Salon Stamping Nails
Stamping inspired nail art with clean, photo-real finish and professional salon quality
More Designs
Photo-Real Stamping Nail Art: Salon-Quality Designs
Achieve stunning, photo-real nail art with this stamping technique. This design brings professional salon quality to your fingertips, allowing for intricate and detailed patterns with ease.
Supplies You'll Need
- Base coat
- Stamping polish
- Stamping plate (detailed design)
- Stamper and scraper
- Top coat
- Nail polish remover and cleanup brush
How To Recreate It
- Apply a base coat to protect your nails and allow to dry completely.
- Apply your base color polish and let it dry fully.
- Apply stamping polish to the chosen design on the stamping plate.
- Scrape off excess polish using the scraper at a 45-degree angle.
- Quickly roll the stamper over the design to pick it up.
- Transfer the design onto your nail with a rolling motion and seal with a top coat.
Expert Tip
Use a sticky base coat before stamping to help the image transfer more cleanly. Clean your stamping plate and stamper after each use to maintain the best results.
Try These Variations
- →Ombre stamping: Create an ombre base color before stamping.
- →Reverse stamping: Paint the stamped image with different colors.
- →Multi-layered stamping: Layer multiple stamped images for a complex design.
Aftercare Tips
- ✓Use cuticle oil daily to keep nails and surrounding skin hydrated.
- ✓Wear gloves when doing housework or gardening.
- ✓Avoid picking or biting your nails.
Safe Removal
- 1.Soak cotton pad in nail polish remover.
- 2.Place on the nail and hold for 15-20 seconds.
- 3.Wipe away polish gently. Repeat if necessary.
Quick Facts
Why It's Trending
The demand for detailed, salon-quality nail art at home is increasing, making photo-real stamping a popular way to achieve professional results quickly.
Seasonal Styling
Perfect for showcasing intricate holiday designs in winter or floral patterns in spring.
Color Variations
Perfect For
Why People Love It
Instagram and TikTok are filled with tutorials and examples of stunning photo-real stamping nail art, demonstrating its popularity and achievable beauty.
Daily Maintenance
- 💅Apply top coat every 2-3 days to prevent chipping.
- 💅Avoid harsh chemicals that can damage the design.
- 💅Keep nails moisturized to prevent cracking.
Common Issues & Fixes
- ⚠Image not transferring cleanly.Make sure your stamper is primed, and the stamping polish is opaque enough. Scrape quickly and roll firmly.
- ⚠Smudging during top coat application.Use a quick-dry top coat and float it over the stamped design without pressing down.
- ⚠Stamping plate not picking up polish.Clean the plate thoroughly with nail polish remover before each use. Ensure the polish is specifically for stamping.
Design Inspiration
Inspired by high-definition photography and the desire to replicate intricate patterns on nails with precision and ease.
Explore Similar Designs
Colors in this Design
Techniques Used
Perfect For
Nail Shapes
More Categories to Explore
Popular Colors
Popular Techniques
Perfect Occasions
FAQs
What is the best type of polish for stamping?
Stamping polishes are highly pigmented and opaque, which is crucial for transferring clear designs.
How do I clean my stamping plate?
Use lint-free cotton pads and nail polish remover to wipe away excess polish after each use.
Can I use regular nail polish for stamping?
While possible, stamping polishes are specifically formulated for better opacity and transfer. Regular polishes may not work as well.
How do I prevent air bubbles when stamping?
Work quickly and avoid pausing when scraping and rolling. This minimizes the chance of air bubbles forming.
What is a sticky base coat and why should I use it?
A sticky base coat provides a tacky surface for the stamped image to adhere to, improving transfer quality and longevity.
How often should I clean my stamper head?
Clean your stamper head after each use to remove any remaining polish and oils. Use tape or a lint roller.