Spooky Halloween Black Orange Pumpkins Green Halloween Nails - Halloween nail art - featuring green, black, halloween - nail art inspiration and design ideas
Spooky Halloween Black Orange Pumpkins Green Halloween Nails
Spooky Pumpkin Patch: Halloween Black Nail Art Design
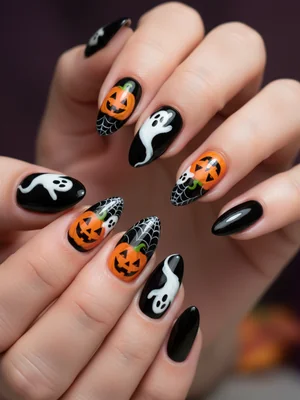
Embrace the Halloween spirit with this spooky yet chic nail design! Featuring a sleek black base, playful orange pumpkins, and witchy green accents, these nails are perfect for October festivities.
Spooky Pumpkin Patch: Halloween Black Nail Art Design
Embrace the Halloween spirit with this spooky yet chic nail design! Featuring a sleek black base, playful orange pumpkins, and witchy green accents, these nails are perfect for October festivities.
- Black nail polish
- Orange nail polish
- Green nail polish
- White nail polish
- Thin nail art brush
- Top coat
- Apply a base coat to protect your nails.
- Apply two coats of black nail polish as the base color.
- Using a thin brush, paint orange pumpkin shapes on desired nails.
- Add green accents to the pumpkins for a witchy touch (e.g., vines, stems).
- Clean up any mistakes with a small brush and nail polish remover.
- Seal the design with a top coat for a glossy or matte finish.
Colors in This Design
Expert Tip
Use a dotting tool to create perfectly round pumpkin shapes. Let each layer dry completely to prevent smudging.
Similar Styles
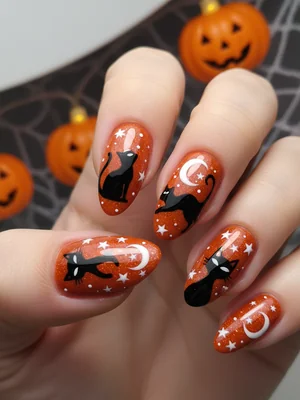
Festive Halloween Orange Black Cats White Halloween Nails
Festive Halloween nails with orange base, black cats, and white moon details
Black Green Witch Hats Purple Glitter Halloween Nails
Spooky Halloween nail art with black base, green witch hats, and purple glitter
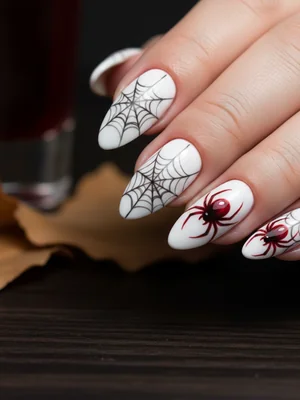
Creepy Halloween White Black Spider Webs Halloween Nails
Creepy Halloween design with white base, black spider webs, and red spider accents
Spooky Halloween Black Orange Pumpkins Green Halloween Nails
Spooky Halloween nails with black base, orange pumpkins, and green witch details
Spooky Halloween Black Orange Pumpkins Green Halloween Nails
Spooky Halloween nails with black base, orange pumpkins, and green witch details
Creepy Halloween White Black Spider Webs Halloween Nails
Creepy Halloween design with white base, black spider webs, and red spider accents
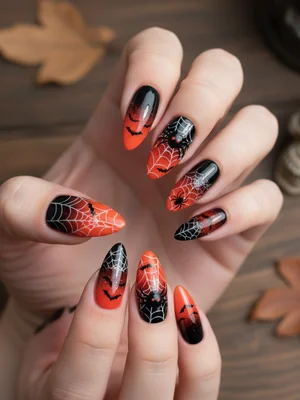
Creepy Halloween Black Orange Gradient Spider Halloween Nails
Creepy Halloween nails with black and orange gradient, spider webs, and tiny bats
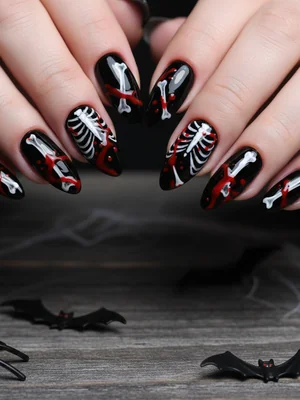
Creepy Halloween Black White Bones Red Halloween Nails
Creepy Halloween design featuring black base, white bones, and red blood splatters
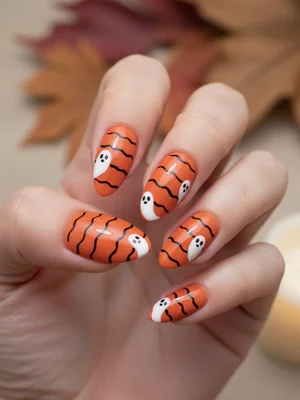
Orange Black Stripes White Ghosts Halloween Nails
Halloween nail art with orange base, black stripes, and tiny white ghosts
Black Orange Pumpkins White Ghost Silhouettes Halloween Nails
Spooky Halloween nail art with black base, orange pumpkins, and white ghost silhouettes
Festive Halloween Orange Black Cats White Halloween Nails
Festive Halloween nails with orange base, black cats, and white moon details
Orange Black Stripes White Ghosts Halloween Nails
Halloween nail art with orange base, black stripes, and tiny white ghosts
Explore Similar Designs
Techniques Used
Nail Shapes
Frequently Asked Questions
Can I use gel polish for this design?
Yes, gel polish can be used, but ensure you have the proper UV/LED lamp for curing.
How long will this design last?
With proper care and a good top coat, it can last up to 2 weeks.
What if I don't have a thin nail art brush?
You can use a toothpick or a fine-tipped marker for the details.
Is this design suitable for acrylic nails?
Yes, this design can be applied to acrylic nails as well.
Can I add a matte top coat?
Yes, a matte top coat will give it a more muted and eerie look!
How do I make the green look more 'witchy'?
Try using a shimmering or slightly metallic green polish.
Aftercare Tips
- ✓Moisturize hands and cuticles regularly.
- ✓Wear gloves when doing housework.
- ✓Avoid picking at the nail art.
Safe Removal
- 1.Soak cotton balls in nail polish remover.
- 2.Place the cotton balls on your nails and wrap with foil. Wait 10-15 minutes.


