
Sophisticated Photo-real Salon Bridesmaid Nails - Bridesmaid nail art - featuring nail art, red - nail art inspiration and design ideas
Sophisticated Photo-real Salon Bridesmaid Nails
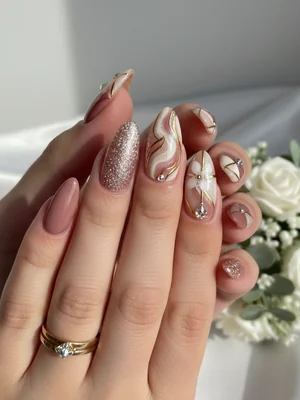
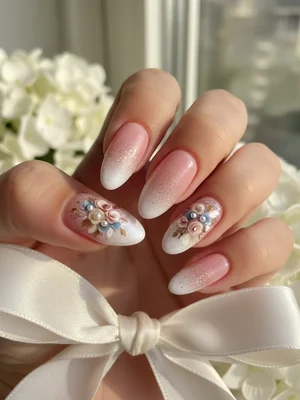
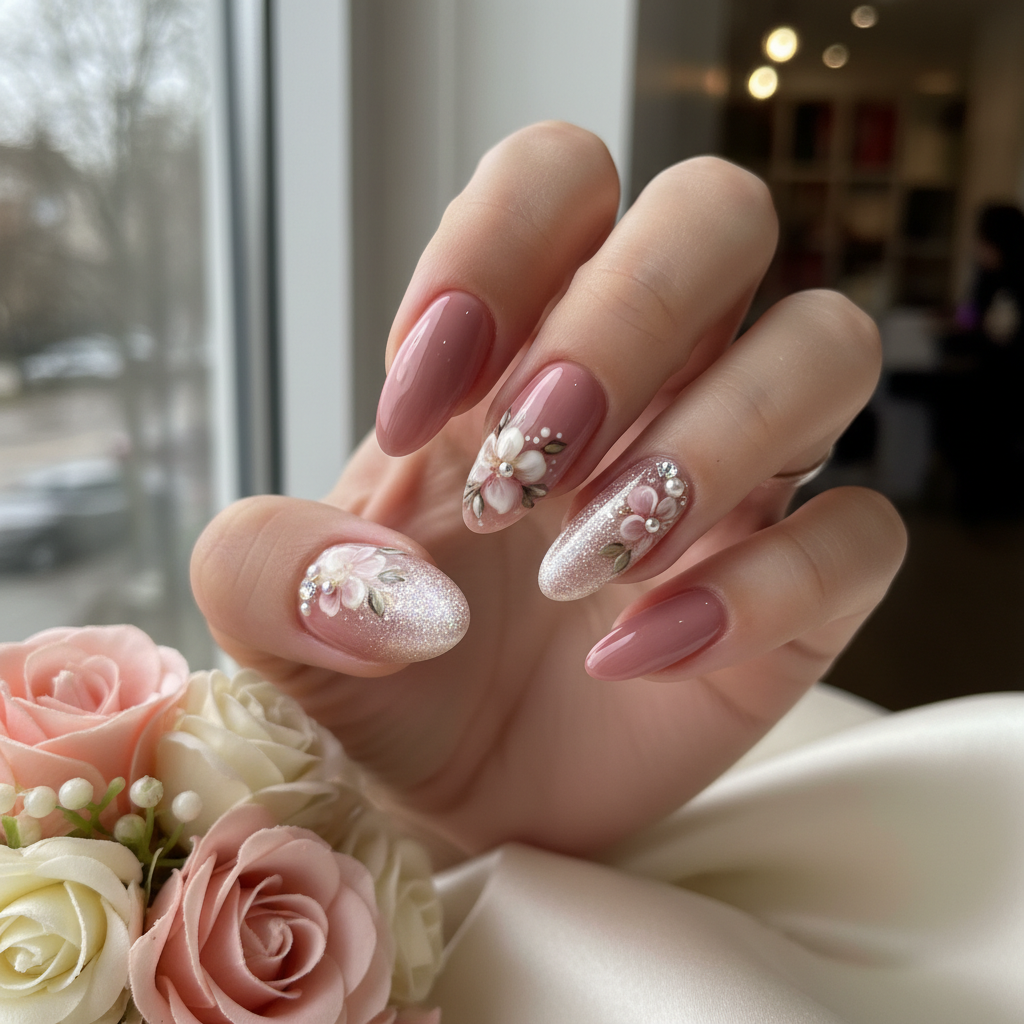
Photo-Real Bridesmaid Nails: Sophisticated Salon Finish
Achieve stunning, photo-real nail art perfect for bridesmaids with this sophisticated design. This salon-quality look combines subtle elegance with intricate details, making it ideal for special occasions.
Photo-Real Bridesmaid Nails: Sophisticated Salon Finish
Achieve stunning, photo-real nail art perfect for bridesmaids with this sophisticated design. This salon-quality look combines subtle elegance with intricate details, making it ideal for special occasions.
- Gel polish (nude, pale pink, ivory)
- Fine detail brushes
- Airbrush system (optional)
- Top coat (glossy)
- Nail art sponges
- Photo-real nail decals (optional)
- Prep nails: Shape, buff, and apply a base coat.
- Apply 2-3 coats of a nude or pale pink gel polish, curing between each coat.
- Using fine detail brushes or an airbrush, create subtle shading and highlights to achieve a photo-real effect. Consider adding delicate floral or lace patterns.
- Apply photo-real decals (optional) for added detail.
- Seal with a glossy top coat, ensuring full coverage.
- Cure under a UV/LED lamp for the recommended time.
Expert Tip
Use a light hand and build up colors gradually to achieve a realistic, airbrushed effect. Practice on a nail art palette first to perfect your shading technique.
Similar Styles
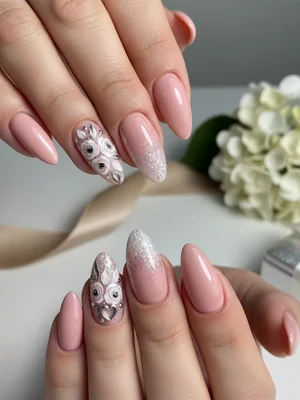
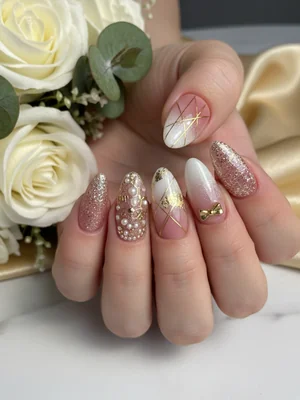
Beautiful Photo-real Salon Bridesmaid Nails
Bridesmaid inspired nail art with beautiful, photo-real finish and professional salon quality
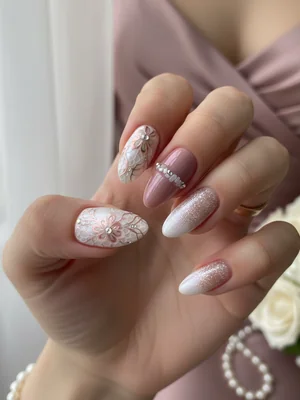
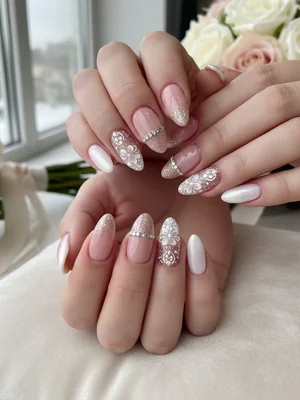
Sophisticated Photo-real Salon Bridesmaid Nails
Bridesmaid inspired nail art with sophisticated, photo-real finish and professional salon quality
Gorgeous Photo-real Salon Bridesmaid Nails
Bridesmaid inspired nail art with gorgeous, photo-real finish and professional salon quality
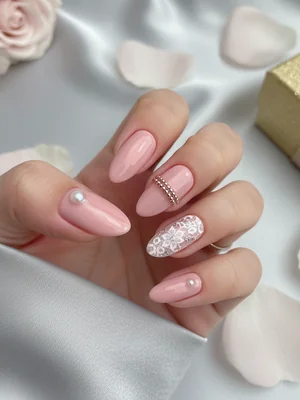
Photo-real Salon Bridesmaid Nails
Bridesmaid inspired nail art with elegant, photo-real finish and professional salon quality
Beautiful Photo-real Salon Bridesmaid Nails
Bridesmaid inspired nail art with beautiful, photo-real finish and professional salon quality
Stunning Photo-real Salon Bridesmaid Nails
Bridesmaid inspired nail art with stunning, photo-real finish and professional salon quality
Gorgeous Photo-real Salon Bridesmaid Nails
Bridesmaid inspired nail art with gorgeous, photo-real finish and professional salon quality

Sophisticated Photo-real Salon Bridesmaid Nails
Bridesmaid inspired nail art with sophisticated, photo-real finish and professional salon quality

Stunning Photo-real Salon Bridesmaid Nails
Bridesmaid inspired nail art with stunning, photo-real finish and professional salon quality

Photo-real Salon Bridesmaid Nails
Bridesmaid inspired nail art with elegant, photo-real finish and professional salon quality
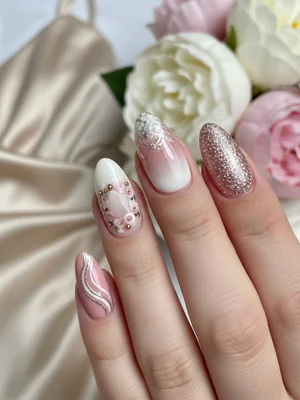
Photo-real Salon Bridesmaid Nails
Bridesmaid inspired nail art with elegant, photo-real finish and professional salon quality

Photo-real Salon Bridesmaid Nails
Bridesmaid inspired nail art with clean, photo-real finish and professional salon quality
Explore Similar Designs
Colors in this Design
Techniques Used
Nail Shapes
Frequently Asked Questions
Can I use regular nail polish instead of gel?
While possible, gel polish provides a longer-lasting and more durable finish for this intricate design.
How long will this design last?
With proper care, this design can last up to two weeks without chipping.
Is an airbrush necessary?
An airbrush can help achieve a smoother, more realistic effect, but it's not essential. You can also use fine detail brushes and sponges.
What if I don't have photo-real decals?
You can create similar effects using fine-line painting techniques with a detail brush and steady hand.
Can I adapt this design for short nails?
Yes, adapt the design by focusing on simpler patterns and using a lighter color palette. Maintain a similar almond or oval shape.
What top coat is best for photo-real effect?
A high-shine, non-yellowing top coat will enhance the photo-real effect and protect the design.
Aftercare Tips
- ✓Moisturize hands regularly.
- ✓Avoid picking or peeling at the polish.
- ✓Use a gentle nail polish remover when removing the design.
- ✓Consider a hand mask for extra hydration after removal.
Safe Removal
- 1.Gently file the top coat to break the seal.
- 2.Soak cotton pads in acetone and apply to each nail, wrapping with foil.
- 3.Wait 10-15 minutes, then gently scrape off the softened gel polish.