
Sophisticated Photo-real Salon Bridal Nails - Bridal nail art - featuring nail art, red - nail art inspiration and design ideas
Sophisticated Photo-real Salon Bridal Nails
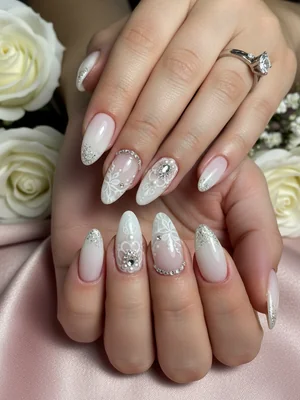
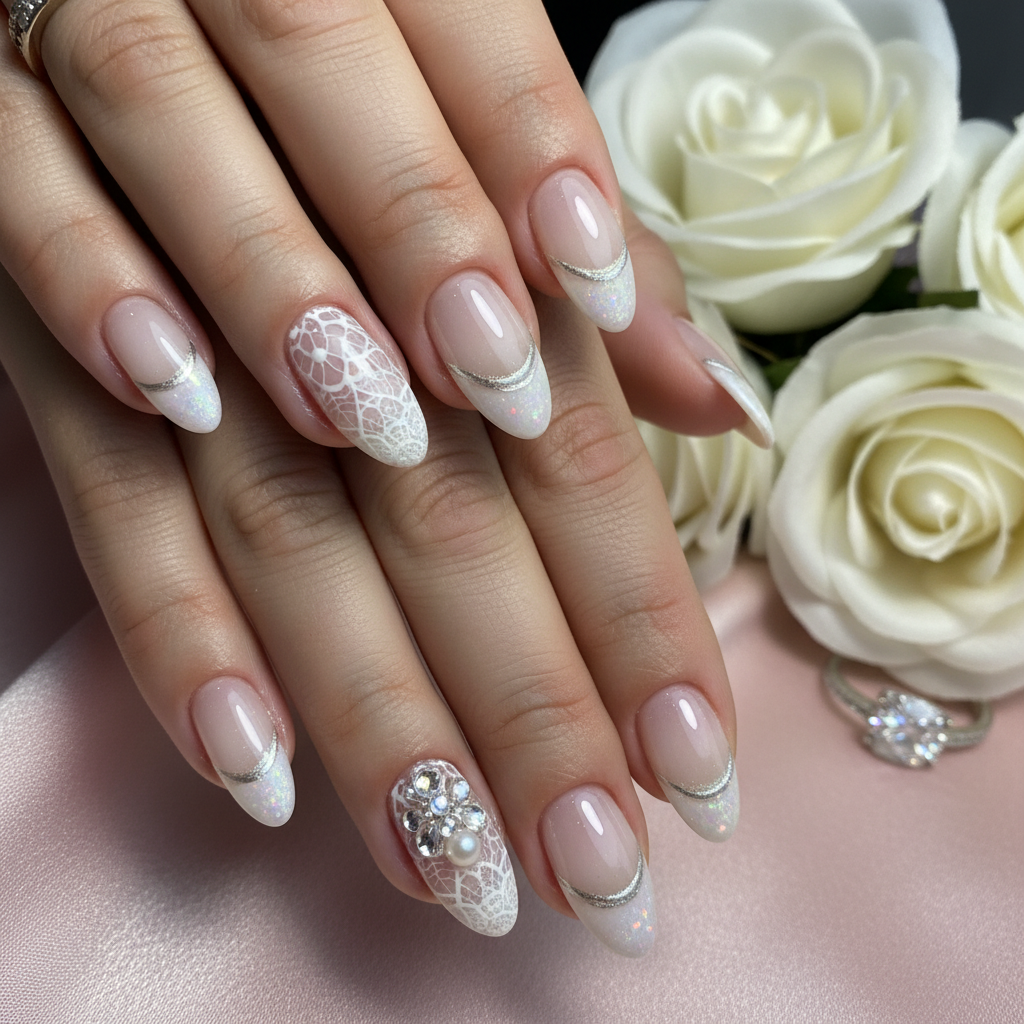
Photo-Real Bridal Nails: Salon-Quality Sophistication
Achieve stunning, photo-realistic nails perfect for your big day. This sophisticated bridal design elevates traditional nail art with a flawless, salon-quality finish, ensuring your nails are picture-perfect.
Photo-Real Bridal Nails: Salon-Quality Sophistication
Achieve stunning, photo-realistic nails perfect for your big day. This sophisticated bridal design elevates traditional nail art with a flawless, salon-quality finish, ensuring your nails are picture-perfect.
- Gel base coat
- Gel colors (soft white, pale pink, nude)
- Fine-tip nail art brushes
- Airbrush system (optional, for ombre effect)
- Gel top coat
- UV/LED lamp
- Apply a thin layer of gel base coat and cure under a UV/LED lamp.
- Apply 2-3 thin coats of pale pink or nude gel polish, curing after each coat.
- Create a subtle ombre effect using an airbrush or sponge with soft white gel polish. Cure.
- Using fine-tip brushes, add delicate floral details or lace patterns with white or silver gel polish. Cure.
- Apply a glossy gel top coat and cure. Remove any sticky residue.
- Clean and moisturize cuticles with cuticle oil.
Expert Tip
Practice your fine-line detailing on a practice nail or paper before applying to your nails. Use a very light hand and thin layers of gel polish for the most realistic and refined look.
Similar Styles

Beautiful Photo-real Salon Bridal Nails
Bridal inspired nail art with beautiful, photo-real finish and professional salon quality

Gorgeous Photo-real Salon Bridal Nails
Bridal inspired nail art with gorgeous, photo-real finish and professional salon quality

Stunning Photo-real Salon Bridal Nails
Bridal inspired nail art with stunning, photo-real finish and professional salon quality

Beautiful Photo-real Salon Bridal Nails
Bridal inspired nail art with beautiful, photo-real finish and professional salon quality

Gorgeous Photo-real Salon Bridal Nails
Bridal inspired nail art with gorgeous, photo-real finish and professional salon quality
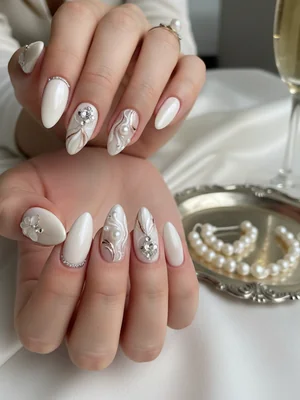
Photo-real Salon Bridal Nails
Bridal inspired nail art with elegant, photo-real finish and professional salon quality

Beautiful Photo-real Salon Bridal Nails
Bridal inspired nail art with beautiful, photo-real finish and professional salon quality

Stunning Photo-real Salon Bridal Nails
Bridal inspired nail art with stunning, photo-real finish and professional salon quality

Gorgeous Photo-real Salon Bridal Nails
Bridal inspired nail art with gorgeous, photo-real finish and professional salon quality

Sophisticated Photo-real Salon Bridal Nails
Bridal inspired nail art with sophisticated, photo-real finish and professional salon quality
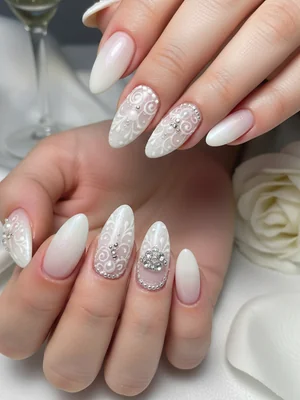
Photo-real Salon Bridal Nails
Bridal inspired nail art with elegant, photo-real finish and professional salon quality
Stunning Photo-real Salon Bridal Nails
Bridal inspired nail art with stunning, photo-real finish and professional salon quality
Explore Similar Designs
Colors in this Design
Nail Shapes
Frequently Asked Questions
How long will this design last?
With proper application and maintenance, gel polish can last up to 2-3 weeks without chipping.
Can I achieve this look without an airbrush?
Yes, you can create a similar ombre effect using a makeup sponge and dabbing the colors onto your nails.
What kind of brushes should I use for the fine-line details?
Use very fine, detail brushes specifically designed for nail art.
Is gel polish necessary for this design?
Gel polish is recommended for its durability and glossy finish, which enhances the photo-real effect.
How do I prevent bubbles in my gel polish?
Apply thin, even layers of gel polish and avoid shaking the bottle vigorously. Roll the bottle gently to mix the polish.
Can I use regular nail polish instead of gel polish?
While possible, regular nail polish won't achieve the same durability or glossy finish as gel polish, and the details may not last as long.
Aftercare Tips
- ✓Keep your hands moisturized to prevent cracking and dryness.
- ✓Gently push back cuticles after showering or bathing.
- ✓Avoid picking or biting your nails.
Safe Removal
- 1.Gently file the top layer of the gel polish.
- 2.Soak cotton balls in acetone, place them on your nails, and wrap with foil. Let sit for 10-15 minutes.
- 3.Gently remove the softened gel polish with a cuticle pusher.