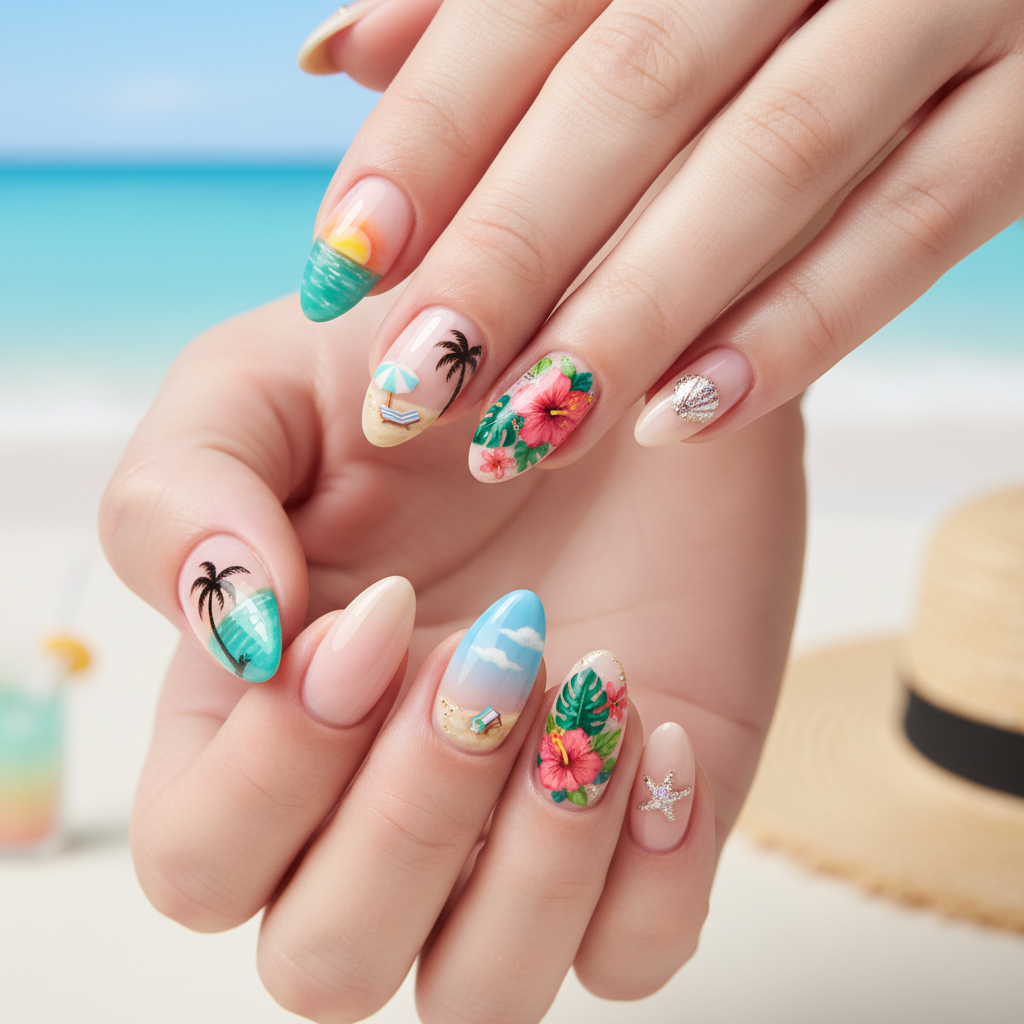
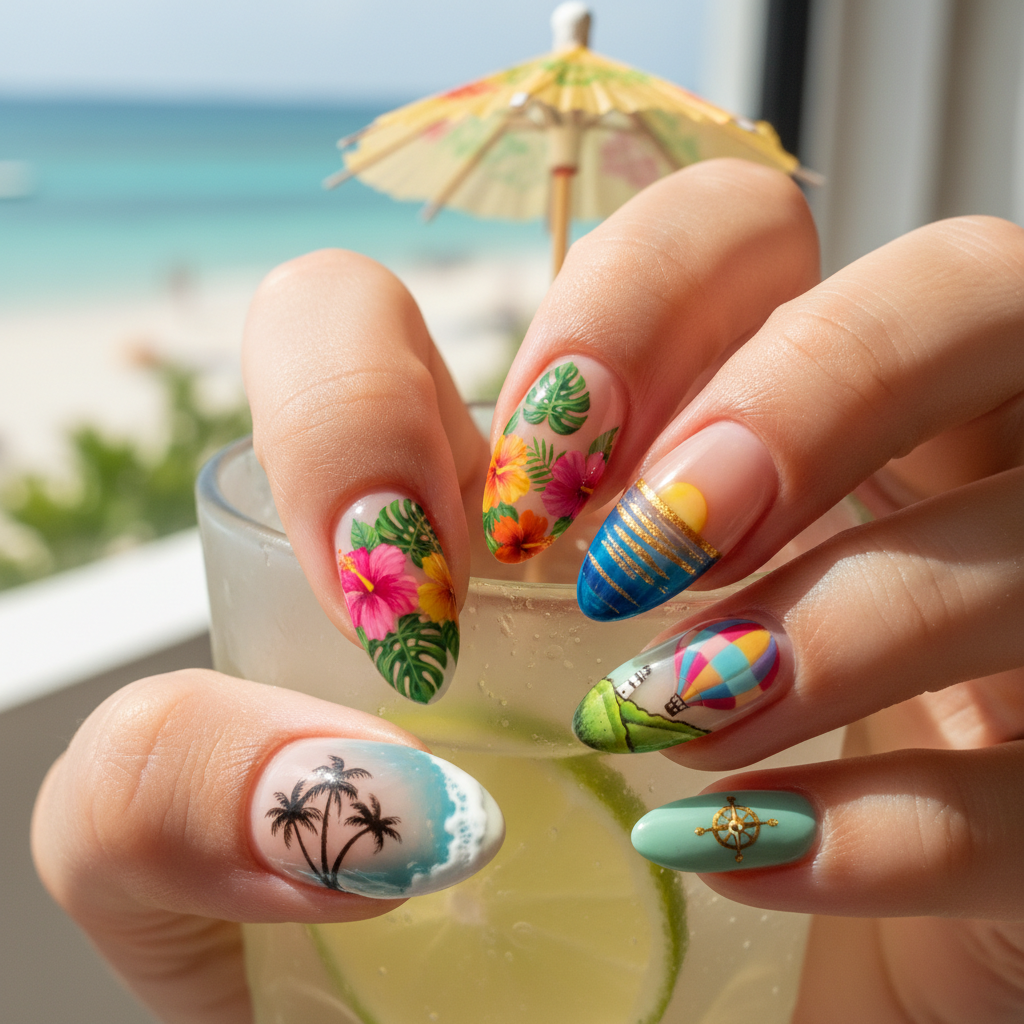
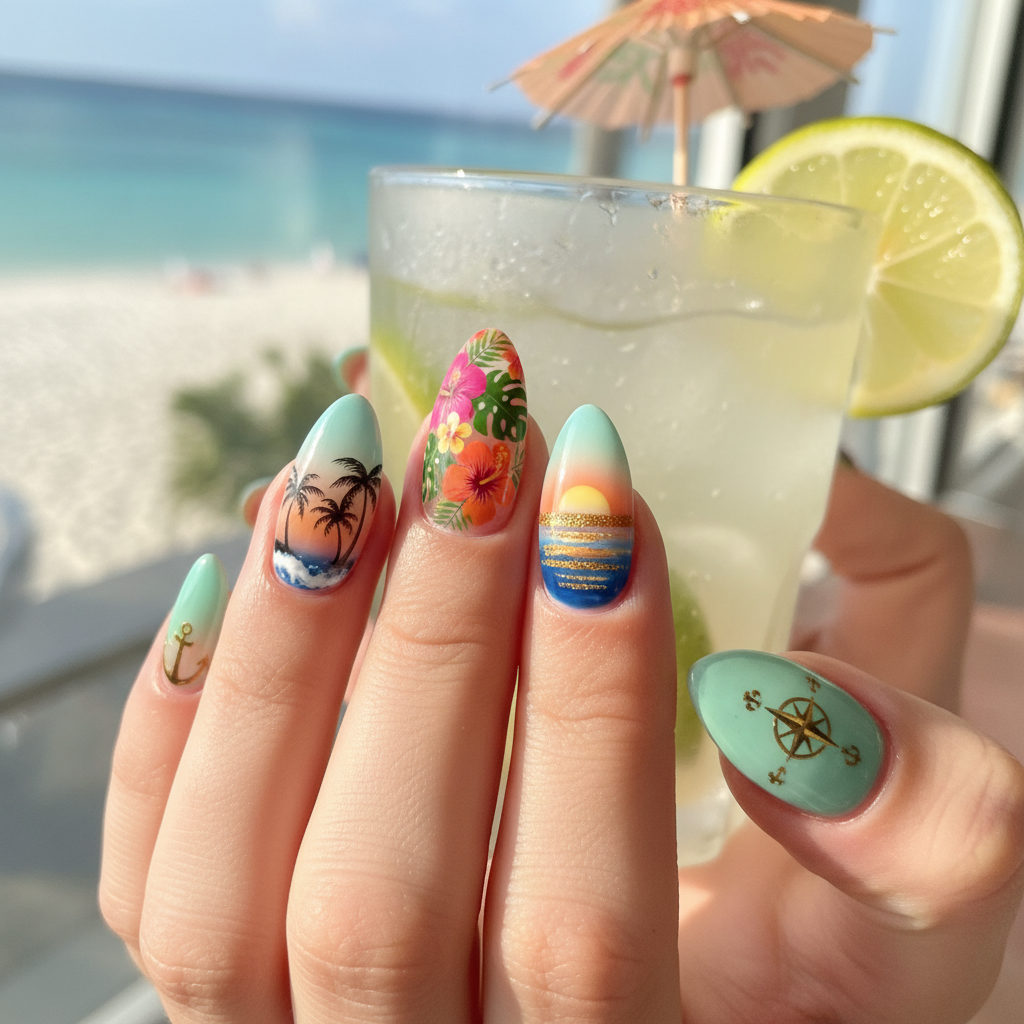
Photo-real Salon Vacation Nails
Vacation inspired nail art with clean, photo-real finish and professional salon quality
Created: October 5, 2025 at 12:14 PM
More Vacation Designs
More Designs
Photo-Real Vacation Nails: Salon-Quality Design Inspiration
Dreaming of your next getaway? Bring the destination to your fingertips with these photo-real vacation nails! This salon-quality design captures the essence of a perfect vacation, boasting clean lines and vibrant colors.
Supplies You'll Need
- Gel polish in various vacation-themed colors
- Nail art brushes (fine liner and detail brush)
- Airbrush system (optional)
- Stamping plate with vacation images (optional)
- UV/LED lamp
- Top coat
How To Recreate It
- Apply a base coat and cure under a UV/LED lamp.
- Apply 2-3 coats of your chosen base color (e.g., sky blue) and cure after each coat.
- Using fine nail art brushes or an airbrush, paint or stencil in your desired vacation imagery (e.g., palm trees, sunsets, waves).
- For stamped designs, apply stamping polish to the plate, scrape off excess, and transfer the image to your nail.
- Clean up any mistakes with a small brush and acetone.
- Apply a top coat and cure under the UV/LED lamp for a glossy, long-lasting finish.
Expert Tip
Use a thin, pointed brush and a steady hand to achieve the detailed photo-real effects. Practice your desired design on a nail art practice pad first to perfect your technique.
Try These Variations
- →Underwater Scene: Incorporate corals, fish, and bubbles for an ocean-themed design.
- →Mountain Vista: Depict snow-capped peaks, evergreen trees, and a clear blue sky.
- →Cityscape Silhouette: Create a silhouette of a famous city skyline against a vibrant sunset background.
Aftercare Tips
- ✓Moisturize your hands and cuticles regularly.
- ✓Avoid picking or biting your nails.
- ✓Consider a professional manicure after 2-3 weeks to maintain nail health.
Safe Removal
- 1.Soak cotton pads in acetone and apply them to each nail.
- 2.Wrap the nails in foil and let them soak for 10-15 minutes.
- 3.Gently scrape off the softened gel polish with a cuticle pusher.
Quick Facts
Why It's Trending
Photo-realism is highly sought after in nail art, offering a unique and personalized form of self-expression. This design captures the wanderlust spirit and provides a mini-vacation right at your fingertips.
Seasonal Styling
Perfect for summer vacations, spring break trips, or even as a mood booster during the colder months to remind you of warmer days.
Color Variations
Perfect For
Why People Love It
Instagram and Pinterest are flooded with stunning photo-real nail art designs, proving their popularity and the desire for unique, personalized manicures. Nail artists are showcasing their skills, inspiring others to try this trend.
Daily Maintenance
- 💅Apply cuticle oil daily to keep your nails hydrated.
- 💅Avoid harsh chemicals and prolonged water exposure.
- 💅Wear gloves when doing household chores.
- 💅Consider applying a fresh coat of top coat every few days to maintain shine.
Common Issues & Fixes
- ⚠Blurry lines: Use a fine-tipped brush and steady your hand on a table for more control.
- ⚠Smudged designs: Allow each layer of polish to dry completely before adding the next.
- ⚠Uneven texture: Apply thin, even coats of polish to prevent clumping.
- ⚠Stamping issues: Ensure the stamping plate is clean and use a high-quality stamping polish.
Design Inspiration
Inspired by wanderlust and the desire to capture the beauty of travel in a unique and artistic way. The perfect way to express your love for adventure through nail art!
Explore Similar Designs
Colors in this Design
Techniques Used
Perfect For
Nail Shapes
More Categories to Explore
Popular Colors
Popular Techniques
Perfect Occasions
FAQs
How long will this design last?
With proper application and care, a photo-real gel manicure can last up to 2-3 weeks.
Can I do this design with regular polish?
While possible, gel polish is recommended for better durability and a smoother finish. Regular polish may chip more easily and be more difficult to achieve the same level of detail.
Do I need special tools to create this design?
Fine nail art brushes are essential for detail work. An airbrush system and stamping plates can simplify more complex designs, but are not strictly necessary.
How do I protect my nails after getting this design?
Regular application of cuticle oil and avoiding harsh chemicals will help keep your nails healthy and strong.
Where can I find inspiration for my own vacation nails?
Browse Instagram, Pinterest, and nail art blogs for endless design ideas and tutorials. Look for photos of your dream destination and try to incorporate elements into your manicure.
Can a beginner create this nail art design?
This design is best suited for advanced nail artists, but beginners can start by practicing simple vacation-themed elements, like palm trees or waves, before attempting a full photo-real design.