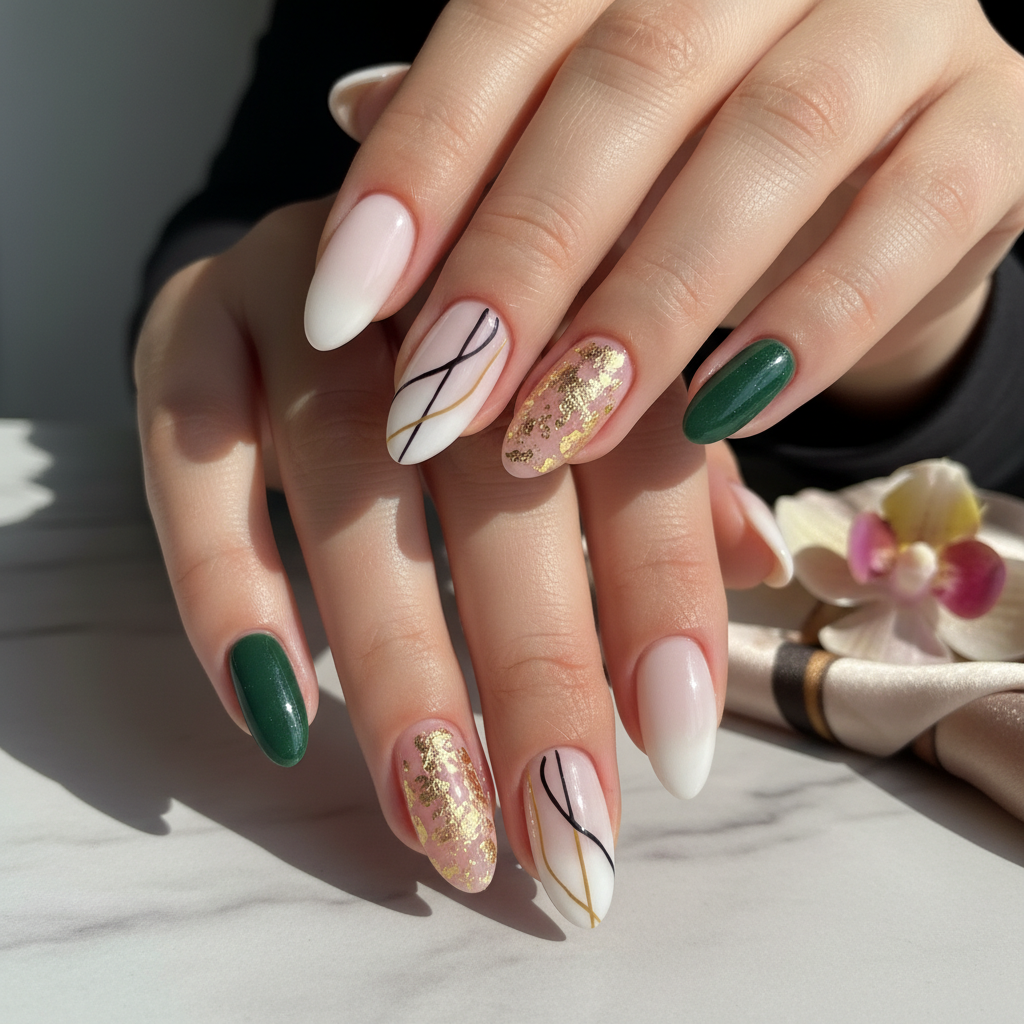
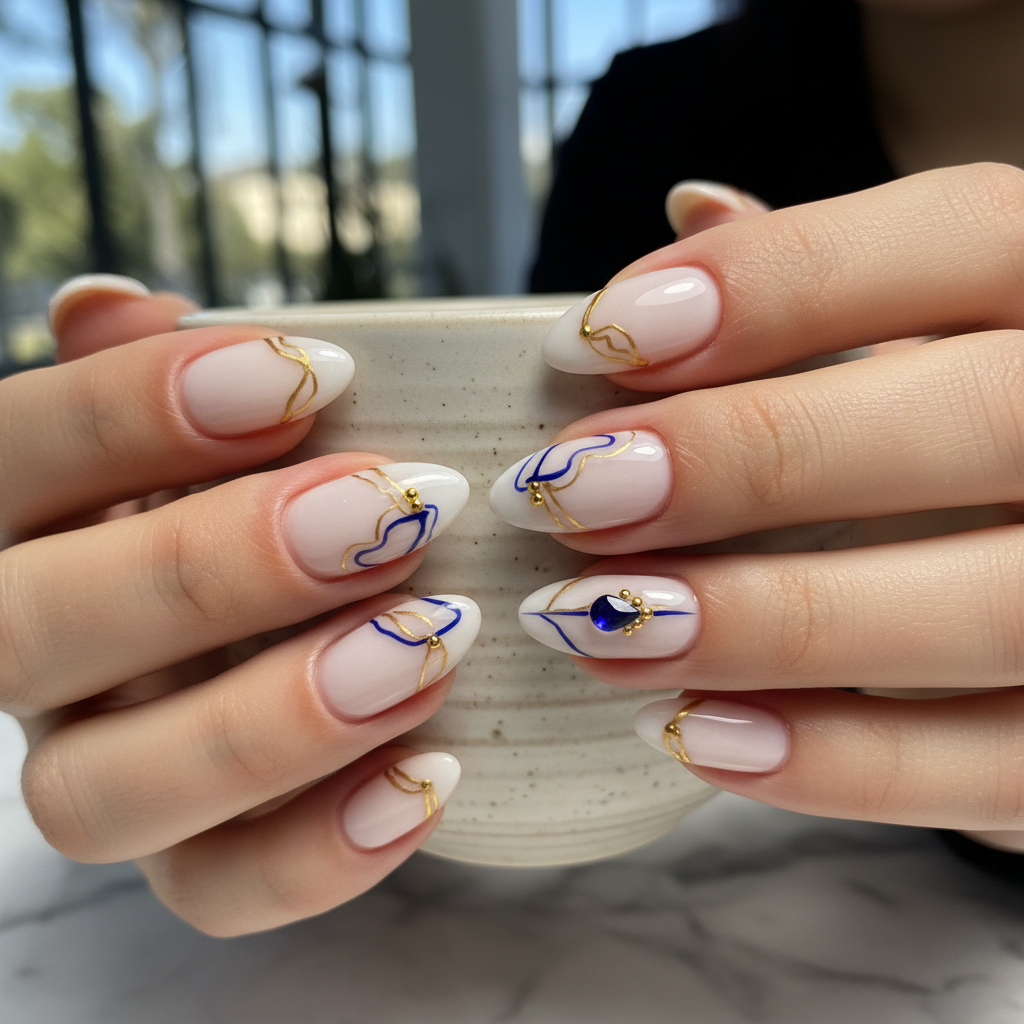
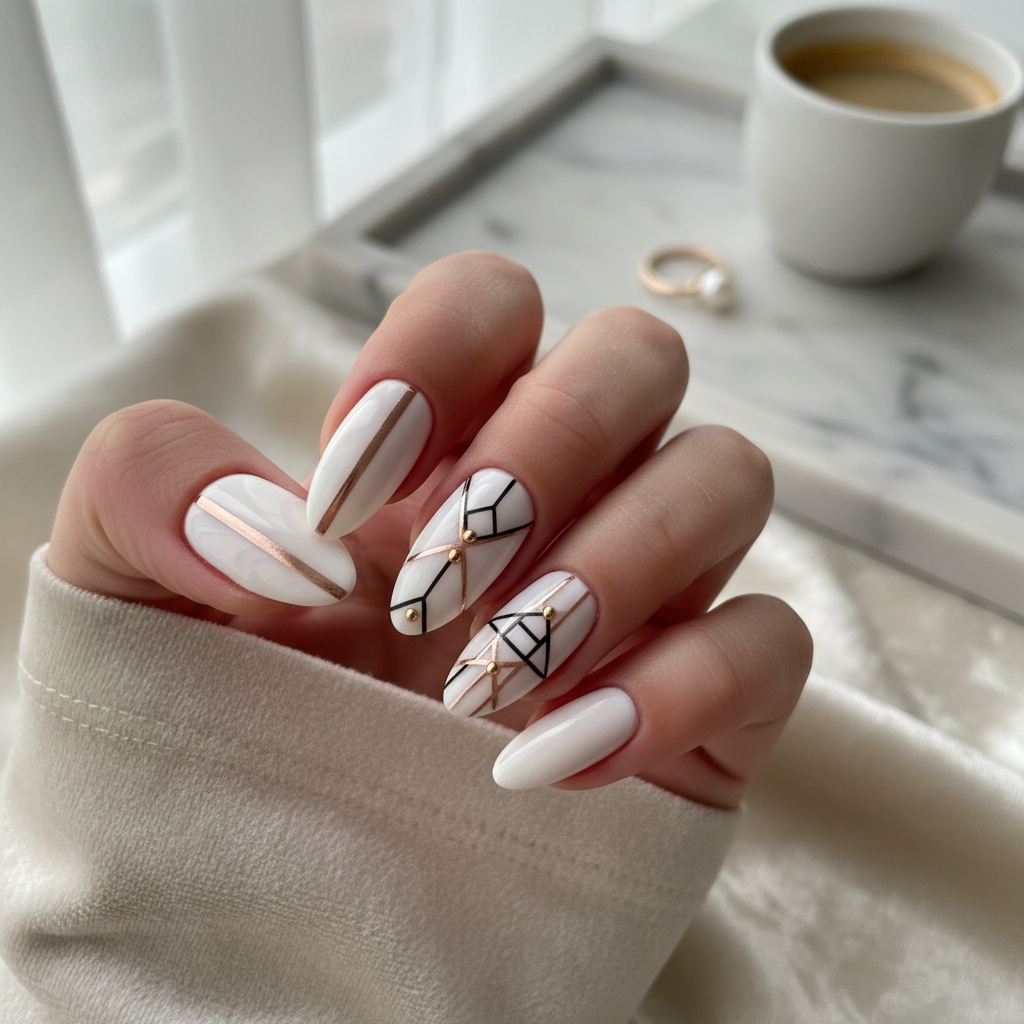
Photo-real Salon Sophisticated Nails
Sophisticated inspired nail art with clean, photo-real finish and professional salon quality
Created: October 5, 2025 at 01:01 PM
More Sophisticated Designs
More Designs
Photo-Real Salon Nails: Sophisticated Nail Art Design
Achieve a polished, photo-real nail look with this sophisticated design. Perfect for those who want professional-quality nails without stepping into a salon, this design focuses on clean lines and flawless application.
Supplies You'll Need
- Base coat
- Nude or neutral gel polish
- Top coat
- LED/UV lamp
- Cuticle pusher
- Nail file
How To Recreate It
- Prep your nails by filing and shaping them. Push back cuticles gently.
- Apply a thin layer of base coat and cure under an LED/UV lamp.
- Apply 2-3 thin coats of your chosen nude or neutral gel polish, curing after each coat.
- Apply a high-shine top coat and cure under the lamp.
- Cleanse the nails with alcohol to remove any sticky residue.
- Apply cuticle oil for hydration.
Expert Tip
Use a very thin, high-quality brush to create clean lines and avoid flooding the cuticles. This will ensure a truly sophisticated, salon-worthy finish.
Try These Variations
- →Add a subtle French tip with a crisp white line for a classic touch.
- →Incorporate a delicate marble effect using a thin brush and white polish.
- →Embellish with small, strategically placed crystals or rhinestones for a touch of glamour.
Aftercare Tips
- ✓Moisturize hands regularly to prevent dryness.
- ✓Avoid harsh chemicals that can damage the polish.
- ✓Consider a strengthening treatment after removal to maintain nail health.
Safe Removal
- 1.File off the top layer of the gel polish.
- 2.Soak cotton pads in acetone, place them on the nails, and wrap with foil. After 10-15 minutes, gently push off the softened gel.
Quick Facts
Why It's Trending
The demand for salon-quality nails at home is skyrocketing, making this design a perfect DIY alternative.
Seasonal Styling
This versatile design can be adapted for any season. Opt for darker shades in fall/winter and brighter hues in spring/summer.
Color Variations
Perfect For
Why People Love It
Instagram and Pinterest are filled with examples of this design, proving its popularity and versatility in the nail art community.
Daily Maintenance
- 💅Apply cuticle oil daily to keep nails hydrated.
- 💅Wear gloves when doing household chores to protect the polish.
- 💅Avoid using your nails as tools to prevent chipping or breakage.
Common Issues & Fixes
- ⚠Uneven polish application?Apply thin coats and ensure each layer is fully cured before applying the next.
- ⚠Bubbles in the polish?Avoid shaking the polish vigorously. Roll the bottle gently between your hands.
- ⚠Chipping?Ensure proper nail prep, including buffing and dehydration. Also, wrap the free edge with each coat of polish.
Design Inspiration
Inspired by the desire for clean, professional-looking nails that can be achieved at home with practice and the right tools.
Explore Similar Designs
Colors in this Design
Techniques Used
Perfect For
Nail Shapes
More Categories to Explore
Popular Colors
Popular Techniques
Perfect Occasions
FAQs
Can I achieve this look with regular nail polish?
While possible, gel polish is recommended for its longevity and glossy finish, contributing to the 'photo-real' effect.
How long will this design last?
With proper application and care, gel polish can last up to two weeks without chipping.
What if I don't have an LED/UV lamp?
Consider using a regular nail polish and a quick-dry top coat, but be aware that the results may not be as durable or glossy.
Is cuticle oil really necessary?
Yes, it keeps your nails and the surrounding skin healthy and hydrated, preventing hangnails and promoting overall nail health.
Can I add glitter to this design?
Yes, but use a very fine glitter and apply it sparingly to maintain the clean and sophisticated aesthetic.
What nail shape works best for this design?
Almond, oval, and square shapes are all suitable. Choose the shape that best complements your hand shape and personal preference.