Photo-real Salon Sophisticated Nails
Sophisticated inspired nail art with clean, photo-real finish and professional salon quality
Created: October 5, 2025 at 01:02 PM
More Sophisticated Designs
More Designs
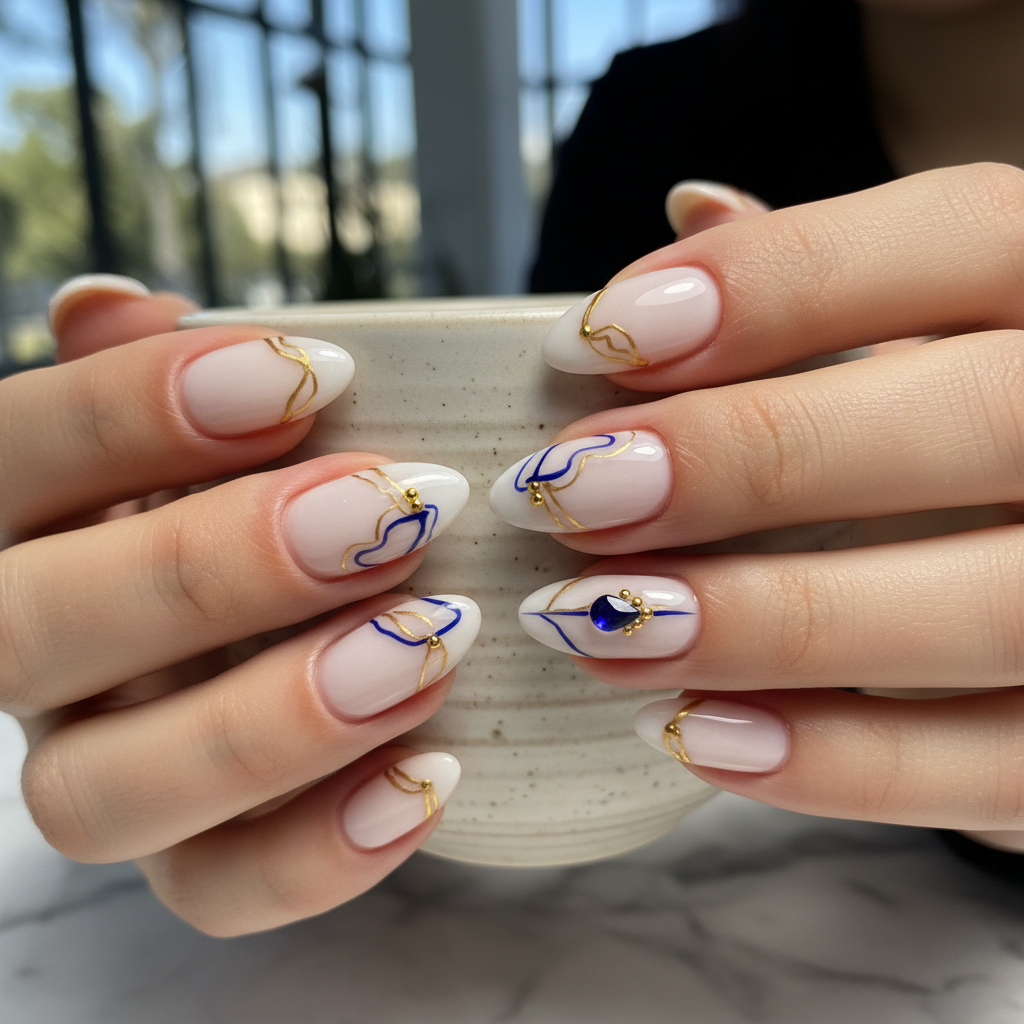
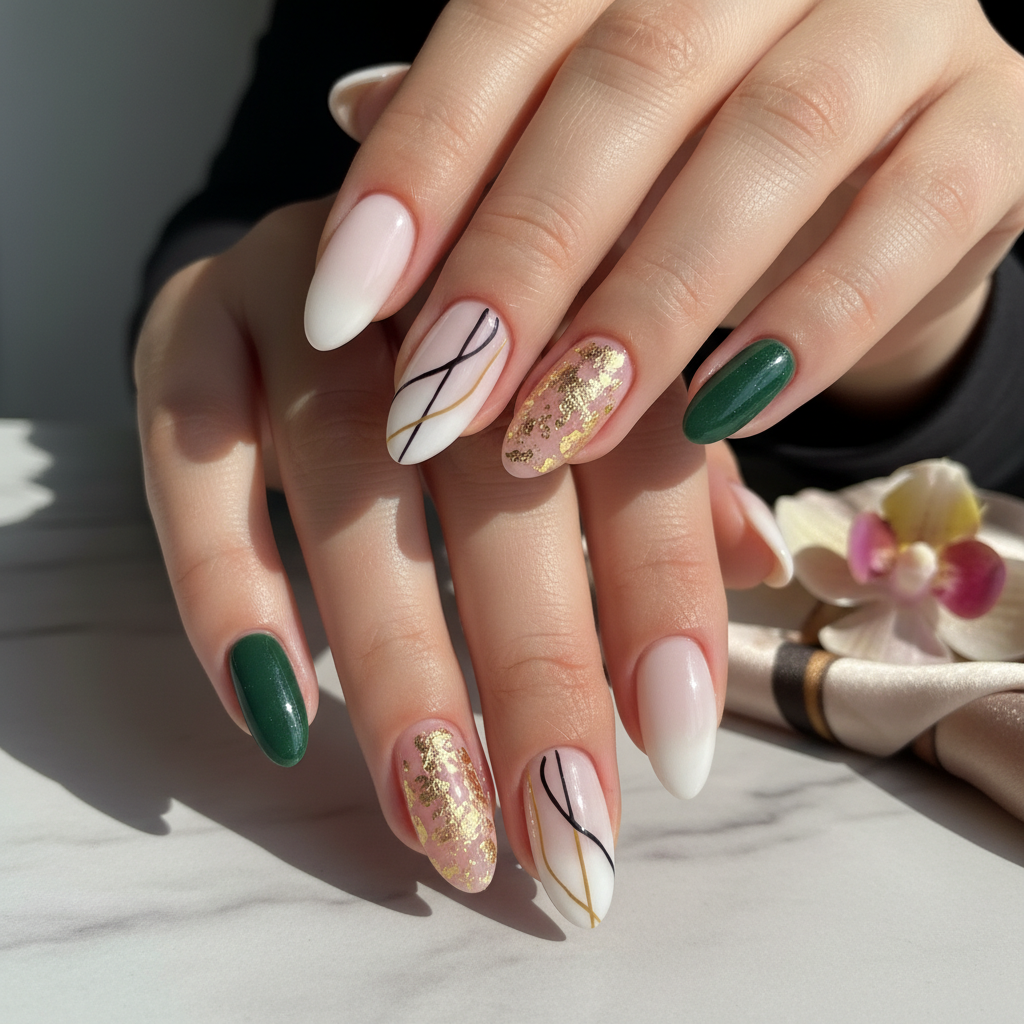
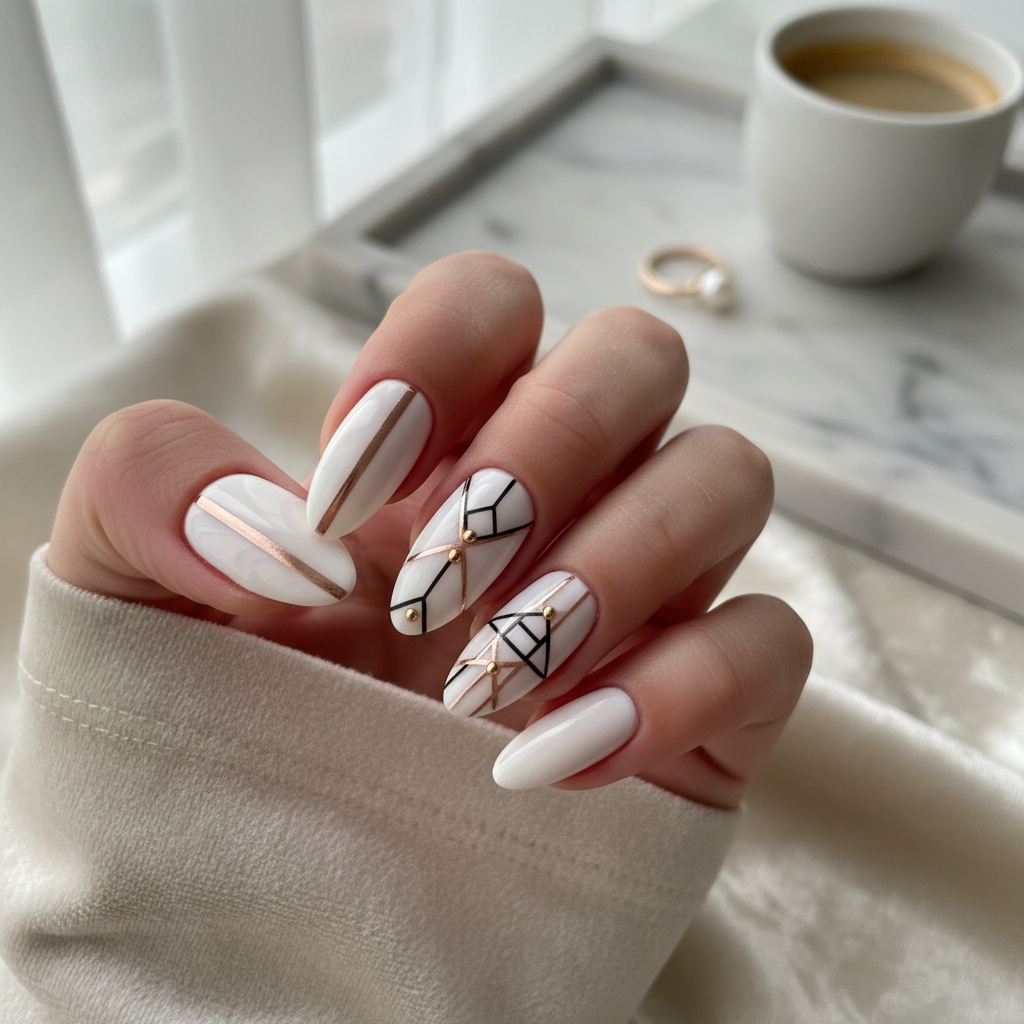
Photo-Real Salon Nails: Sophisticated Nail Art Design
Achieve the ultimate salon-quality manicure at home with this sophisticated nail art design. Featuring clean lines and a photo-real finish, these nails exude elegance and are perfect for any occasion requiring a touch of refinement.
Supplies You'll Need
- Nail polish in desired colors (base, design, top coat)
- Fine-tipped nail art brush
- Nail buffer
- Cuticle pusher
- Nail polish remover
- Lint-free wipes
How To Recreate It
- Prepare your nails by cleaning, shaping, and buffing.
- Apply a base coat and let it dry completely.
- Apply 2-3 thin coats of your chosen base color, allowing each layer to dry.
- Using a fine-tipped nail art brush, create your desired design with precision.
- Clean up any mistakes with a small brush dipped in nail polish remover.
- Finish with 1-2 coats of high-shine top coat for a photo-real, salon-quality finish.
Expert Tip
Use a clean-up brush dipped in acetone to perfect your design's edges for a truly professional look. Practice your chosen design on a piece of paper first to ensure accuracy.
Try These Variations
- →French manicure with a subtle twist – use a glittery or metallic tip.
- →Ombre effect using similar shades for a soft and blended look.
- →Minimalist geometric designs with thin lines for a modern, sophisticated vibe.
Aftercare Tips
- ✓Keep your hands moisturized with a good quality hand cream.
- ✓Avoid harsh chemicals that can damage your nails.
- ✓Consider taking biotin supplements to strengthen your nails.
- ✓Give your nails a break between manicures to allow them to breathe.
Safe Removal
- 1.Soak cotton pads in nail polish remover and place them on your nails.
- 2.Wrap each nail in aluminum foil and let it sit for 10-15 minutes.
- 3.Gently remove the foil and cotton pads, and wipe away any remaining polish.
Quick Facts
Why It's Trending
The demand for salon-worthy nails at home is booming, with people seeking sophisticated and polished looks without the salon price tag.
Seasonal Styling
Perfect year-round, but especially fitting for holiday parties and special events. Adapt the color palette to suit seasonal trends – deep jewel tones for fall/winter, bright pastels for spring/summer.
Color Variations
Perfect For
Why People Love It
This design is gaining popularity because it offers a way to achieve a professional and polished look without the expense and time commitment of a salon visit. It's perfect for those who want to elevate their everyday style with a touch of sophistication.
Daily Maintenance
- 💅Apply cuticle oil daily to keep your nails healthy and hydrated.
- 💅Wear gloves when doing household chores to protect your manicure.
- 💅Avoid using your nails as tools to prevent chipping.
- 💅Reapply top coat every 2-3 days to maintain shine and prevent chipping.
Common Issues & Fixes
- ⚠Bubbles in the polishApply thinner coats of polish and allow each layer to dry completely before applying the next.
- ⚠ChippingEnsure you are properly prepping your nails and using a high-quality top coat.
- ⚠Uneven applicationPractice your technique and use a steady hand. Thinner coats are better than one thick coat.
- ⚠Smudging the designWait for the design to fully dry before applying the top coat. Use a light touch when applying the top coat.
Design Inspiration
Inspired by the flawless finishes seen in professional nail salons and the desire to replicate that look at home with simple techniques.
Explore Similar Designs
Colors in this Design
Techniques Used
Perfect For
Nail Shapes
More Categories to Explore
Popular Colors
Popular Techniques
Perfect Occasions
FAQs
How long will this manicure last?
With proper maintenance, this manicure can last up to a week.
What nail shape works best with this design?
Almond, oval, and square shapes are ideal, but it can be adapted to any nail shape.
Can I use gel polish for this design?
Yes, you can use gel polish. Be sure to cure each layer under a UV/LED lamp according to the manufacturer's instructions.
What type of brush should I use for the design?
A fine-tipped nail art brush with synthetic bristles is recommended for precision.
How do I prevent streaks when applying the base color?
Apply thin, even coats and allow each layer to dry completely before applying the next. Use a high-quality base coat to create a smooth surface.
Is this design suitable for short nails?
Yes, you can adapt the design to suit short nails by simplifying the pattern or using a smaller scale.