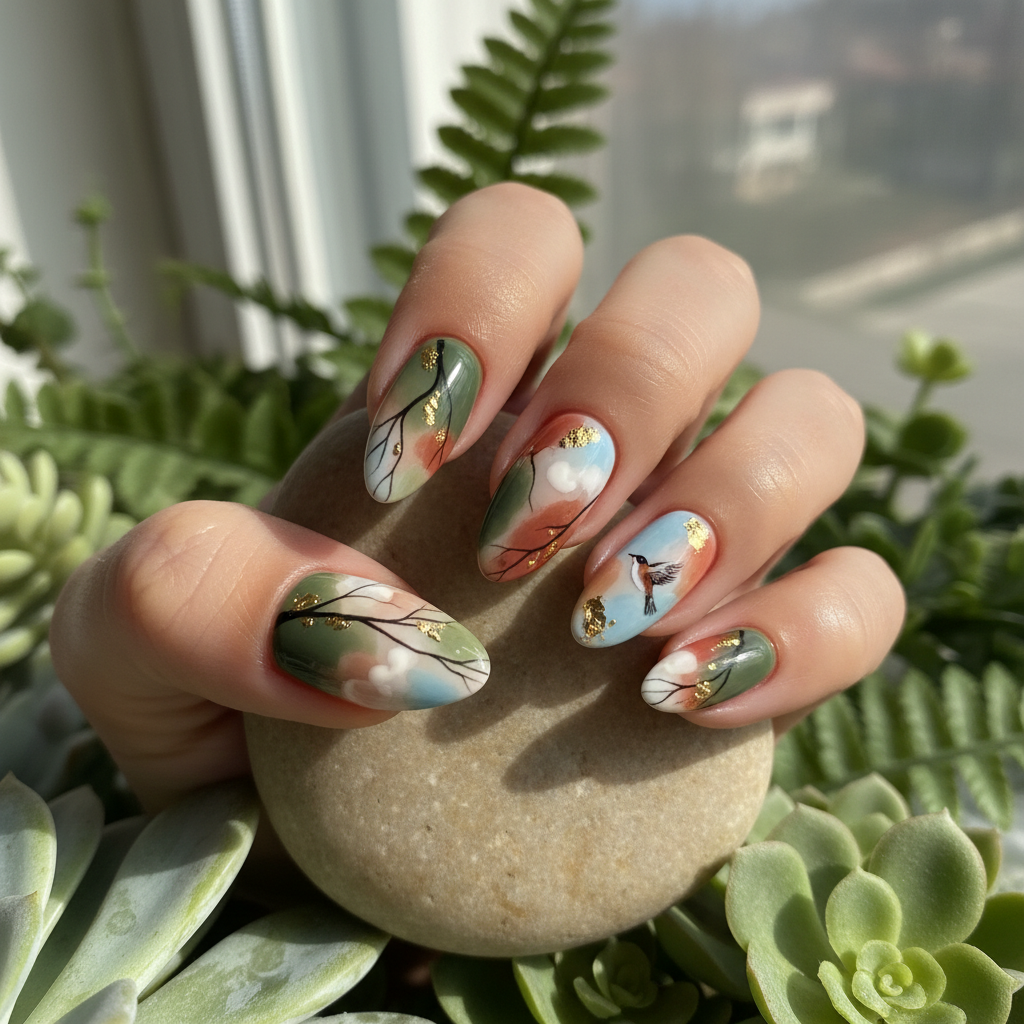
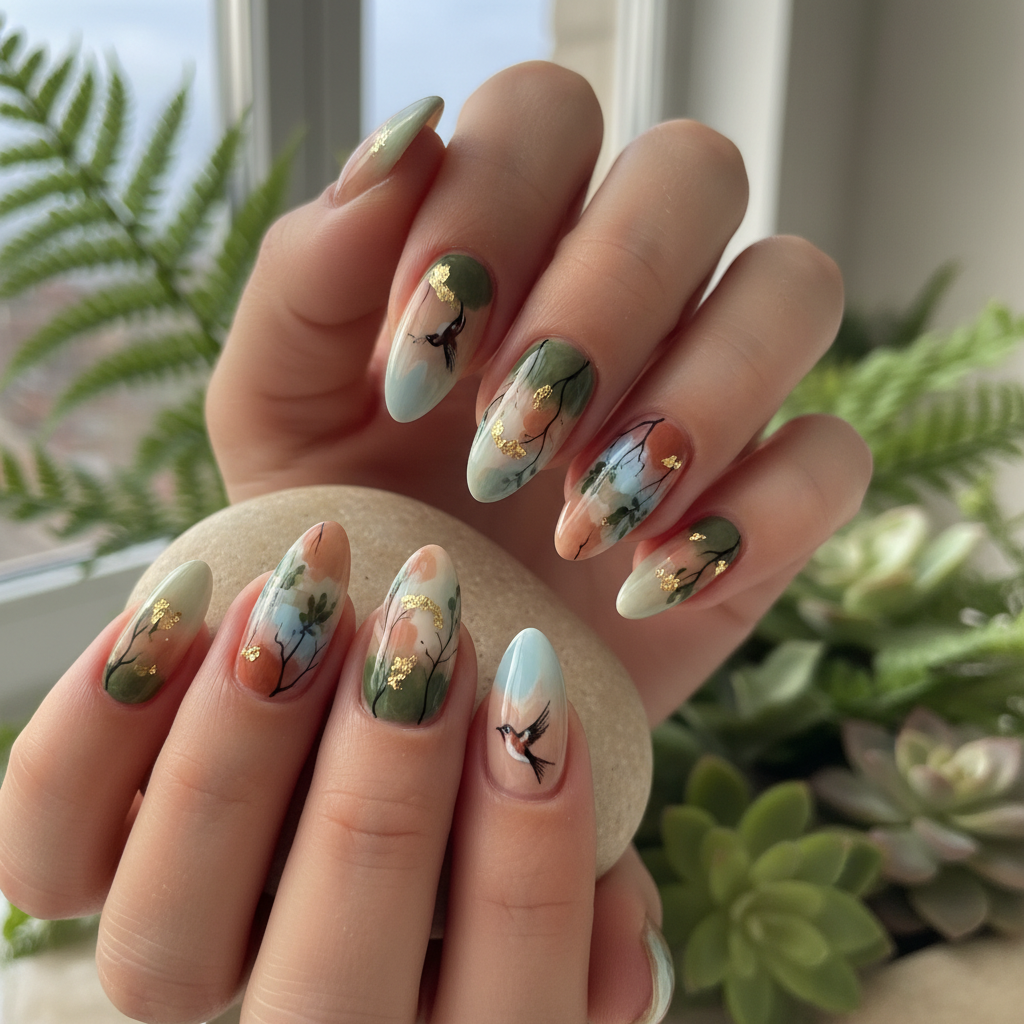
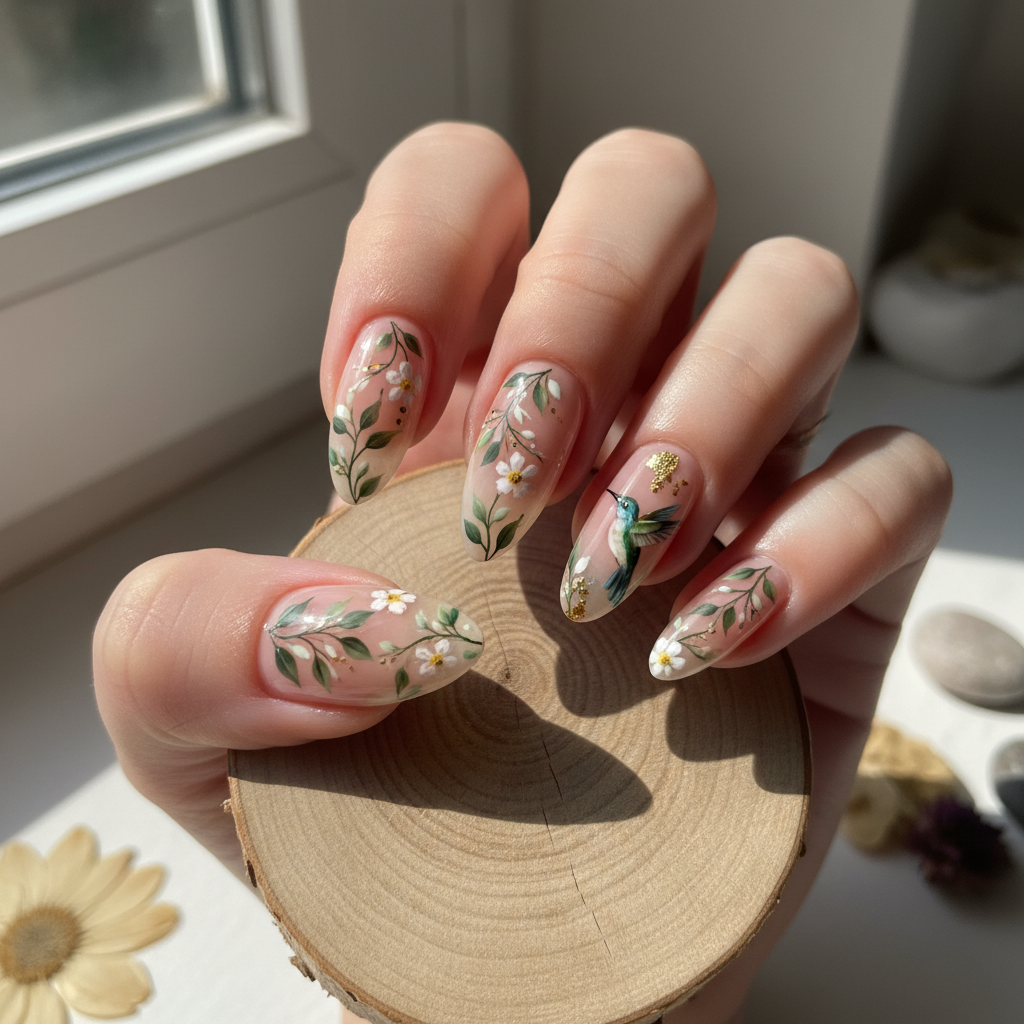
Photo-real Salon Natural Nails
Natural inspired nail art with clean, photo-real finish and professional salon quality
Created: October 5, 2025 at 01:24 PM
More Natural Designs
More Designs
Salon Natural Nails: Photo-Real Clean Nail Design
Achieve a flawlessly natural nail look with this photo-real design. This salon-quality manicure enhances your nails with subtle sophistication, perfect for everyday elegance.
Supplies You'll Need
- Base coat
- Nude nail polishes (2-3 shades)
- Top coat
- Fine liner brush
- Cleanup brush
- Nail polish remover
How To Recreate It
- Apply a thin layer of base coat and let it dry completely.
- Apply 2 thin coats of your base nude color.
- Using a fine liner brush, subtly blend a slightly darker nude shade at the base of the nail to create depth.
- Repeat the blending process, building up the color gradually for a realistic effect.
- Clean up any imperfections around the cuticles with a cleanup brush dipped in nail polish remover.
- Finish with a glossy top coat or matte top coat for desired effect.
Expert Tip
Use thin, even layers of polish to avoid a bulky look. Blending is key – take your time and build up the color gradually for a smooth, realistic effect.
Try These Variations
- →Add a subtle French tip using a slightly brighter white for a refined look.
- →Incorporate a delicate, hand-painted cuticle design using a fine liner brush and a lighter nude shade.
- →Experiment with different nude color combinations to find the perfect match for your skin tone.
Aftercare Tips
- ✓Avoid harsh chemicals that can damage your nails.
- ✓Keep your hands moisturized to prevent dryness.
- ✓Use a gentle nail polish remover to avoid weakening your nails.
Safe Removal
- 1.Soak a cotton ball in nail polish remover and hold it on the nail for a few seconds.
- 2.Gently wipe away the polish, repeating as needed.
Quick Facts
Why It's Trending
The 'clean girl' aesthetic and minimalist beauty trends favor natural-looking nails.
Seasonal Styling
Perfect year-round! Opt for lighter shades in spring/summer and warmer, deeper nudes in fall/winter.
Color Variations
Perfect For
Why People Love It
Instagram and Pinterest are filled with tutorials and inspiration for achieving a natural, salon-quality nail look, indicating its widespread popularity.
Daily Maintenance
- 💅Apply cuticle oil daily to keep your nails hydrated.
- 💅Wear gloves when doing housework to protect your manicure.
- 💅Reapply top coat every 2-3 days to maintain shine and prevent chipping.
Common Issues & Fixes
- ⚠Streaky application?Apply thinner layers of polish and allow each layer to dry completely before applying the next.
- ⚠Uneven blending?Use a clean, fine liner brush to blend the colors smoothly. Practice makes perfect!
- ⚠Chipping?Ensure your nails are properly prepped and sealed with a high-quality top coat.
- ⚠Polish bubbling?Avoid applying thick layers of polish. Ensure the room isn't too hot or humid when applying polish.
Design Inspiration
Inspired by the desire for a polished and professional nail look that is both subtle and sophisticated, mirroring the natural beauty of healthy nails.
Explore Similar Designs
Colors in this Design
Techniques Used
Perfect For
Nail Shapes
More Categories to Explore
Popular Colors
Popular Techniques
Perfect Occasions
FAQs
How do I find the perfect nude shade for my skin tone?
Consider your undertones. Warmer skin tones look great with beige and caramel nudes, while cooler skin tones pair well with pink and mauve nudes.
Can I achieve this look with gel polish?
Yes! Use gel polishes in similar nude shades and follow the same blending technique.
What nail shape works best for this design?
Oval, almond, and squoval shapes enhance the natural look.
How can I make this design last longer?
Proper nail prep, thin layers of polish, and a high-quality top coat are essential for longevity.
Is it possible to create this design at home?
Absolutely! With patience and practice, you can achieve a salon-worthy natural nail look at home.
Can I add a glitter top coat to this?
For a true photo-real natural nail look, it's best to avoid glitter. But a subtle shimmer is okay if you want a small amount of embellishment.


