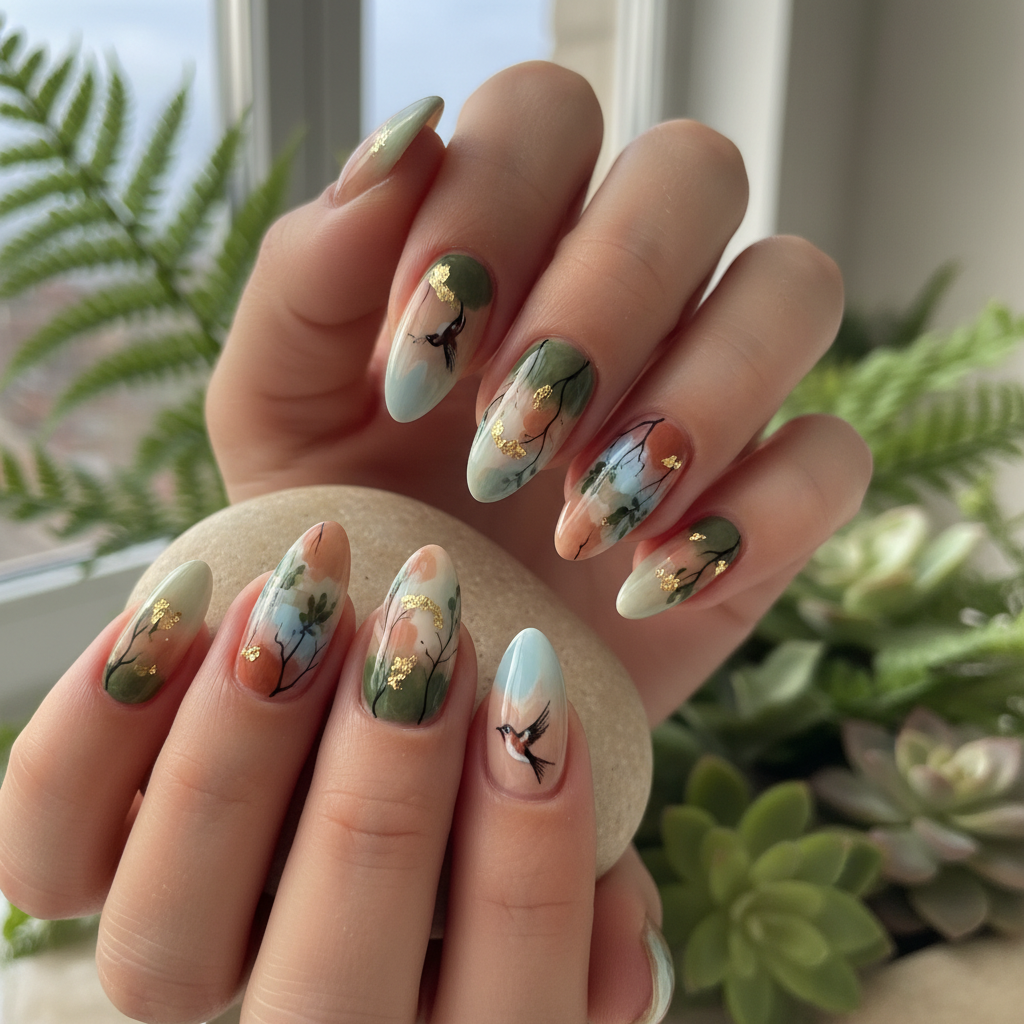
Photo-real Salon Natural Nails
Natural inspired nail art with clean, photo-real finish and professional salon quality
Created: October 5, 2025 at 01:24 PM
More Natural Designs

More Designs
Photo-Real Natural Nails: Salon Quality Design
Achieve the look of healthy, natural nails with a salon-quality finish. This design enhances your natural beauty with subtle shading and a flawless, photo-real effect, perfect for everyday elegance.
Supplies You'll Need
- Nude or light pink base coat
- Beige or slightly darker nude shade for contouring
- Translucent white polish (optional)
- Fine detail brush
- High-quality top coat
- Nail cleanser
How To Recreate It
- Prep nails: Shape, buff, and clean the nail surface.
- Apply a thin layer of nude or light pink base coat.
- Using a fine detail brush, lightly contour around the cuticle and side walls with the slightly darker nude shade to create depth.
- If desired, apply a very thin layer of translucent white to the center of the nail for a subtle highlight.
- Seal with a high-quality top coat for a smooth, glossy finish.
- Clean up any imperfections with a nail cleanser and a fine brush.
Expert Tip
Use a very light hand when contouring to avoid harsh lines. The goal is to create a subtle shadow that enhances the natural shape of the nail, achieving a photo-real and sophisticated look.
Try These Variations
- →Matte finish: Use a matte top coat for a modern twist.
- →Subtle French: Add a very thin, barely visible white tip.
- →Ombre effect: Blend two nude shades seamlessly for a gradient effect.
Aftercare Tips
- ✓Moisturize hands regularly to prevent dryness.
- ✓Avoid picking or biting your nails.
- ✓File any snags or rough edges gently.
Safe Removal
- 1.Soak cotton pads in acetone-based nail polish remover.
- 2.Place the soaked cotton pads on the nails and wrap with foil for 10-15 minutes.
Quick Facts
Why It's Trending
The 'clean girl' aesthetic emphasizes minimalism and natural beauty, making understated nail designs highly sought after.
Seasonal Styling
Year-round design! Perfect for showcasing healthy nails, especially during seasons where you want a break from bolder trends.
Color Variations
Perfect For
Why People Love It
Instagram and Pinterest are flooded with minimalist nail art, showing the appeal of this sleek and sophisticated design.
Daily Maintenance
- 💅Apply cuticle oil daily to keep nails hydrated.
- 💅Wear gloves when doing housework to protect the design.
- 💅Avoid harsh chemicals that can damage the polish.
Common Issues & Fixes
- ⚠Contouring looks too harsh.Use a lighter touch and blend the edges of the contouring color more thoroughly.
- ⚠The translucent white looks too opaque.Apply an even thinner layer or use a slightly diluted formula.
- ⚠My top coat is streaky.Apply a thicker, even layer of top coat or try a different brand.
Design Inspiration
The growing trend of minimalist beauty and the desire for nails that look effortlessly chic and healthy.
Explore Similar Designs
Colors in this Design
Techniques Used
Perfect For
Nail Shapes
More Categories to Explore
Popular Colors
Popular Techniques
Perfect Occasions
FAQs
What nail shape works best with this design?
Square or squoval shapes enhance the natural aesthetic.
Can I do this design on acrylic nails?
Yes, but ensure the acrylic base is smooth and well-shaped.
How do I prevent the contouring from looking muddy?
Use a fine brush and a light hand to apply the contouring color, blending well.
Is a gel polish version possible?
Absolutely! Use gel polishes and cure each layer according to the manufacturer's instructions.
Can I use regular nail polish for this design?
Yes, regular nail polish works well, just allow each coat to dry completely before applying the next.
How long does this design typically last?
With proper application and care, it can last up to a week with regular polish, or two weeks with gel polish.