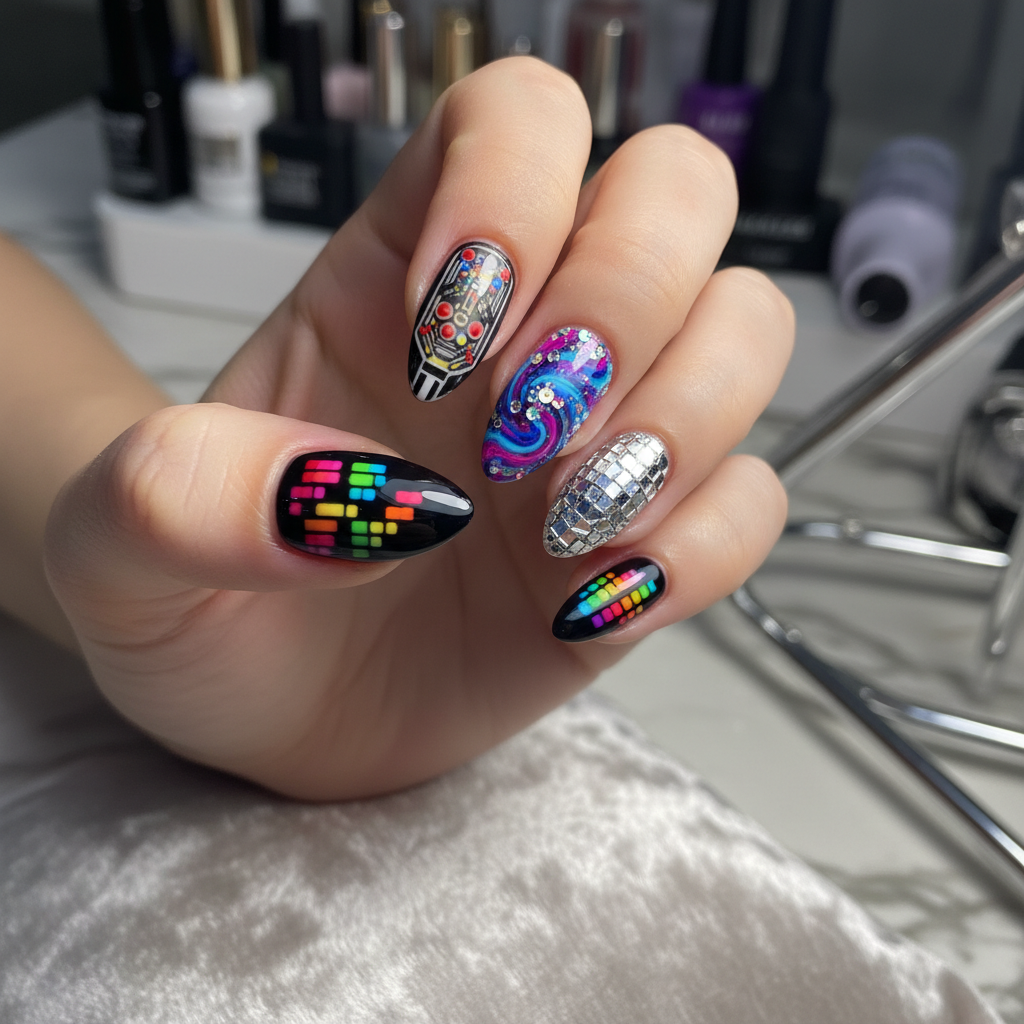
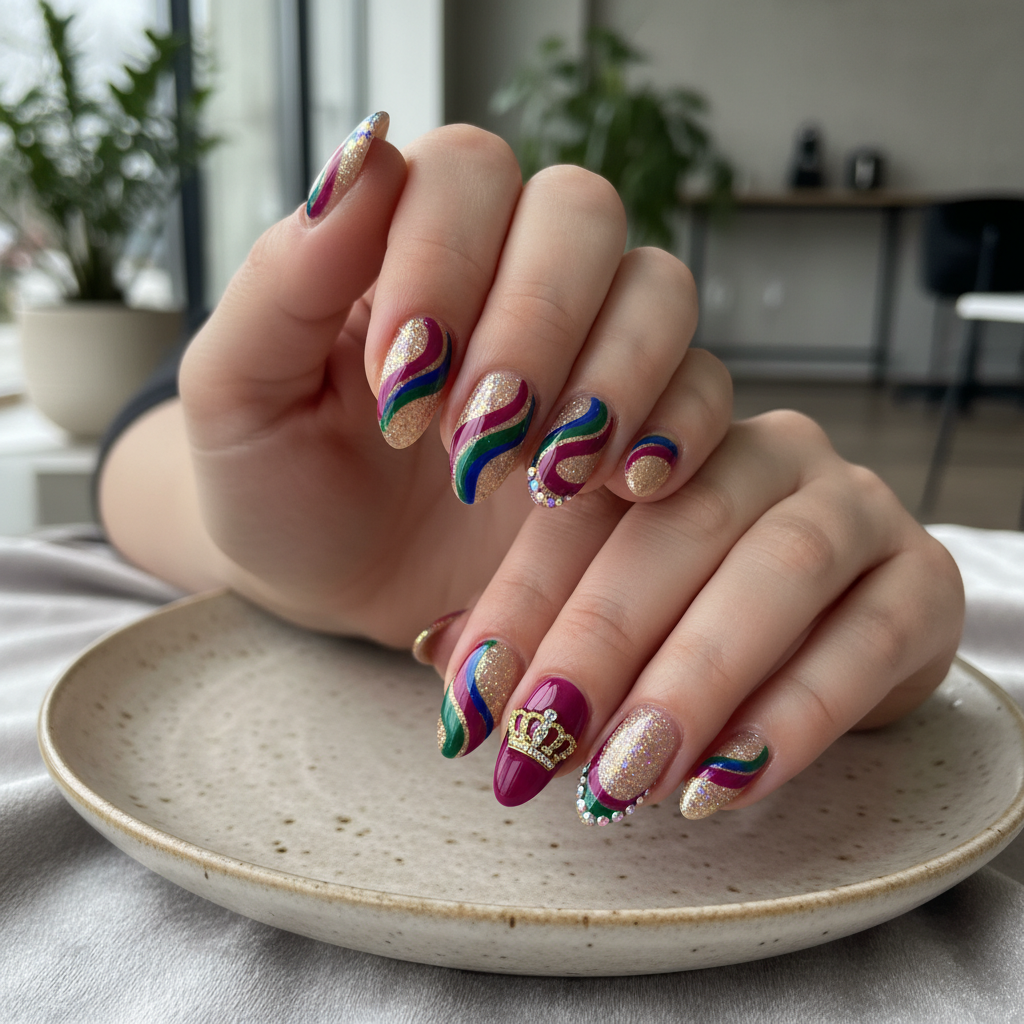
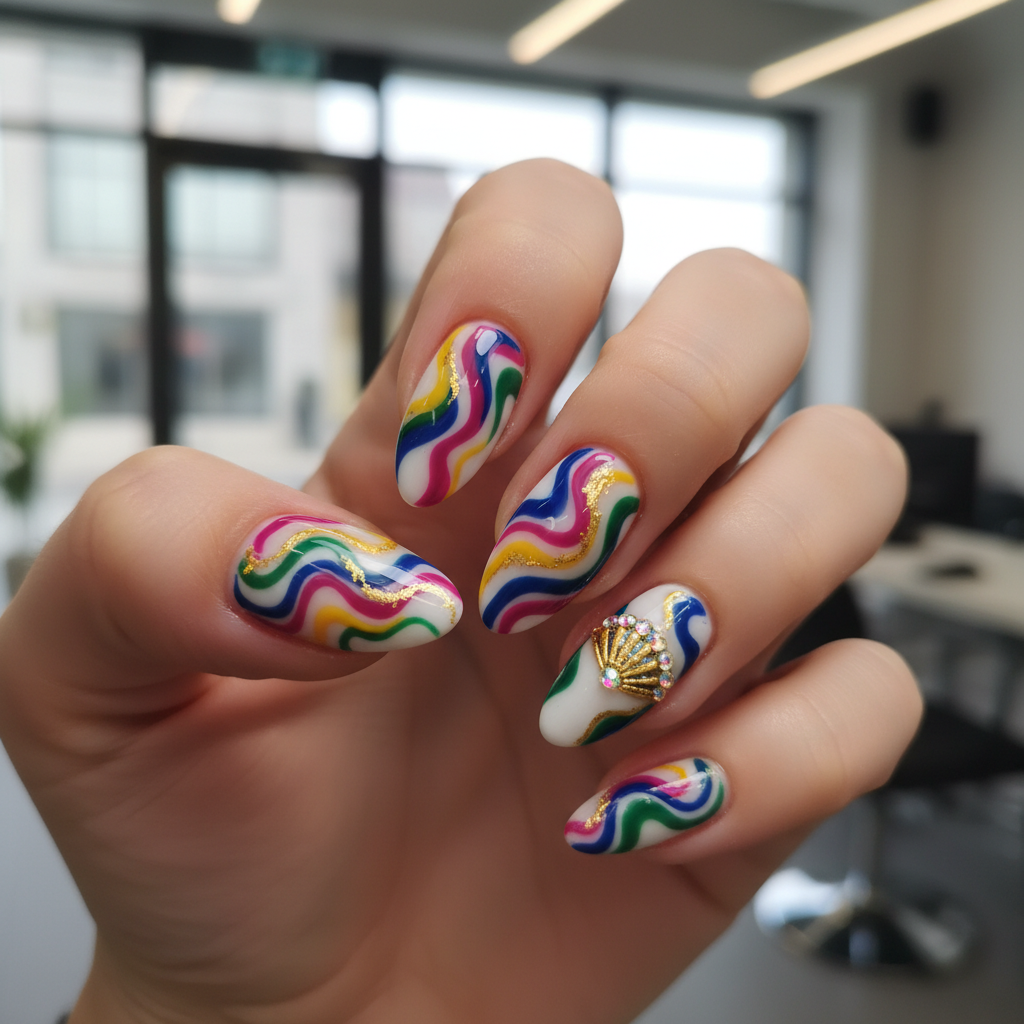
Photo-real Salon Flair Nails
Flair inspired nail art with clean, photo-real finish and professional salon quality
Created: October 5, 2025 at 01:20 PM
More Flair Designs
More Designs
Photo-Real Salon Flair Nails: Inspired Nail Art Design
Achieve salon-quality flair with this photo-realistic nail art design. This style incorporates clean lines and intricate details for a professional, eye-catching look that mimics the finesse of a salon artist.
Supplies You'll Need
- Nail polish in chosen colors
- Fine detail brush set
- Base coat and top coat
- Nail art stamper/plates (optional)
- Nail art cleaning brush
- Palette for mixing colors
How To Recreate It
- Apply a base coat to protect your nails.
- Paint the base color on all nails and allow to dry completely.
- Using fine detail brushes, create intricate designs inspired by your chosen flair elements.
- Incorporate color blocking or stamping for added visual interest.
- Clean up any mistakes with a nail art cleaning brush and acetone.
- Apply a glossy or matte top coat to seal the design and add shine or texture.
Expert Tip
Use a high-quality fine detail brush and practice your linework on paper first. Building the design in layers will help achieve the desired photo-real effect.
Try These Variations
- →Abstract Flair: Use fluid art techniques with swirling colors.
- →Geometric Flair: Incorporate precise geometric shapes and lines.
- →Minimalist Flair: Simplify the design with subtle accents and negative space.
Aftercare Tips
- ✓Moisturize hands regularly to prevent dryness.
- ✓Avoid harsh chemicals that can damage the nail art.
- ✓Apply a fresh top coat every few days to maintain shine.
Safe Removal
- 1.Soak cotton pads in acetone and place them on your nails.
- 2.Wrap your nails in foil and let them sit for 10-15 minutes.
- 3.Gently remove the softened polish with a cotton pad or scraper.
Quick Facts
Why It's Trending
Photo-real nail art is trending due to its ability to create stunning, detailed looks previously only achievable in salons. The design's unique 'flair' adds an element of individuality and artistic expression.
Seasonal Styling
Perfect for showcasing bold colors in summer or rich, deep tones in autumn. A great choice year-round for special occasions.
Color Variations
Perfect For
Why People Love It
This design is popular due to its intricate details and the ability to showcase personal artistic flair. The photo-real finish elevates the overall look, making it a favorite among nail art enthusiasts.
Daily Maintenance
- 💅Apply cuticle oil daily to keep nails hydrated.
- 💅Wear gloves when doing household chores.
- 💅Avoid using your nails as tools.
Common Issues & Fixes
- ⚠Lines are not clean.Use a fine detail brush and practice your linework. Clean the brush frequently with acetone.
- ⚠Polish is smudging.Allow each layer of polish to dry completely before applying the next. Use a quick-dry top coat.
- ⚠Design looks cluttered.Simplify the design or use fewer colors. Focus on key elements of the flair inspiration.
- ⚠Stamping is not transferring correctly.Make sure the stamping plate is clean and use a stamping polish.
Design Inspiration
Inspired by the concept of expressing individuality and artistic flair through nail art, mimicking the precision and detail found in professional salon designs. The design enables wearers to achieve a high-quality, photo-real look at home.
Explore Similar Designs
Techniques Used
Perfect For
Nail Shapes
More Categories to Explore
Popular Colors
Popular Techniques
Perfect Occasions
FAQs
How long does this design last?
With proper care, this design can last up to two weeks.
Can I use gel polish for this design?
Yes, gel polish can be used for this design. Cure each layer under a UV/LED lamp.
What is the best type of brush for fine details?
A very fine detail brush with a short, thin tip is ideal for creating intricate linework.
How do I prevent the top coat from smudging the design?
Allow the design to dry completely before applying the top coat. Use a quick-dry top coat for best results.
Can I use stickers or decals instead of hand-painting?
Yes, stickers and decals can be used as a shortcut, but hand-painting allows for more customization and detail.
What flair elements should I focus on?
Consider focusing on color balance and contrast. Ensure your flair design is well-thought out and visually appealing from a distance