Photo-real Salon Flair Nails
Flair inspired nail art with clean, photo-real finish and professional salon quality
Created: October 5, 2025 at 01:21 PM
More Flair Designs
More Designs
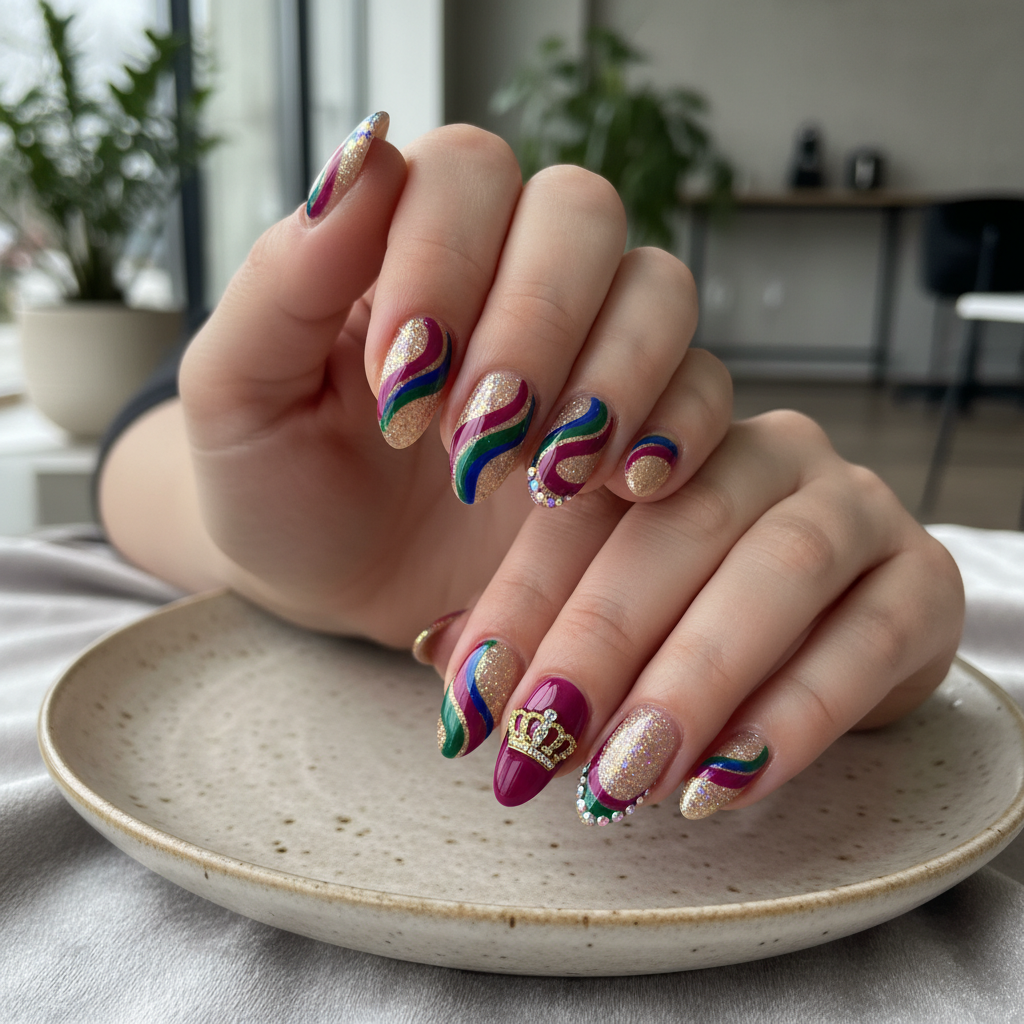
Photo-Real Salon Flair Nails: Clean & Stylish Art
Elevate your nail game with this photo-realistic salon-quality flair design. This sophisticated style features clean lines and a flawless finish, perfect for adding a touch of elegance to any look.
Supplies You'll Need
- Gel polish in desired colors (nude, white, grey, pastel pink)
- Fine detail brush
- LED/UV lamp
- Base coat
- Top coat
- Nail cleanser
How To Recreate It
- Apply a thin layer of base coat and cure under the LED/UV lamp.
- Apply 2-3 coats of nude or light pastel gel polish, curing after each coat.
- Using a fine detail brush and white or gray gel polish, create clean, minimalist lines or geometric patterns.
- Clean up any mistakes with a nail cleanser and a fine brush.
- Apply a generous layer of high-shine top coat and cure under the lamp.
- Wipe away any sticky residue with nail cleanser.
Expert Tip
Use high-quality gel polishes and a fine detail brush for precise lines. Practice your line work on paper before applying it to your nails.
Try These Variations
- →Add a subtle ombre effect with two complementary colors.
- →Incorporate small metallic accents (gold or silver) for a touch of glamour.
- →Experiment with different geometric patterns or abstract designs.
Aftercare Tips
- ✓Moisturize hands regularly to maintain healthy skin around the nails.
- ✓Avoid harsh chemicals that can damage the gel polish.
- ✓Protect nails from excessive water exposure.
Safe Removal
- 1.File the top coat to break the seal.
- 2.Soak cotton balls in acetone, place on nails, and wrap with foil. Wait 10-15 minutes.
- 3.Gently scrape off the softened gel polish with a cuticle pusher.
Quick Facts
Why It's Trending
Photo-realistic nail art is trending due to its sophisticated appearance and perceived high quality, offering a salon-worthy look at home.
Seasonal Styling
This design is versatile for all seasons. Use brighter colors in spring/summer and deeper tones in fall/winter.
Color Variations
Perfect For
Why People Love It
Instagram influencers and nail art enthusiasts are embracing the photo-real trend, showcasing clean and sophisticated designs.
Daily Maintenance
- 💅Apply cuticle oil daily to keep nails hydrated.
- 💅Wear gloves when doing housework to protect your manicure.
- 💅Avoid using your nails as tools.
- 💅Consider a gel polish refresh every 2-3 weeks.
Common Issues & Fixes
- ⚠Gel polish is chipping.Ensure proper nail prep, including buffing and dehydrating the nail plate. Apply thin, even coats of gel polish.
- ⚠Lines are not clean and crisp.Use a very fine detail brush and practice your technique. Wipe the brush frequently to prevent product buildup.
- ⚠Top coat is not shiny.Use a high-quality top coat and ensure it's fully cured under the lamp. Avoid touching the nail surface before it's completely cool.
- ⚠Gel is peeling off at the cuticle.Ensure gel is not touching the cuticle when applied, leave a small margin of space.
Design Inspiration
Inspired by modern minimalism and the desire to achieve a high-end salon look with clean lines and sophisticated flair.
Explore Similar Designs
Colors in this Design
Techniques Used
Perfect For
Nail Shapes
More Categories to Explore
Popular Colors
Popular Techniques
Perfect Occasions
FAQs
How do I achieve the perfect clean lines?
Use a fine detail brush and steady hand. Practice on paper first, and clean up any mistakes immediately with a brush dipped in nail cleanser.
What type of gel polish is best for this design?
Highly pigmented gel polishes with a smooth, self-leveling formula are ideal for achieving a flawless, photo-realistic finish.
Can this design be done on natural nails?
Yes, this design can be achieved on natural nails, but gel polish typically lasts longer on structured enhancements like acrylics or builder gel.
How can I make the design last longer?
Proper nail prep, thin and even gel polish application, and consistent cuticle oil application are key to extending the life of your manicure.
Is this design suitable for beginners?
While the overall concept is simple, achieving the clean lines requires some practice and precision. Beginners may find it challenging at first.
Can I use regular nail polish instead of gel?
While possible, regular nail polish will not achieve the same photo-real quality and durability as gel polish.