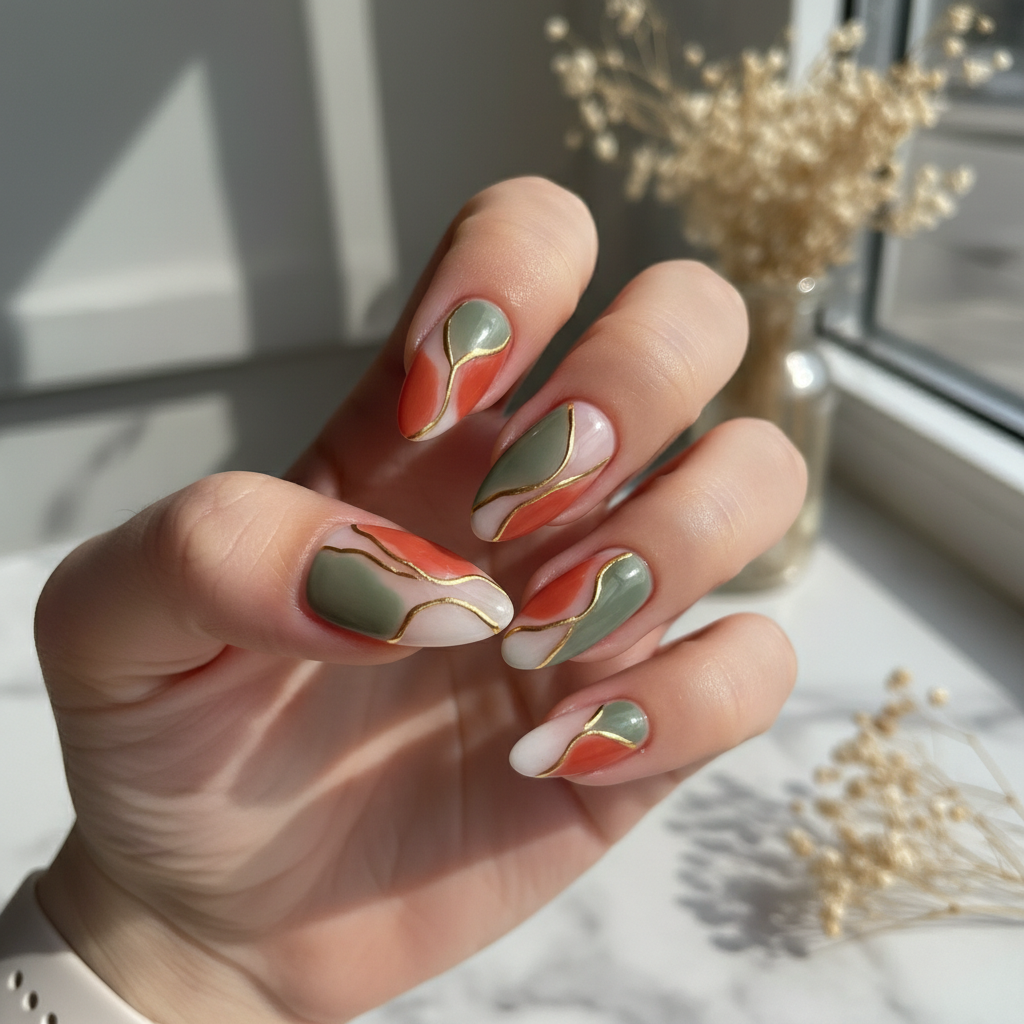
Photo-real Salon Extended Nails
Extended inspired nail art with clean, photo-real finish and professional salon quality
Created: October 5, 2025 at 01:25 PM
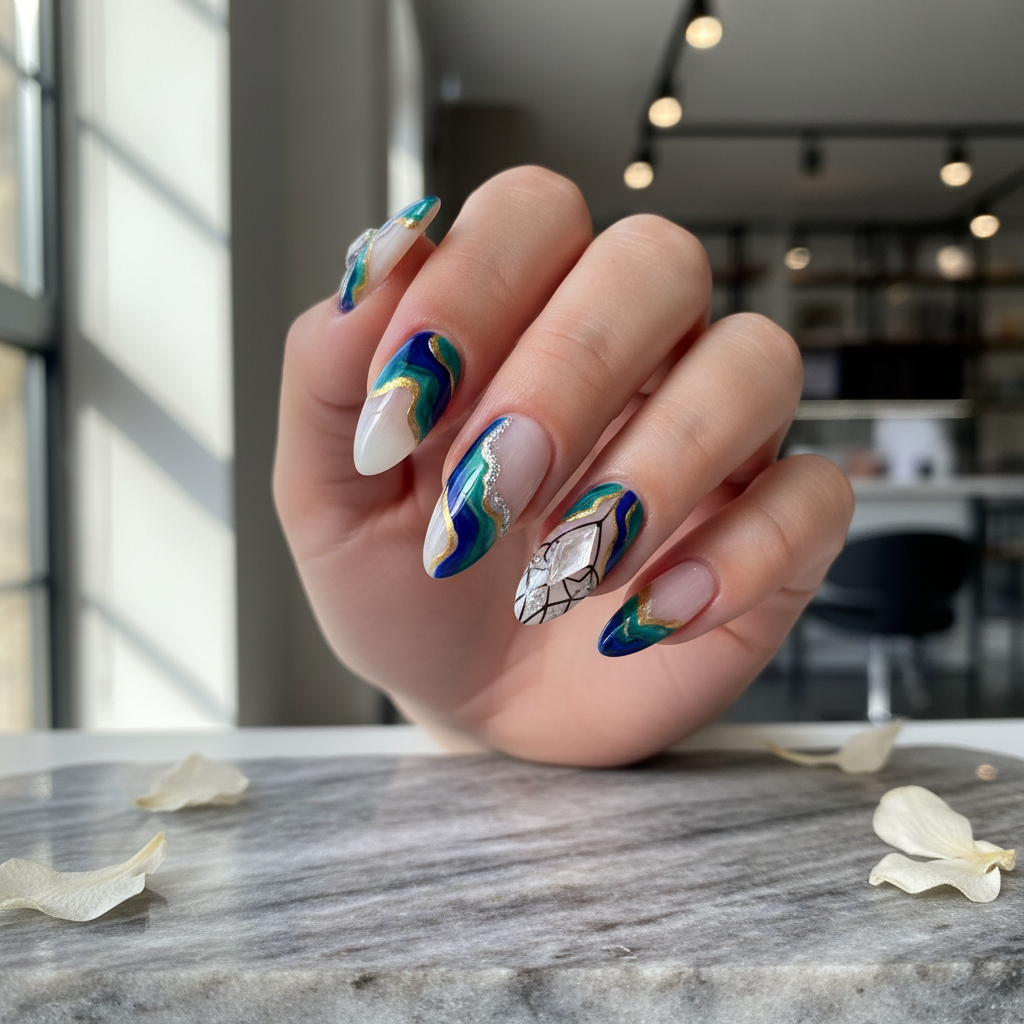
More Extended Designs
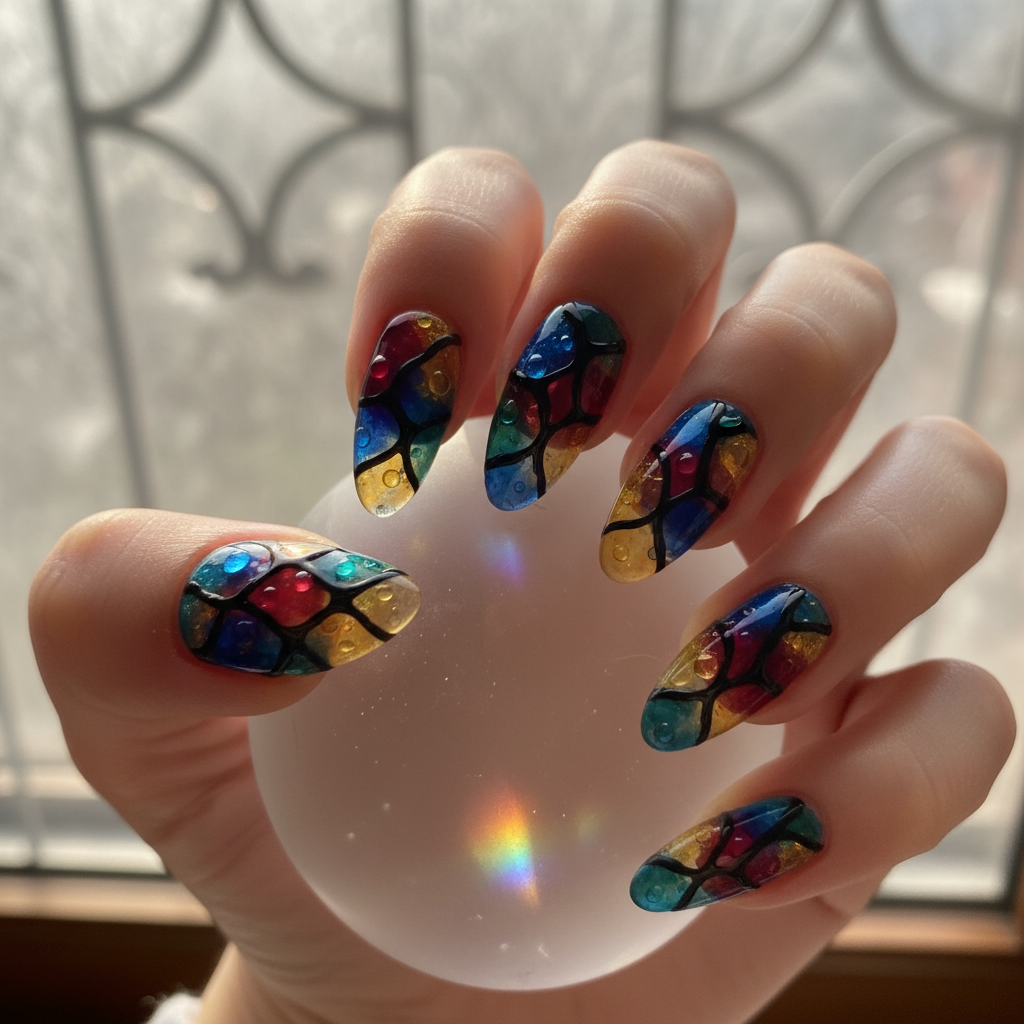
More Designs
Salon Extended Nails: Photo-Real Professional Design
Achieve flawless, photo-real salon-quality extended nails with this design. Perfect for those seeking a polished and professional look, these extensions offer both elegance and durability.
Supplies You'll Need
- Acrylic powder or gel
- Nail forms or tips
- Acrylic liquid or gel base
- Nail buffer and file
- Top coat
- UV/LED lamp (if using gel)
How To Recreate It
- Prepare the natural nails by gently pushing back cuticles and lightly buffing the surface.
- Apply nail forms or tips, ensuring a seamless fit.
- Sculpt the extended nail using acrylic or gel, building the desired shape and length.
- File and shape the extension to create a smooth, even surface.
- Apply a top coat for a glossy, photo-real finish.
- Cure under a UV/LED lamp if using gel.
Expert Tip
Take your time during the sculpting process to ensure a smooth, even surface. Proper shaping is crucial for achieving the photo-real, salon-quality look.
Try These Variations
- →Subtle ombre effect using nude and beige shades.
- →French manicure with a crisp white tip.
- →Adding a delicate shimmer topcoat for a subtle sparkle.
Aftercare Tips
- ✓Wear gloves when doing housework or gardening.
- ✓Avoid prolonged exposure to water to prevent lifting.
- ✓Moisturize hands regularly to maintain healthy nails.
Safe Removal
- 1.Soak nails in acetone until the acrylic or gel softens.
- 2.Gently remove the softened material with a pusher or orange wood stick.
Quick Facts
Why It's Trending
The demand for salon-worthy nails at home is rising, driving the popularity of professional-looking extended designs.
Seasonal Styling
This clean and professional design is perfect year-round, but especially shines during corporate events or when you want a polished everyday look.
Color Variations
Perfect For
Why People Love It
Instagram nail artists are showcasing similar designs, highlighting the trend for realistic and polished nail extensions.
Daily Maintenance
- 💅Apply cuticle oil daily to keep the surrounding skin hydrated.
- 💅Avoid using your nails as tools to prevent breakage.
- 💅Return to your nail technician every 2-3 weeks for fills.
Common Issues & Fixes
- ⚠LiftingEnsure proper nail preparation and application technique. Use a quality primer.
- ⚠Bubbles in acrylic/gelWork in a well-ventilated area and use the correct liquid-to-powder/gel ratio.
- ⚠Uneven surfaceRefile and buff the nail until smooth before applying the top coat.
Design Inspiration
Inspired by the trend of photo-real beauty and the desire for flawless, professionally-done nails.
Explore Similar Designs
Colors in this Design
Techniques Used
Perfect For
Nail Shapes
More Categories to Explore
Popular Colors
Popular Techniques
Perfect Occasions
FAQs
How long do extended nails typically last?
With proper care, they can last 2-3 weeks before needing a fill.
Can I do this design on short nails?
While the primary design involves extensions, you can adapt the photo-real finish and color palette to shorter natural nails.
What is the best type of acrylic or gel to use?
Opt for professional-grade products from reputable brands for optimal results.
How do I prevent damage to my natural nails?
Proper application and removal are key. Avoid picking or prying off the extensions.
Are gel or acrylic extensions better?
It depends on personal preference. Gel is generally more flexible, while acrylic is stronger. Both can achieve the desired look with the right technique.
Can I use a regular nail polish top coat?
It's recommended to use a gel top coat for gel extensions and an acrylic-compatible top coat for acrylic extensions for best results and durability.