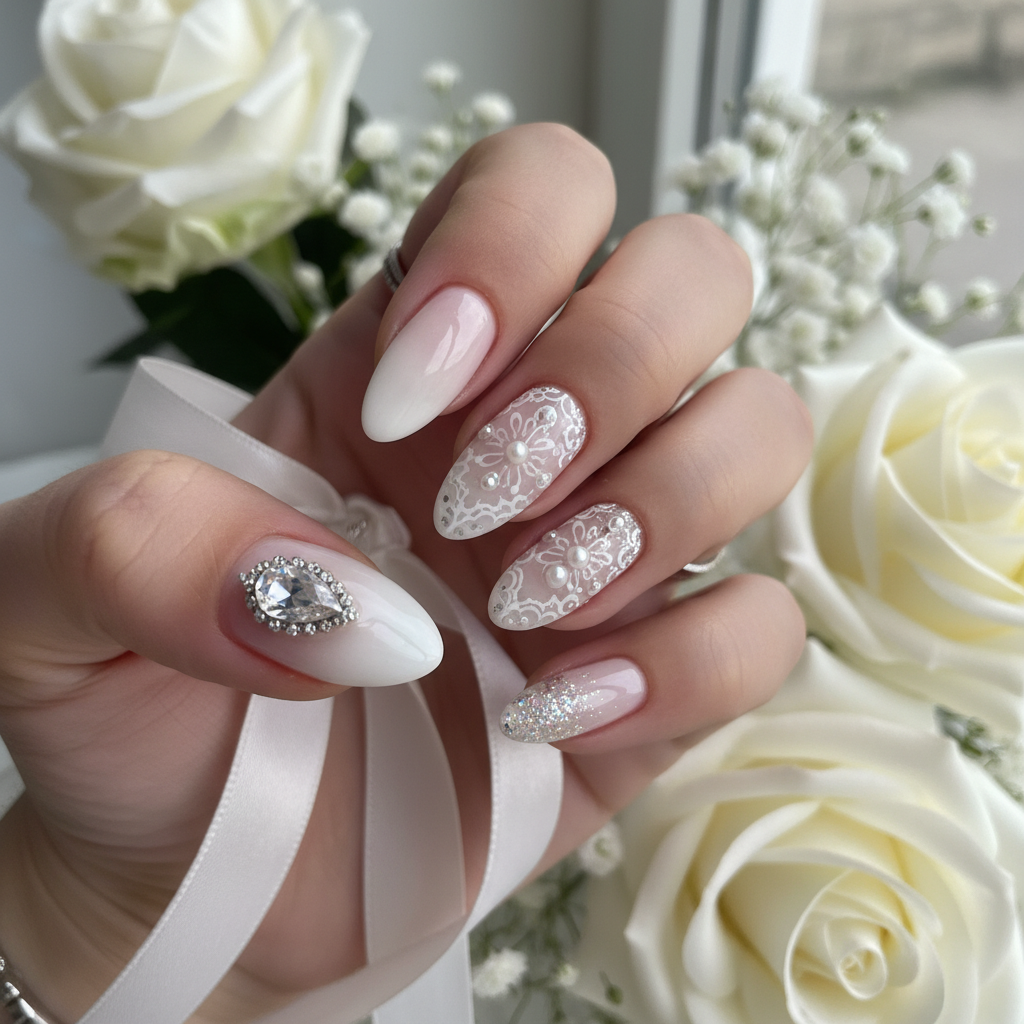
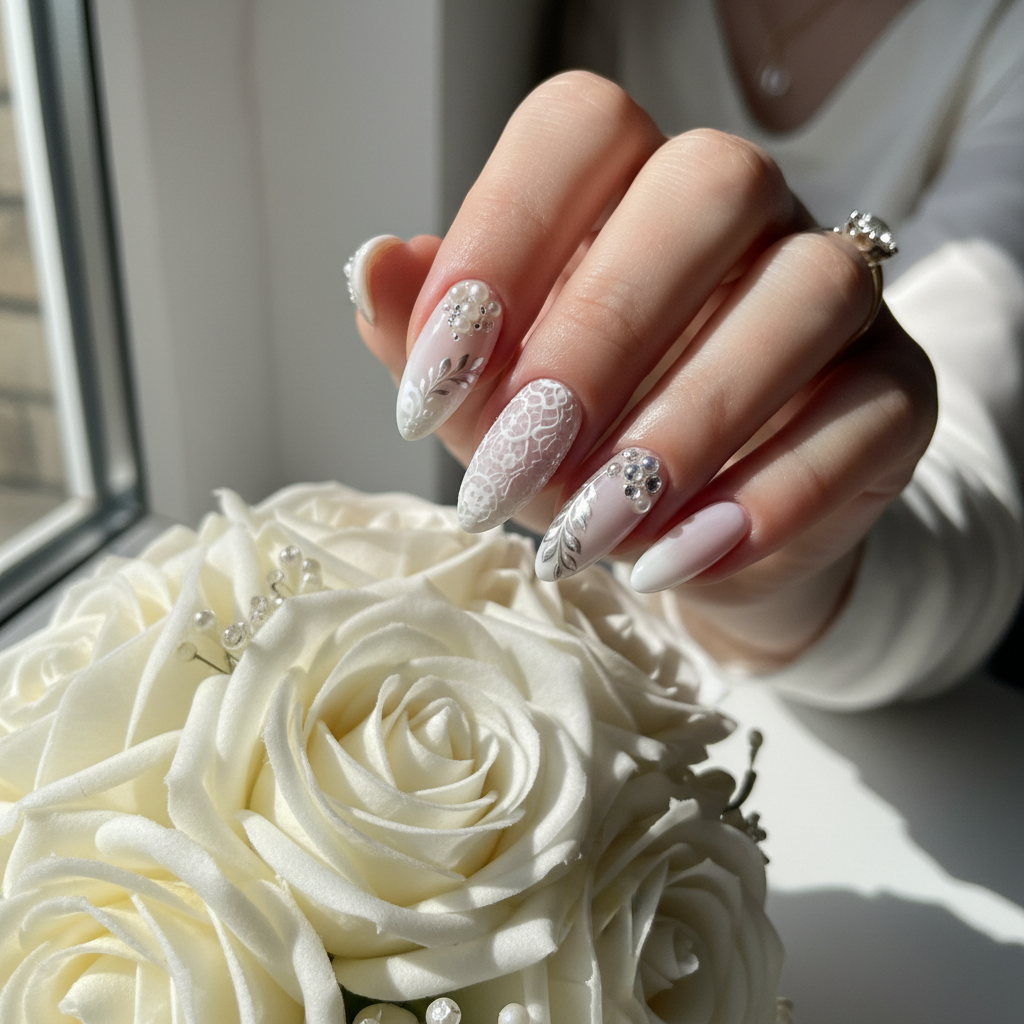
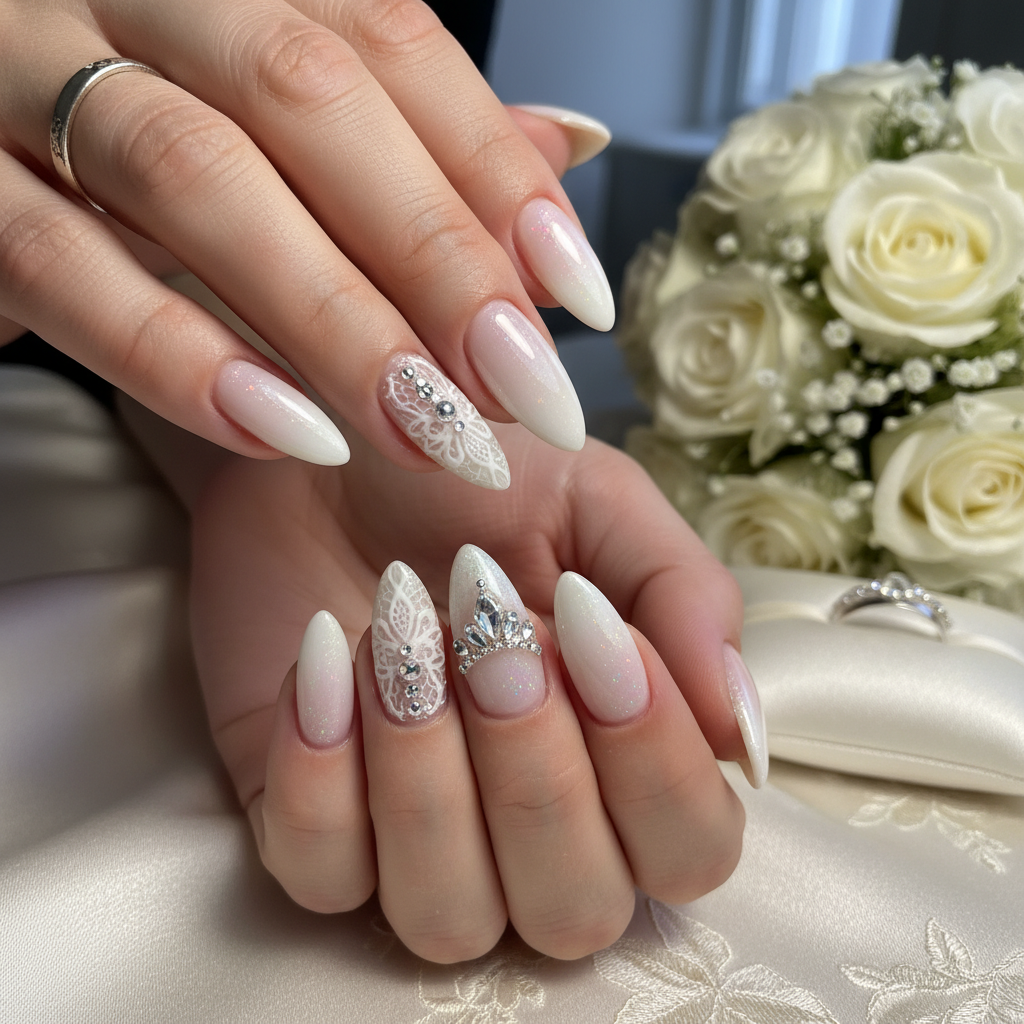
Photo-real Salon Bridal Nails
Bridal inspired nail art with clean, photo-real finish and professional salon quality
Created: October 5, 2025 at 12:10 PM
More Bridal Designs
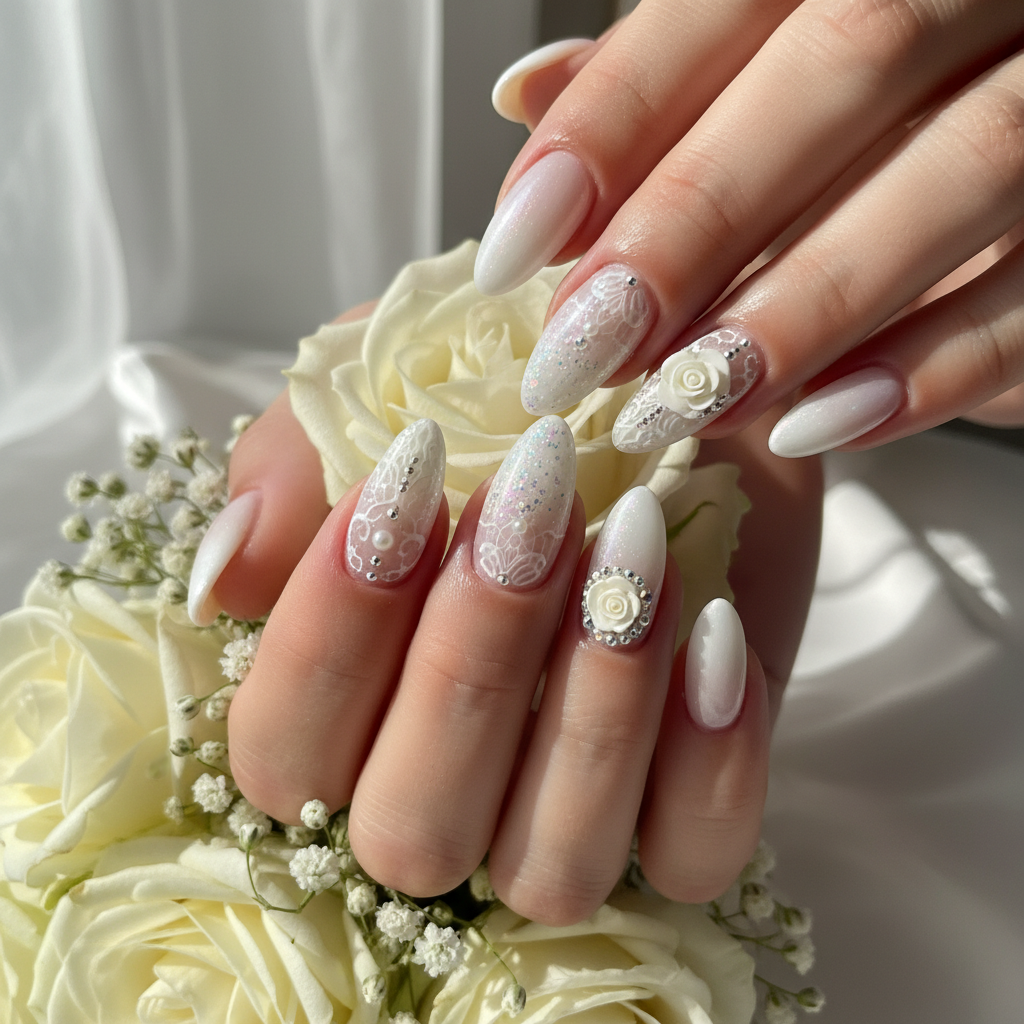
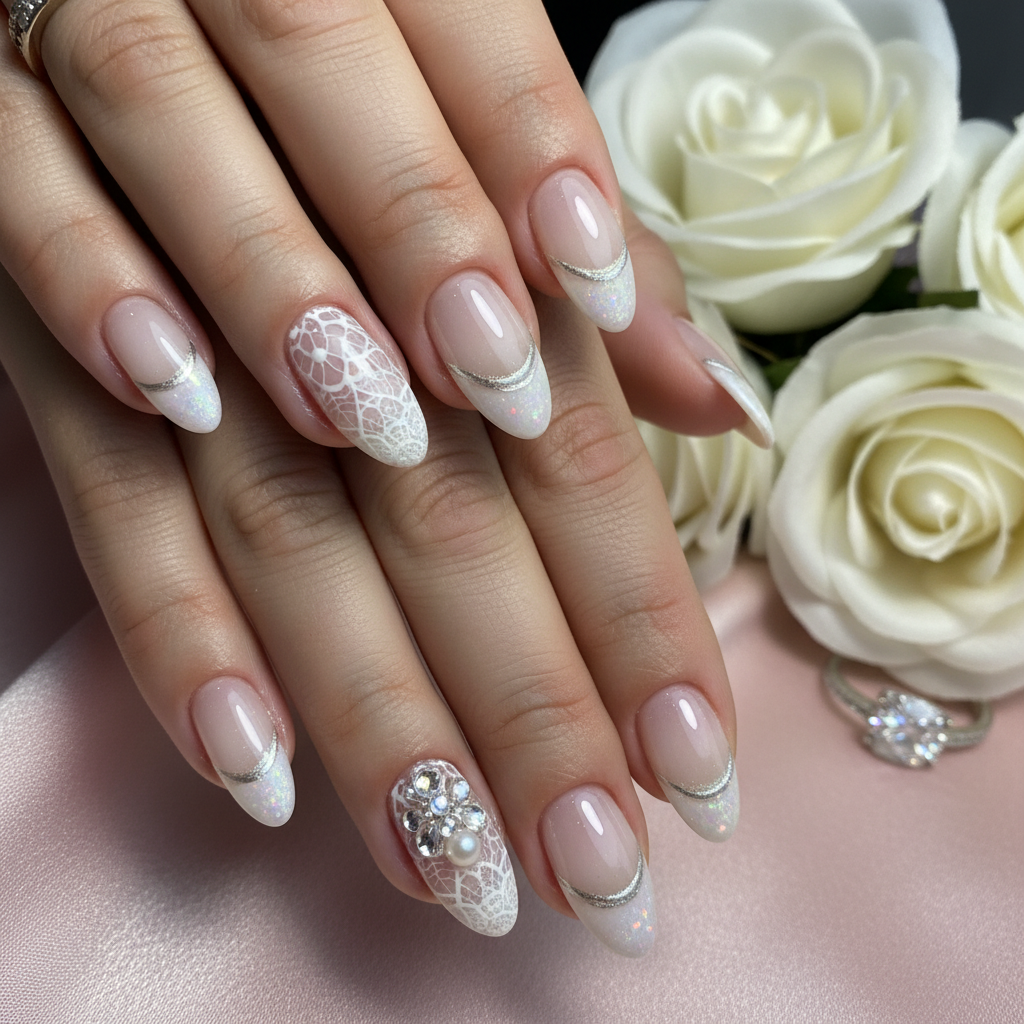
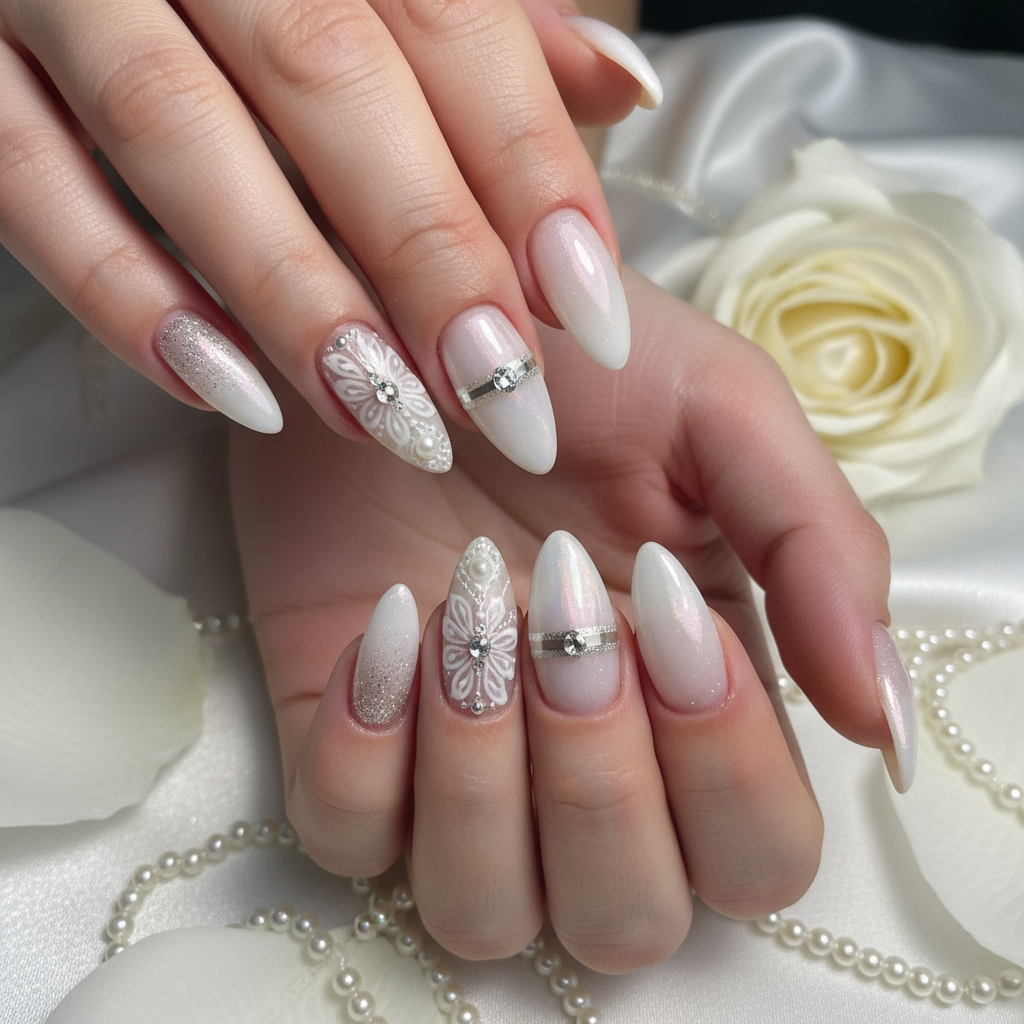
Beautiful Photo-real Salon Bridal Nails
Bridal inspired nail art with beautiful, photo-real finish and professional salon quality
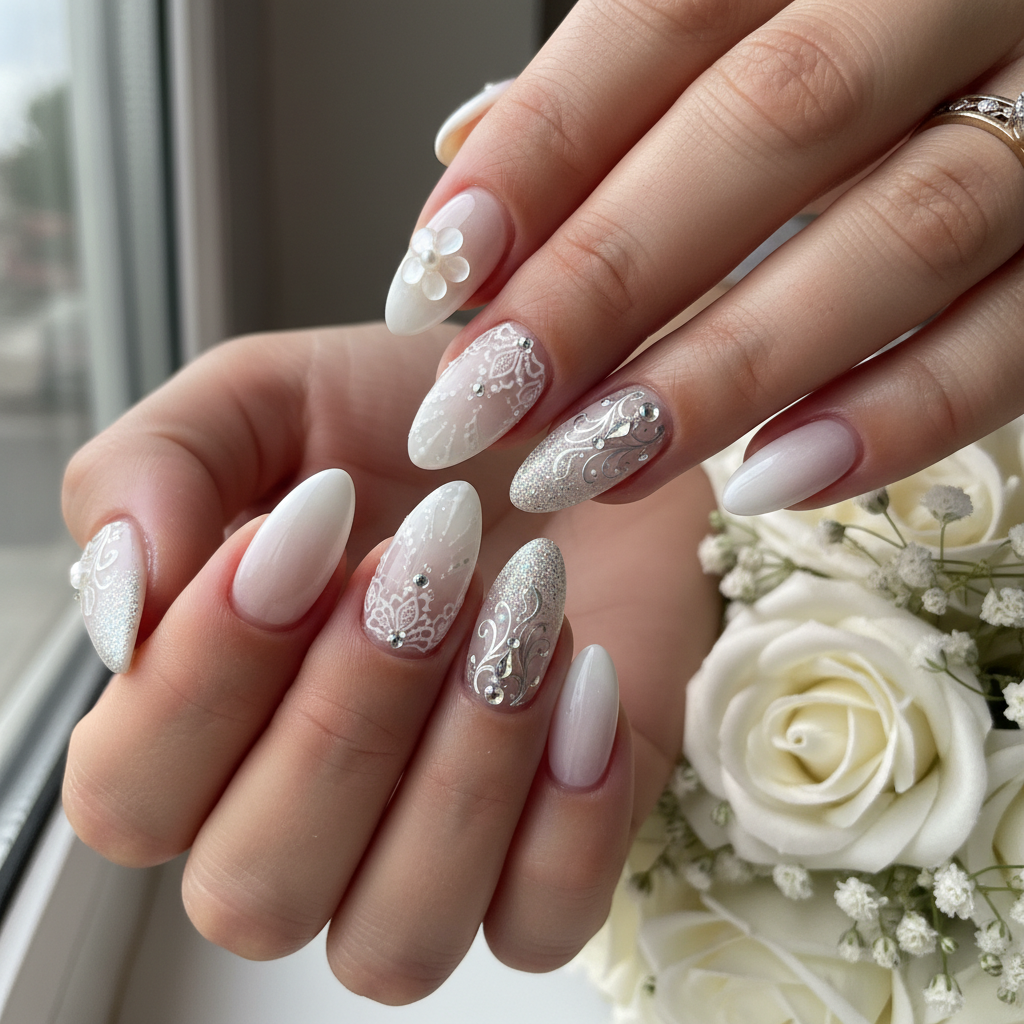
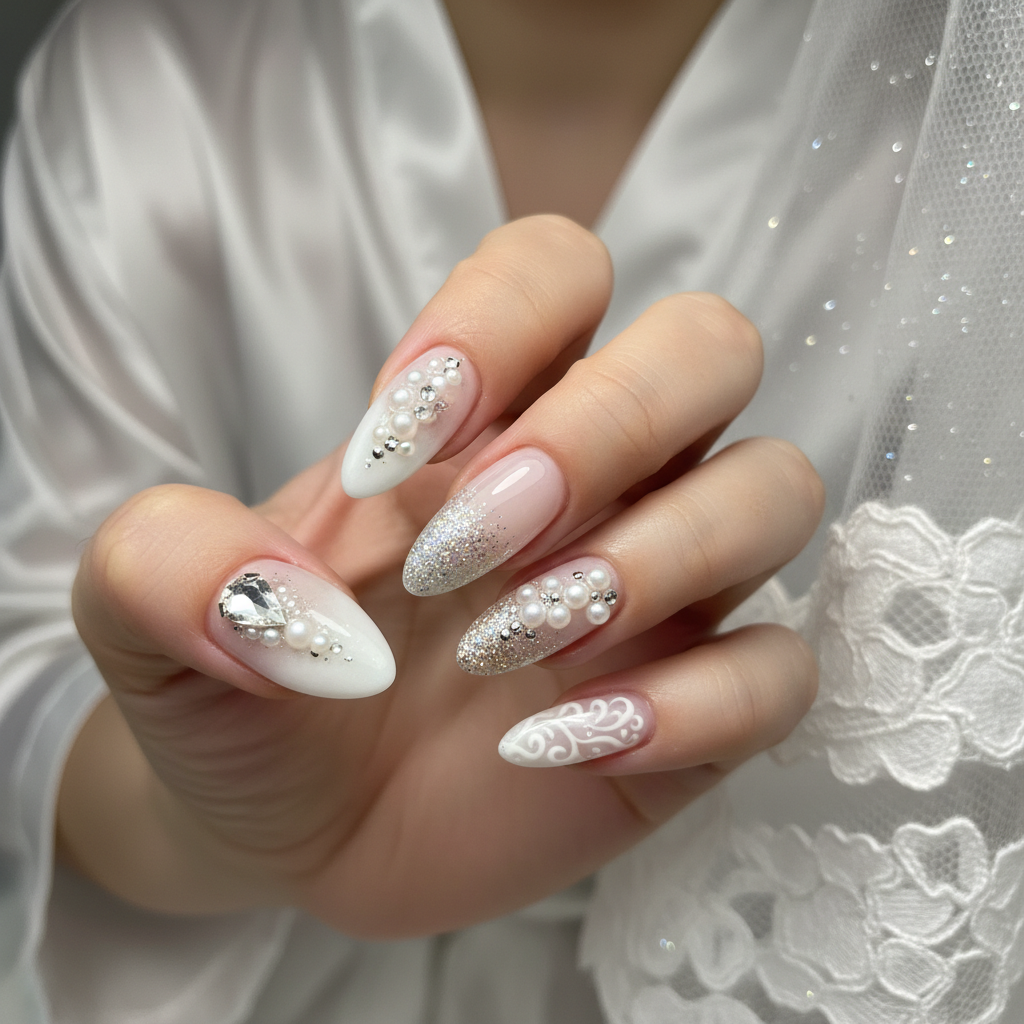
Gorgeous Photo-real Salon Bridal Nails
Bridal inspired nail art with gorgeous, photo-real finish and professional salon quality
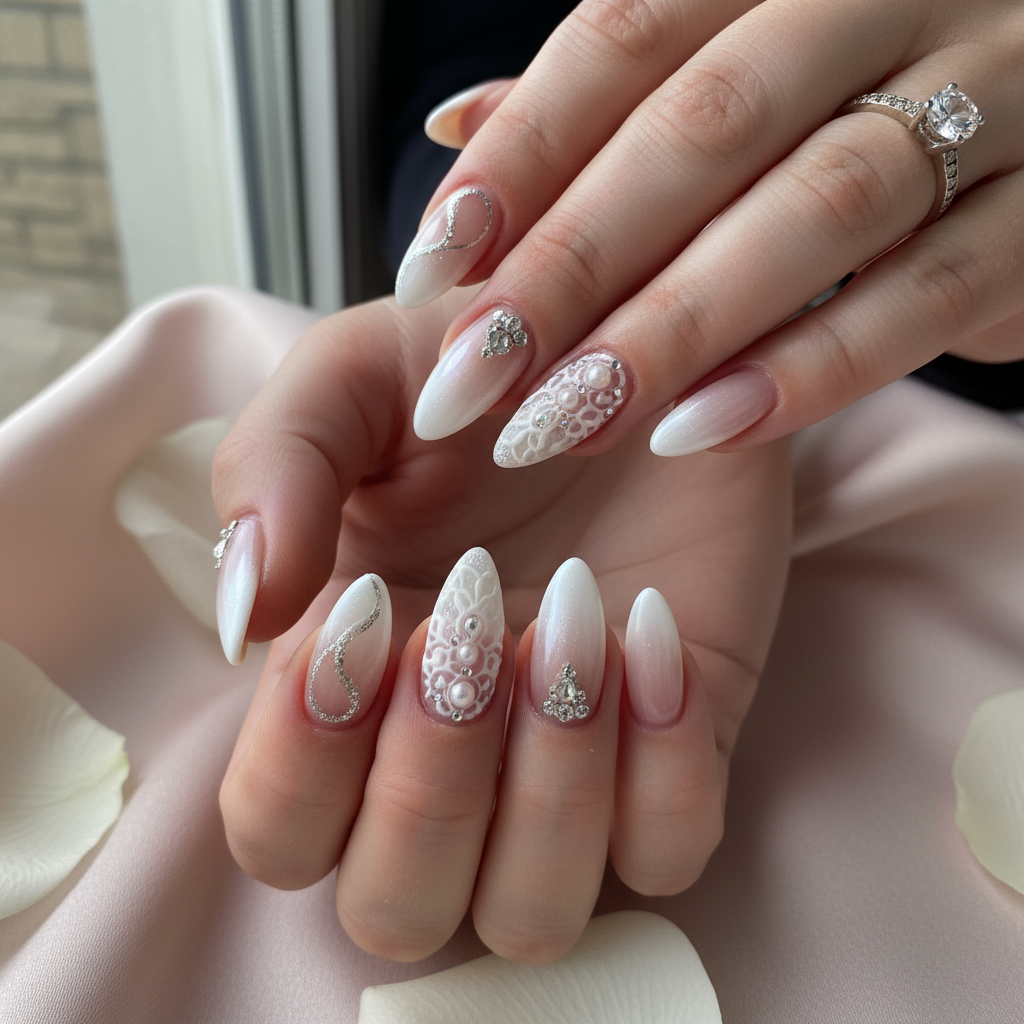
Stunning Photo-real Salon Bridal Nails
Bridal inspired nail art with stunning, photo-real finish and professional salon quality
Beautiful Photo-real Salon Bridal Nails
Bridal inspired nail art with beautiful, photo-real finish and professional salon quality
Sophisticated Photo-real Salon Bridal Nails
Bridal inspired nail art with sophisticated, photo-real finish and professional salon quality
Gorgeous Photo-real Salon Bridal Nails
Bridal inspired nail art with gorgeous, photo-real finish and professional salon quality
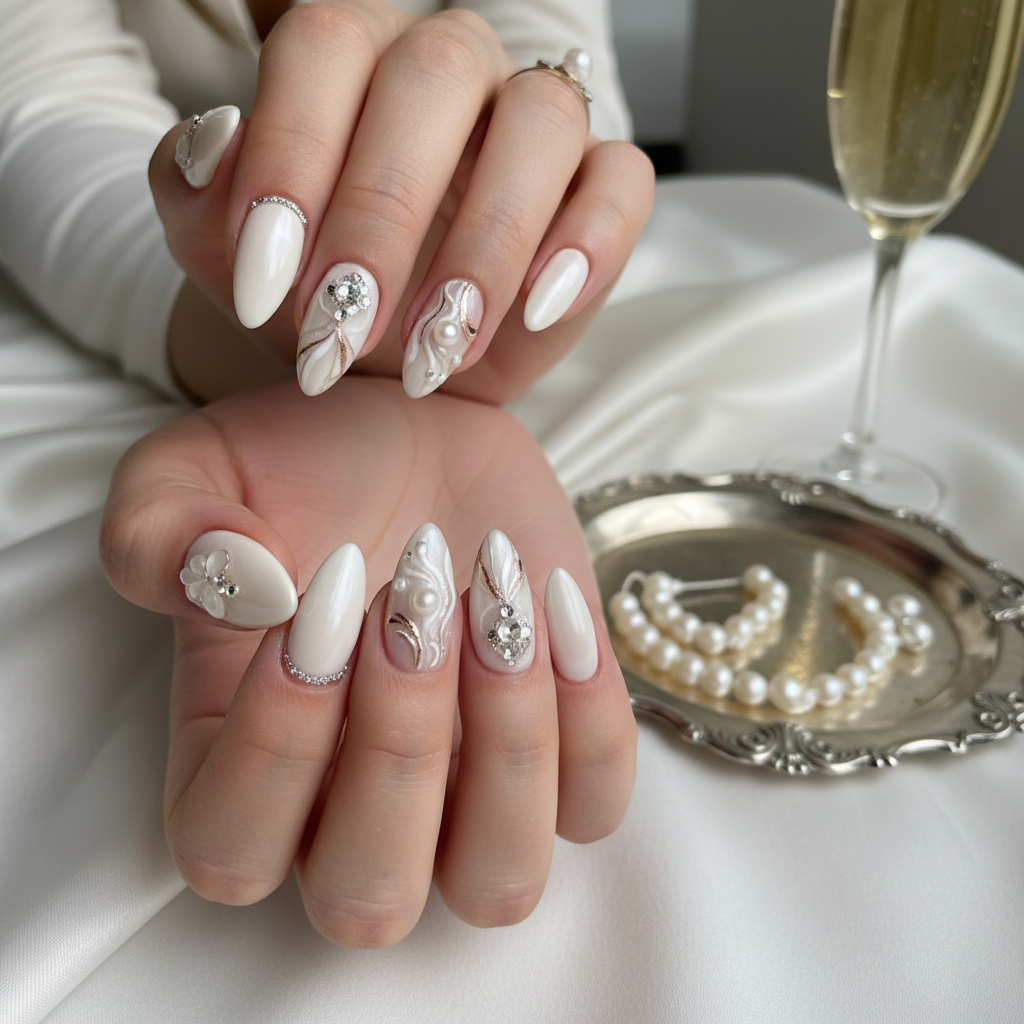
Photo-real Salon Bridal Nails
Bridal inspired nail art with elegant, photo-real finish and professional salon quality

Beautiful Photo-real Salon Bridal Nails
Bridal inspired nail art with beautiful, photo-real finish and professional salon quality
Stunning Photo-real Salon Bridal Nails
Bridal inspired nail art with stunning, photo-real finish and professional salon quality
Gorgeous Photo-real Salon Bridal Nails
Bridal inspired nail art with gorgeous, photo-real finish and professional salon quality
More Designs
Elegant Photo-Real Bridal Nails | Salon Quality Design
Achieve stunning, photo-realistic bridal nails with this elegant design. This salon-quality look features delicate detailing for a sophisticated and unforgettable wedding day style.
Supplies You'll Need
- Gel base coat
- Gel polish (soft white, sheer pink, nude)
- Fine detail brush
- UV/LED lamp
- Gel top coat
- Nail dehydrator/primer
How To Recreate It
- Prep nails with a dehydrator and primer. Apply a thin layer of gel base coat and cure under UV/LED lamp.
- Apply 2-3 thin coats of soft white or sheer pink gel polish, curing after each coat.
- Using a fine detail brush, create delicate floral or lace patterns with nude or champagne gold gel polish. Cure.
- Optional: Create a subtle ombre effect at the base of the nail with a lighter shade. Cure.
- Apply a gel top coat for a high-gloss finish and cure. Cleanse with alcohol to remove sticky residue.
- If desired, add minimal 3D embellishments like tiny pearls or crystals for extra elegance.
Expert Tip
Practice your fine line art on a nail art practice sheet before applying to the nails to ensure precision and a clean, photo-realistic result. Use a very light touch with the detail brush.
Try These Variations
- →Add a touch of silver glitter for a winter wedding theme.
- →Incorporate a delicate lace decal instead of freehand art for a quicker application.
- →Use a matte top coat for a modern, understated look.
Aftercare Tips
- ✓Keep nails moisturized with a nourishing hand cream.
- ✓Avoid picking or peeling the gel polish.
- ✓Protect your nails from excessive water exposure.
Safe Removal
- 1.File off the top coat to break the seal.
- 2.Soak cotton pads in acetone, place them on the nails, and wrap with foil for 10-15 minutes. Gently scrape off softened gel polish.
Quick Facts
Why It's Trending
Brides are seeking minimalist yet impactful nail designs that photograph beautifully, making photo-real finishes extremely popular.
Seasonal Styling
Perfect for spring and summer weddings, complementing lighter dress fabrics and outdoor settings. Also stunning for winter weddings with a touch of silver or gold accent.
Color Variations
Perfect For
Why People Love It
Brides are raving about these nails! They look stunning in wedding photos and last through the honeymoon.
Daily Maintenance
- 💅Apply cuticle oil daily to keep nails hydrated.
- 💅Wear gloves when doing housework to protect the design.
- 💅Avoid harsh chemicals that can dull the finish.
- 💅Schedule a touch-up appointment every 2-3 weeks to maintain the design.
Common Issues & Fixes
- ⚠Gel polish is chipping.Ensure proper nail prep, including dehydrating and priming. Apply thin, even coats of gel polish and cure thoroughly.
- ⚠Fine lines are bleeding or smudging.Use a very fine detail brush and a highly pigmented gel polish. Cure immediately after applying the design.
- ⚠3D embellishments are falling off.Use a strong nail glue or gel adhesive specifically designed for nail art. Apply a top coat to secure the embellishments further.
- ⚠The photo-realistic finish looks muddy.Blend colors smoothly and use thin layers to build up opacity. Practice blending techniques for a seamless effect.
Design Inspiration
Inspired by classic bridal gowns, delicate lace, and the desire to create a lasting, picture-perfect impression on your special day.
Explore Similar Designs
Colors in this Design
Techniques Used
Perfect For
Nail Shapes
More Categories to Explore
Popular Colors
Popular Techniques
Perfect Occasions
FAQs
How long will this design last?
With proper care, this gel polish design can last up to 3 weeks.
Can I do this design at home?
While possible, achieving a true photo-realistic finish requires advanced skills and practice. Consider visiting a professional nail artist for the best results.
What if I don't want floral designs?
You can adapt the design with geometric patterns, subtle gradients, or simple elegant lines.
Are these nails appropriate for everyday wear?
This particular design is more suited for special occasions due to its intricacy. A simpler version can be adapted for daily wear.
How do I prevent bubbles in the gel polish?
Roll the bottle between your hands instead of shaking it to avoid creating bubbles. Apply thin coats and cure properly.