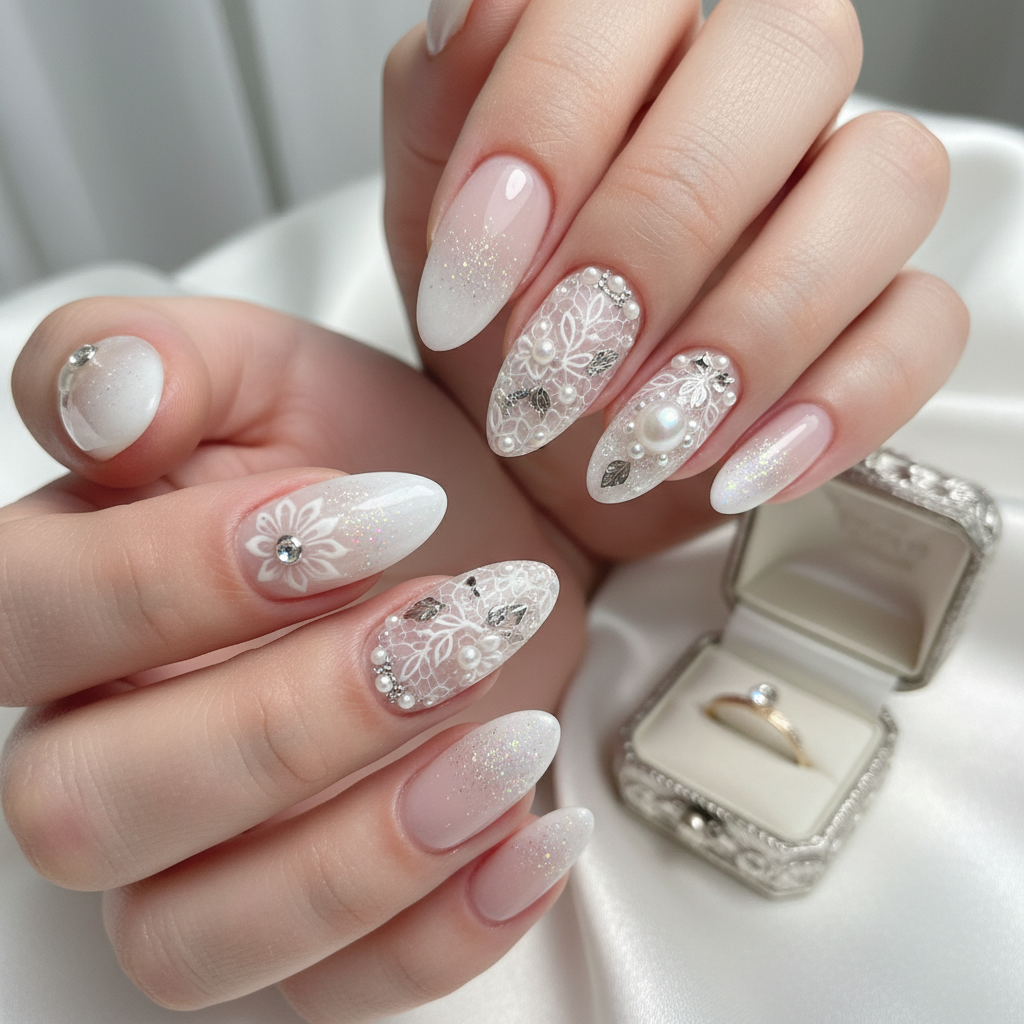
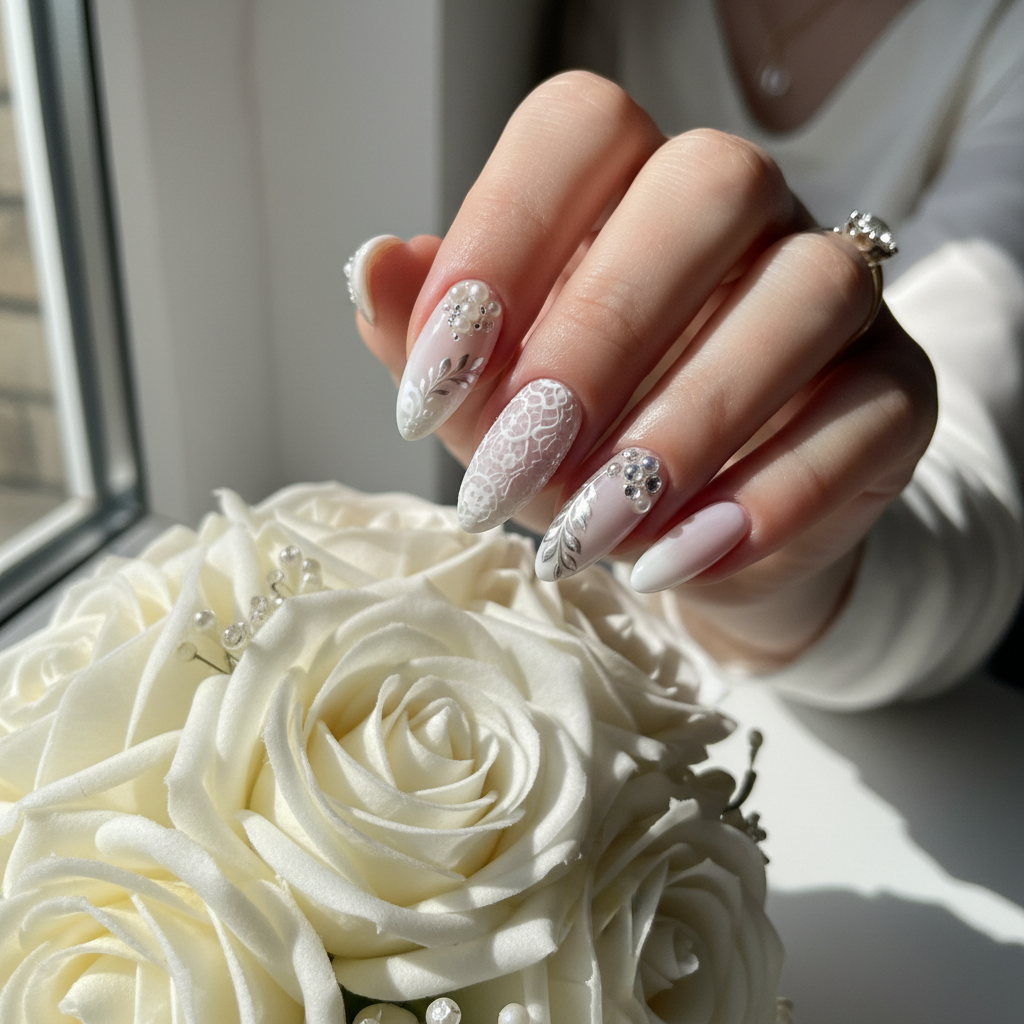
Photo-real Salon Bridal Nails
Bridal inspired nail art with clean, photo-real finish and professional salon quality
Created: October 5, 2025 at 12:10 PM
More Bridal Designs
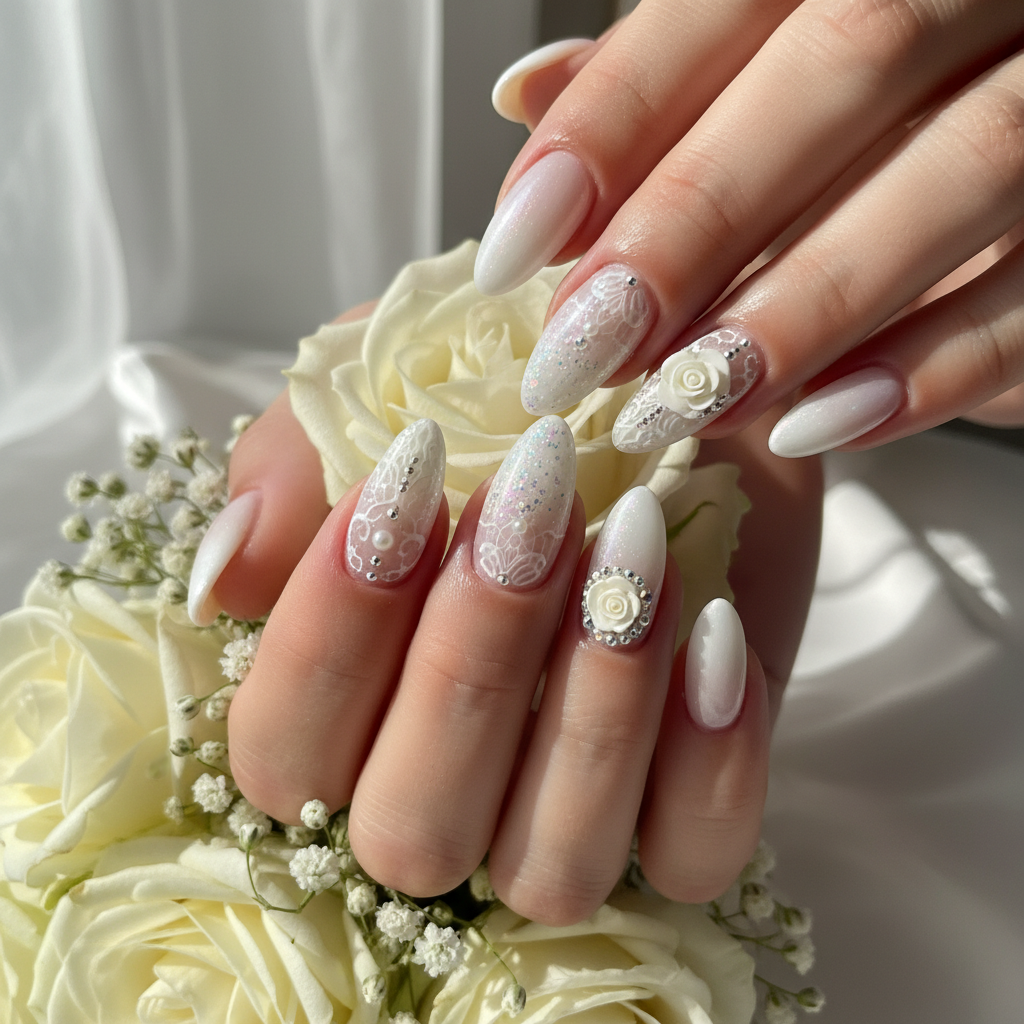
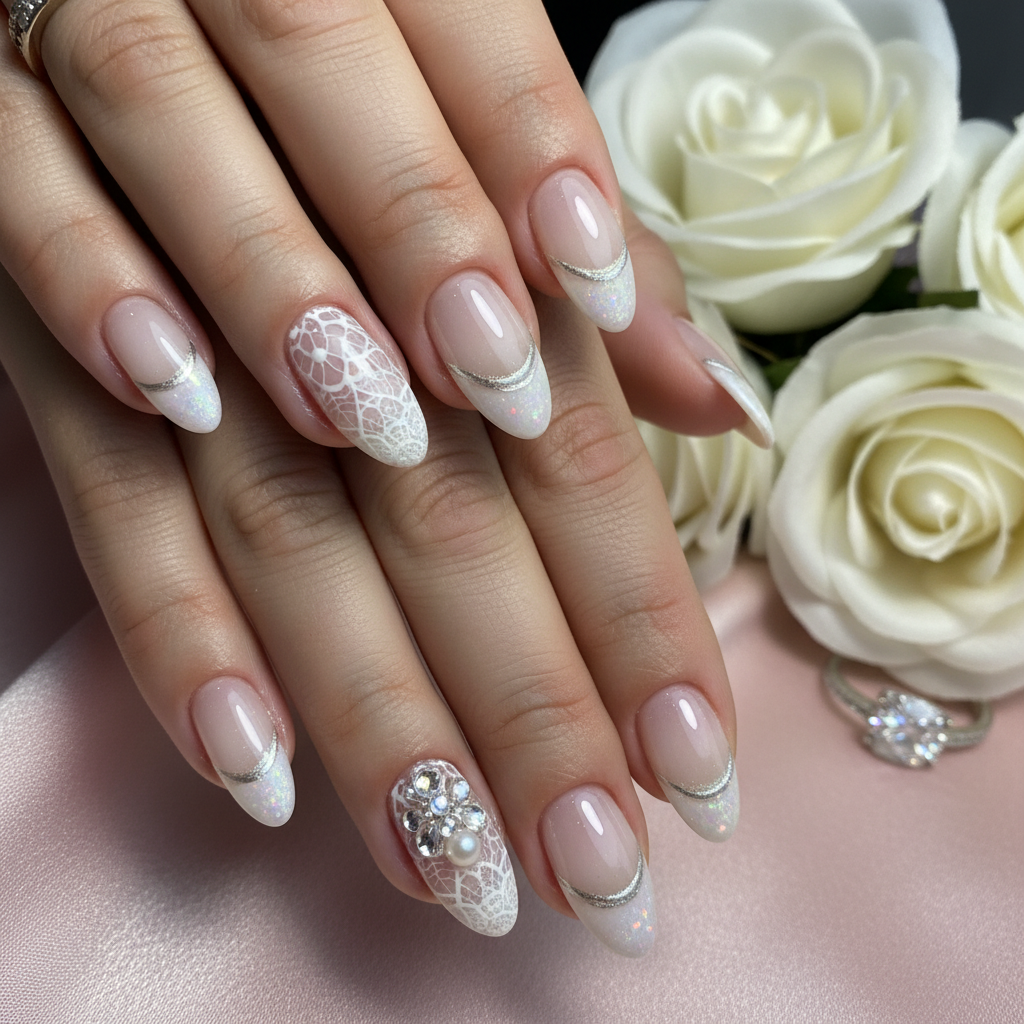
Beautiful Photo-real Salon Bridal Nails
Bridal inspired nail art with beautiful, photo-real finish and professional salon quality
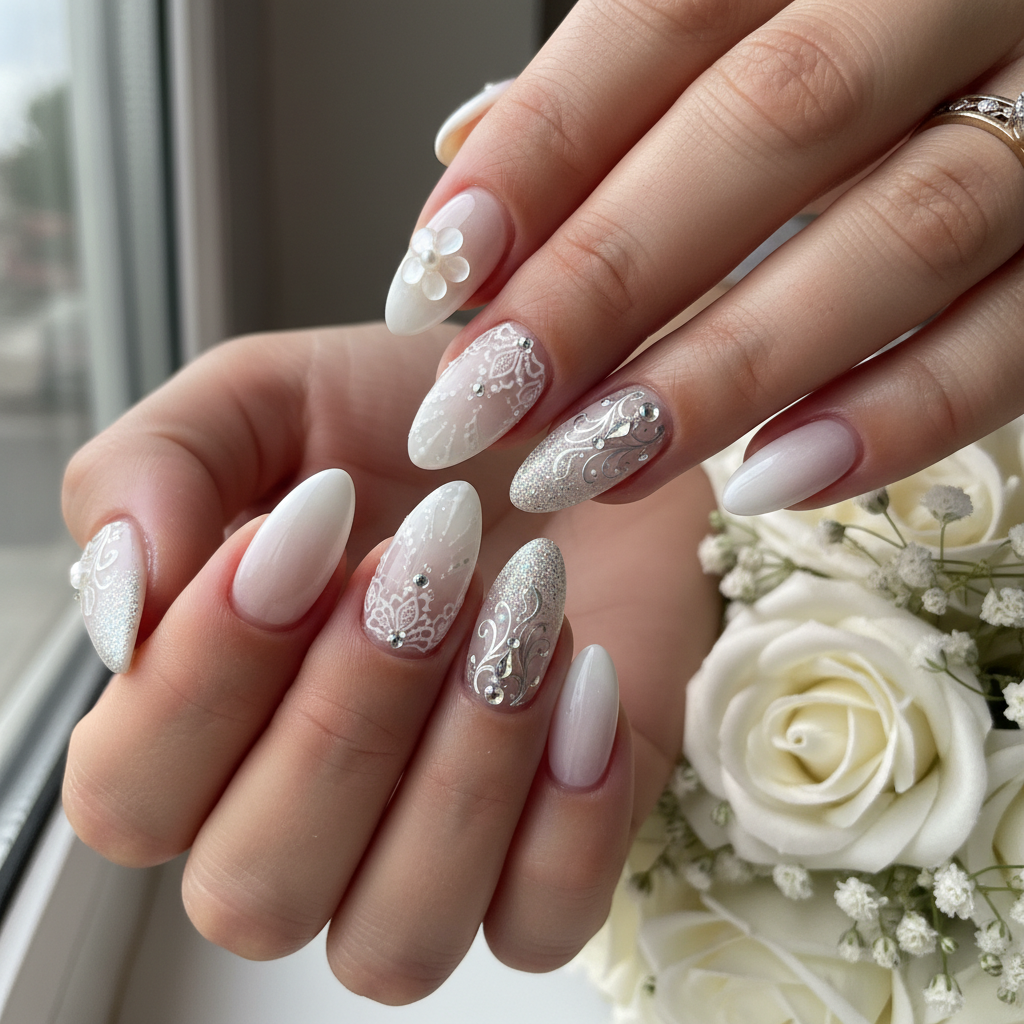
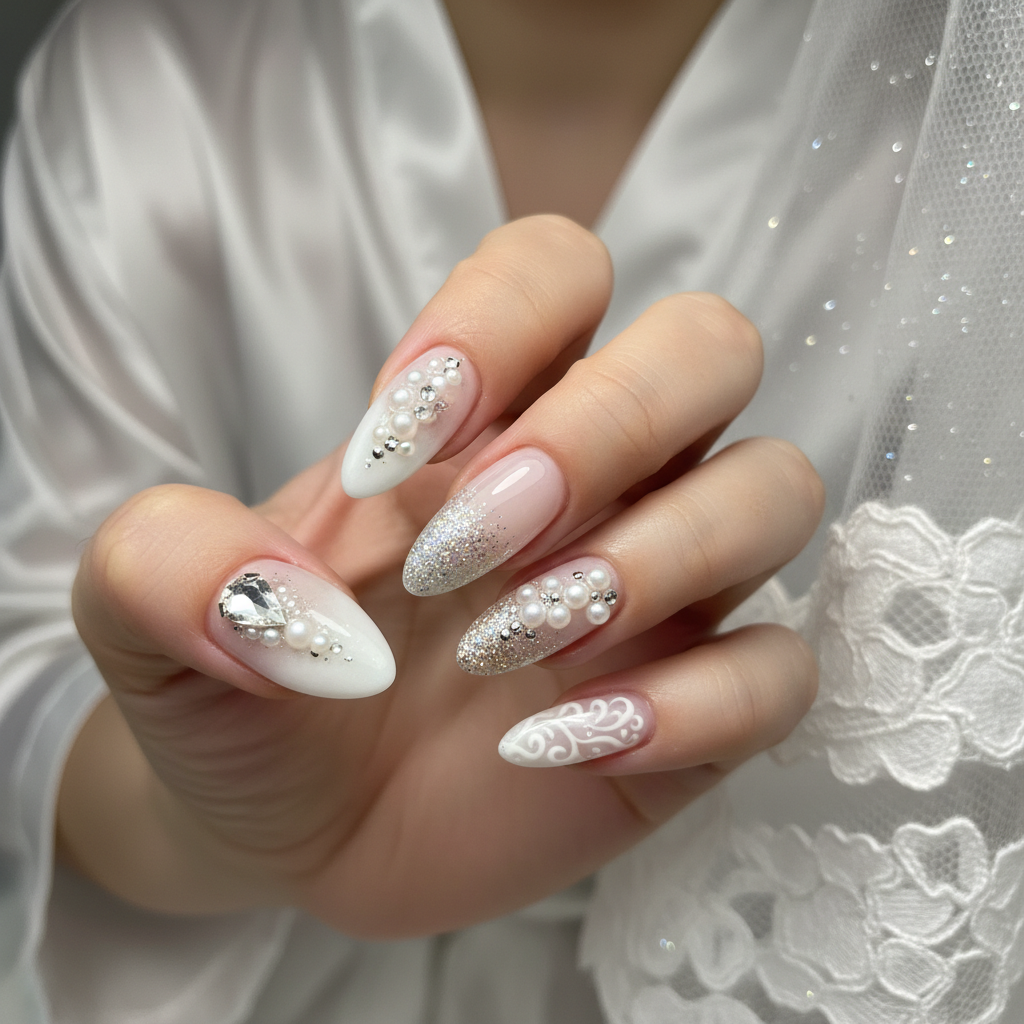
Gorgeous Photo-real Salon Bridal Nails
Bridal inspired nail art with gorgeous, photo-real finish and professional salon quality
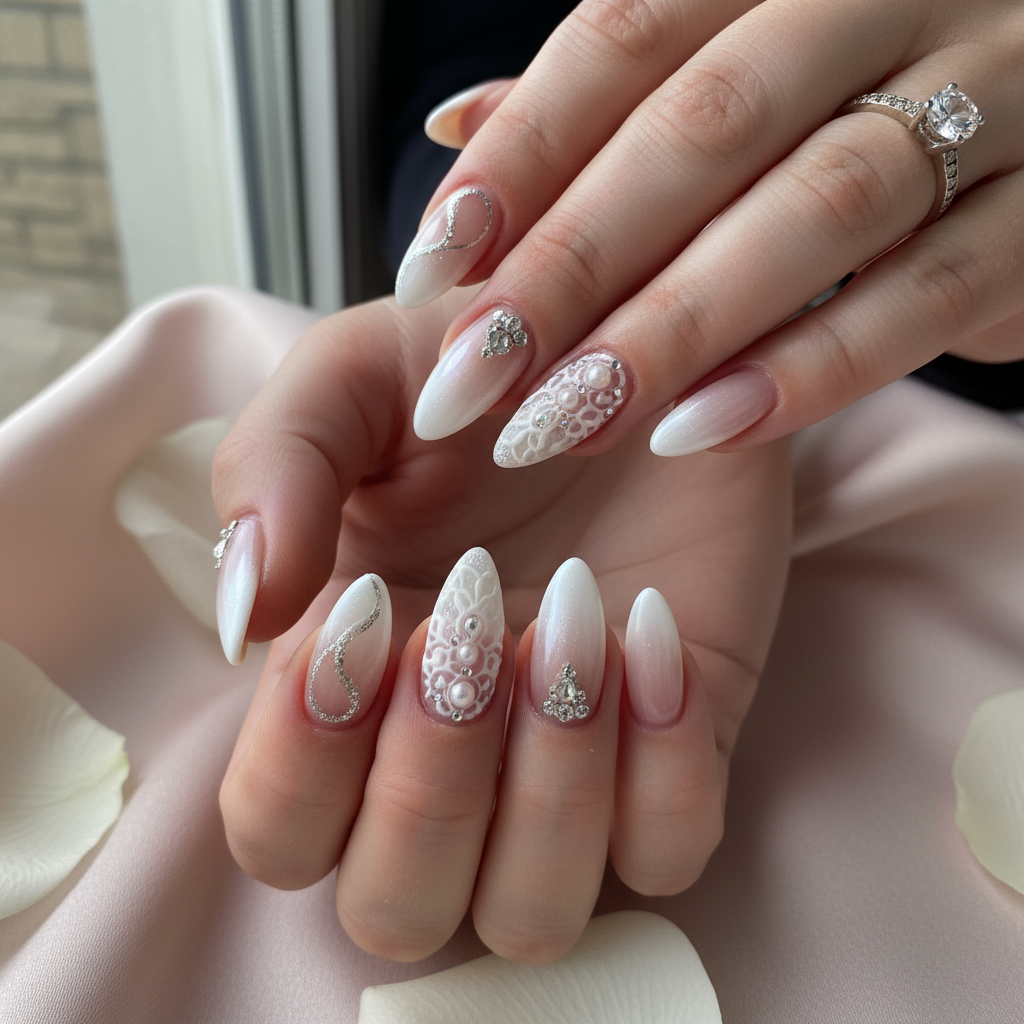
Stunning Photo-real Salon Bridal Nails
Bridal inspired nail art with stunning, photo-real finish and professional salon quality
Beautiful Photo-real Salon Bridal Nails
Bridal inspired nail art with beautiful, photo-real finish and professional salon quality
Sophisticated Photo-real Salon Bridal Nails
Bridal inspired nail art with sophisticated, photo-real finish and professional salon quality
Gorgeous Photo-real Salon Bridal Nails
Bridal inspired nail art with gorgeous, photo-real finish and professional salon quality
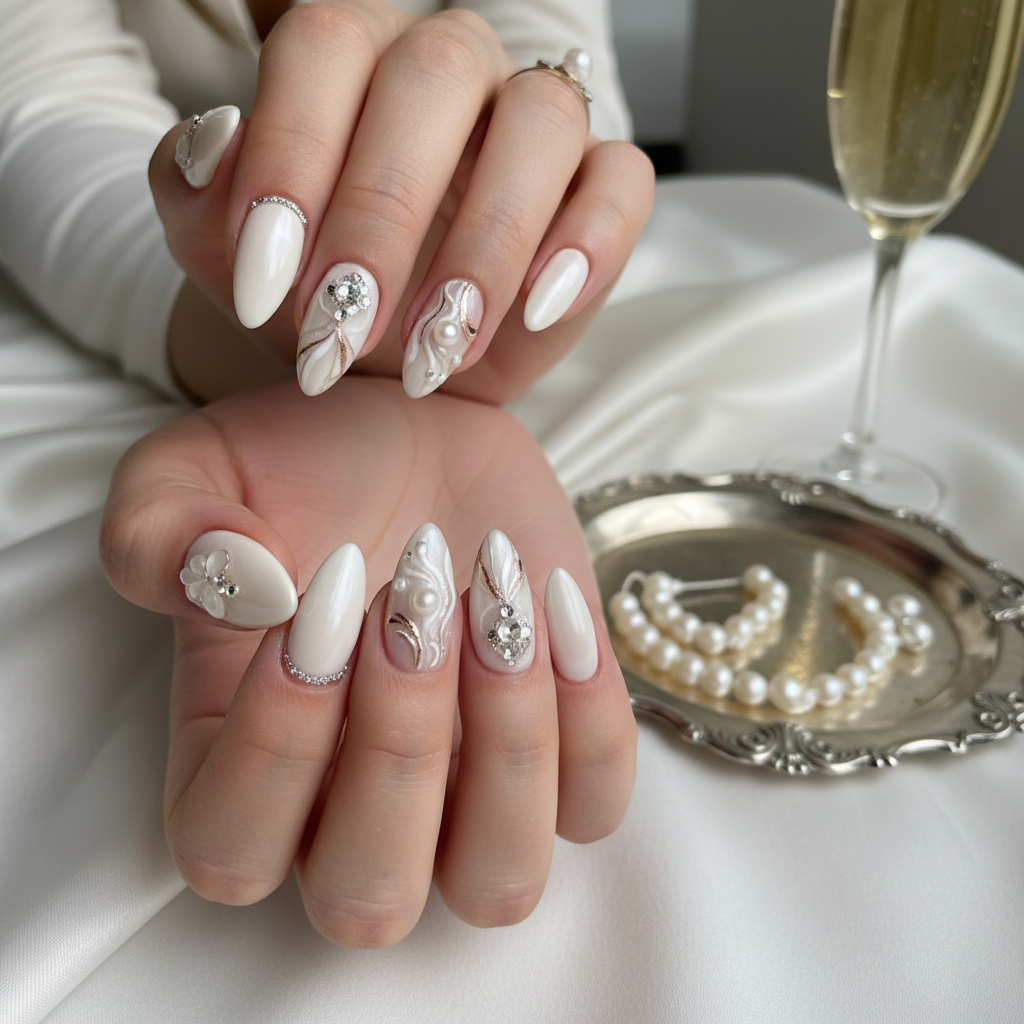
Photo-real Salon Bridal Nails
Bridal inspired nail art with elegant, photo-real finish and professional salon quality

Beautiful Photo-real Salon Bridal Nails
Bridal inspired nail art with beautiful, photo-real finish and professional salon quality
Stunning Photo-real Salon Bridal Nails
Bridal inspired nail art with stunning, photo-real finish and professional salon quality
Gorgeous Photo-real Salon Bridal Nails
Bridal inspired nail art with gorgeous, photo-real finish and professional salon quality
More Designs
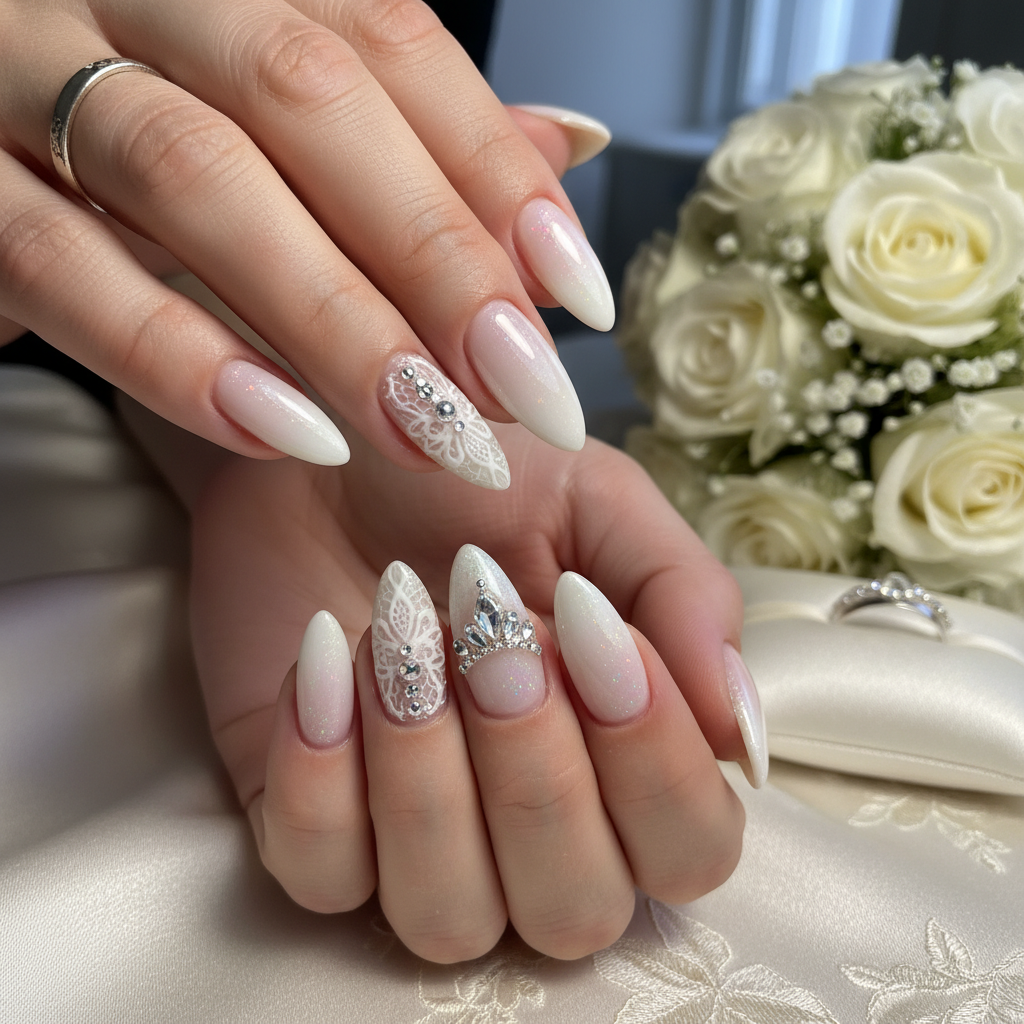
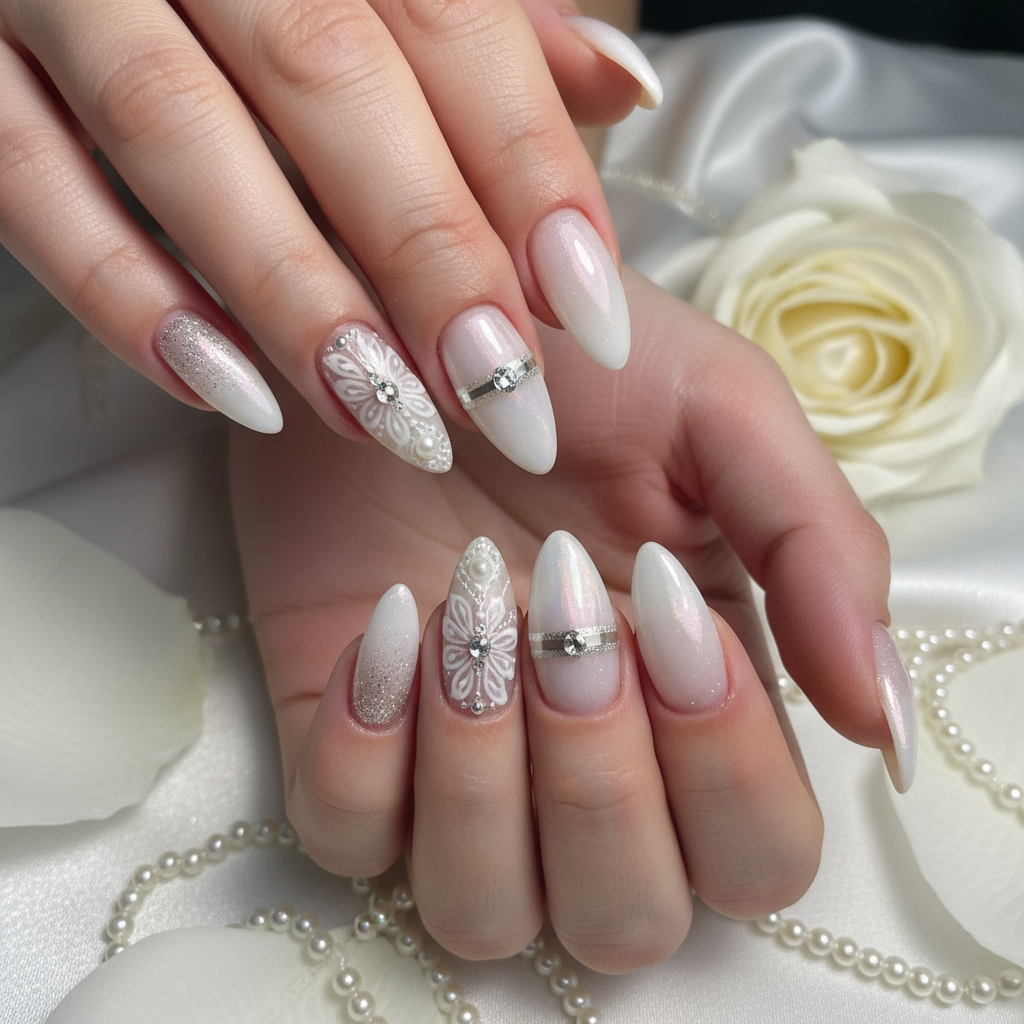
Elegant Photo-Real Bridal Nails: Salon-Quality Design
Achieve stunning, photo-real bridal nails with this elegant design. Mimicking professional salon quality, this look perfectly complements your special day with a clean and sophisticated aesthetic.
Supplies You'll Need
- Gel polish in off-white, nude, and pale pink shades
- Fine detail brush
- Airbrush system (optional)
- UV/LED lamp
- Top coat
- Base coat
How To Recreate It
- Apply base coat and cure under UV/LED lamp.
- Apply 2-3 thin coats of off-white gel polish, curing after each coat.
- Using a fine detail brush and nude/pale pink gel polish, create subtle ombre or blended effect near the cuticle area.
- If using an airbrush, lightly spray a diluted nude shade over the base for a flawless transition.
- Add any desired embellishments (optional, keep it minimal).
- Apply top coat and cure under UV/LED lamp.
Expert Tip
Achieving a photo-real finish requires patience and practice with color blending and airbrushing (if used). Take your time with each layer to ensure a smooth and seamless transition.
Try These Variations
- →Add delicate gold foil accents for a touch of luxury.
- →Incorporate a subtle French tip with a very thin line of white.
- →Create a reverse ombre with the darker shade at the tips.
Aftercare Tips
- ✓Moisturize hands regularly with a hydrating lotion.
- ✓Avoid harsh chemicals that can damage the gel polish.
- ✓Protect nails from prolonged exposure to water.
- ✓Use a gentle nail cleanser to remove any dirt or residue.
Safe Removal
- 1.File off the top coat to break the seal.
- 2.Soak cotton balls in acetone and apply to each nail, securing with foil.
- 3.Wait 10-15 minutes, then gently scrape off the softened gel polish.
Quick Facts
Why It's Trending
Brides are opting for realistic and refined nail art that mirrors the quality of professional salon services, perfectly capturing the essence of elegance and attention to detail on their wedding day.
Seasonal Styling
Best suited for Spring and Summer weddings, as the light colors and clean finish complement the bright and airy atmosphere of these seasons. Also works well for indoor weddings during Fall and Winter.
Color Variations
Perfect For
Why People Love It
This design is highly sought after by brides who desire a sophisticated and timeless nail look that enhances their overall wedding aesthetic. Its clean lines and impeccable finish make it a favorite among professional nail artists and clients alike.
Daily Maintenance
- 💅Apply cuticle oil daily to keep nails hydrated.
- 💅Wear gloves when doing household chores to prevent chipping.
- 💅Avoid using your nails as tools.
- 💅Schedule touch-ups every 2-3 weeks to maintain the design's perfection.
Common Issues & Fixes
- ⚠Uneven application: Apply thin, even coats of gel polish.
- ⚠Bubbling: Avoid shaking the gel polish bottle vigorously.
- ⚠Chipping: Ensure proper nail prep and application of base and top coats.
- ⚠Streaky finish: Use a high-quality gel polish and a smooth brush.
Design Inspiration
Inspired by classic bridal aesthetics, the design aims to replicate the flawless finish and meticulous attention to detail found in professional salon services, ensuring every bride feels confident and radiant on her special day.
Explore Similar Designs
Colors in this Design
Techniques Used
Perfect For
Nail Shapes
More Categories to Explore
Popular Colors
Popular Techniques
Perfect Occasions
FAQs
How long will this design last?
With proper care, this photo-real bridal nail design can last up to 3-4 weeks.
Can I add glitter to this design?
Yes, but use a very fine glitter sparingly to maintain the elegant and sophisticated look.
What kind of top coat should I use?
Use a high-quality, non-yellowing top coat to preserve the color and shine of the design.
Are there any alternatives to gel polish?
While gel polish offers the best longevity and finish, you can try using high-quality traditional nail polish with a long-lasting top coat. However, the results may not be as durable or photo-realistic.