Photo-real Salon Beach Nails
Beach inspired nail art with clean, photo-real finish and professional salon quality
Created: October 5, 2025 at 12:15 PM
More Beach Designs
Stunning Photo-real Salon Beach Nails
Beach inspired nail art with stunning, photo-real finish and professional salon quality
Sophisticated Photo-real Salon Beach Nails
Beach inspired nail art with sophisticated, photo-real finish and professional salon quality
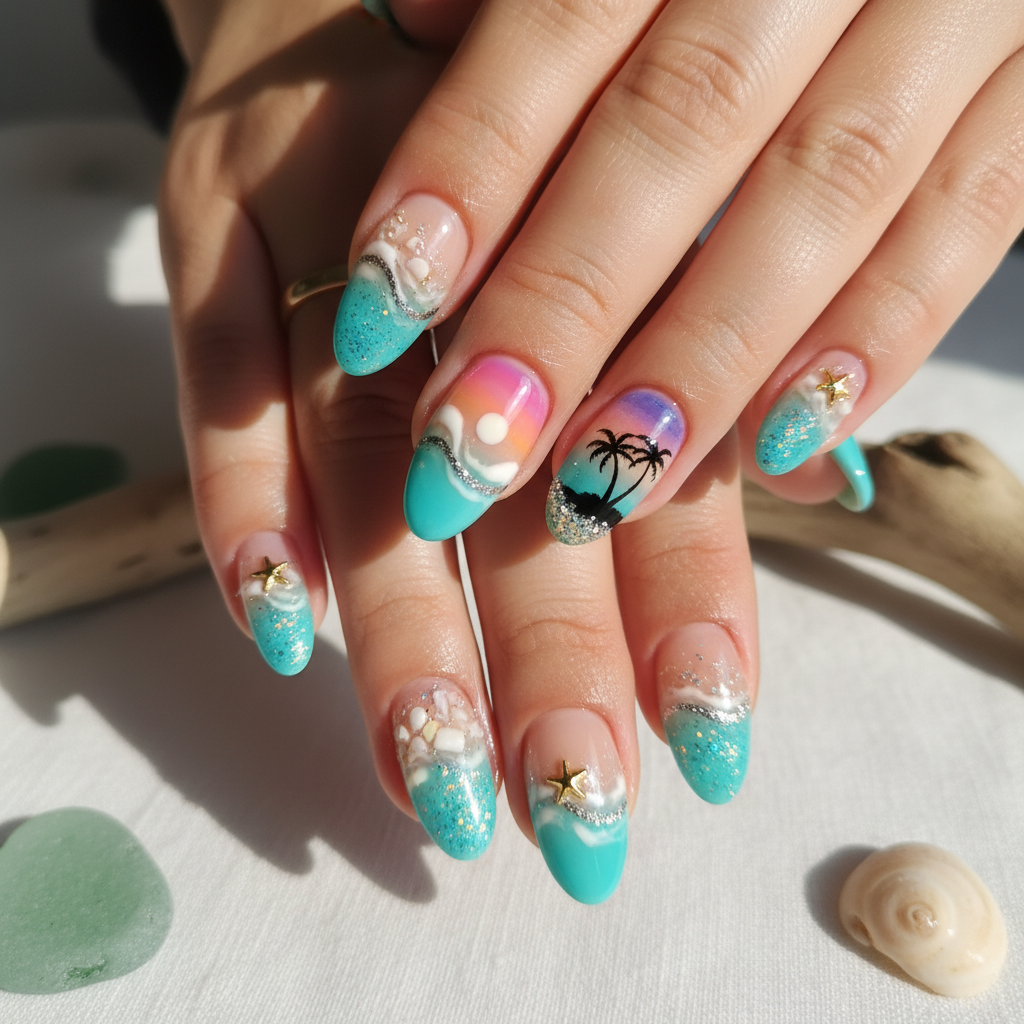
Photo-real Salon Beach Nails
Beach inspired nail art with elegant, photo-real finish and professional salon quality
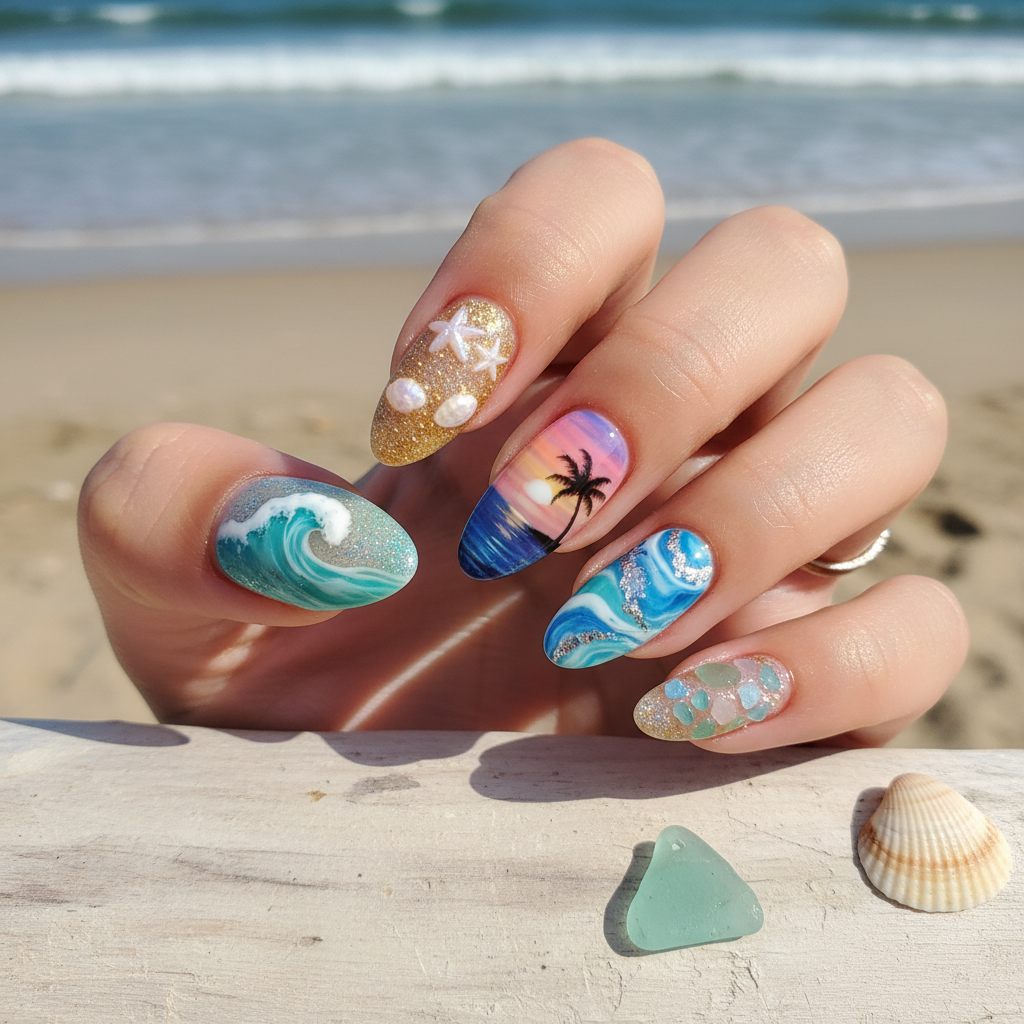
Photo-real Salon Beach Nails
Beach inspired nail art with clean, photo-real finish and professional salon quality
More Designs
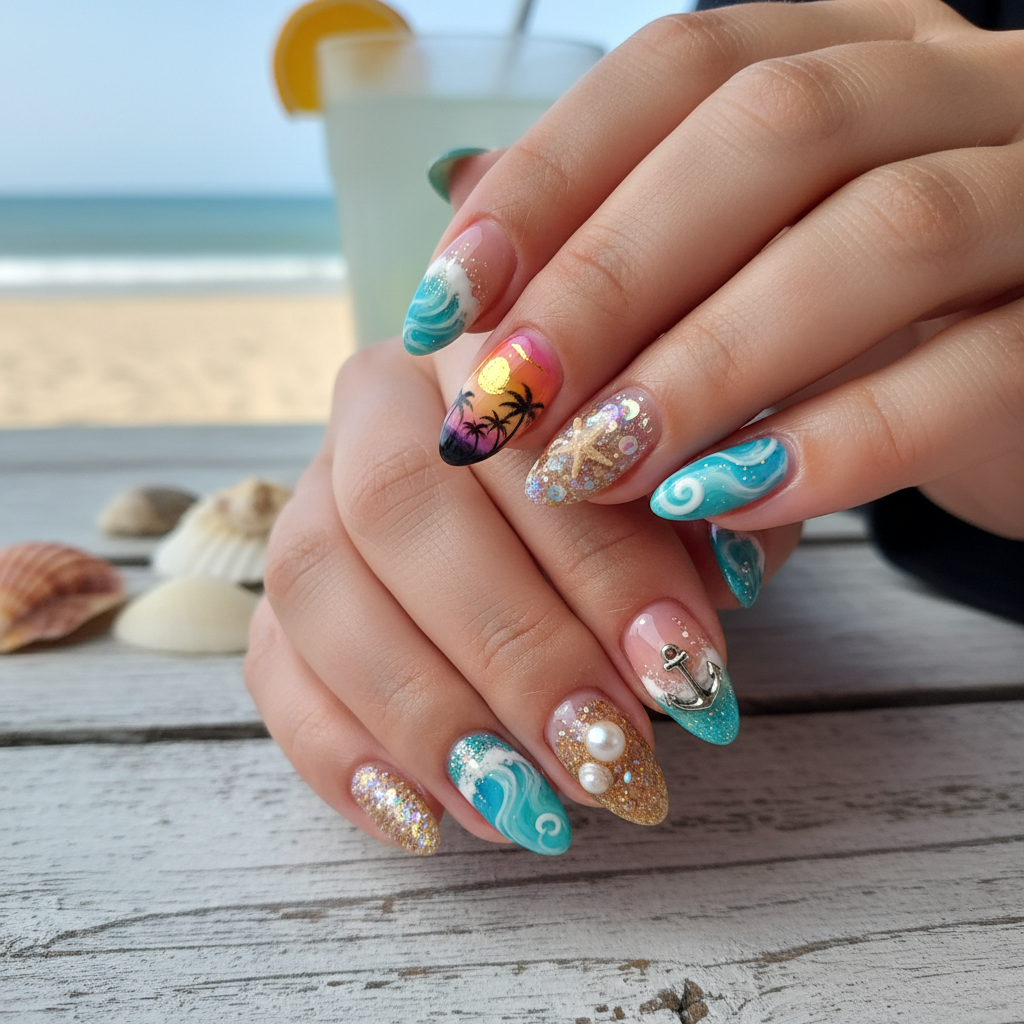
Salon Beach Nails: Photo-Real Nail Art Design
Bring the beach to your fingertips with this stunning photo-real nail art design. These salon-quality beach nails capture the essence of the ocean with meticulous detail and vibrant colors, creating a miniature seaside escape.
Supplies You'll Need
- Gel polishes in beach-inspired colors
- Fine detail brushes
- Airbrush (optional)
- Base coat
- Top coat
- Nail art dotting tool
How To Recreate It
- Apply a base coat to protect your natural nails and cure.
- Apply a base color like sandy beige or light blue and cure.
- Using fine detail brushes, paint the beach scene (sand, ocean, sky, palm trees). Layer colors for depth.
- If using an airbrush, gently blend colors to create a soft sky and ocean effect.
- Once satisfied with the design, apply a glossy top coat and cure.
- Clean up any mistakes around the cuticles with a cleanup brush and acetone.
Expert Tip
Practice your fine detail painting on a nail wheel before applying to your actual nails. Use thin layers of polish to prevent clumping and allow for better control when painting intricate details.
Try These Variations
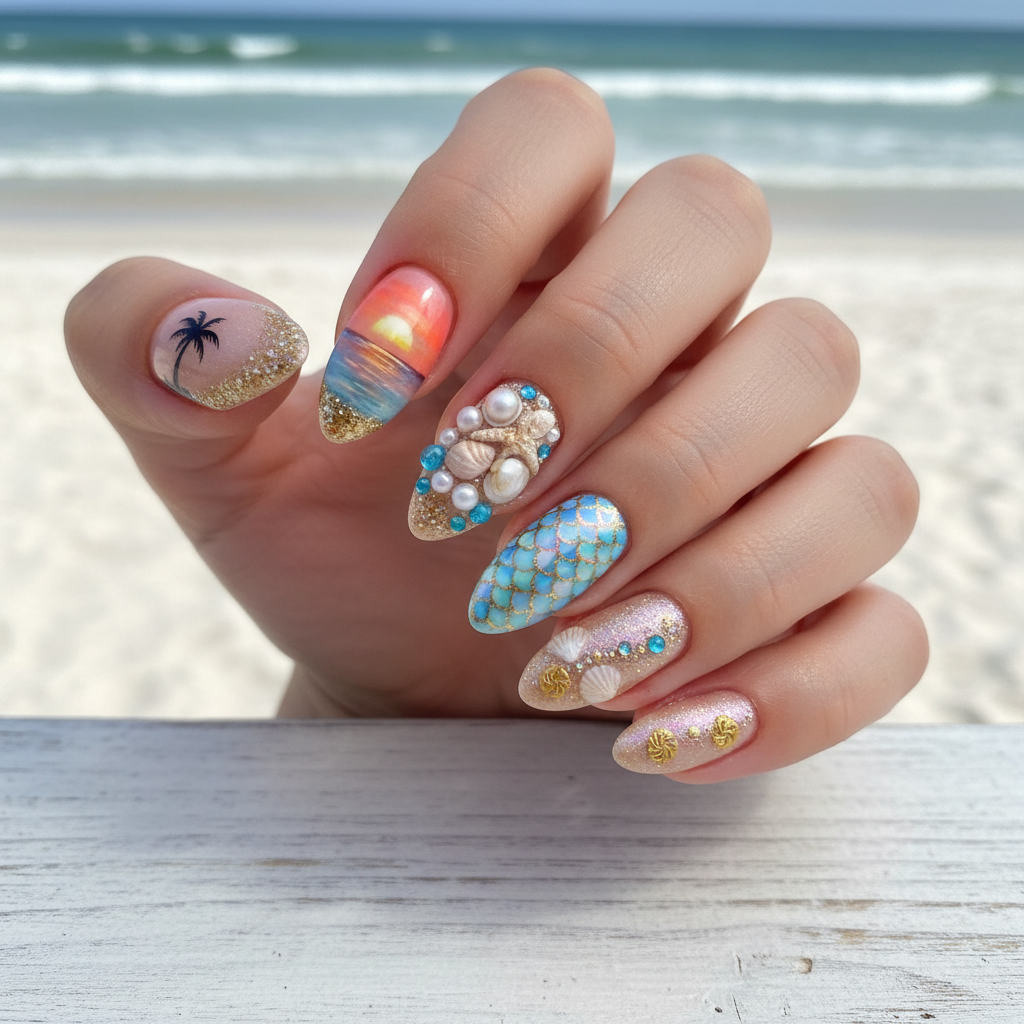
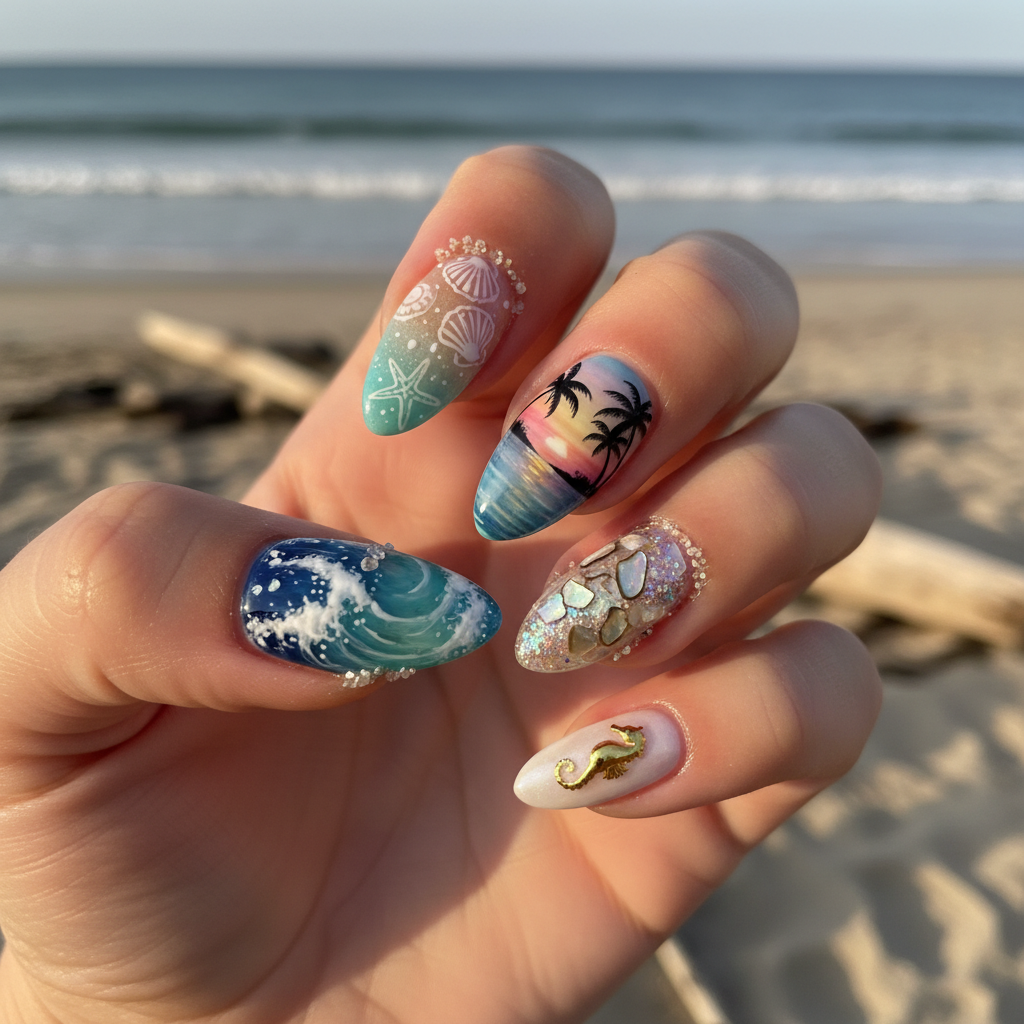
- →Sunset beach nails: Incorporate warm orange, pink, and purple hues for a sunset scene.
- →Seashell accents: Add tiny seashells or glitter for a more textured beach look.
- →Underwater scene: Depict sea creatures and coral reefs instead of a beach view.
Aftercare Tips
- ✓Moisturize your hands regularly with a quality hand cream.
- ✓Avoid picking or peeling at the gel polish.
- ✓Schedule a professional removal to prevent damage to your natural nails.
Safe Removal
- 1.File off the top coat to break the seal.
- 2.Soak cotton balls in acetone, place them on your nails, and wrap with foil. Let it sit for 10-15 minutes.
- 3.Gently scrape off the softened gel polish with a cuticle pusher.
Quick Facts
Why It's Trending
Beach-themed nails are increasingly popular as people seek ways to evoke summer vibes and vacation memories.
Seasonal Styling
Perfect for spring and summer, or any tropical vacation getaway. Consider adapting the color palette for warmer autumn tones for a unique twist.
Color Variations
Perfect For
Why People Love It
This design is popular on Instagram and Pinterest, with many nail artists showcasing their intricate photo-real beach scenes.
Daily Maintenance
- 💅Avoid harsh chemicals and prolonged water exposure.
- 💅Apply cuticle oil daily to keep your nails moisturized.
- 💅Wear gloves when doing housework to protect the design.
Common Issues & Fixes
- ⚠Bleeding colors: Ensure each layer is fully cured before applying the next.
- ⚠Uneven texture: Apply thin, even coats of polish.
- ⚠Bubbling: Avoid shaking the polish bottle vigorously; roll it instead.
- ⚠Design smudging: Let the design fully dry or cure before applying topcoat.
Design Inspiration
Inspired by the serene beauty of tropical beaches and the desire to capture that feeling in a miniature work of art on nails.
Explore Similar Designs
Colors in this Design
Techniques Used
Perfect For
Nail Shapes
More Categories to Explore
Popular Colors
Popular Techniques
Perfect Occasions
FAQs
How long does this nail art design typically last?
With proper application and maintenance, gel polish beach nails can last up to 2-3 weeks.
What brushes are best for photo-real nail art?
Fine detail brushes with short, thin bristles are ideal for creating intricate designs.
Is an airbrush necessary for this design?
No, but it can help create softer gradients and smoother transitions. You can achieve a similar look with careful blending using sponges or brushes.
How can I prevent smudging while painting the design?
Work in thin layers and allow each layer to dry or cure completely before adding more detail. Use a quick-dry top coat to seal the design.
What if I make a mistake while painting?
Use a cleanup brush dipped in acetone to gently remove any errors around the cuticles. For mistakes within the design, carefully remove the layer with acetone and reapply.
How often should I apply cuticle oil?
Ideally, apply cuticle oil daily to keep your nails and cuticles moisturized and healthy.