Gorgeous Photo-real Salon Spring Nails - Spring nail art - featuring nail art, red, spring - nail art inspiration and design ideas
Gorgeous Photo-real Salon Spring Nails
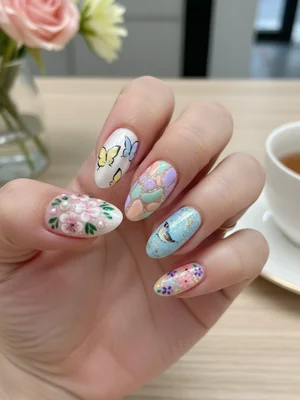
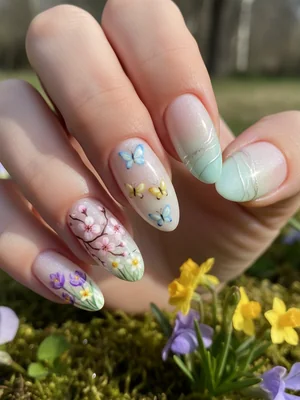
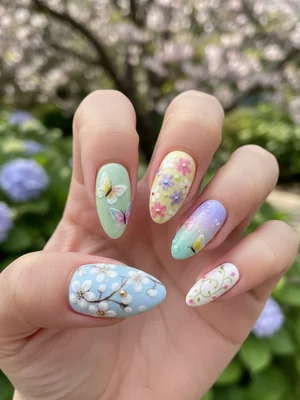
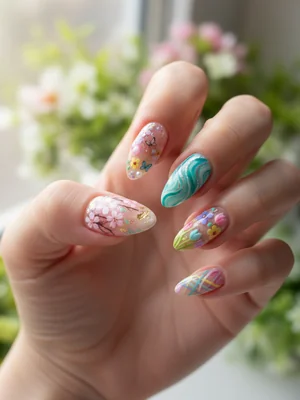
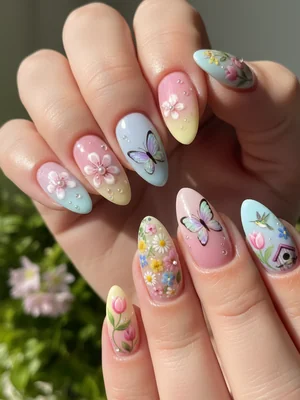
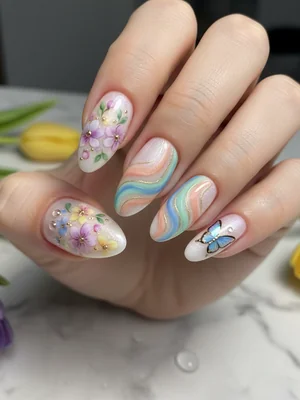
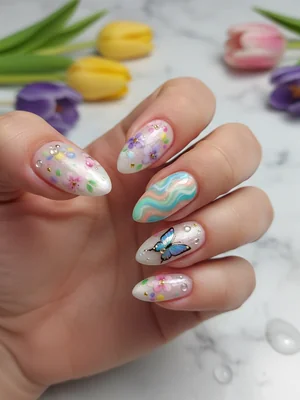
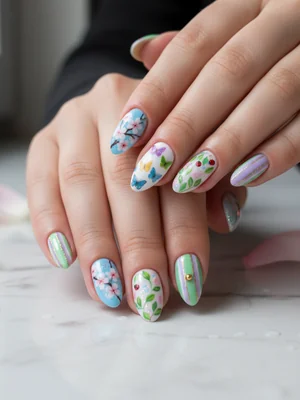
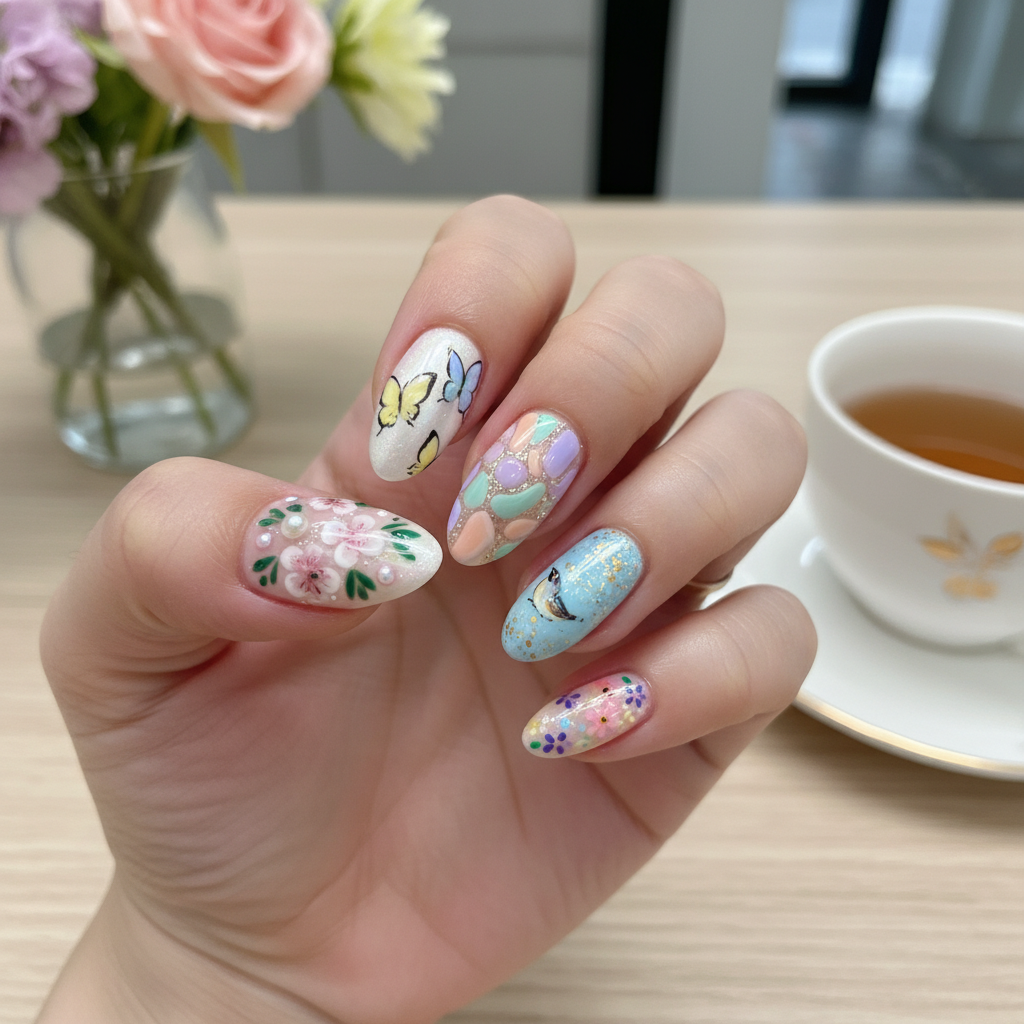
Photo-Real Botanical Nails: Salon Artistry
Dive into the beauty of nature with this exquisite photo-real nail art design. Featuring incredibly detailed botanical elements and a flawless salon-quality finish, it captures the fresh elegance of miniature natural wonders on your fingertips.
Photo-Real Botanical Nails: Salon Artistry
Dive into the beauty of nature with this exquisite photo-real nail art design. Featuring incredibly detailed botanical elements and a flawless salon-quality finish, it captures the fresh elegance of miniature natural wonders on your fingertips.
- High-pigment gel polishes (various greens, pinks, whites, yellows)
- Ultra-fine nail art brushes (liner, detailer)
- Base and non-wipe top gel coat
- UV/LED curing lamp
- Gel cleanser and lint-free wipes
- Dotting tool (for tiny details)
- Nail Prep: Shape, buff, push cuticles, cleanse with alcohol for optimal adhesion.
- Base Application: Apply a thin layer of base gel, cure. Apply 1-2 coats of a sheer nude or light base color, curing each layer.
- Outline & Layering: Using a fine liner brush and light green gel, outline leaf shapes. Build up floral elements with delicate pinks and whites, applying thin layers and curing each, gradually adding depth and dimension.
- Detailing & Shading: Employ different shades of green for leaves and subtle touches of yellow or darker pink for floral centers. Use blending techniques to create photo-realistic shadows and highlights.
- Final Touches & Top Coat: Add minute details with an ultra-fine brush. Once satisfied, seal the entire design with a durable non-wipe top coat, ensuring even coverage for a glass-like finish. Cure fully.
Expert Tip
Achieving photo-realism requires patience and very thin layers of gel polish. Build up colors and shadows gradually, curing after each delicate stroke to prevent smudging and ensure crisp detail.
Similar Styles
Beautiful Photo-real Salon Spring Nails
Spring inspired nail art with beautiful, photo-real finish and professional salon quality
Beautiful Photo-real Salon Spring Nails
Spring inspired nail art with beautiful, photo-real finish and professional salon quality

Gorgeous Photo-real Salon Spring Nails
Spring inspired nail art with gorgeous, photo-real finish and professional salon quality
Stunning Photo-real Salon Spring Nails
Spring inspired nail art with stunning, photo-real finish and professional salon quality
Stunning Photo-real Salon Spring Nails
Spring inspired nail art with stunning, photo-real finish and professional salon quality
Sophisticated Photo-real Salon Spring Nails
Spring inspired nail art with sophisticated, photo-real finish and professional salon quality
Sophisticated Photo-real Salon Spring Nails
Spring inspired nail art with sophisticated, photo-real finish and professional salon quality
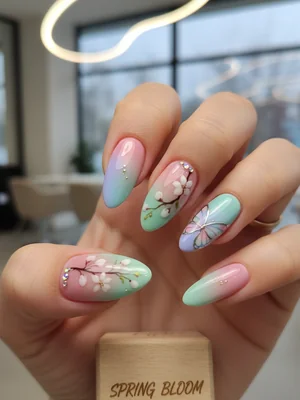
Photo-real Salon Spring Nails
Spring inspired nail art with elegant, photo-real finish and professional salon quality
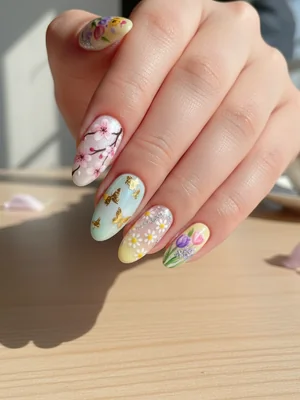
Photo-real Salon Spring Nails
Spring inspired nail art with elegant, photo-real finish and professional salon quality
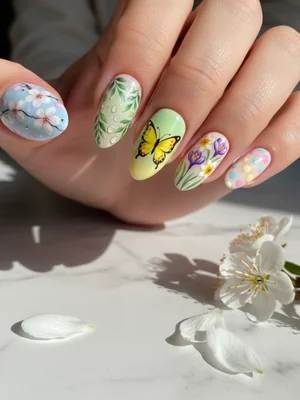
Photo-real Salon Spring Nails
Spring inspired nail art with clean, photo-real finish and professional salon quality
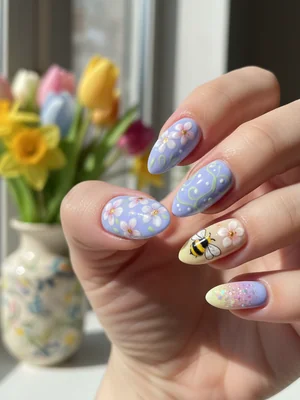
Photo-real Salon Spring Nails
Spring inspired nail art with clean, photo-real finish and professional salon quality
Photo-real Salon Spring Nails
Spring inspired nail art with clean, photo-real finish and professional salon quality
Explore Similar Designs
Colors in this Design
Techniques Used
Nail Shapes
Frequently Asked Questions
How long does photo-real nail art last?
With proper application and aftercare, this gel design can last 3-4 weeks, maintaining its intricate detail and glossy finish.
Can this be done on shorter nails?
While medium to long nails allow for more detail, a simplified photo-real floral motif can be adapted for shorter nails, focusing on a single, impactful element.
Is this design hand-painted or stamped?
This specific 'photo-real' effect is achieved through meticulous hand-painting, layering, and blending techniques for unparalleled depth and realism.
Will the colors fade over time?
High-quality gel polishes are resistant to fading. With a good top coat, your colors will remain vibrant throughout the wear period.
What if I only want one accent nail with this design?
Absolutely! Many clients choose to have 1-2 accent nails featuring the detailed photo-real design, with the remaining nails in a complementary solid color.
Aftercare Tips
- ✓Avoid picking or biting your nails to preserve the detailed artwork.
- ✓Use non-acetone polish remover for any touch-ups on plain nails (though not recommended for this design).
- ✓Keep nails away from prolonged direct sunlight or harsh chemicals immediately after application to ensure full curing.
Safe Removal
- 1.Gently file down the top coat to break the seal, being careful not to file into the natural nail.
- 2.Soak nails in acetone for 10-15 minutes, or until the gel is soft enough to gently push off with a wooden stick.
- 3.Carefully remove softened gel, then lightly buff any remaining residue and moisturize extensively.