Creepy Halloween White Black Spider Webs Halloween Nails - Halloween nail art - featuring red, black, white, halloween - nail art inspiration and design ideas
Creepy Halloween White Black Spider Webs Halloween Nails
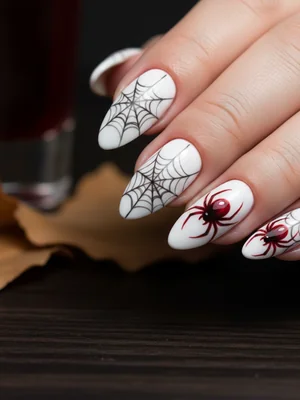
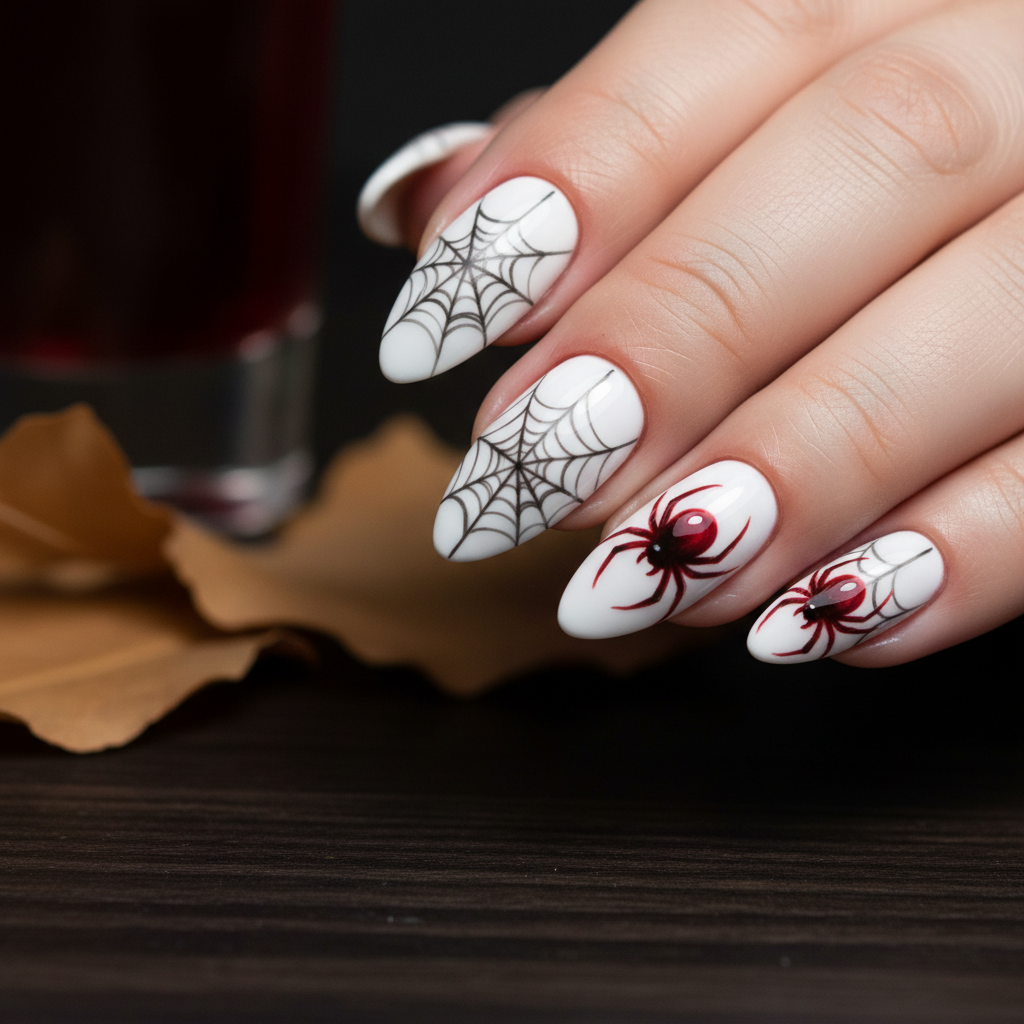
Spooky White & Black Spider Web Halloween Nails
Embrace the eerie elegance of the season with our Creepy Spider Web Halloween Nails. This striking design features a crisp white base, adorned with intricate hand-painted black spider webs, and accented with bold red spiders for a truly captivating spooky manicure.
- Opaque White Gel Polish
- Black Gel Polish
- Bright Red Gel Polish
- Fine Detailing Brush (000 or shorter)
- Gel Top Coat & Base Coat
- UV/LED Curing Lamp
- Prep nails by shaping, buffing, and applying a thin layer of gel base coat, curing under a lamp.
- Apply 2-3 even coats of opaque white gel polish, curing each layer thoroughly for a solid, bright foundation.
- Using a fine detailing brush and black gel polish, paint thin lines originating from the cuticle towards the free edge, mimicking spider web spokes.
- Add delicate, concentric curved lines between the spokes to complete the intricate web pattern, ensuring each line is thin and precise.
- Carefully paint small red spider bodies and legs on select webs or at the tips using a dotting tool and the fine brush.
- Finish with a high-shine gel top coat, ensuring to cap the free edge, and cure for a long-lasting, glossy finish.
Colors in This Design
Expert Tip
For perfectly crisp and thin spider web lines, ensure your detailing brush is truly fine and loaded with just a small amount of black gel polish. Avoid thick polish, as it can lead to bleeding or clumpy lines.
Similar Styles

Festive Halloween Orange Black Cats White Halloween Nails
Festive Halloween nails with orange base, black cats, and white moon details

Black Green Witch Hats Purple Glitter Halloween Nails
Spooky Halloween nail art with black base, green witch hats, and purple glitter

Creepy Halloween White Black Spider Webs Halloween Nails
Creepy Halloween design with white base, black spider webs, and red spider accents

Spooky Halloween Black Orange Pumpkins Green Halloween Nails
Spooky Halloween nails with black base, orange pumpkins, and green witch details

Spooky Halloween Black Orange Pumpkins Green Halloween Nails
Spooky Halloween nails with black base, orange pumpkins, and green witch details

Spooky Halloween Black Orange Pumpkins Green Halloween Nails
Spooky Halloween nails with black base, orange pumpkins, and green witch details
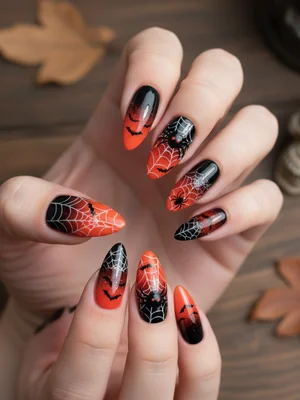
Creepy Halloween Black Orange Gradient Spider Halloween Nails
Creepy Halloween nails with black and orange gradient, spider webs, and tiny bats
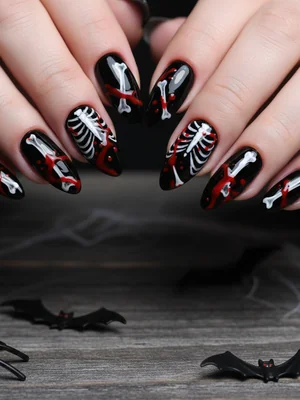
Creepy Halloween Black White Bones Red Halloween Nails
Creepy Halloween design featuring black base, white bones, and red blood splatters

Orange Black Stripes White Ghosts Halloween Nails
Halloween nail art with orange base, black stripes, and tiny white ghosts

Black Orange Pumpkins White Ghost Silhouettes Halloween Nails
Spooky Halloween nail art with black base, orange pumpkins, and white ghost silhouettes
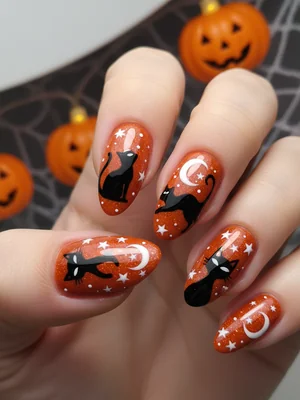
Festive Halloween Orange Black Cats White Halloween Nails
Festive Halloween nails with orange base, black cats, and white moon details

Orange Black Stripes White Ghosts Halloween Nails
Halloween nail art with orange base, black stripes, and tiny white ghosts
Explore Similar Designs
Techniques Used
Perfect For
Nail Shapes
Frequently Asked Questions
How long will these spider web nails last?
With professional gel application and proper aftercare, your Spooky White & Black Spider Web Halloween Nails can last 2-3 weeks without chipping.
Can I get this intricate design on shorter nails?
While possible on shorter nails, the intricate spider web details may be scaled down or less prominent. Medium to long nails offer the best canvas for this design.
Is it difficult to do the spider webs at home?
The freehand detailing of the spider webs and spiders is considered advanced. However, with practice, a steady hand, and a fine brush, it's achievable for ambitious DIYers. Stencils can simplify the process.
What if I don't want red spiders?
You can easily customize the spider accent color! Orange, metallic silver, or even glow-in-the-dark green spiders are fantastic alternatives that maintain the spooky vibe.
Can I use regular nail polish for this design?
Yes, you can use regular polish, but gel polish is recommended for its longevity, durability, and the crisp, clean lines it allows for intricate designs like spider webs.
How can I make the spiders look more realistic?
For a more realistic look, use a dotting tool for the spider's body, then use a very fine brush to create thin, slightly bent legs. Focus on varying the length and angle of the legs.
Aftercare Tips
- ✓Moisturize your hands and cuticles regularly to maintain nail health.
- ✓Avoid prolonged exposure to harsh chemicals without gloves.
- ✓Do not pick or peel your gel polish, as this can damage your natural nails.
- ✓Schedule your next fill or removal within 2-3 weeks to keep nails healthy.
Safe Removal
- 1.Gently file off the top coat to break the seal, being careful not to file into the natural nail.
- 2.Soak nails in acetone-soaked cotton pads wrapped in foil for 10-15 minutes.
- 3.Carefully scrape off the softened gel with a wooden stick, then lightly buff any remaining residue.