Beautiful Photo-real Salon Spring Nails - Spring nail art - featuring nail art, red, spring - nail art inspiration and design ideas
Beautiful Photo-real Salon Spring Nails
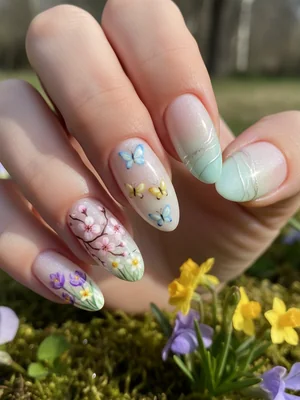
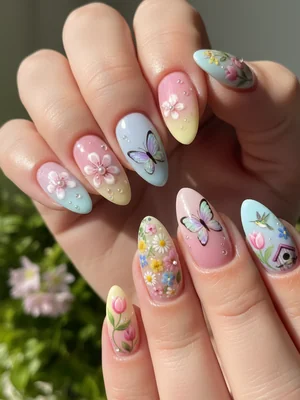
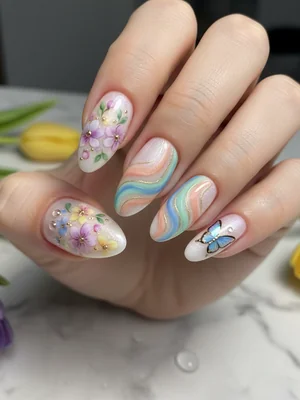
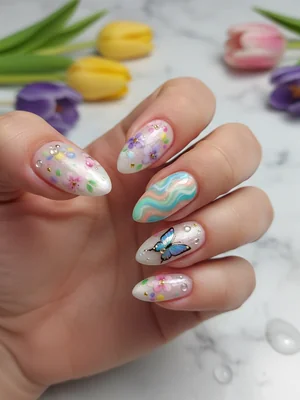
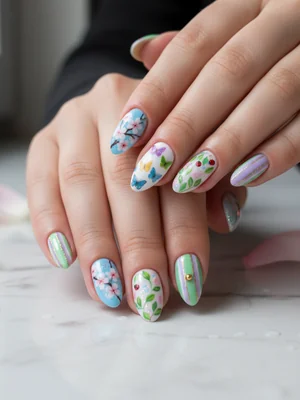
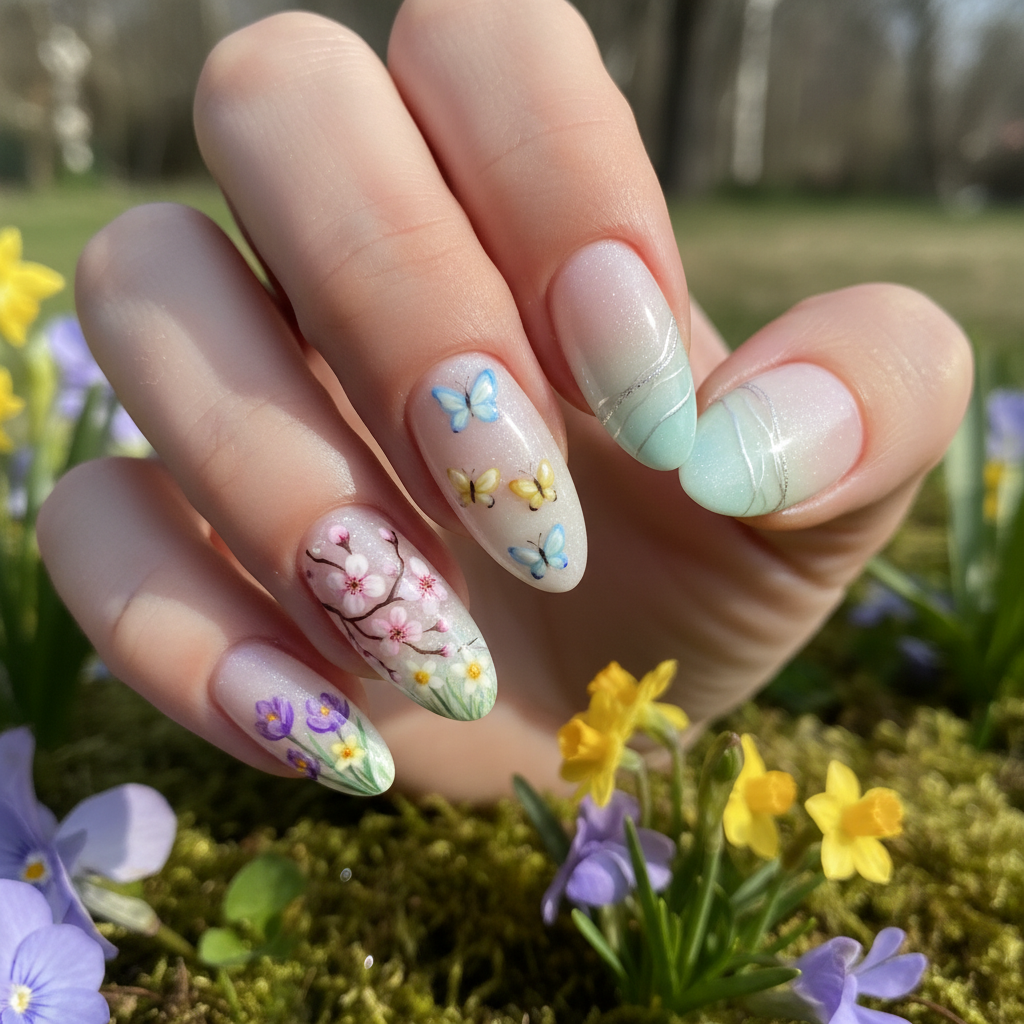
Photo-Real Spring Blossom Nails: Salon Floral Artistry
Immerse your fingertips in the beauty of nature with our Photo-Real Spring Blossom Nails. This design features exquisitely detailed, hand-painted floral motifs that capture the delicate essence of a blooming garden, all finished with a flawless salon-quality shine. Each petal and leaf is rendered with breathtaking realism, making your nails a miniature work of art perfect for the season.
- Gel Base Coat
- Various Pastel Gel Polishes
- Fine-tip Nail Art Brushes (e.g., 000, liner brush)
- Gel Top Coat (no-wipe, high shine)
- Dotting Tool (for flower centers)
- LED/UV Curing Lamp
- Prep & Base: After nail prep, apply a gel base coat and cure. Apply 1-2 coats of a soft, complementary pastel base color (e.g., sky blue or light pink) and cure each layer.
- Outline Florals: Using a fine-tip brush and white gel polish, lightly sketch the outlines of your chosen spring flowers (e.g., cherry blossoms, tiny roses) onto the nail.
- Color & Blend: Fill in the petals with appropriate pastel gel colors, using delicate strokes and subtle blending techniques to create depth and a realistic, translucent effect for a photo-real finish. Cure after each color layer.
- Add Detail & Texture: With darker or lighter shades, add shadows, highlights, and intricate details like veining on leaves or distinct petal edges using micro-painting. Use a dotting tool for realistic flower centers. Cure.
- Seal with Top Coat: Apply a generous layer of high-shine gel top coat, ensuring smooth coverage over the intricate design, and cure thoroughly for a durable, salon-quality finish.
Expert Tip
Achieving photo-realism lies in layering sheer colors and mastering brush control for subtle gradients. Don't be afraid to build up the depth with multiple thin coats rather than one thick application for a truly lifelike effect.
Similar Styles
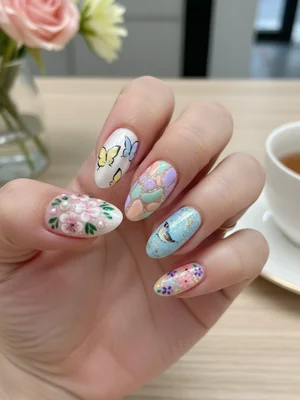
Gorgeous Photo-real Salon Spring Nails
Spring inspired nail art with gorgeous, photo-real finish and professional salon quality
Beautiful Photo-real Salon Spring Nails
Spring inspired nail art with beautiful, photo-real finish and professional salon quality

Gorgeous Photo-real Salon Spring Nails
Spring inspired nail art with gorgeous, photo-real finish and professional salon quality
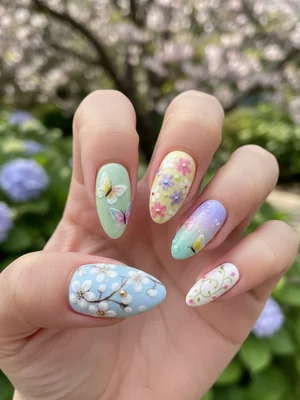
Stunning Photo-real Salon Spring Nails
Spring inspired nail art with stunning, photo-real finish and professional salon quality
Stunning Photo-real Salon Spring Nails
Spring inspired nail art with stunning, photo-real finish and professional salon quality
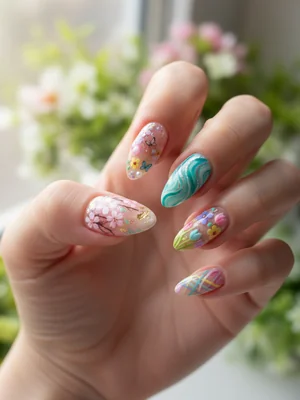
Sophisticated Photo-real Salon Spring Nails
Spring inspired nail art with sophisticated, photo-real finish and professional salon quality
Sophisticated Photo-real Salon Spring Nails
Spring inspired nail art with sophisticated, photo-real finish and professional salon quality
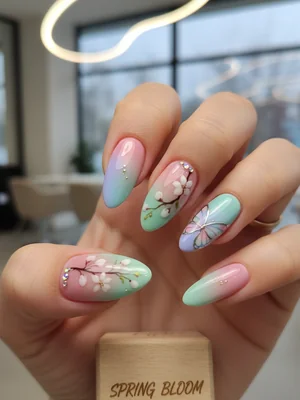
Photo-real Salon Spring Nails
Spring inspired nail art with elegant, photo-real finish and professional salon quality
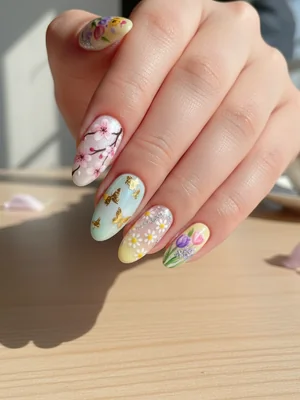
Photo-real Salon Spring Nails
Spring inspired nail art with elegant, photo-real finish and professional salon quality
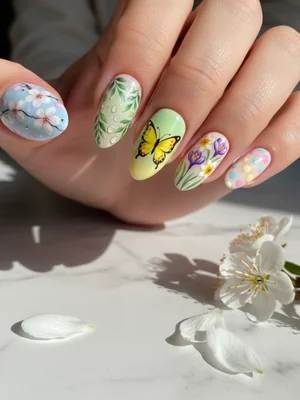
Photo-real Salon Spring Nails
Spring inspired nail art with clean, photo-real finish and professional salon quality
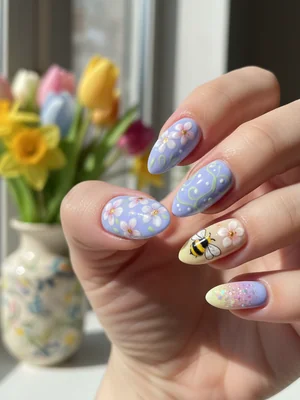
Photo-real Salon Spring Nails
Spring inspired nail art with clean, photo-real finish and professional salon quality
Photo-real Salon Spring Nails
Spring inspired nail art with clean, photo-real finish and professional salon quality
Explore Similar Designs
Colors in this Design
Nail Shapes
Frequently Asked Questions
How long does this photo-real design last?
With proper care, your salon-quality gel manicure should last 2-3 weeks without chipping or fading.
Can I customize the type of spring flowers?
Absolutely! We can discuss your favorite spring blooms – from cherry blossoms to tulips or delicate wildflowers – to create a personalized photo-real design.
Is the 'photo-real' effect done with stickers?
No, the photo-realism is achieved entirely through advanced hand-painting techniques by our skilled artists, ensuring a unique and high-quality finish.
Will the intricate design make my nails feel thick?
While there are multiple layers of gel for depth, our artists apply thin coats to ensure the design feels smooth and comfortable, not overly bulky.
How much does this advanced spring design cost?
Due to the time and specialized skill involved, this premium service typically ranges from $90 to $150, depending on complexity and nail length.
Can this design be done on shorter nails?
While longer nails allow for more detailed art, our artists can adapt the design to shorter lengths, focusing on a single, impactful bloom or a delicate border.
Aftercare Tips
- ✓Moisturize your hands and nails regularly to keep them supple and healthy.
- ✓Be gentle with your nails, avoiding excessive force or pressure on the design.
- ✓Protect your nails from prolonged exposure to harsh chemicals or extreme temperatures.
Safe Removal
- 1.Buff Top Coat: Gently buff the shine off the top coat with a fine-grit file, being careful not to reach the natural nail.
- 2.Soak: Saturate cotton balls with acetone, place them on each nail, and wrap tightly with foil for 10-15 minutes.
- 3.Gently Remove: Use a wooden pusher to gently scrape off the softened gel. Repeat soaking if necessary; never force it off.