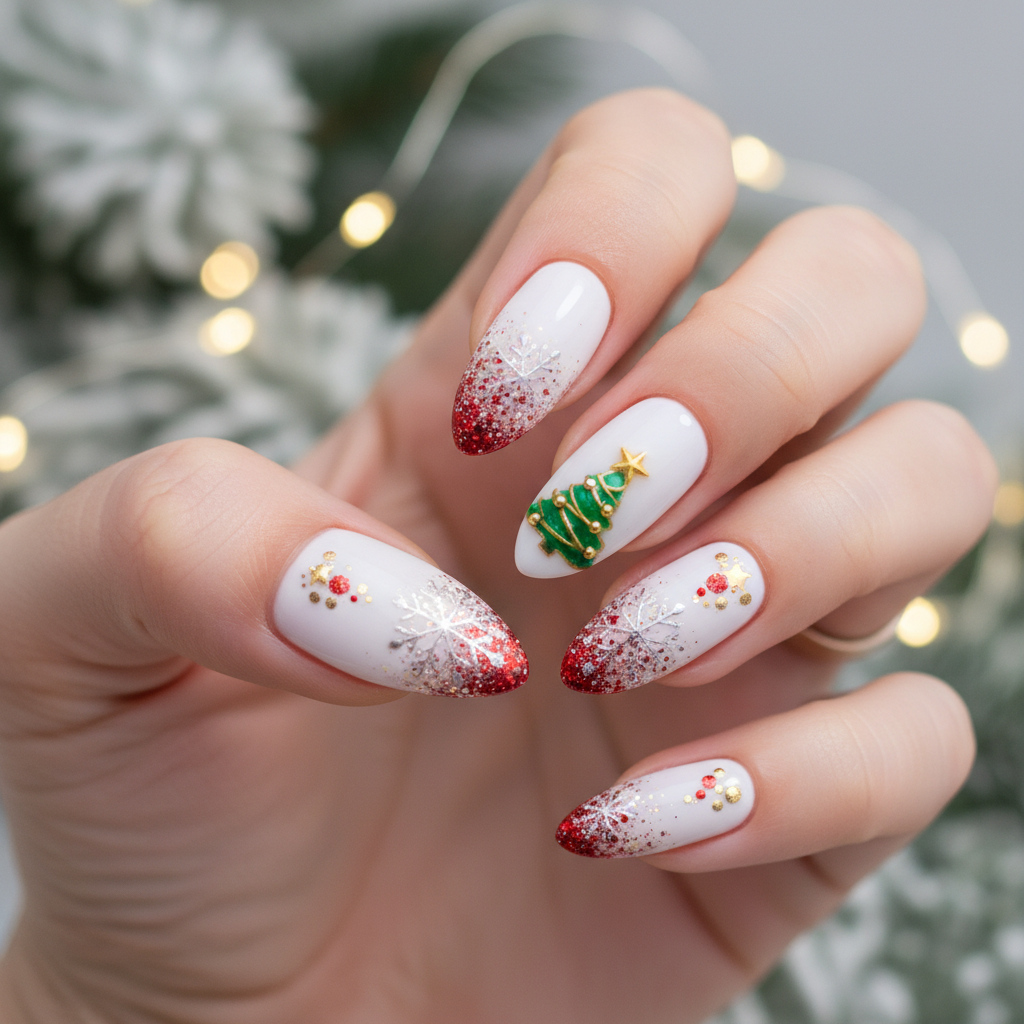
Red Gold Glitter Snowflake Christmas Tree Christmas Nails
Elegant Christmas nail art with red and gold glitter, snowflake patterns, and tiny Christmas tree details on a white base
Colors
Techniques
Occasions
Created: October 5, 2025 at 10:27 AM
More Christmas Nail Art Designs
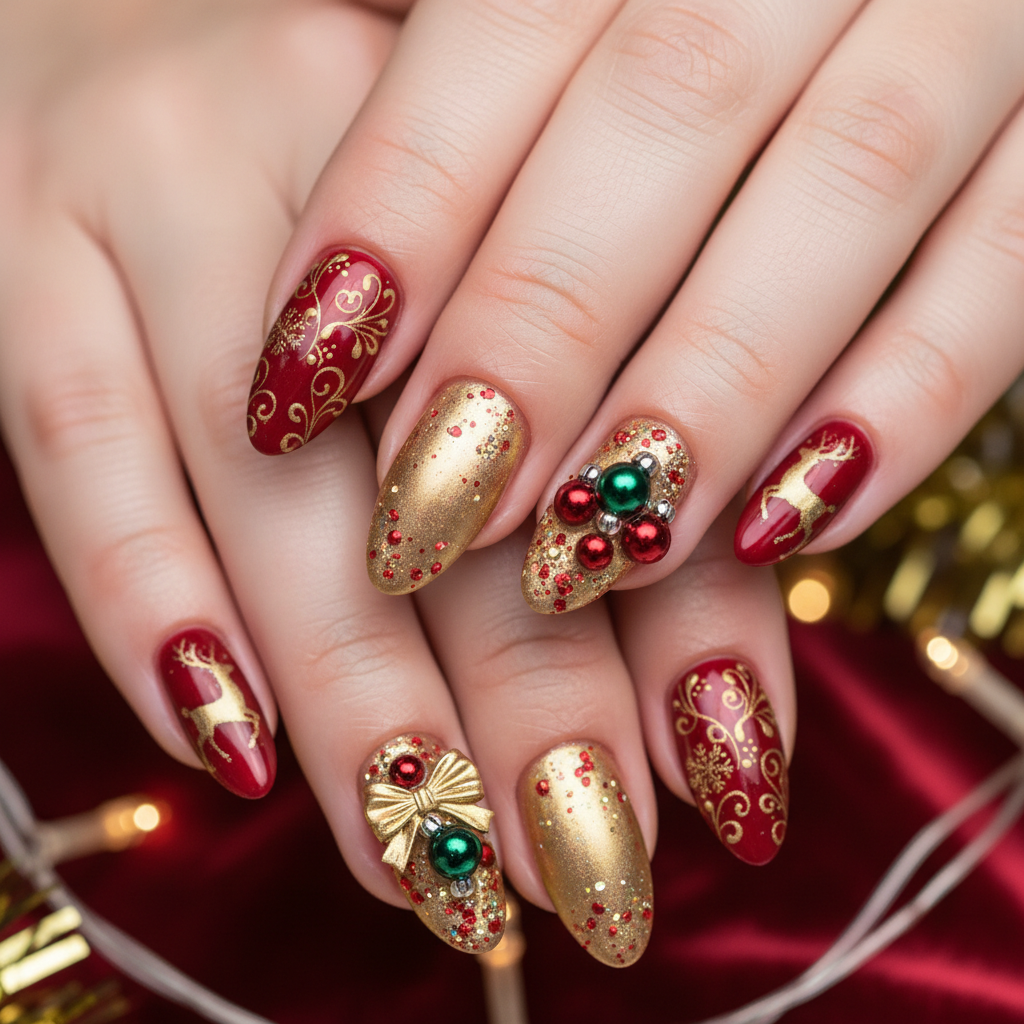
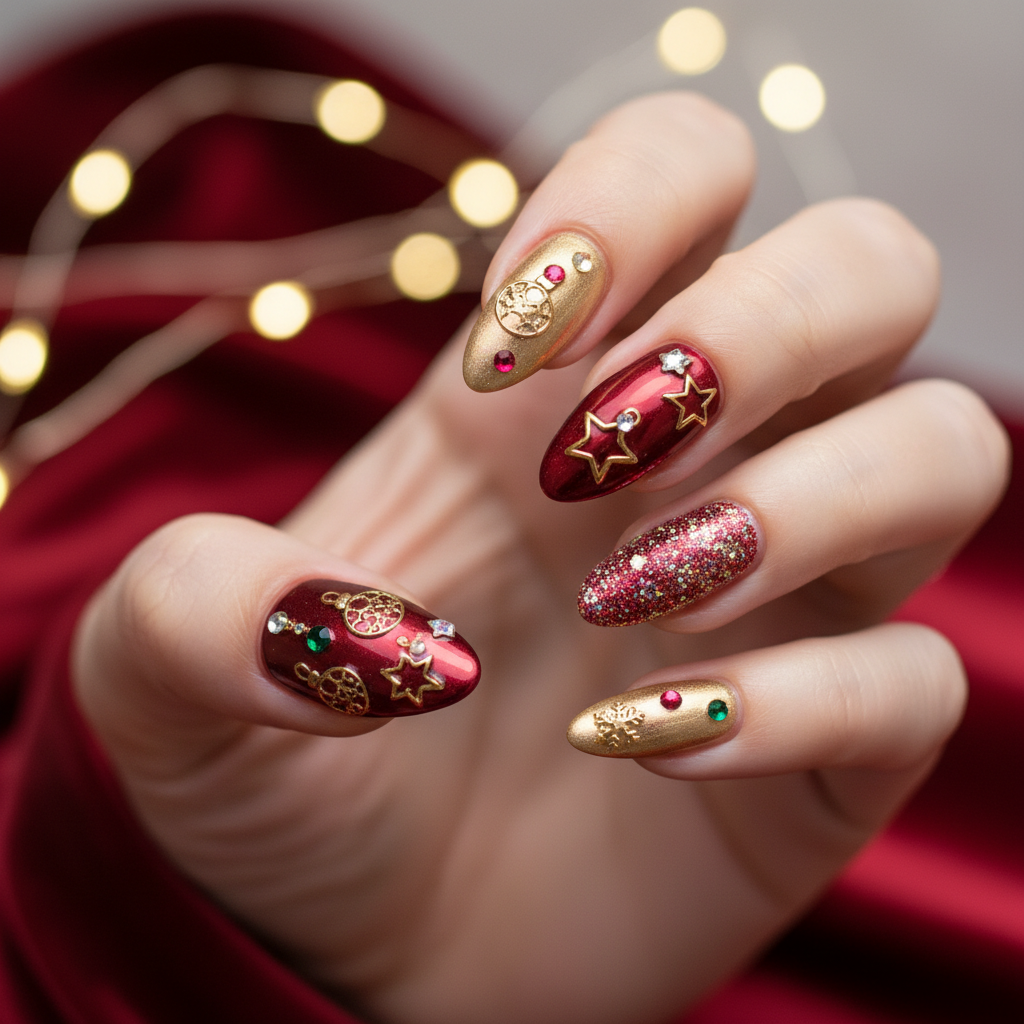
Gold Red Christmas Metallic Ornaments Sparkly Christmas Nails
Luxurious gold and red Christmas nails with metallic finish, tiny ornaments, and sparkly glitter
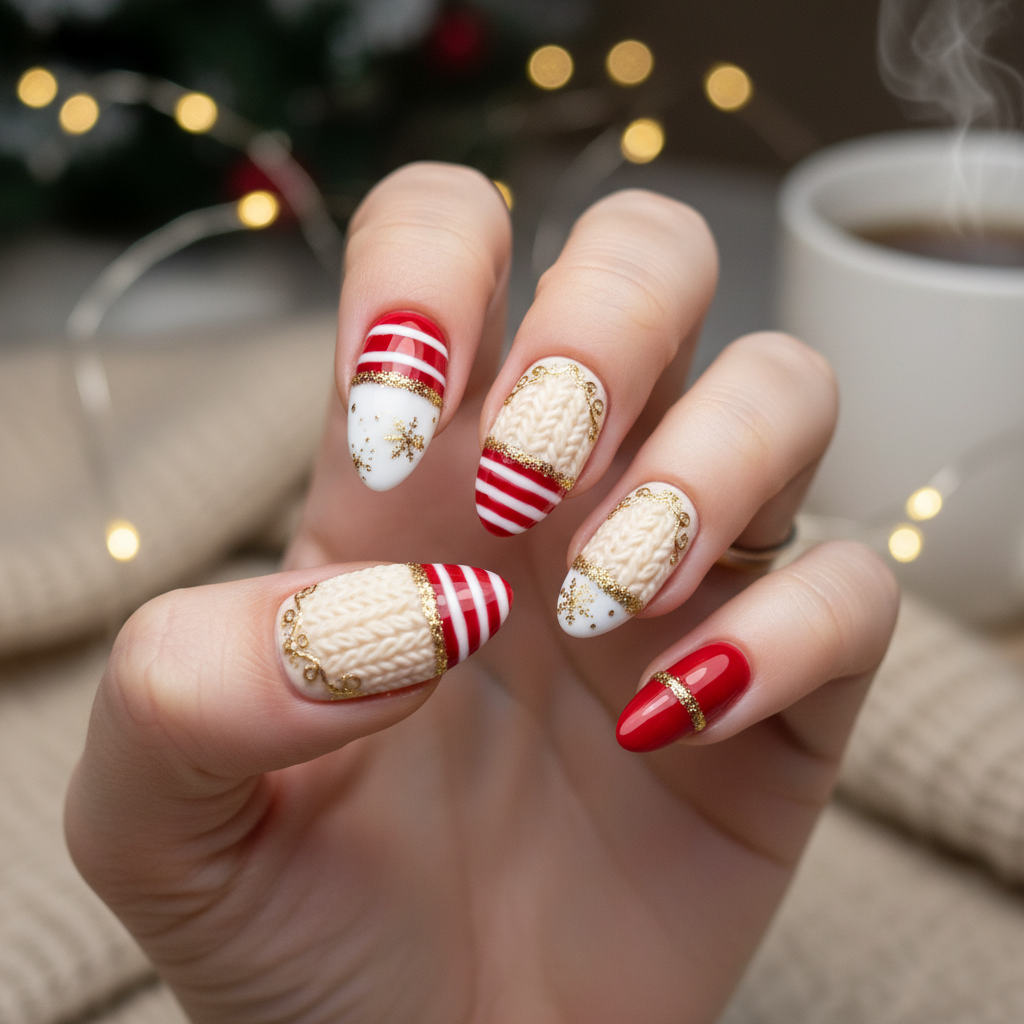
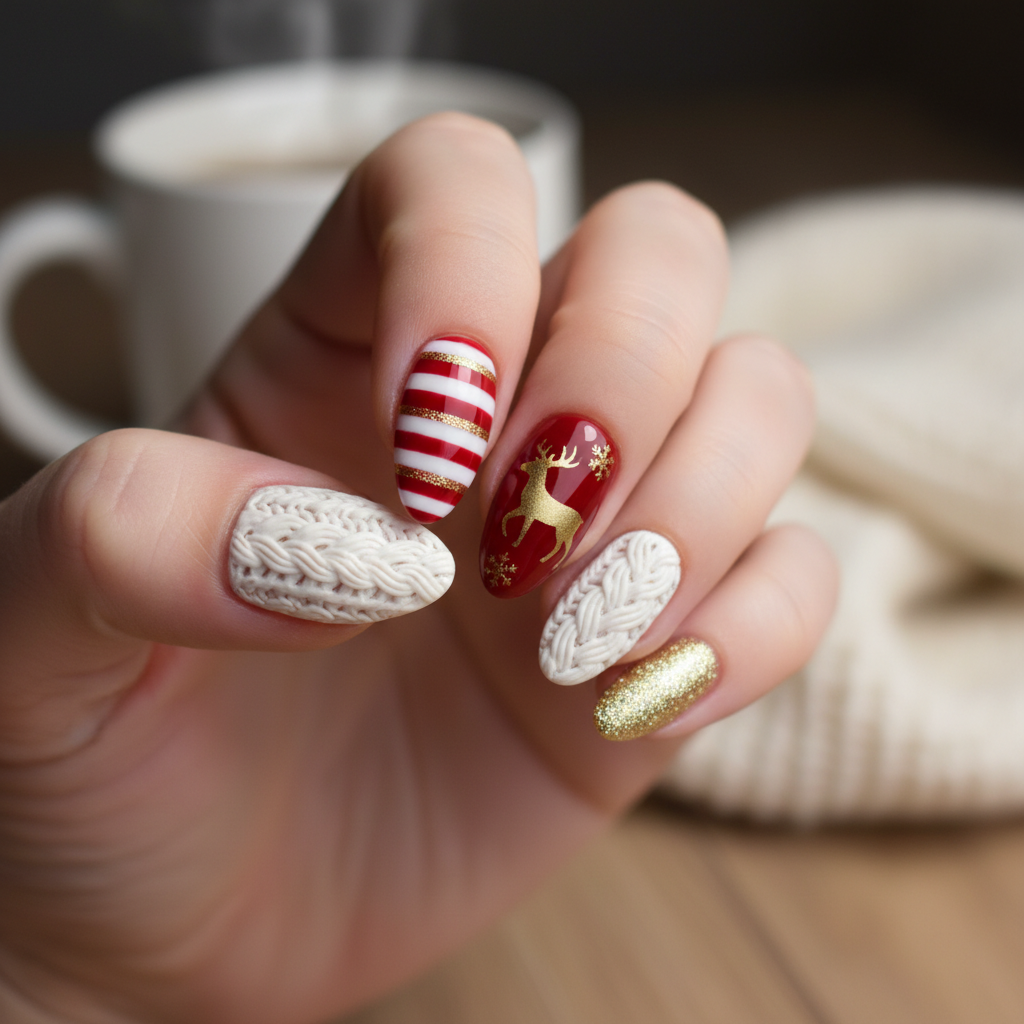
Cable Knit Red White Stripes Gold Christmas Nails
Cozy Christmas sweater nail art with cable knit patterns, red and white stripes, and gold details
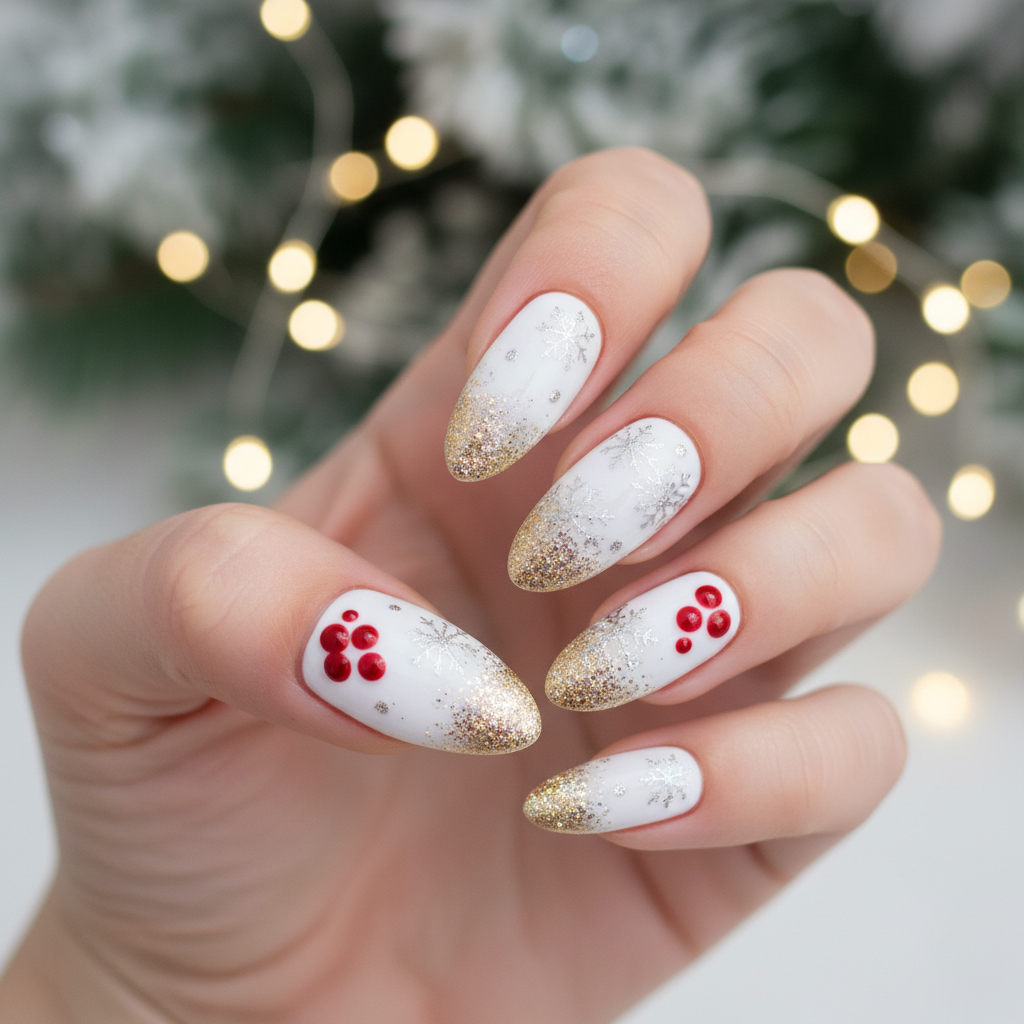
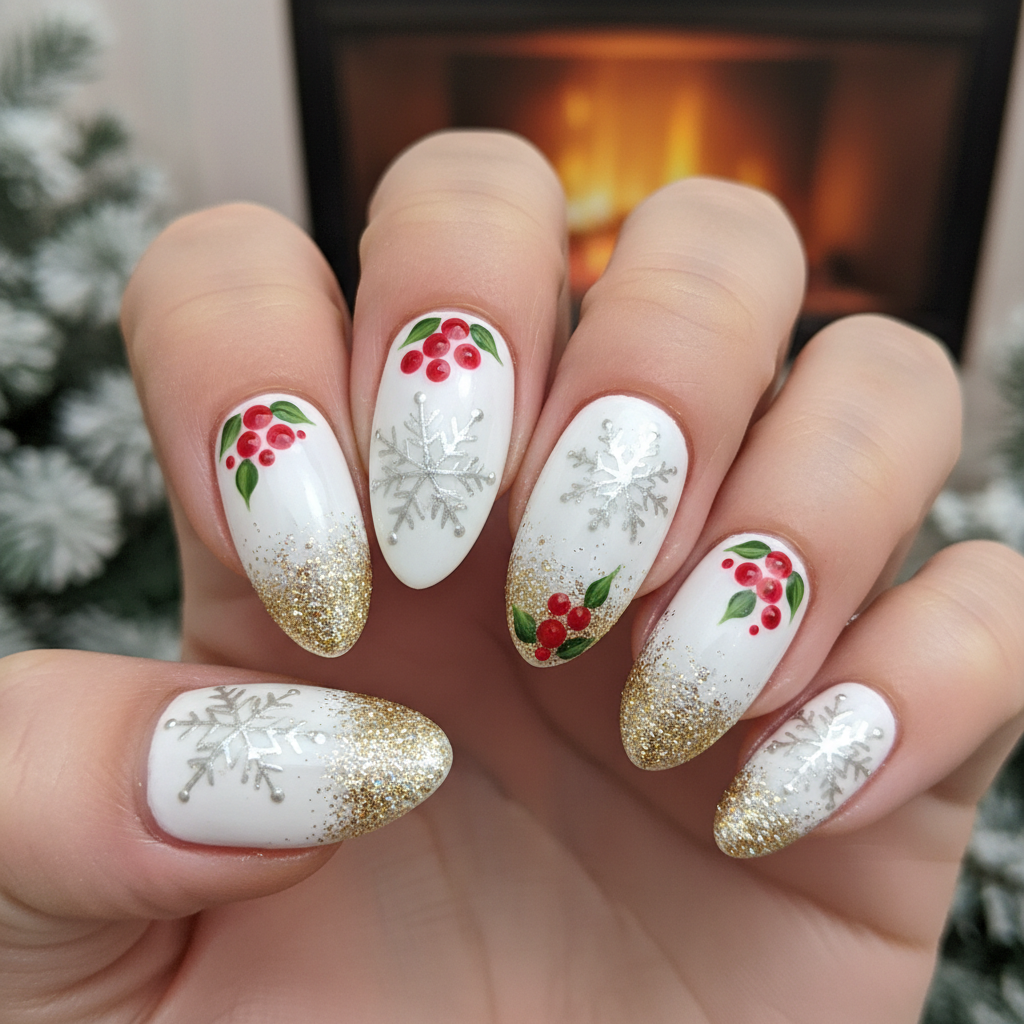
Silver Snowflakes Red Berries Gold Glitter Christmas Nails
White Christmas nail art with silver snowflakes, red berries, and gold glitter tips on almond-shaped nails

Cable Knit Red White Stripes Gold Christmas Nails
Cozy Christmas sweater nail art with cable knit patterns, red and white stripes, and gold details
Silver Snowflakes Red Berries Gold Glitter Christmas Nails
White Christmas nail art with silver snowflakes, red berries, and gold glitter tips on almond-shaped nails
Gold Red Christmas Metallic Ornaments Sparkly Christmas Nails
Luxurious gold and red Christmas nails with metallic finish, tiny ornaments, and sparkly glitter
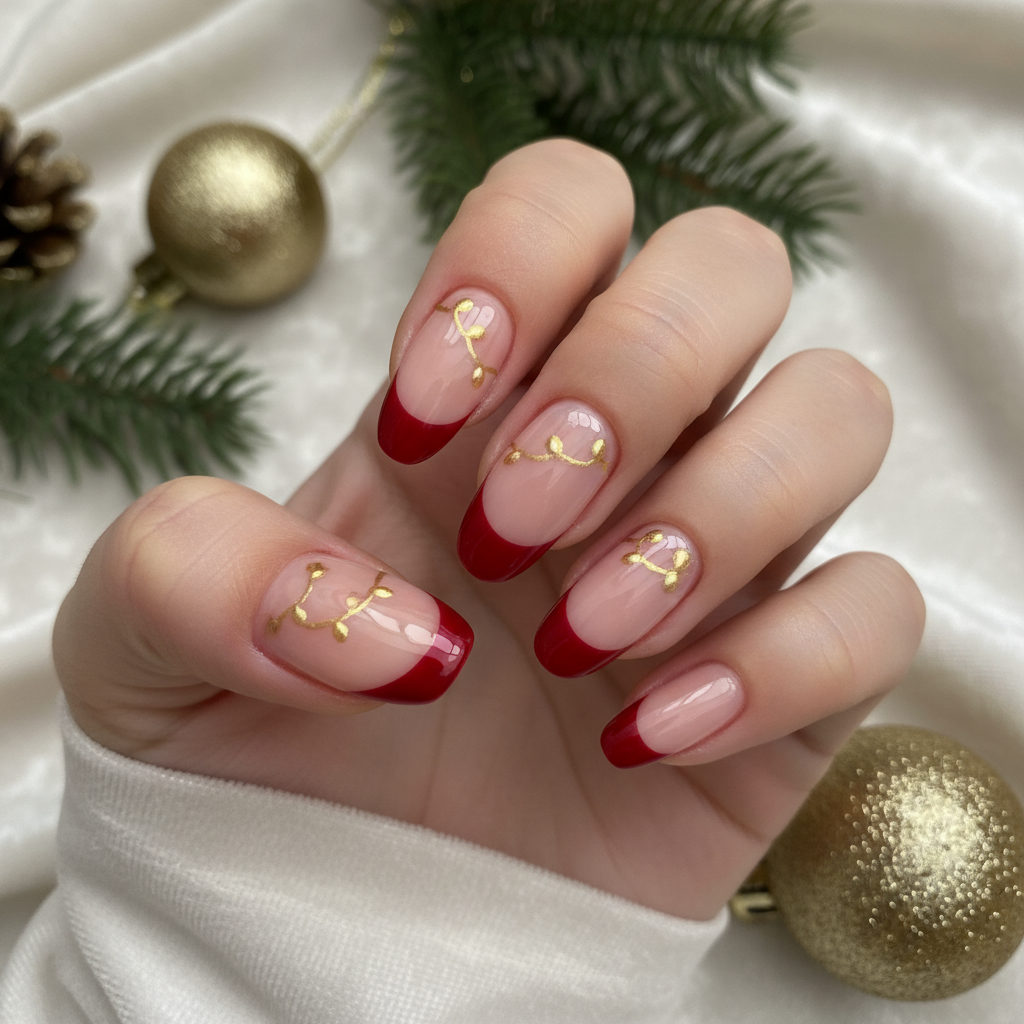
French Christmas Nude Red Gold Lights Christmas Nails
Elegant Christmas nail design with nude base, red French tips, and tiny gold Christmas lights
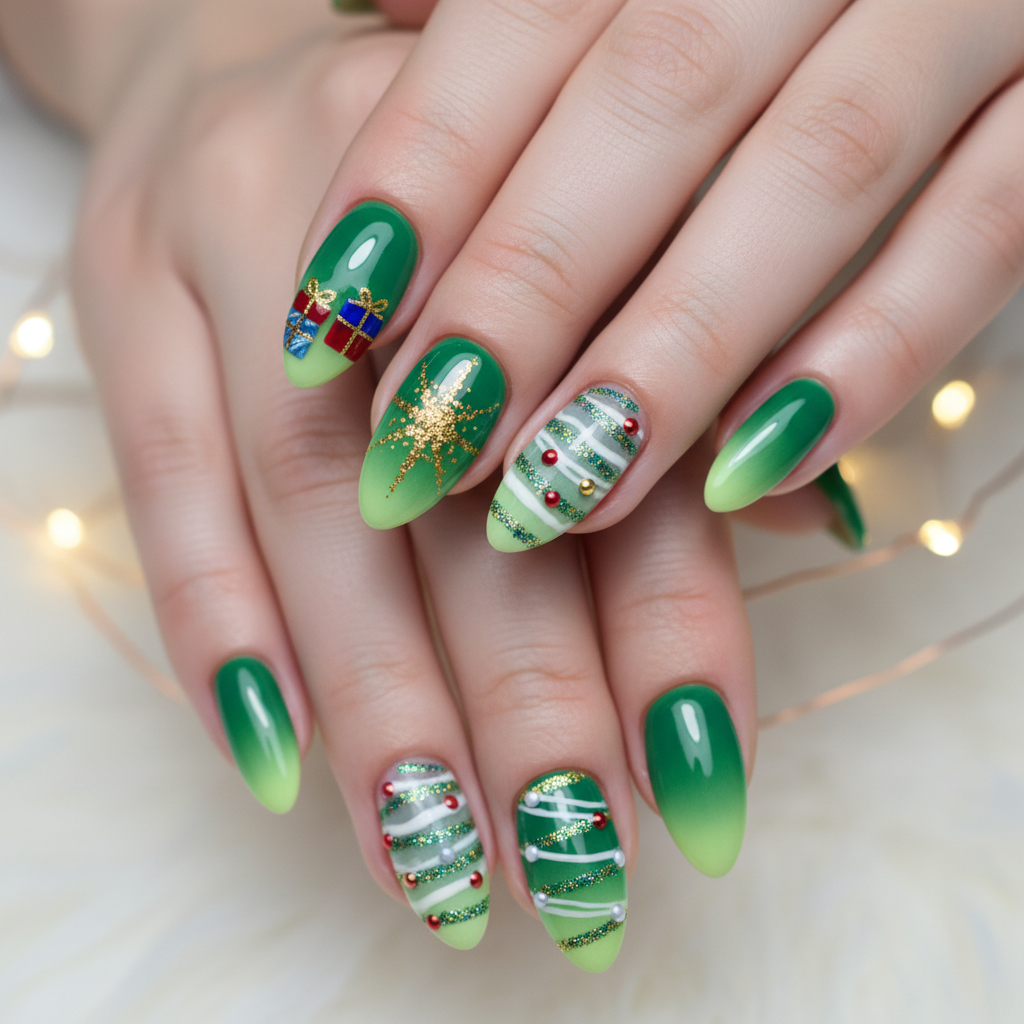
Green Gradient Gold Star Ring Finger Christmas Nails
Christmas tree nail art with green gradient, gold star on ring finger, and tiny presents on thumb
Cable Knit Red White Stripes Gold Christmas Nails
Cozy Christmas sweater nail art with cable knit patterns, red and white stripes, and gold details
More Designs
Red & Gold Glitter Snowflake Christmas Tree Nails
Get festive with this stunning Christmas nail art design! Featuring a crisp white base, shimmering red and gold glitter accents, delicate snowflakes, and tiny Christmas tree details, it's the perfect holiday manicure.
Supplies You'll Need
- White nail polish
- Red glitter polish
- Gold glitter polish
- Fine detail brush
- Snowflake stamping plate (optional)
- Top coat
How To Recreate It
- Apply two coats of white nail polish as a base and let it dry completely.
- Using the red and gold glitter polish, create an ombre effect or gradient towards the tips of the nails.
- With a fine detail brush and gold glitter polish, carefully paint tiny Christmas trees on select nails.
- Stamp or hand-paint delicate snowflake designs on the remaining nails using white polish.
- Allow everything to dry thoroughly and finish with a glossy top coat to seal and protect the design.
Expert Tip
Use a sticky base coat under the glitter polish to prevent chipping and make the glitter adhere better. For crisp snowflake designs, practice your stamping technique beforehand.
Try These Variations
- →Reverse the colors: Red base with white snowflakes and gold glitter accents.
- →Use a holographic glitter for an extra magical effect.
- →Add tiny rhinestones to the Christmas trees for added sparkle.
Aftercare Tips
- ✓Moisturize hands regularly with a good quality hand cream.
- ✓Avoid picking or biting your nails to prevent damage.
- ✓Wear gloves when doing household chores to protect your manicure.
Safe Removal
- 1.Soak cotton pads in acetone-based nail polish remover.
- 2.Place the soaked pads on your nails and wrap with foil for 10-15 minutes.
- 3.Gently remove the foil and pads, and wipe away any remaining glitter residue.
Quick Facts
Why It's Trending
This design beautifully combines elegance with holiday cheer, making it a popular choice for those wanting a sophisticated yet festive manicure.
Seasonal Styling
Ideal for the entire Christmas season, from Thanksgiving gatherings to New Year's Eve celebrations.
Color Variations
Perfect For
Why People Love It
Instagram and Pinterest are flooded with similar designs, proving its popularity. Nail enthusiasts love the blend of classic Christmas motifs and glamorous glitter.
Daily Maintenance
- 💅Apply a top coat every 2-3 days to maintain shine and prevent chipping.
- 💅Avoid harsh chemicals and prolonged exposure to water.
- 💅Use cuticle oil daily to keep your nails and cuticles hydrated.
Common Issues & Fixes
- ⚠Glitter not sticking? Use a glitter primer or apply the glitter polish in thin layers.
- ⚠Snowflakes smudging? Allow the base coat to dry completely before stamping and use a quick, firm motion.
- ⚠Uneven glitter distribution? Use a sponge to dab on the glitter for better control.
- ⚠Chipping? Ensure you properly prep your nails before applying any polish and use a high-quality top coat.
Design Inspiration
Inspired by the warmth and sparkle of Christmas lights, the crisp beauty of winter snowflakes, and the joy of decorating a Christmas tree.
Explore Similar Designs
Colors in this Design
Techniques Used
Perfect For
Nail Shapes
More Categories to Explore
Popular Colors
Popular Techniques
Perfect Occasions
FAQs
How long will this design last?
With proper application and maintenance, this design can last up to 2 weeks.
Can I use gel polish for this design?
Yes, gel polish will enhance the durability and shine of the design.
Is it necessary to use a stamping plate for the snowflakes?
No, you can also hand-paint the snowflakes using a fine detail brush if you have a steady hand.
What if I don't have red or gold glitter polish?
You can use loose glitter and sprinkle it over a base of red or gold polish before it dries.
Will the glitter affect the removal process?
Yes, glitter polishes can be more difficult to remove. Soaking the nails longer in acetone is recommended.