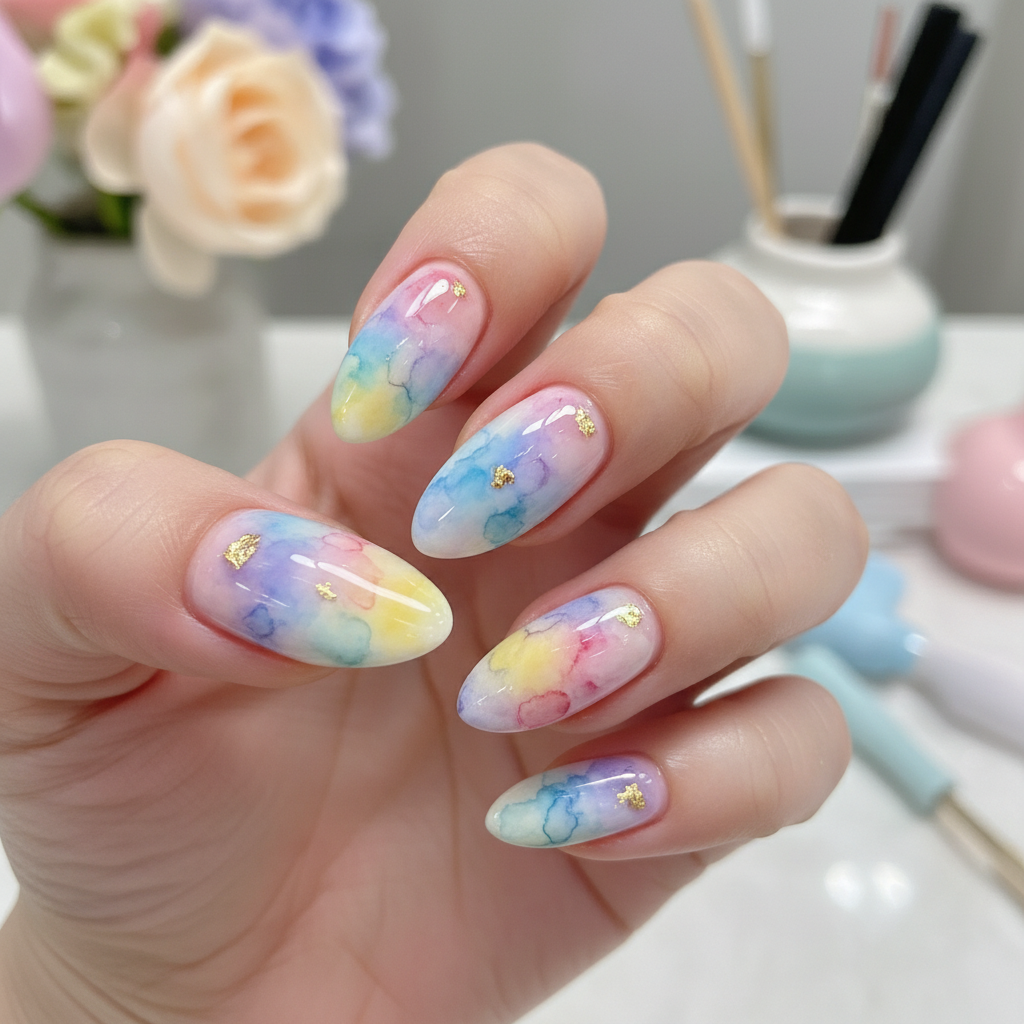
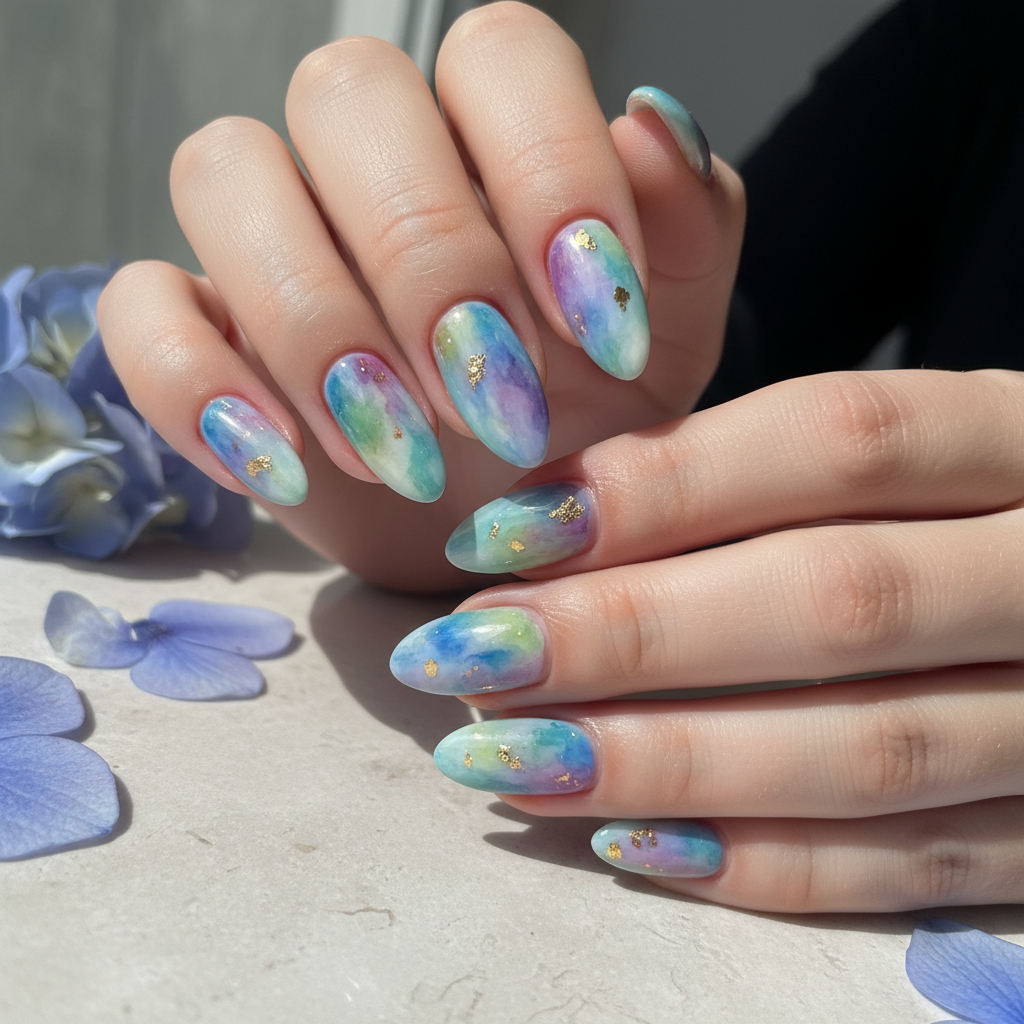
Photo-real Salon Watercolor Nails
Watercolor inspired nail art with clean, photo-real finish and professional salon quality
Created: October 5, 2025 at 11:50 AM
More Watercolor Designs
Beautiful Photo-real Salon Watercolor Nails
Watercolor inspired nail art with beautiful, photo-real finish and professional salon quality
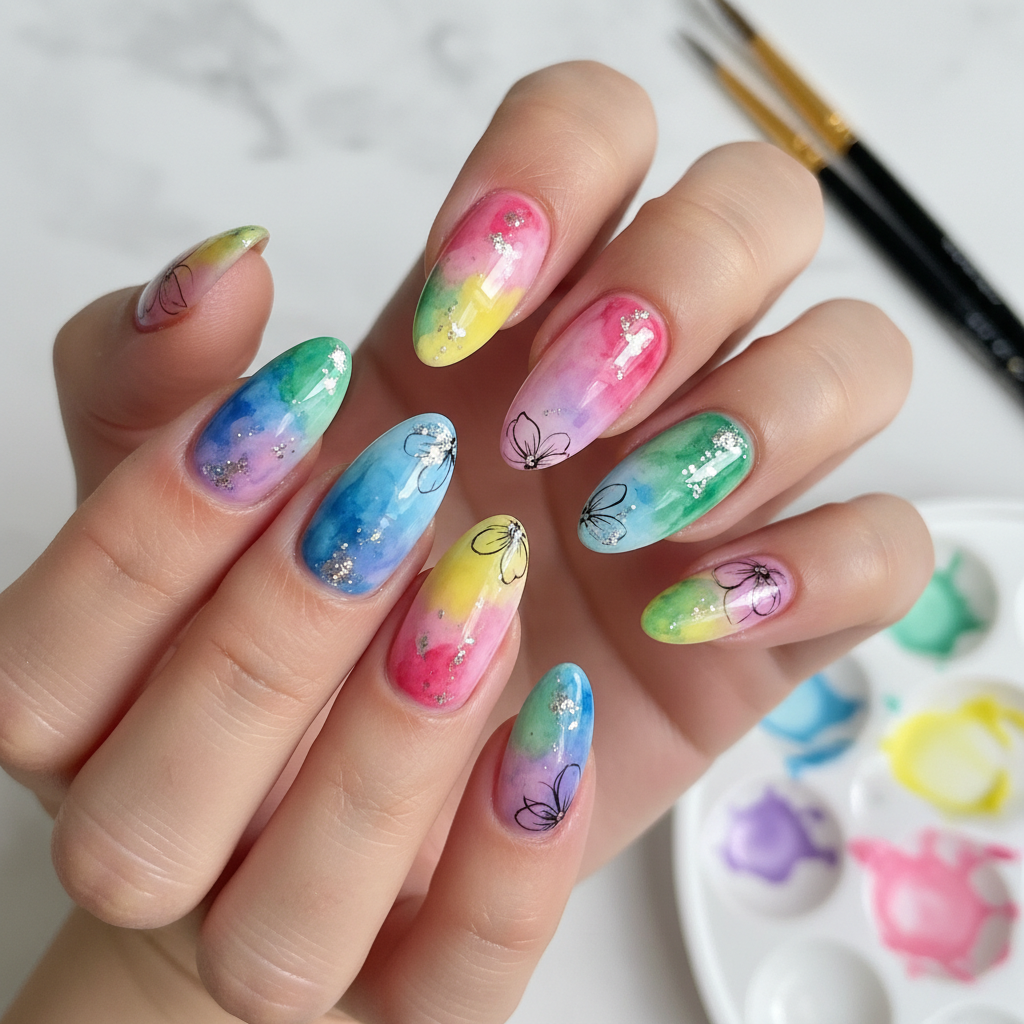
Gorgeous Photo-real Salon Watercolor Nails
Watercolor inspired nail art with gorgeous, photo-real finish and professional salon quality
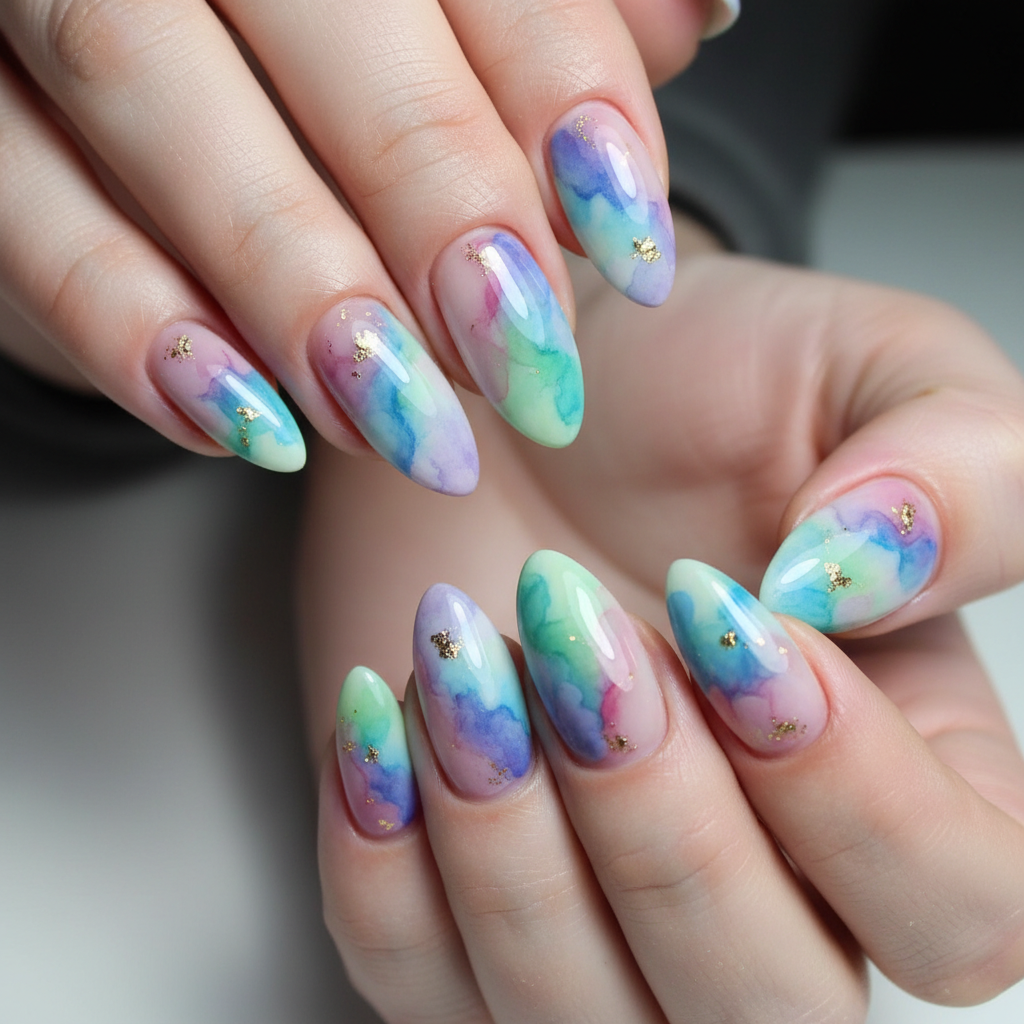
Stunning Photo-real Salon Watercolor Nails
Watercolor inspired nail art with stunning, photo-real finish and professional salon quality
Sophisticated Photo-real Salon Watercolor Nails
Watercolor inspired nail art with sophisticated, photo-real finish and professional salon quality
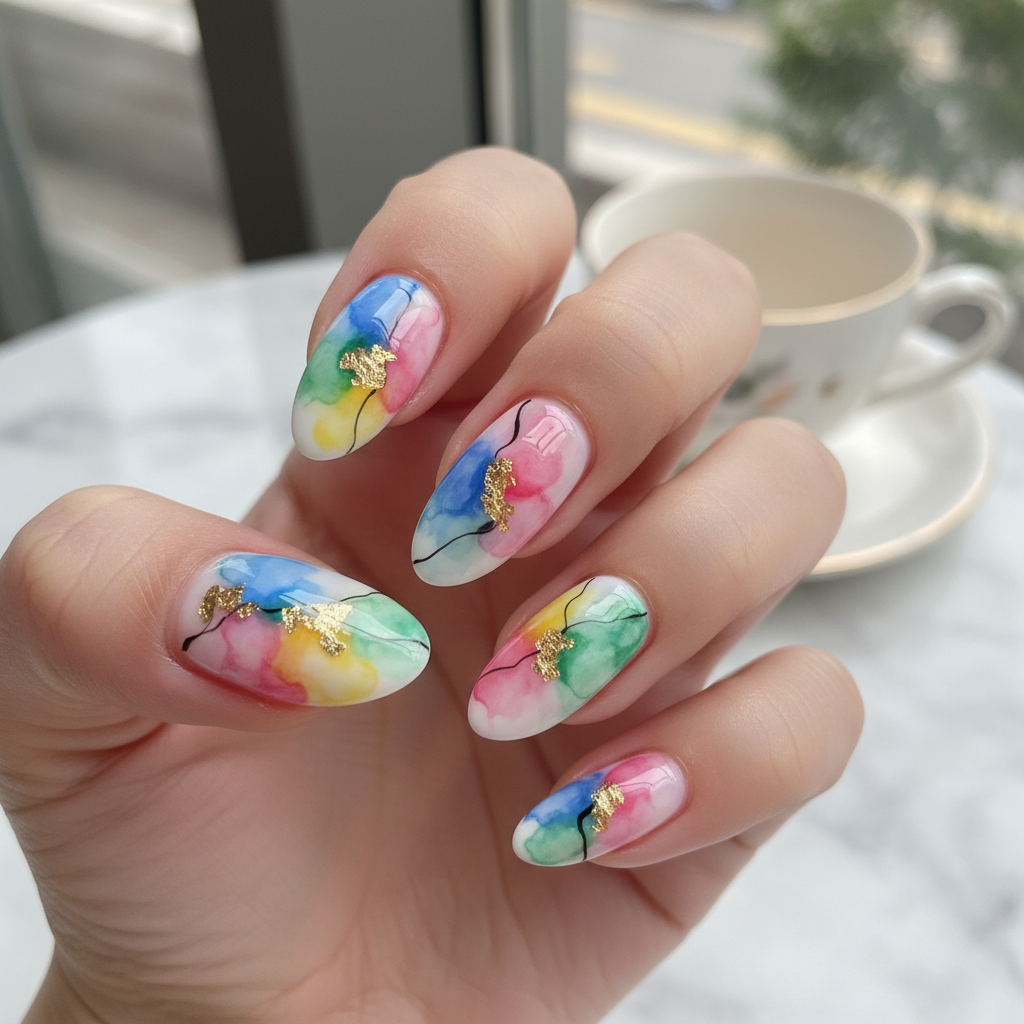
Photo-real Salon Watercolor Nails
Watercolor inspired nail art with elegant, photo-real finish and professional salon quality
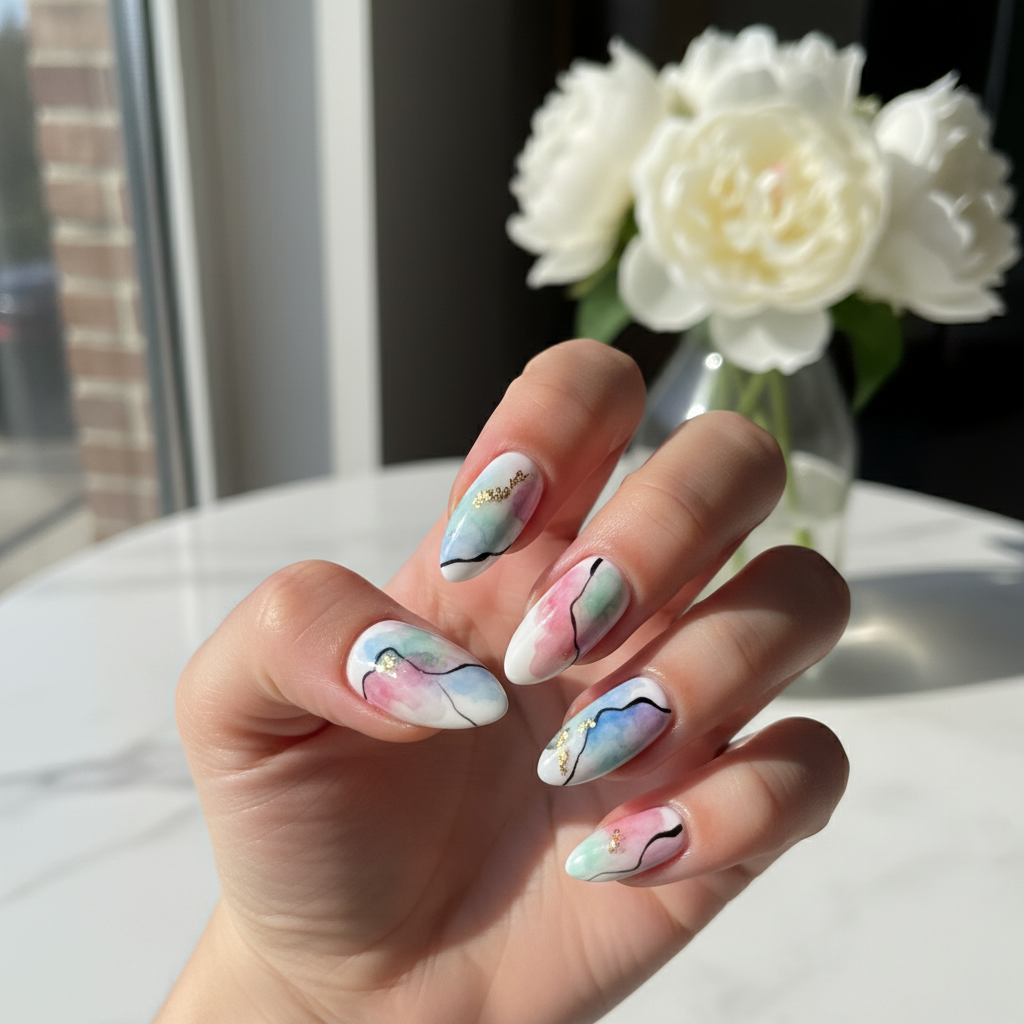
Photo-real Salon Watercolor Nails
Watercolor inspired nail art with clean, photo-real finish and professional salon quality
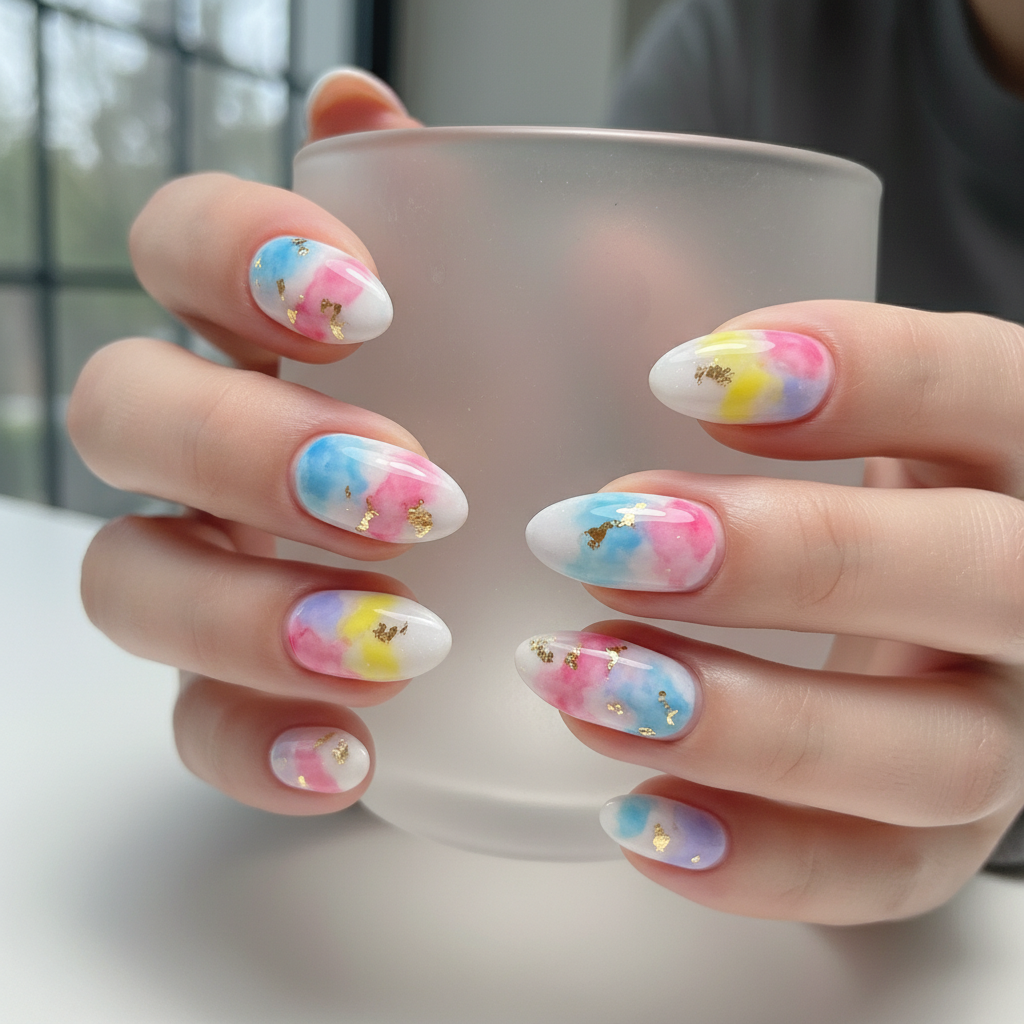
Photo-real Salon Watercolor Nails
Watercolor inspired nail art with clean, photo-real finish and professional salon quality
More Designs
Photo-Real Watercolor Nails: Salon-Quality Nail Art
Achieve stunning, photo-real watercolor nail art with this salon-inspired design. This technique creates a soft, blended effect reminiscent of a watercolor painting, perfect for adding an artistic touch to your manicure.
Supplies You'll Need
- Base coat
- Light-colored gel polish (white or pale pink)
- Diluted gel polishes or acrylic paints (various colors)
- Fine detail brush
- Blending brush or sponge
- Glossy top coat
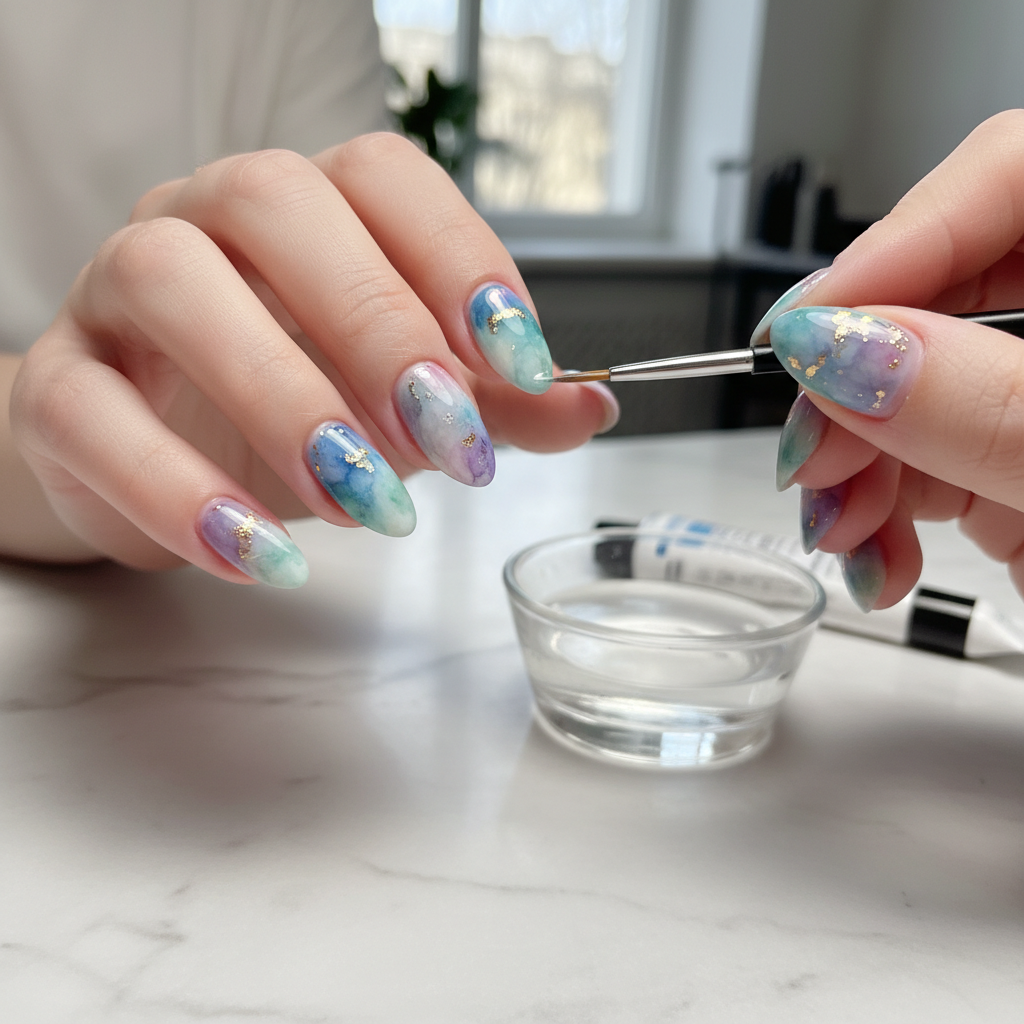
How To Recreate It
- Apply base coat and cure under a UV/LED lamp.
- Apply a light-colored base coat (white or pale pink) and cure.
- Using a fine detail brush, apply small dots or strokes of diluted gel polishes in your desired color palette.
- Immediately blend the colors together using a blending brush or sponge to create a seamless watercolor effect.
- Cure each layer of watercolor and blending under the lamp.
- Seal with a glossy top coat and cure.
Expert Tip
Practice your blending technique on a palette before applying to your nails. Use a light hand and build up the color gradually for the best photo-real watercolor effect.
Try These Variations
- →Ombre Watercolor: Blend a gradient of watercolor shades from cuticle to tip.
- →Floral Watercolor: Incorporate delicate floral patterns using a fine detail brush.
- →Marble Watercolor: Mix dark and light shades to create a marbled effect within the watercolor design.
Aftercare Tips
- ✓Moisturize hands regularly with a rich hand cream.
- ✓Avoid picking or peeling the polish.
- ✓Consider a professional soak-off removal to prevent damage.
Safe Removal
- 1.File off the top layer of the top coat.
- 2.Soak cotton pads in acetone and apply to nails, securing with foil.
- 3.After 10-15 minutes, gently remove the gel polish with a cuticle pusher.
Quick Facts
Why It's Trending
The photo-real finish gives the watercolor effect a professional, polished look, making it a popular trend for those wanting high-end nail art at home.
Seasonal Styling
Spring and summer are ideal for this design, allowing you to play with bright, floral-inspired color schemes. In fall, try warmer, earth-toned watercolor shades.
Color Variations
Perfect For
Why People Love It
Instagram and Pinterest are flooded with this nail art. Nail enthusiasts love this because it brings a unique, high-end salon experience to their DIY nail art.
Daily Maintenance
- 💅Apply cuticle oil daily to keep nails hydrated.
- 💅Wear gloves when doing housework to protect the design.
- 💅Avoid harsh chemicals that can damage the polish.
- 💅If chipping occurs, carefully file down the edges and reapply top coat (spot repair is difficult with this design).
Common Issues & Fixes
- ⚠Colors are muddy and not blending well.Ensure your gel polishes are properly diluted and blend quickly before curing.
- ⚠Watercolor effect looks messy.Use a clean blending brush or sponge for each color to prevent cross-contamination.
- ⚠Top coat is smearing the watercolor design.Ensure your watercolor design is fully cured before applying the top coat. Use a gentle floating technique when applying the top coat to avoid disturbing the design.
- ⚠Bubbles appear in the top coat.Apply the top coat in thin, even layers and avoid shaking the bottle vigorously before application.
Design Inspiration
Inspired by the delicate beauty and fluidity of watercolor paintings, this design aims to capture the essence of artistic expression on your fingertips.
Explore Similar Designs
Colors in this Design
Techniques Used
Perfect For
Nail Shapes
More Categories to Explore
Popular Colors
Popular Techniques
Perfect Occasions
FAQs
Can I use regular nail polish instead of gel polish?
While possible, gel polish provides a longer-lasting and more durable finish for this intricate design.
How do I dilute gel polish?
Use a gel polish thinner or clear gel polish to dilute your colored gel polishes. Test the consistency on a palette before applying to your nails.
What kind of brushes should I use?
A fine detail brush is essential for creating the watercolor strokes, and a soft blending brush or sponge is crucial for achieving a seamless blend.
How long will this design last?
With proper application and care, this design can last up to two weeks without chipping.
Can I add glitter to this design?
Yes! A subtle dusting of iridescent glitter can add a touch of sparkle to your watercolor nails.
Is a UV/LED lamp absolutely necessary?
Yes, it is necessary if you are using gel polishes. Acrylic paints can air dry, but using gels will result in a more durable and photo-realistic finish.