Photo-real Salon Turquoise Nails
Turquoise inspired nail art with clean, photo-real finish and professional salon quality
Created: October 5, 2025 at 12:38 PM
More Turquoise Designs

More Designs
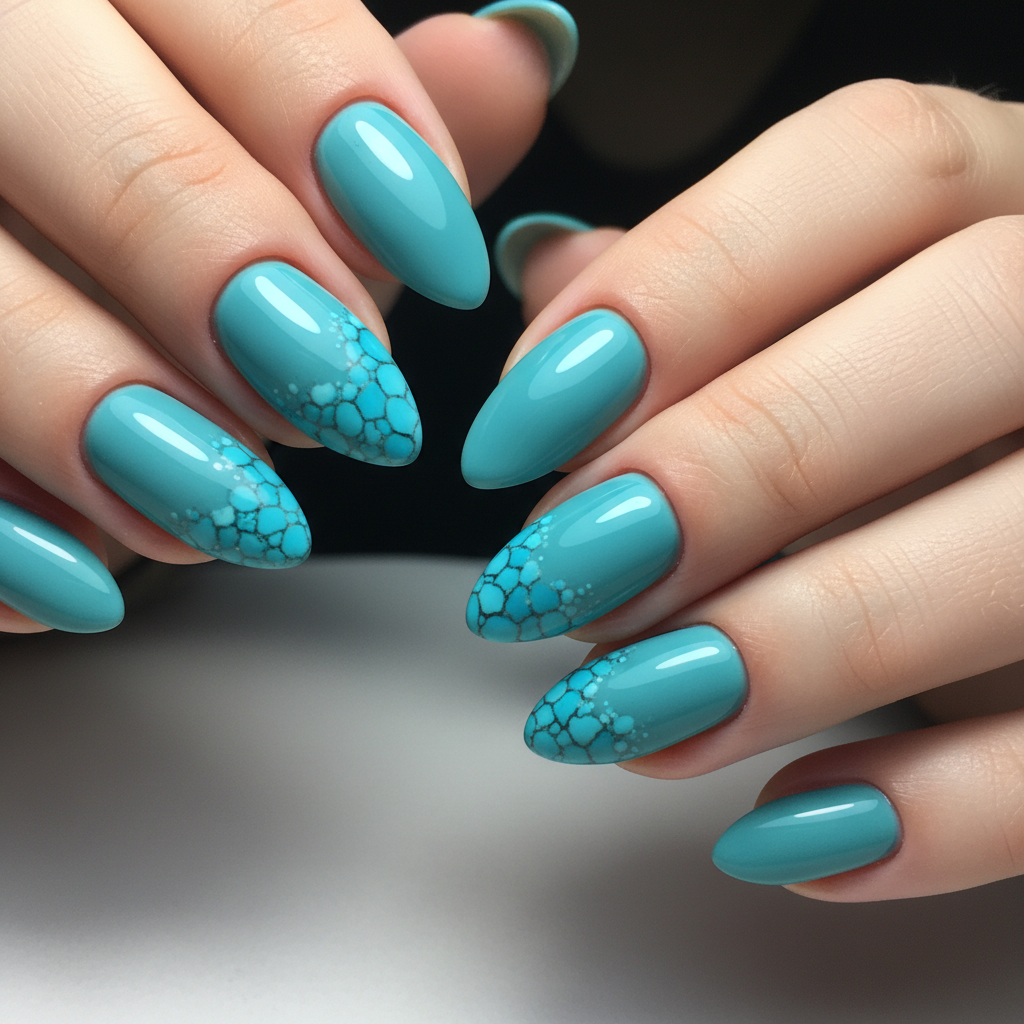
Salon-Perfect Turquoise Dream Nails: A Photo-Real Design
Dive into a sea of elegance with these stunning photo-real turquoise nails. This design boasts a professional salon finish, perfect for those who desire a touch of sophistication and vibrant color on their fingertips. Get ready to turn heads with this eye-catching turquoise dream!
Supplies You'll Need
- Turquoise gel polish
- White gel polish (optional, for highlights)
- Fine detail brush
- Gel base coat
- Gel top coat
- UV/LED lamp
How To Recreate It
- Apply a thin layer of gel base coat and cure under UV/LED lamp.
- Apply 2-3 thin coats of turquoise gel polish, curing after each layer.
- Using a fine detail brush and white gel polish (optional), create subtle highlights or a gradient effect for depth.
- Carefully clean up any mistakes with a small brush dipped in alcohol.
- Apply a gel top coat for a glossy, protective finish and cure under the lamp.
- Cleanse nails with a lint-free wipe and rubbing alcohol to remove any sticky residue.
Expert Tip
To achieve the photo-real finish, apply thin, even layers of gel polish and use a high-quality top coat. Practice creating subtle gradients or highlights on a nail wheel before applying to your nails.
Try These Variations
- →Turquoise Ombre: Blend turquoise with a lighter teal or white at the tips.
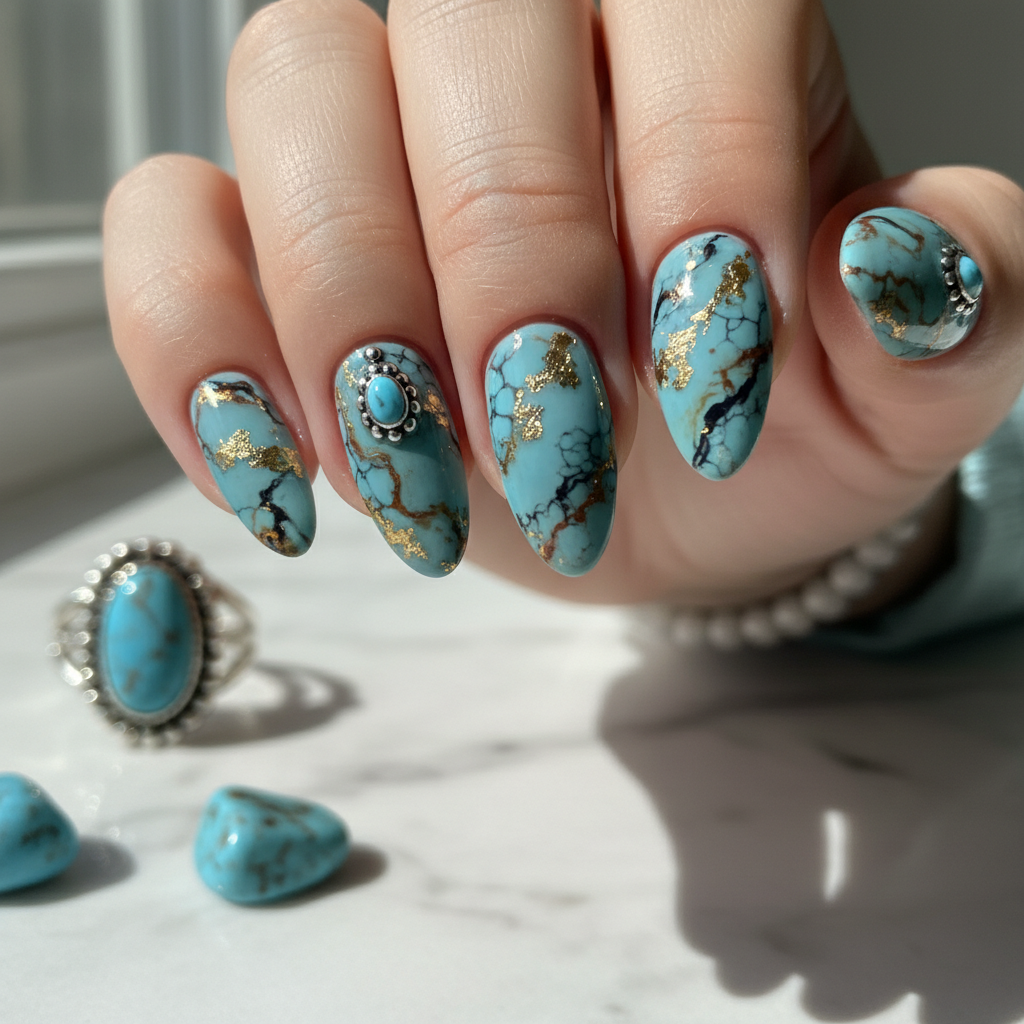
- →Turquoise Marble: Create a marbled effect using turquoise, white, and a hint of gold.
- →Turquoise Glitter Accents: Add subtle glitter accents for a touch of sparkle.
Aftercare Tips
- ✓Keep nails moisturized with a nourishing hand cream.
- ✓Avoid picking or peeling the polish.
- ✓Consider a professional gel removal to prevent damage.
Safe Removal
- 1.Gently file the top coat to break the seal.
- 2.Soak cotton pads in acetone, place on nails, and wrap with foil. Wait 10-15 minutes.
- 3.Gently scrape off the softened gel polish with a cuticle pusher.
Quick Facts
Why It's Trending
Turquoise nails are experiencing a major resurgence, capturing attention for their vibrant color and connection to summer and tropical aesthetics. This photo-real take elevates the trend to salon-worthy levels.
Seasonal Styling
Perfect for spring and summer, bringing a refreshing pop of color. Also suitable for adding a touch of warmth during autumn and winter months.
Color Variations
Perfect For
Why People Love It
Instagram is flooded with people recreating this design, showcasing its undeniable allure and versatility. Nail artists are highlighting it as a must-try for the season.
Daily Maintenance
- 💅Apply cuticle oil daily to keep nails hydrated.
- 💅Wear gloves when doing household chores to protect your manicure.
- 💅Avoid harsh chemicals that can damage the polish.
- 💅Gently file any snags or rough edges.
Common Issues & Fixes
- ⚠Bubbles in the polish.Apply thinner coats of polish and avoid shaking the bottle vigorously.
- ⚠Uneven application.Use a high-quality brush and practice applying even pressure.
- ⚠Gel polish not curing properly.Ensure your UV/LED lamp is functioning correctly and that you are curing for the recommended time.
- ⚠The design looks flatAdd subtle gradients or highlights to create depth and dimension.
Design Inspiration
Inspired by the mesmerizing colors of tropical waters and the desire to bring salon-quality aesthetics to DIY nail art.
Explore Similar Designs
Techniques Used
Perfect For
Nail Shapes
More Categories to Explore
Popular Colors
Popular Techniques
Perfect Occasions
FAQs
Can I achieve this look with regular nail polish?
While possible, gel polish provides a smoother, more durable, and photo-realistic finish.
How long will this manicure last?
With proper care, a gel manicure can last up to two weeks.
What nail shape is best for this design?
This design looks great on most nail shapes, but almond or oval shapes tend to accentuate the elegance of the turquoise color.
Is it difficult to create the gradient effect?
It requires practice, but using a sponge or a fine detail brush can make it easier.
Can I add nail art stickers to this design?
Yes, subtle gold or silver stickers can complement the turquoise color beautifully.
What is the best way to clean the brush after using gel polish?
Clean the brush immediately after use with a brush cleaner or rubbing alcohol.