Photo-real Salon Trendy Nails
Trendy inspired nail art with clean, photo-real finish and professional salon quality
Created: October 5, 2025 at 12:50 PM
More Trendy Designs
More Designs
Photo-Real Salon Nails: Trendy & Polished Designs
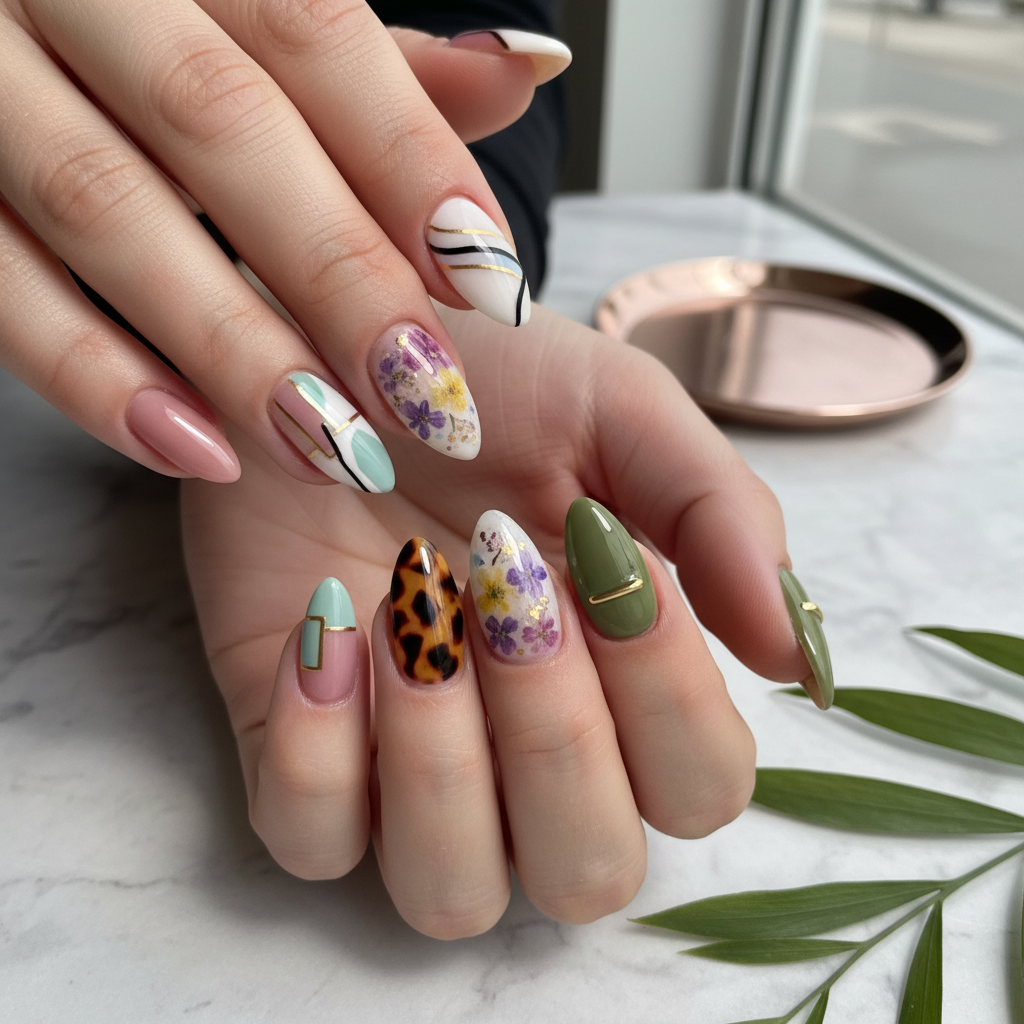
Achieve photo-real, salon-quality nails with this trendy design. It's all about clean lines, flawless finish, and a modern aesthetic that captures attention.
Supplies You'll Need
- Gel base coat
- Gel polish in desired colors
- Gel top coat
- Fine detail brush
- LED/UV lamp
- Nail cleanser
How To Recreate It
- Prep nails: Shape, buff, and clean the nail surface.
- Apply a thin layer of gel base coat and cure under the LED/UV lamp.
- Apply 2-3 coats of your base gel color, curing after each coat.
- Using a fine detail brush, create the design with your accent colors, curing after each layer of detail.
- Apply a gel top coat for a high-shine finish and cure.
- Cleanse the nails to remove any sticky residue.
Expert Tip
Use a very fine brush and a steady hand for creating the intricate details. Practice on a nail wheel first to perfect your technique.
Try These Variations
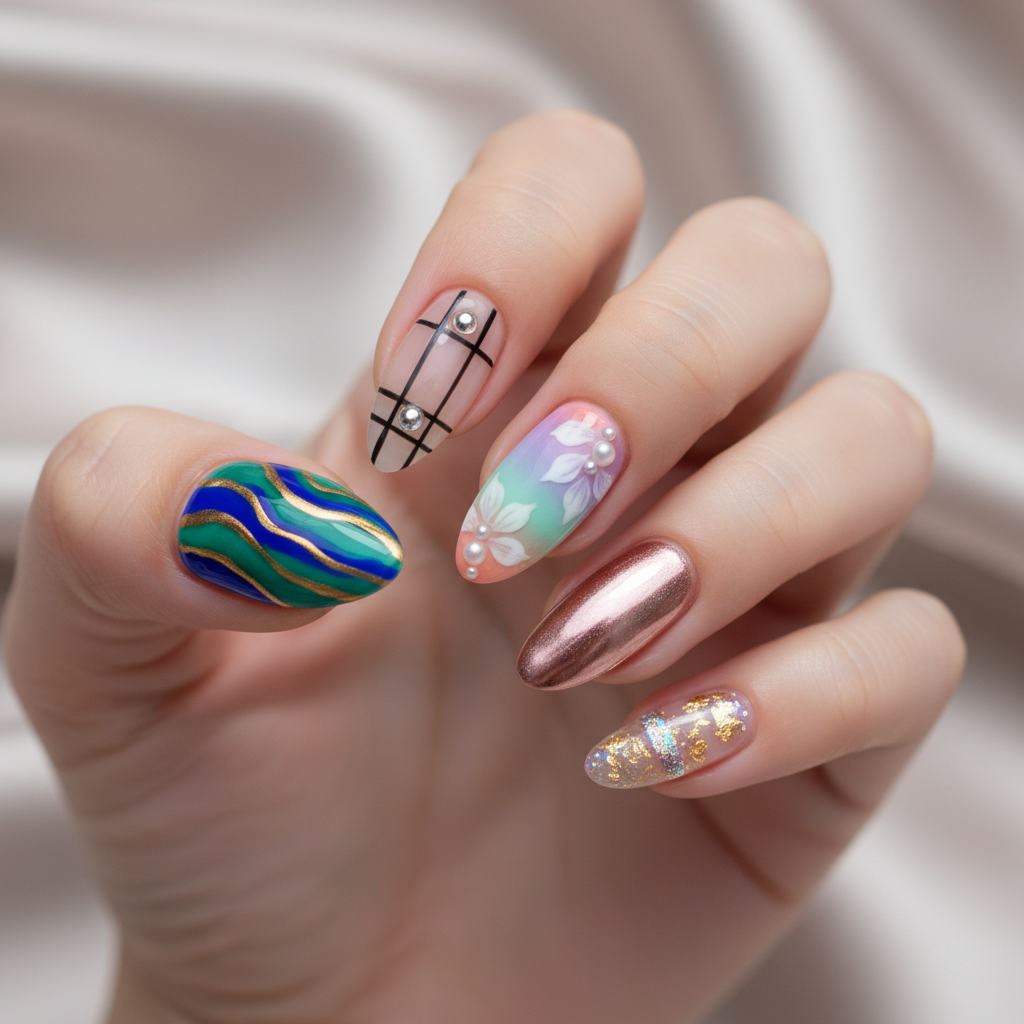
- →Geometric Photo-Real: Incorporate geometric shapes and lines for a modern twist.
- →Ombre Photo-Real: Create an ombre effect as a base, then add detailed designs on top.
- →Minimalist Photo-Real: Focus on one or two key design elements for a cleaner look.
Aftercare Tips
- ✓Moisturize hands and nails regularly.
- ✓Avoid picking or peeling the polish.
- ✓Keep nails at a manageable length to prevent breakage.
Safe Removal
- 1.File the top layer of the gel polish to break the seal.
- 2.Soak nails in acetone for 10-15 minutes, then gently scrape off the polish.
Quick Facts
Why It's Trending
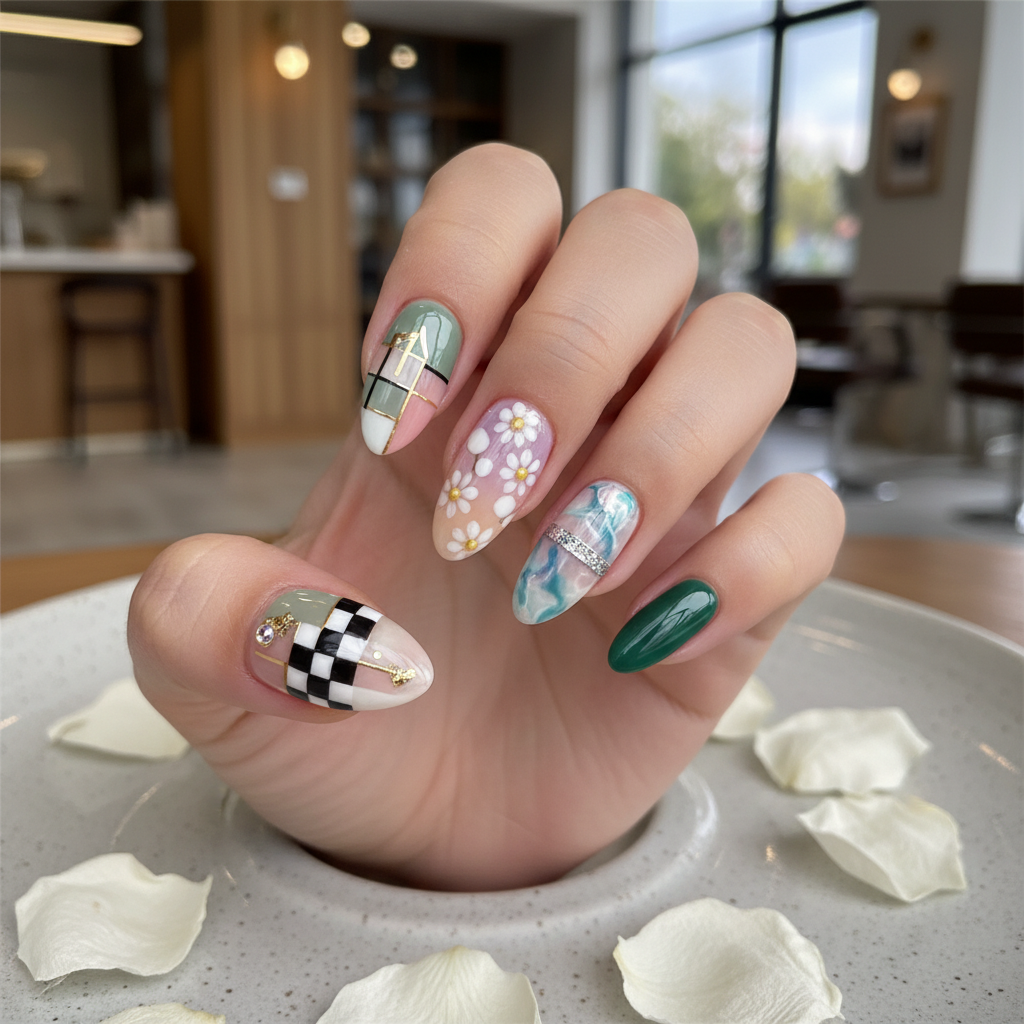
The demand for high-quality, professional-looking nails at home is surging, driving the popularity of photo-real designs.
Seasonal Styling
Perfect for any season, but the color choices can be adapted to match current seasonal trends. Brights for summer, deep tones for autumn.
Color Variations
Perfect For
Why People Love It
Nail enthusiasts are loving this trend for its professional look and the ability to create stunning designs at home.
Daily Maintenance
- 💅Apply cuticle oil daily to keep nails hydrated.
- 💅Avoid harsh chemicals that can damage the polish.
- 💅Wear gloves when doing household chores.
- 💅Schedule touch-ups every 2-3 weeks
Common Issues & Fixes
- ⚠Uneven application: Apply thin, even coats and cure properly.
- ⚠Smudging: Wait until the polish is fully cured before adding details.
- ⚠Bubbles: Avoid shaking the polish bottle vigorously; roll it instead.
- ⚠Lifting: Ensure proper nail prep and avoid getting gel on the cuticle.
Design Inspiration
Inspired by the flawless finish seen in professional salon work and current trends in minimalist and geometric nail art.
Explore Similar Designs
Colors in this Design
Techniques Used
Perfect For
Nail Shapes
More Categories to Explore
Popular Colors
Popular Techniques
Perfect Occasions
FAQs
How do I achieve a truly photo-real finish?
Focus on clean lines, precise application, and a high-quality top coat.
What type of brush is best for detailed nail art?
A fine detail brush with a thin, pointed tip is ideal.
Can I use regular nail polish instead of gel?
Gel polish provides a longer-lasting and more durable finish, but regular polish can be used with careful application and sealing.
How do I prevent the polish from chipping?
Proper nail prep, thin coats, and a good top coat are essential.
What if I don't have a steady hand?
Practice on a nail wheel or piece of paper before applying the design to your nails. Take your time and use support if needed.
How often should I get touch-ups?
Every 2-3 weeks, depending on nail growth and wear.