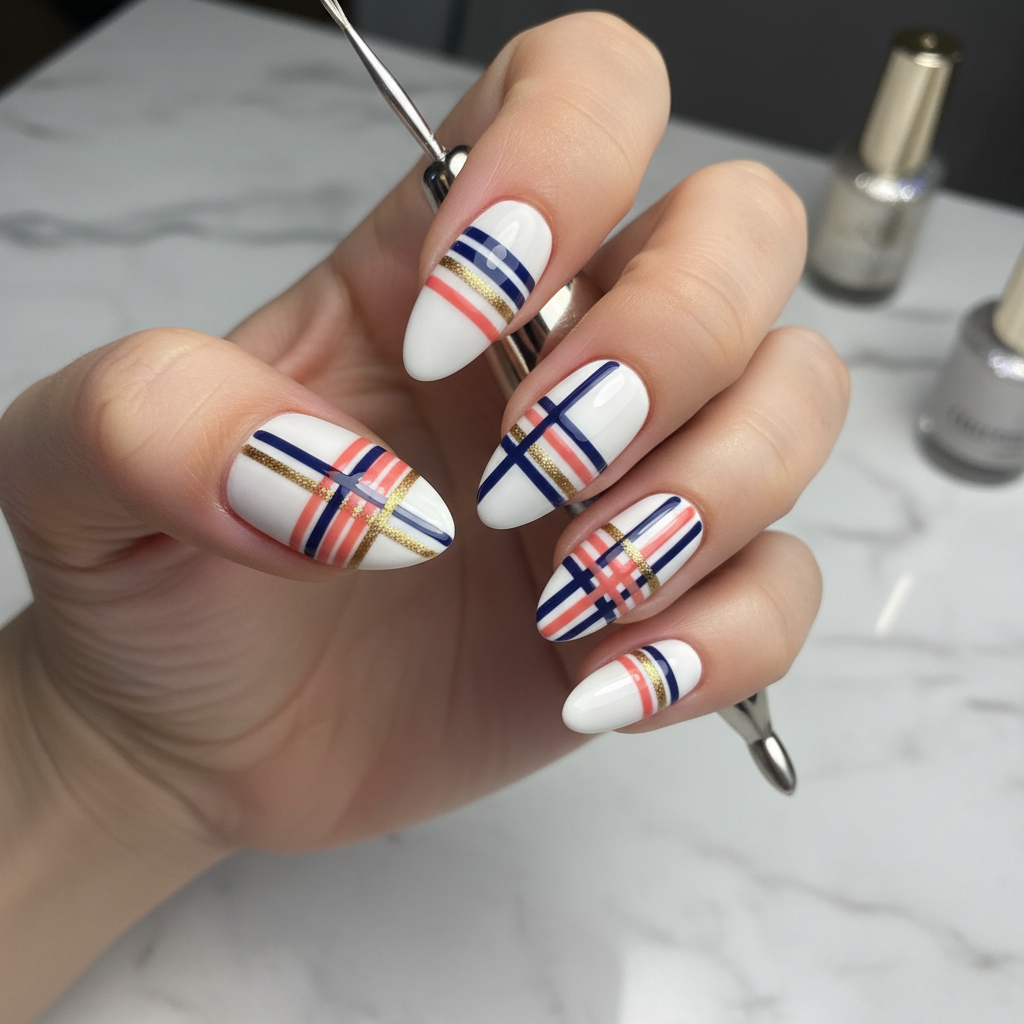
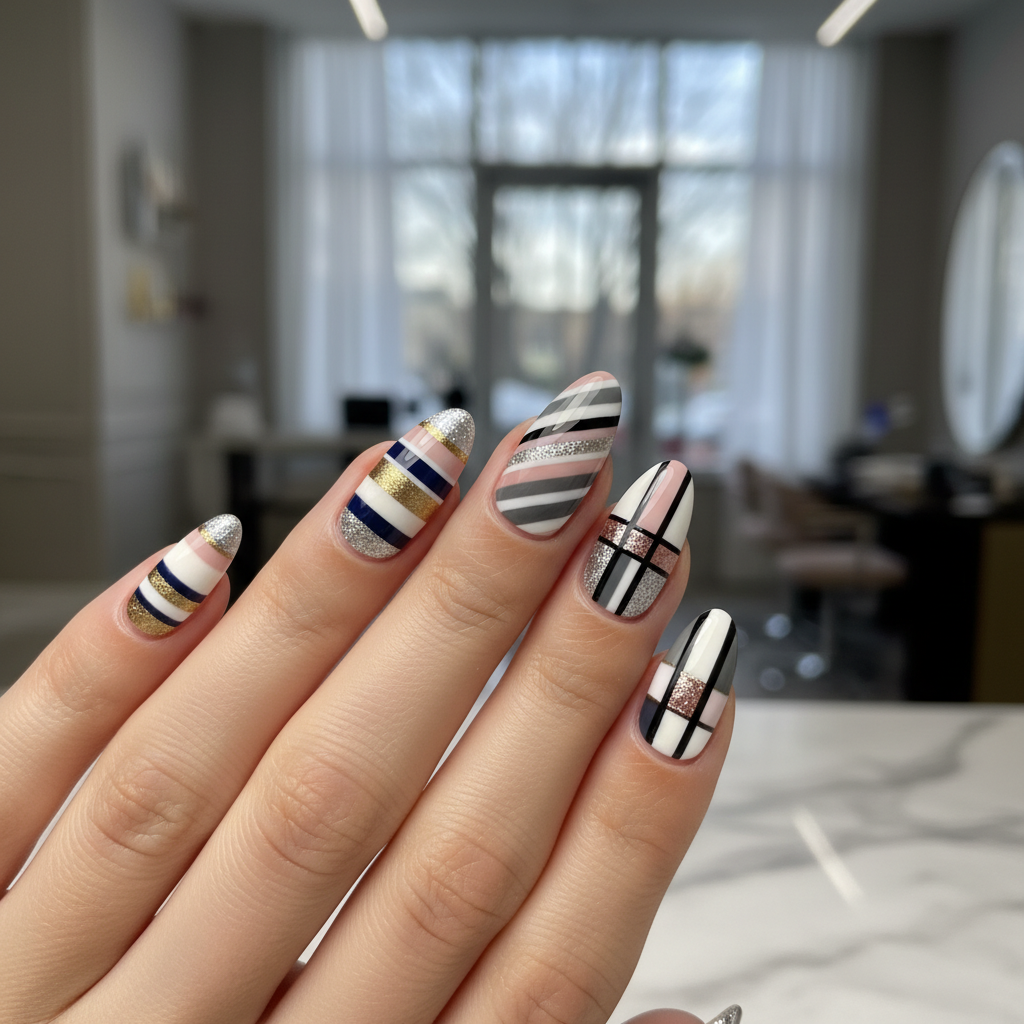
Photo-real Salon Stripes Nails
Stripes inspired nail art with clean, photo-real finish and professional salon quality
Created: October 5, 2025 at 11:59 AM
More Stripes Designs
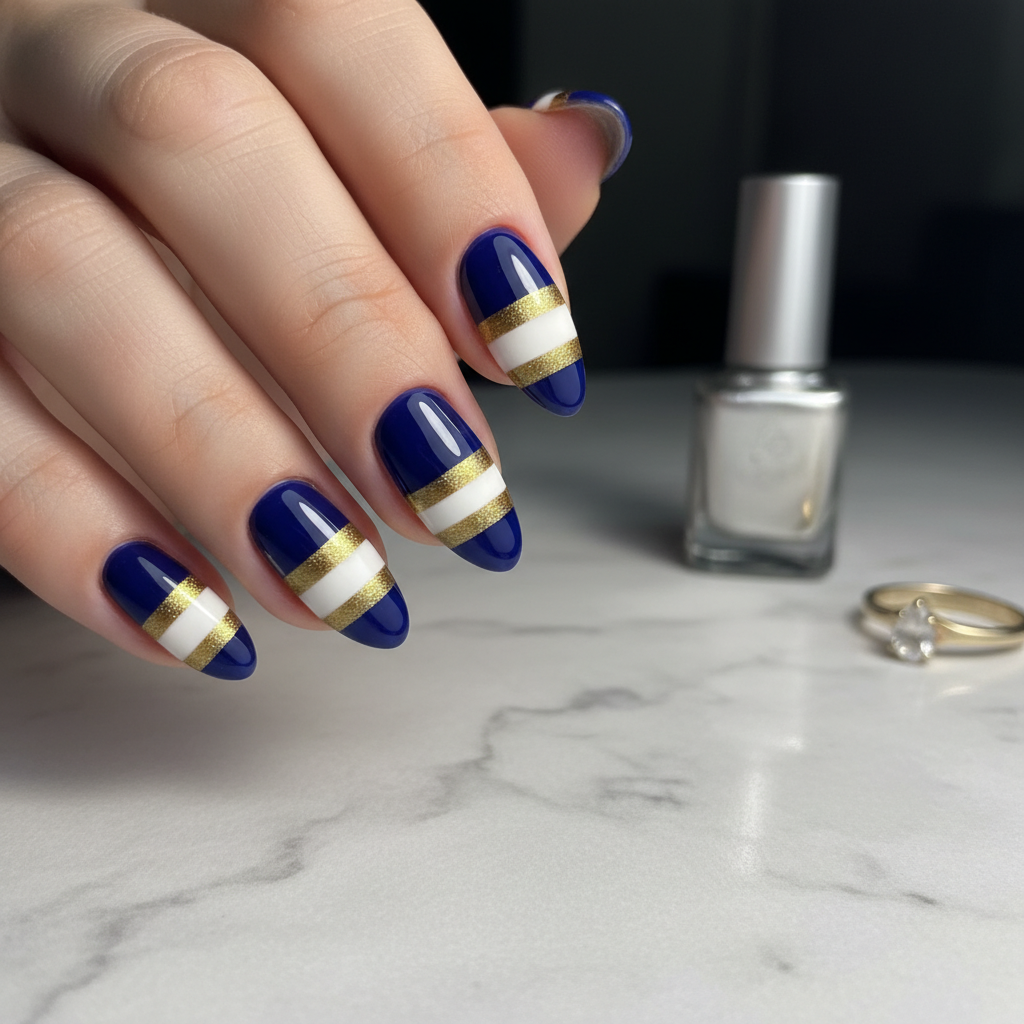
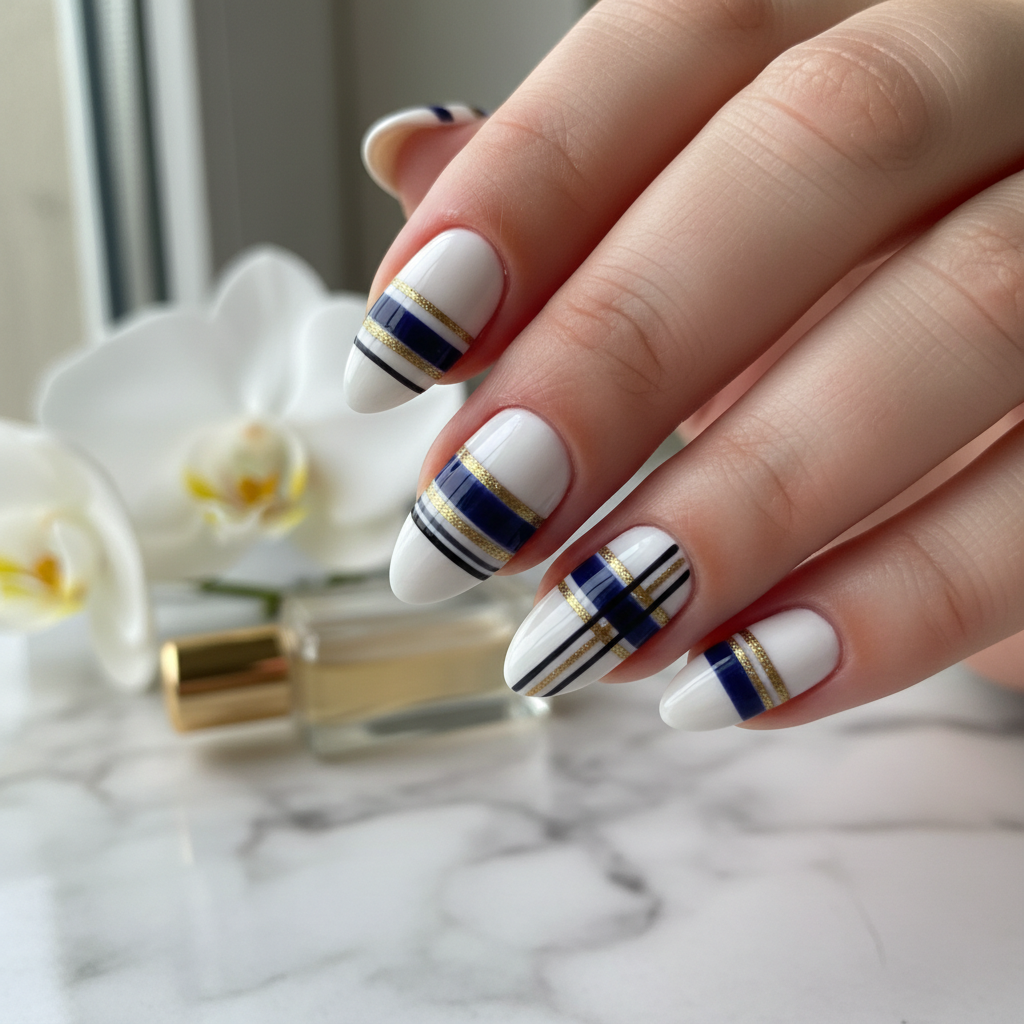
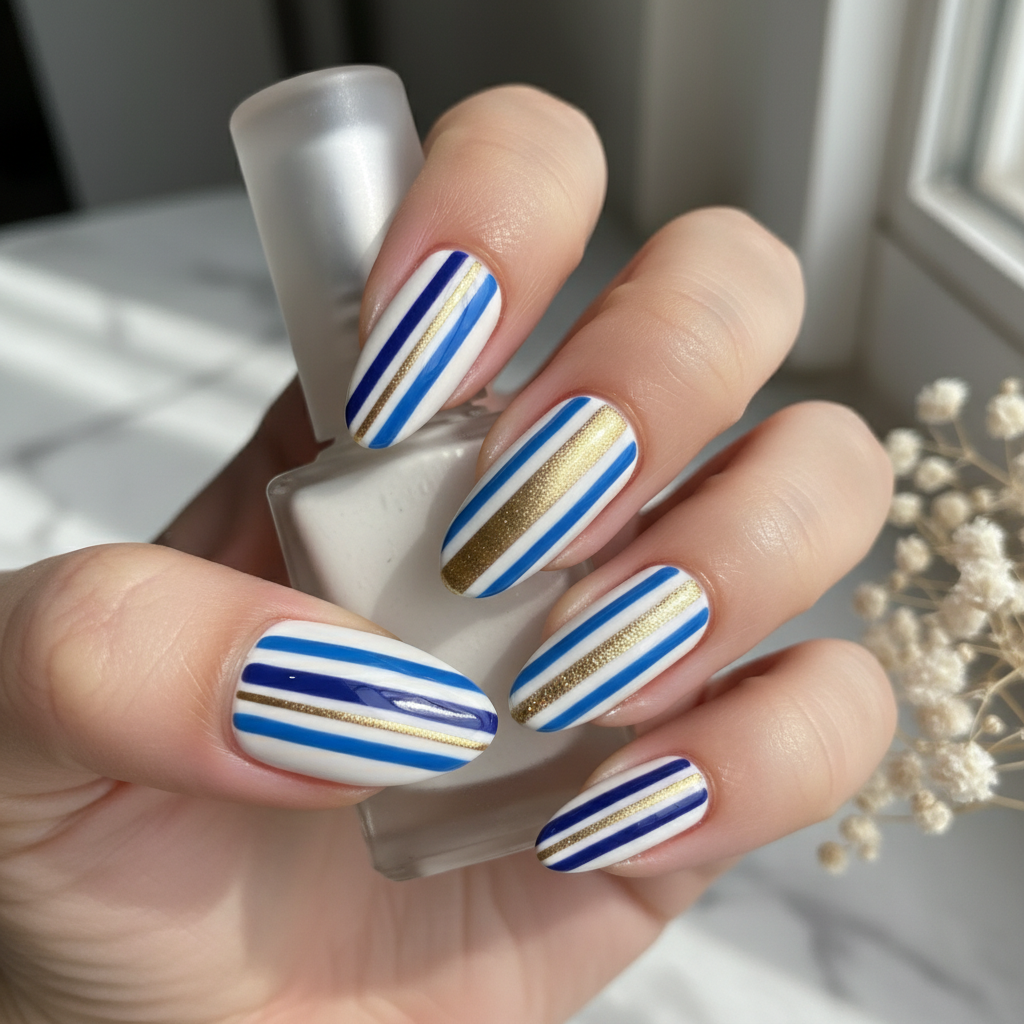
Beautiful Photo-real Salon Stripes Nails
Stripes inspired nail art with beautiful, photo-real finish and professional salon quality

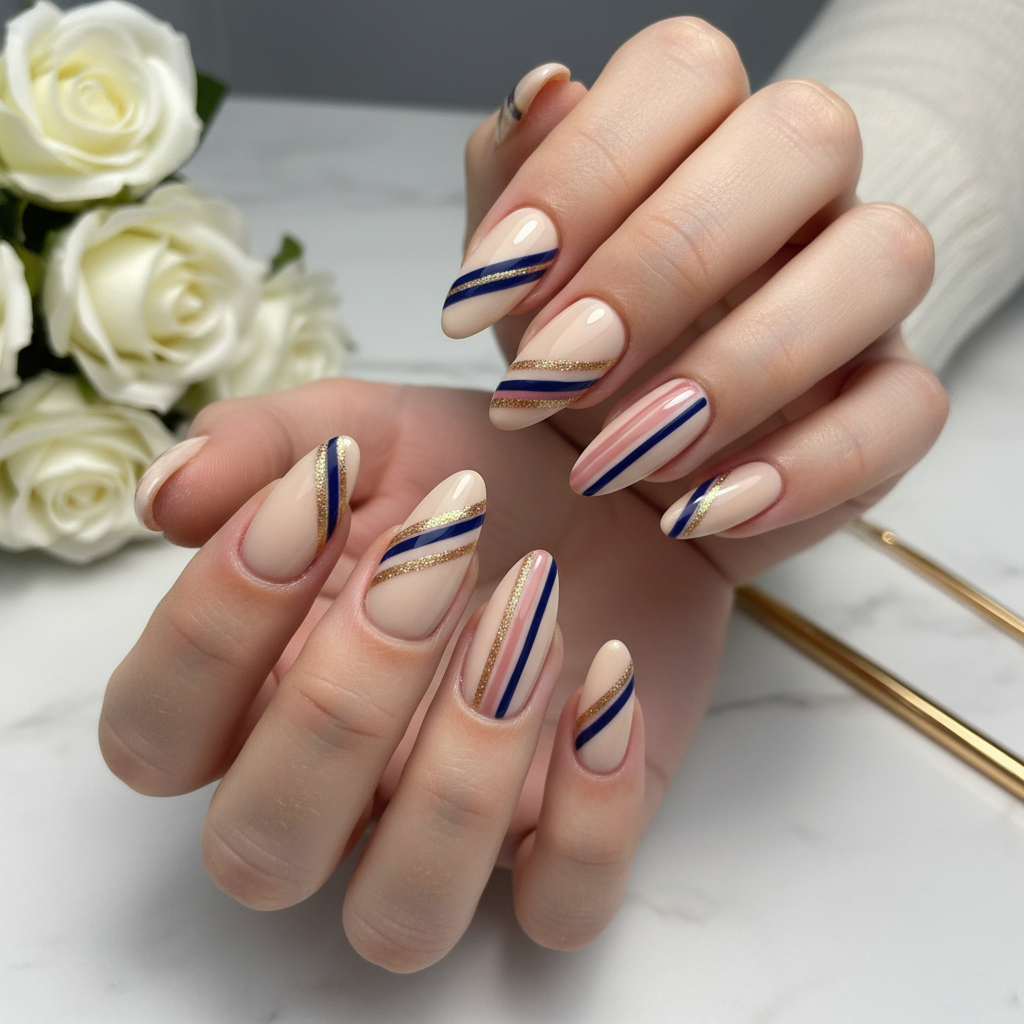
Beautiful Photo-real Salon Stripes Nails
Stripes inspired nail art with beautiful, photo-real finish and professional salon quality
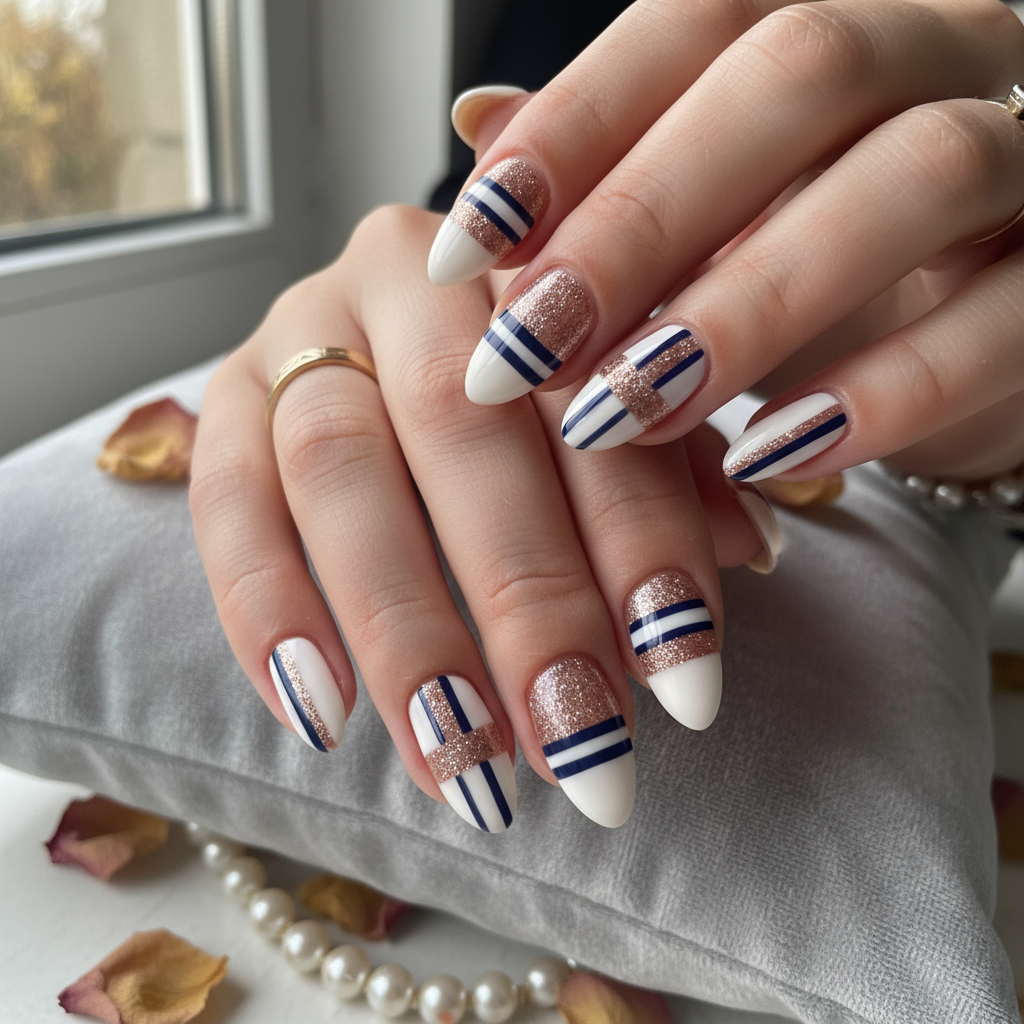
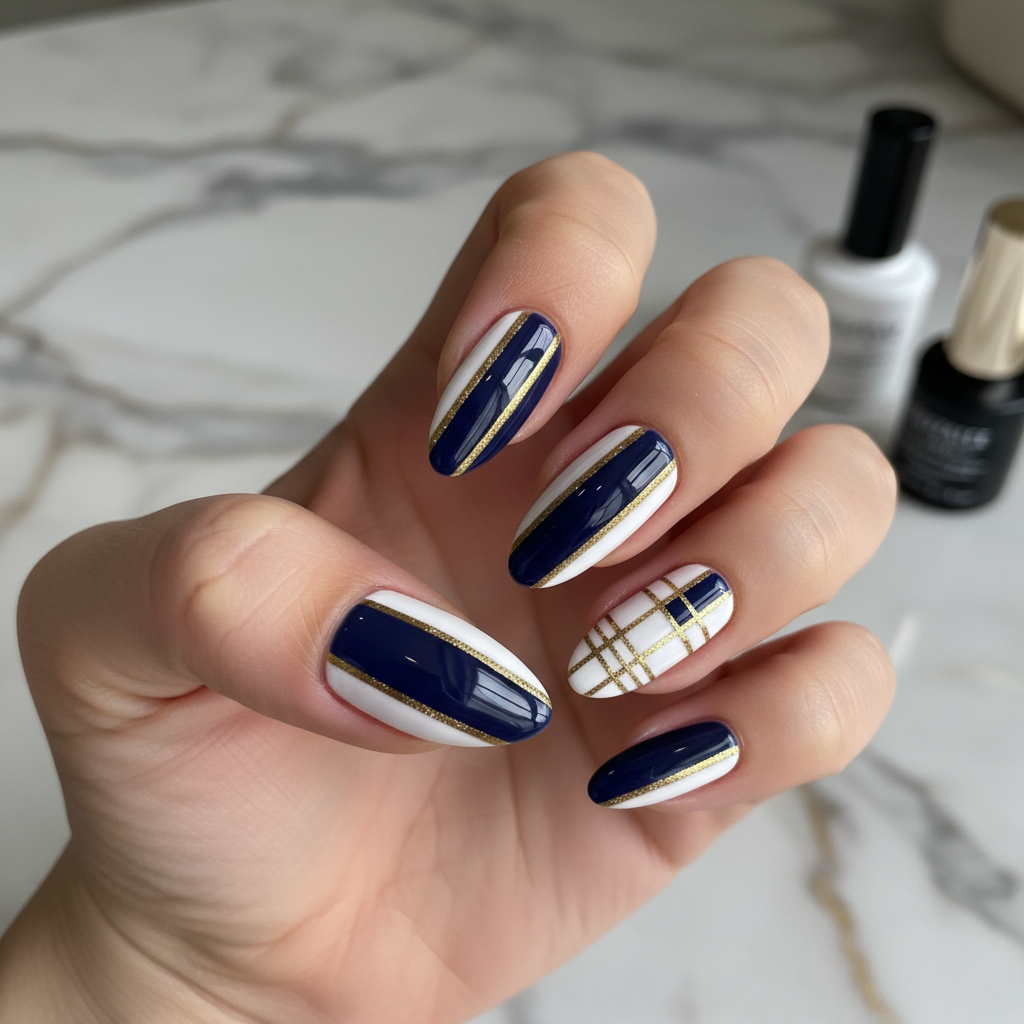
Gorgeous Photo-real Salon Stripes Nails
Stripes inspired nail art with gorgeous, photo-real finish and professional salon quality
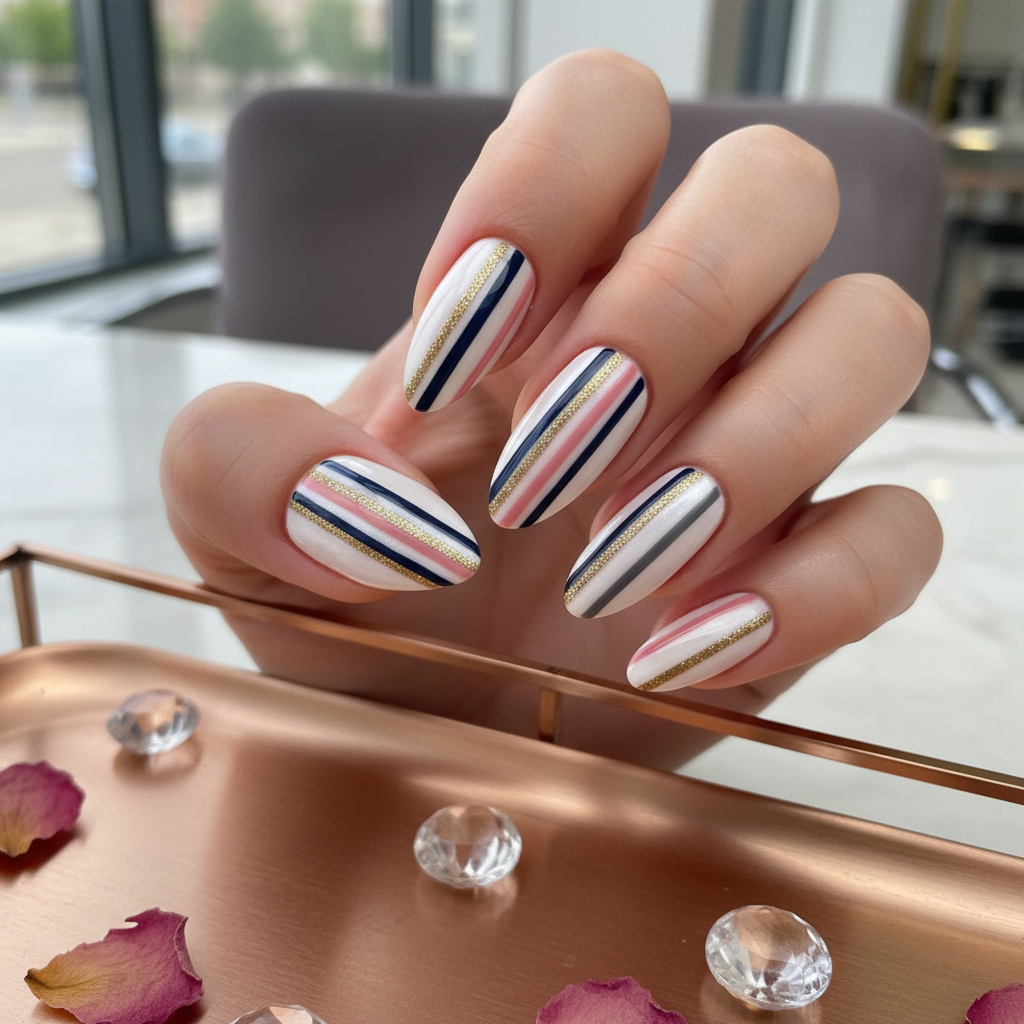
Gorgeous Photo-real Salon Stripes Nails
Stripes inspired nail art with gorgeous, photo-real finish and professional salon quality
Beautiful Photo-real Salon Stripes Nails
Stripes inspired nail art with beautiful, photo-real finish and professional salon quality
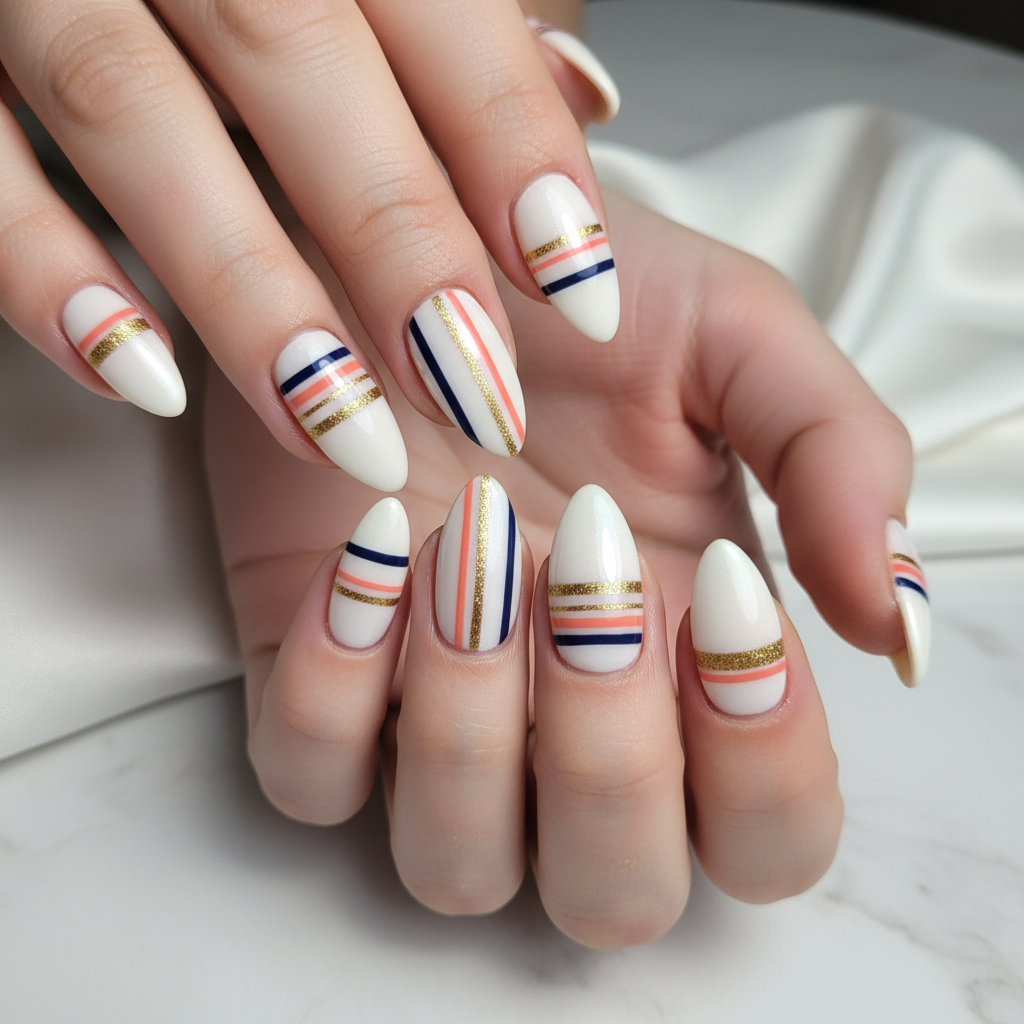
Stunning Photo-real Salon Stripes Nails
Stripes inspired nail art with stunning, photo-real finish and professional salon quality
Stunning Photo-real Salon Stripes Nails
Stripes inspired nail art with stunning, photo-real finish and professional salon quality
Gorgeous Photo-real Salon Stripes Nails
Stripes inspired nail art with gorgeous, photo-real finish and professional salon quality
Sophisticated Photo-real Salon Stripes Nails
Stripes inspired nail art with sophisticated, photo-real finish and professional salon quality
Stunning Photo-real Salon Stripes Nails
Stripes inspired nail art with stunning, photo-real finish and professional salon quality
More Designs
Salon-Perfect Striped Nails: Photo-Real Design Mastery
Achieve professional-quality striped nails at home! This design features crisp, clean lines for a photo-real effect that looks like you just stepped out of the salon. Get ready to impress with this sophisticated and stylish nail art.
Supplies You'll Need
- Base coat
- White nail polish
- Black nail polish
- Thin striping tape
- Top coat
- Clean-up brush
How To Recreate It
- Apply a base coat to protect your nails.
- Apply 2-3 coats of white nail polish as the base color, allowing each coat to dry completely.
- Carefully apply thin striping tape to create clean, straight lines across the nails. Experiment with vertical, horizontal, or diagonal patterns.
- Paint over the taped areas with black nail polish. Ensure the black polish covers the desired striped sections evenly.
- Immediately remove the striping tape while the black polish is still slightly wet. This will prevent chipping and ensure clean lines.
- Once the design is completely dry, apply a top coat for shine and durability.
Expert Tip
For incredibly sharp lines, press the striping tape firmly onto the nail and use a small brush dipped in nail polish remover to clean up any imperfections after applying the black polish.
Try These Variations
- →Use metallic polishes (gold, silver, or rose gold) instead of black for a glamorous touch.
- →Incorporate negative space by leaving some areas of the base color exposed within the striped pattern.
- →Create a gradient effect by blending two different shades of the same color for a softer, more subtle look.
Aftercare Tips
- ✓Use cuticle oil daily to keep your nails and cuticles hydrated.
- ✓Avoid picking or biting your nails.
- ✓Consider taking a break from polish every few weeks to allow your nails to breathe.
Safe Removal
- 1.Soak a cotton ball in nail polish remover and hold it on your nail for a few seconds.
- 2.Wipe away the polish gently, repeating if necessary.
Quick Facts
Why It's Trending
Striped nails are back in a big way, especially those with a clean, minimalist aesthetic that mimics a professional salon finish. The precision and modern look are highly sought after.
Seasonal Styling
This design works well year-round! Opt for brighter, bolder colors in spring and summer, and richer, darker tones in fall and winter.
Color Variations
Perfect For
Why People Love It
Instagram and Pinterest are flooded with stunning striped nail designs, showcasing their versatility and appeal. Many nail artists highlight this style as a modern classic.
Daily Maintenance
- 💅Apply a top coat every 2-3 days to prevent chipping.
- 💅Avoid harsh chemicals and detergents that can damage the polish.
- 💅Wear gloves when doing housework or gardening.
Common Issues & Fixes
- ⚠Stripes are not clean or straight.Ensure the striping tape is firmly adhered and remove it while the polish is still slightly wet.
- ⚠Polish is chipping easily.Use a high-quality top coat and apply it every 2-3 days. Also, make sure each layer of polish is completely dry before applying the next.
- ⚠Black polish is bleeding under the tape.Apply thin coats of black polish and avoid using too much pressure when painting over the tape.
Design Inspiration
Inspired by classic fashion stripes and the desire to achieve a professional, salon-worthy nail look at home. A nod to minimalist design and graphic arts principles.
Explore Similar Designs
Colors in this Design
Techniques Used
Perfect For
Nail Shapes
More Categories to Explore
Popular Colors
Popular Techniques
Perfect Occasions
FAQs
Can I use regular tape instead of striping tape?
While possible, striping tape is much thinner and creates cleaner lines. Regular tape may be too thick and leave a messy edge.
How long does this design last?
With proper application and maintenance, this design can last up to a week or more.
What kind of top coat should I use?
A gel-like top coat will provide the most durability and shine.
Can I do this design on short nails?
Yes, but the stripes may need to be adjusted to fit the shorter nail length. Consider thinner stripes for a more balanced look.
Is there a specific brand of striping tape that you recommend?
Many brands work well, but look for tape that is thin, flexible, and has good adhesive properties. Experiment to find what works best for you.
Can I use gel polish for this design?
Yes, gel polish can be used, but you will need a UV or LED lamp to cure the polish.