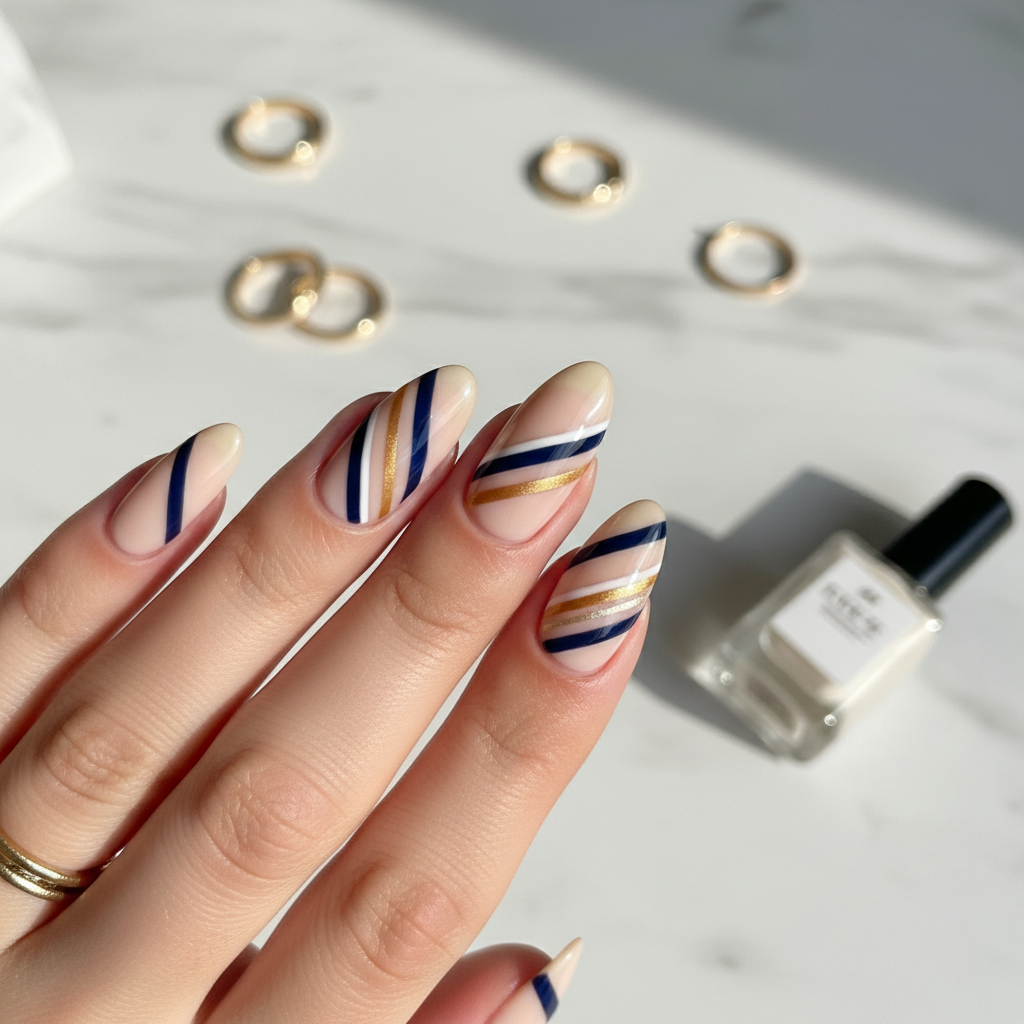
Photo-real Salon Stripes Nails
Stripes inspired nail art with clean, photo-real finish and professional salon quality
Created: October 5, 2025 at 11:59 AM
More Stripes Designs
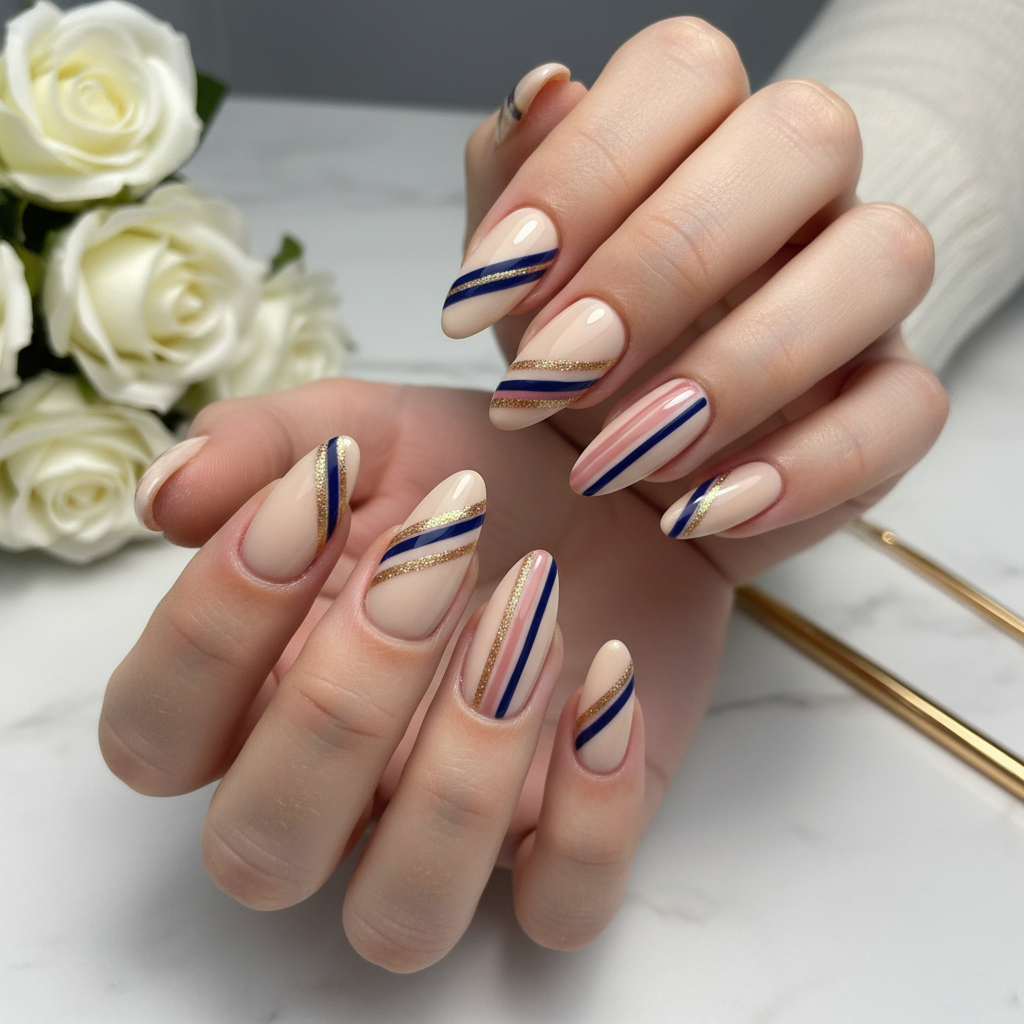
Beautiful Photo-real Salon Stripes Nails
Stripes inspired nail art with beautiful, photo-real finish and professional salon quality

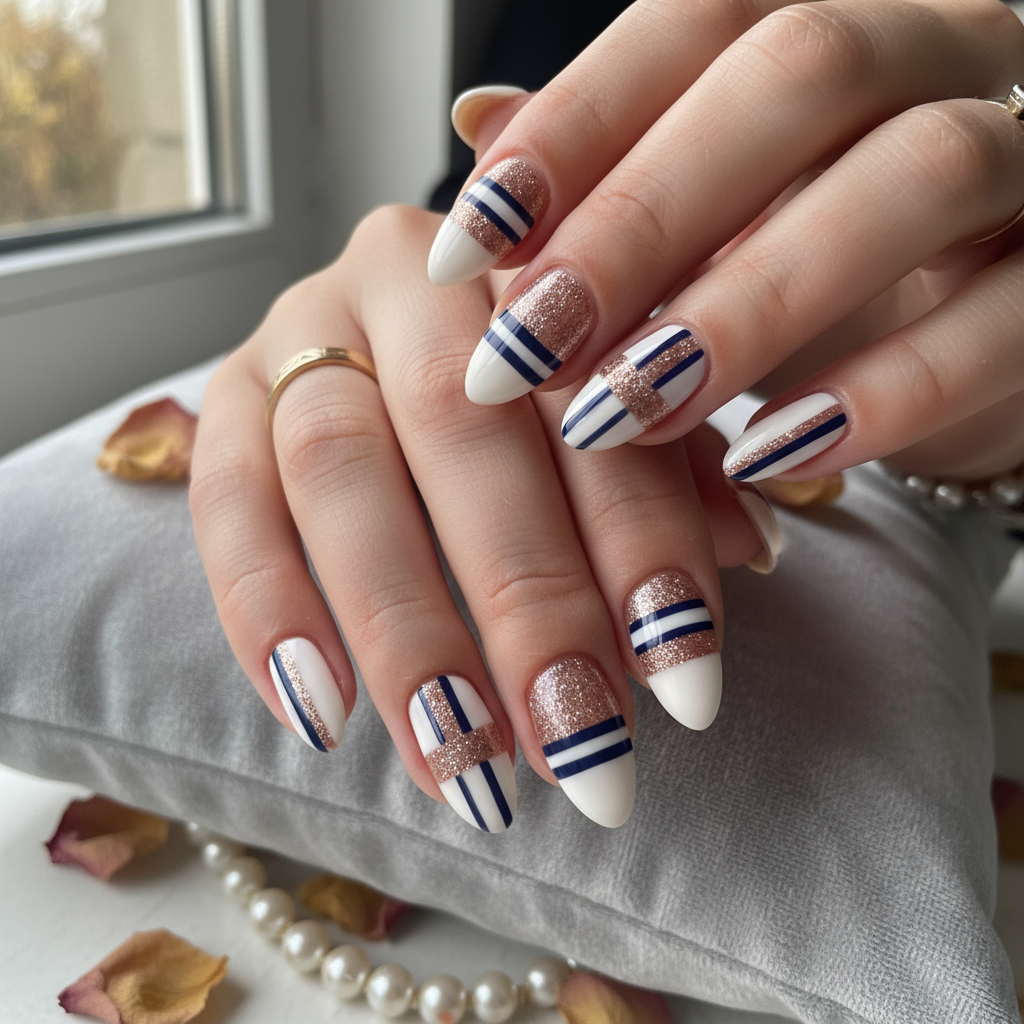
Beautiful Photo-real Salon Stripes Nails
Stripes inspired nail art with beautiful, photo-real finish and professional salon quality
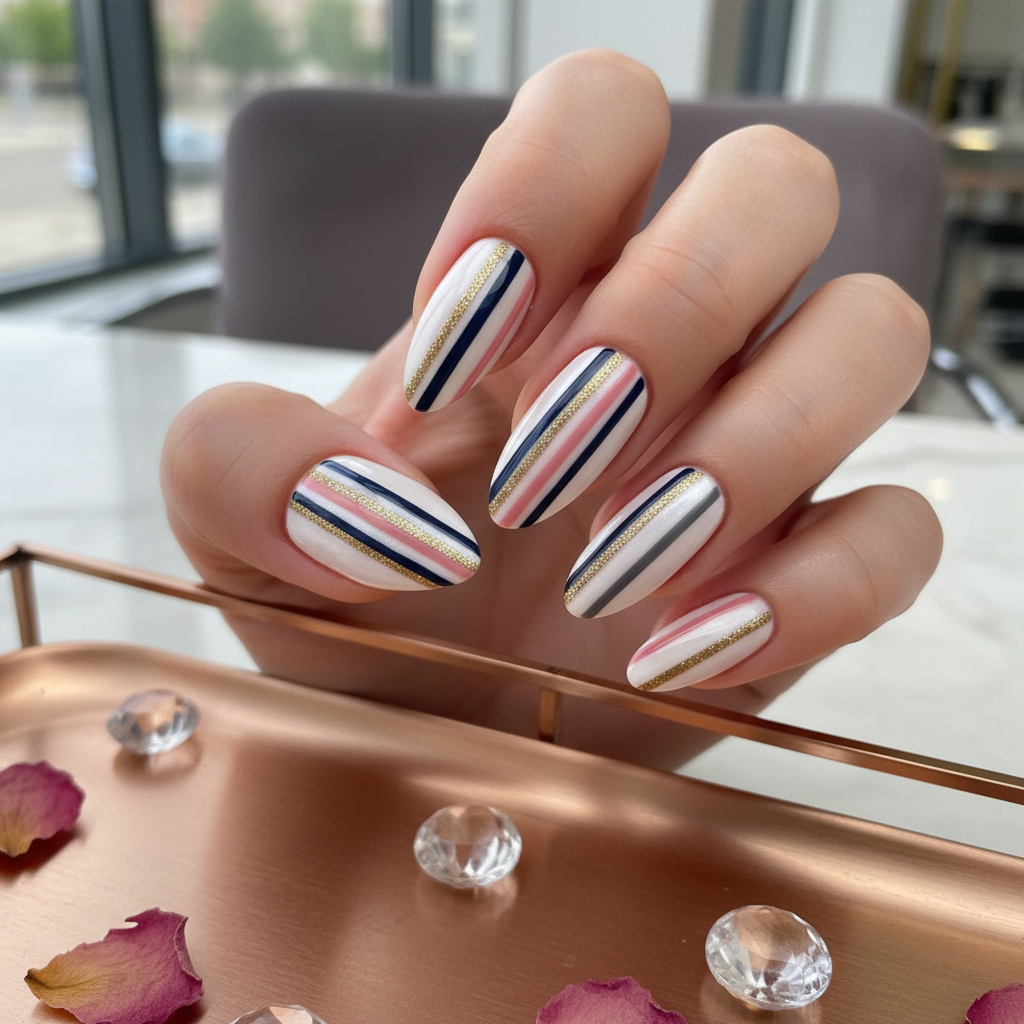
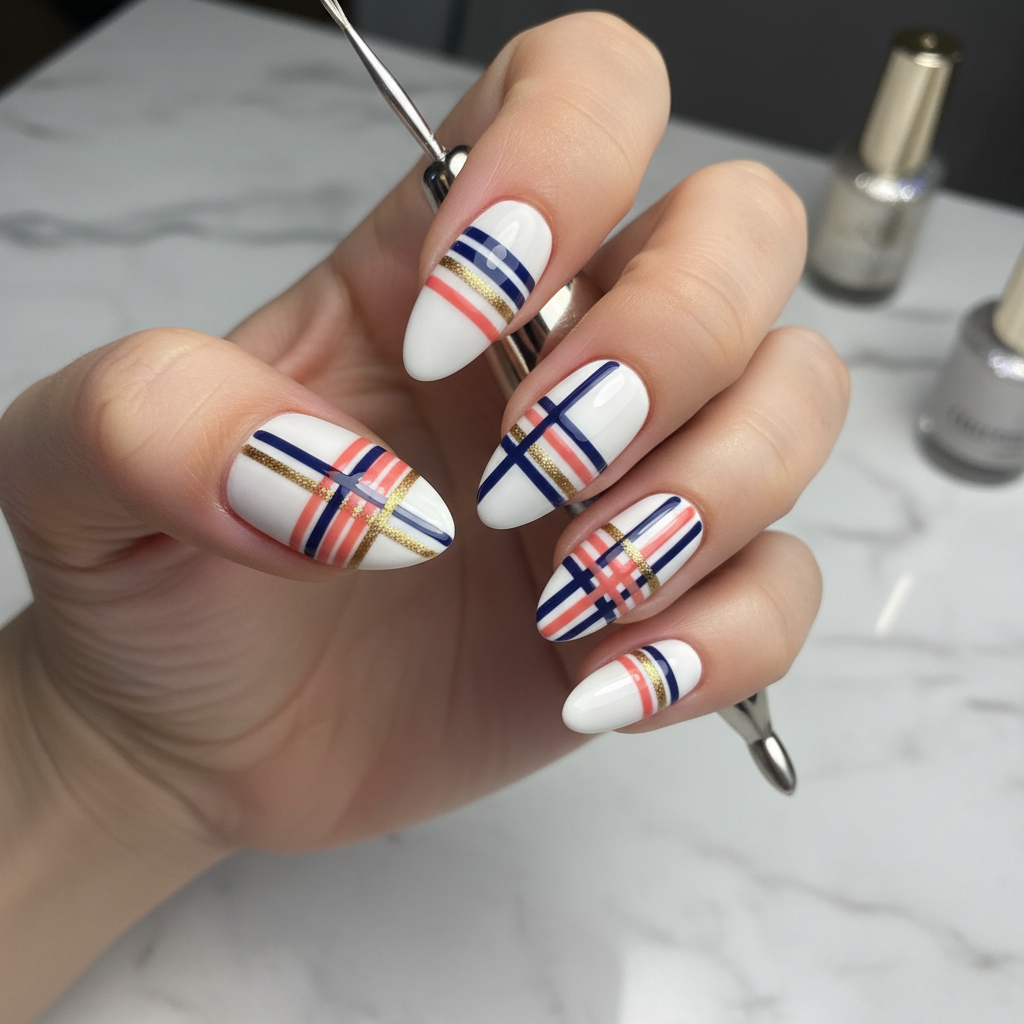
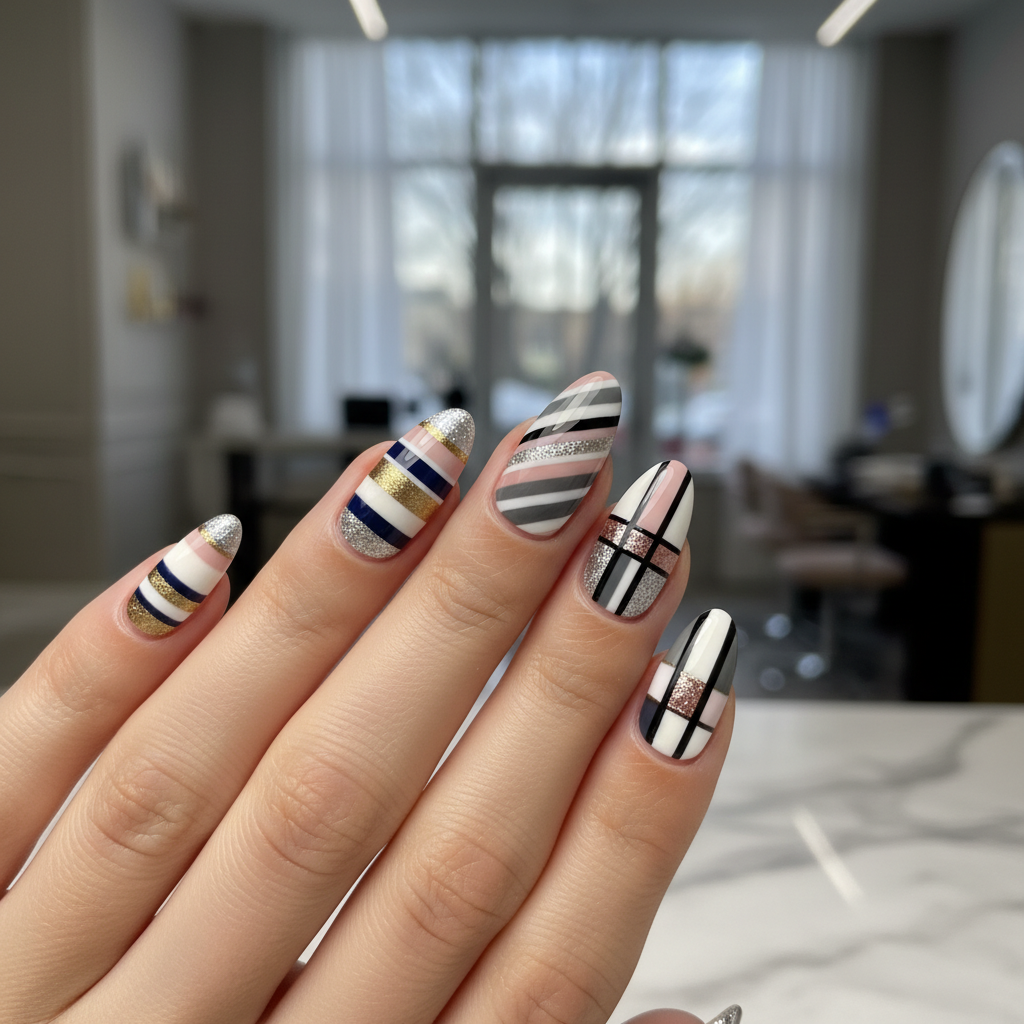
Gorgeous Photo-real Salon Stripes Nails
Stripes inspired nail art with gorgeous, photo-real finish and professional salon quality
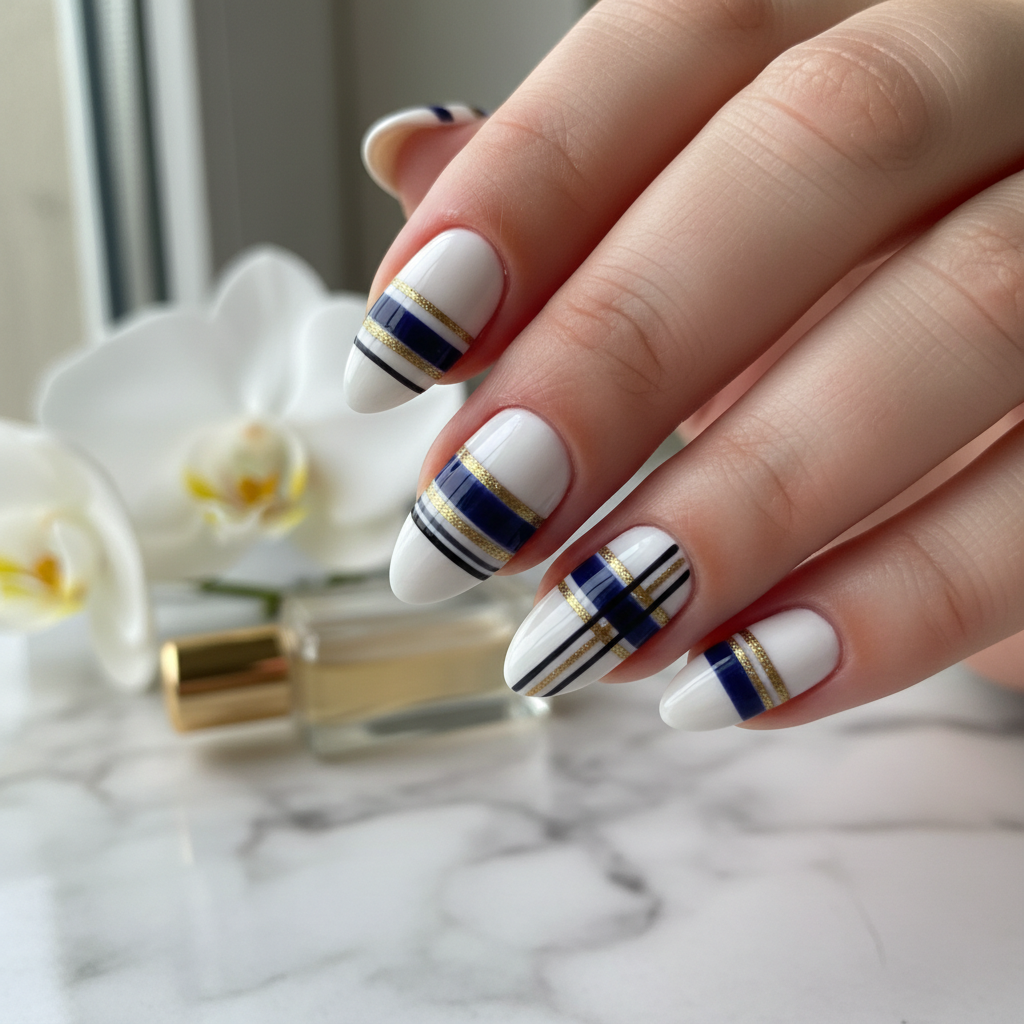
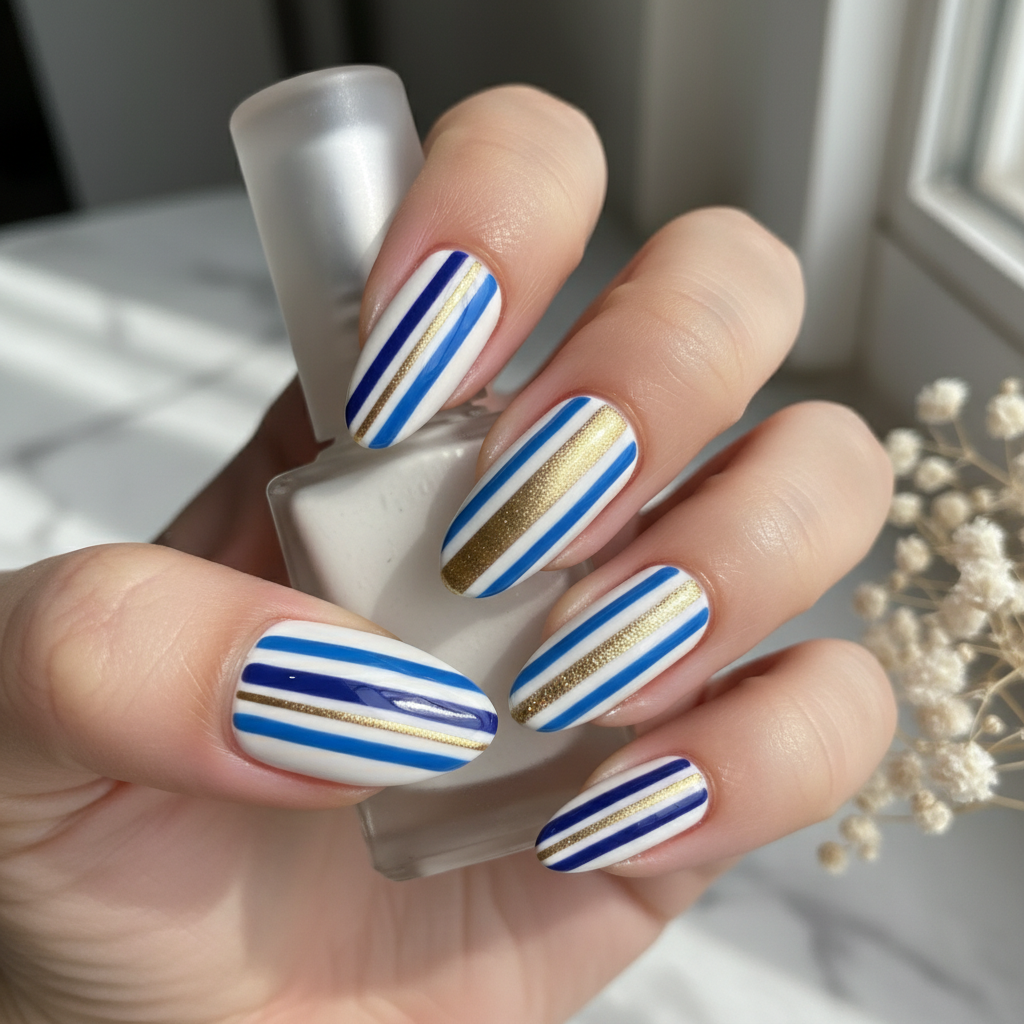
Gorgeous Photo-real Salon Stripes Nails
Stripes inspired nail art with gorgeous, photo-real finish and professional salon quality
Beautiful Photo-real Salon Stripes Nails
Stripes inspired nail art with beautiful, photo-real finish and professional salon quality
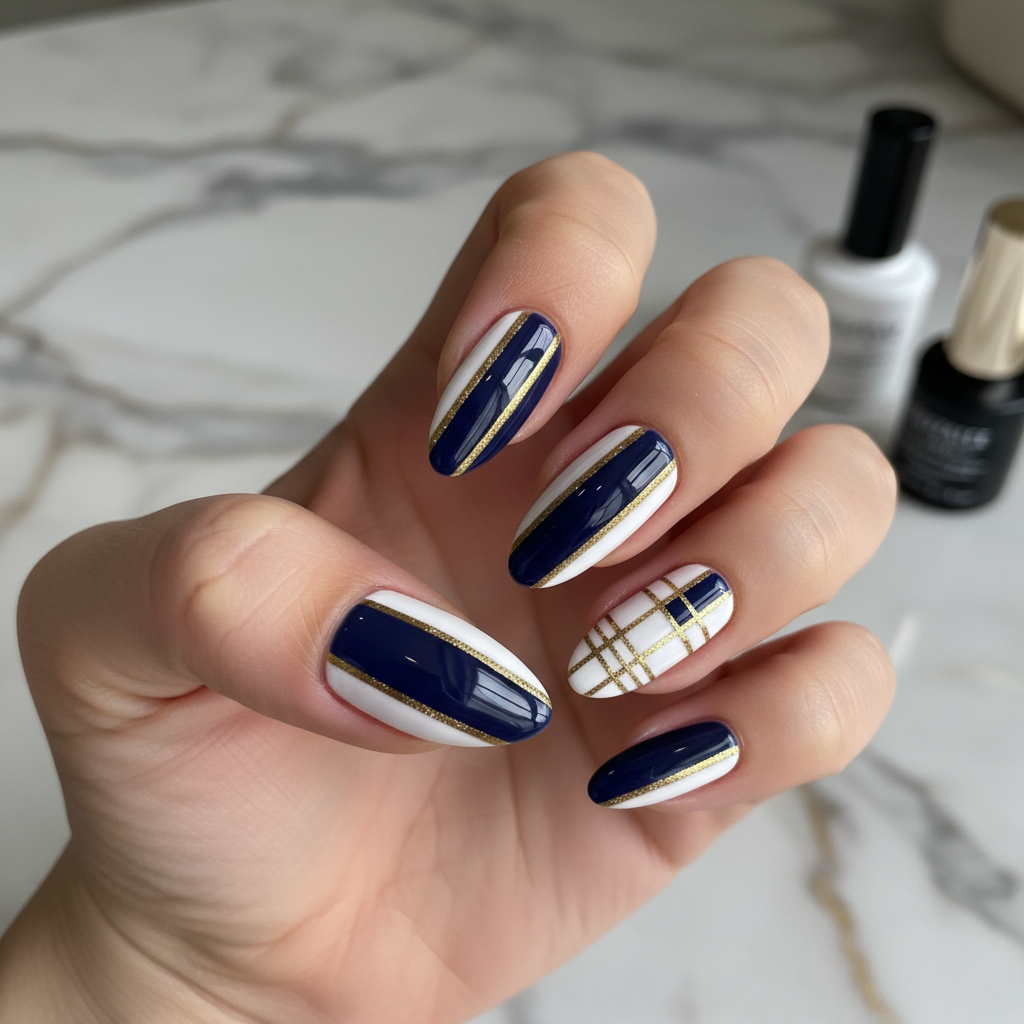
Stunning Photo-real Salon Stripes Nails
Stripes inspired nail art with stunning, photo-real finish and professional salon quality
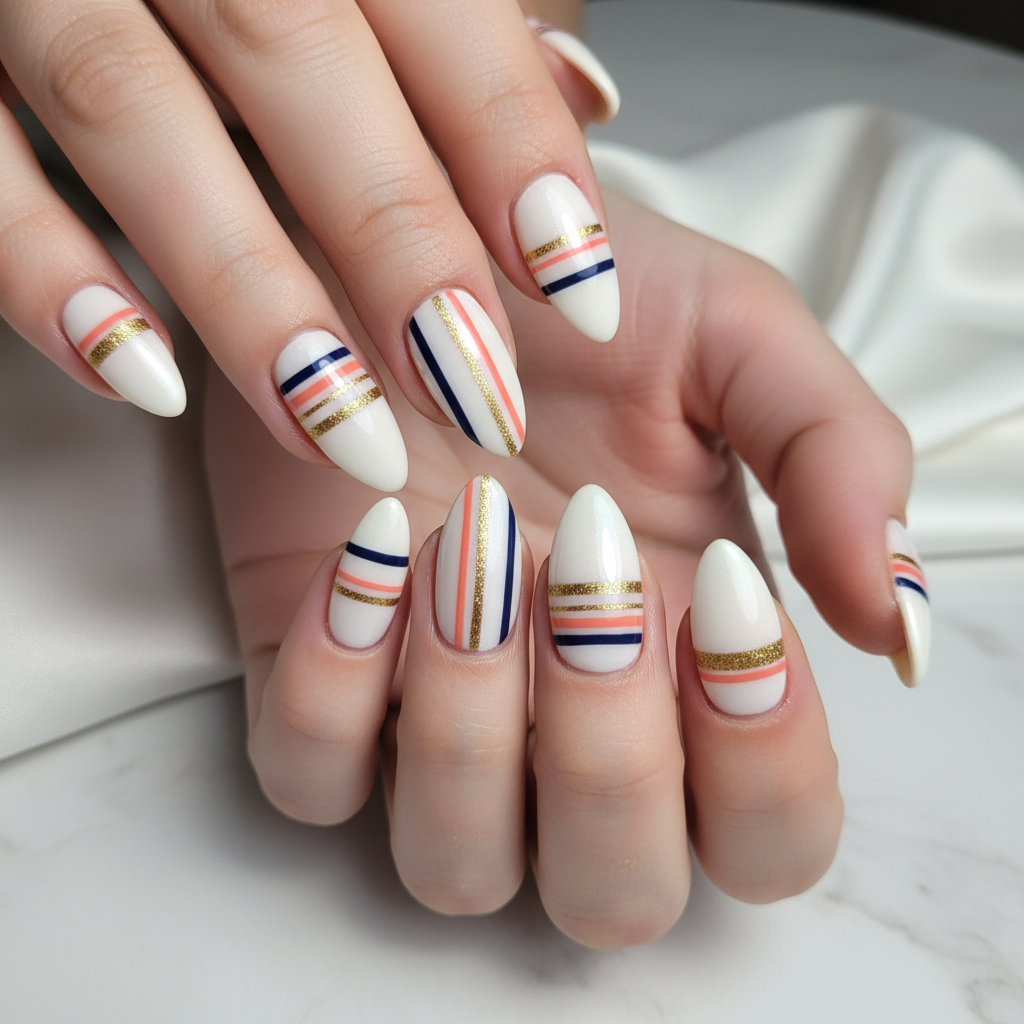
Stunning Photo-real Salon Stripes Nails
Stripes inspired nail art with stunning, photo-real finish and professional salon quality
Gorgeous Photo-real Salon Stripes Nails
Stripes inspired nail art with gorgeous, photo-real finish and professional salon quality
Sophisticated Photo-real Salon Stripes Nails
Stripes inspired nail art with sophisticated, photo-real finish and professional salon quality
Stunning Photo-real Salon Stripes Nails
Stripes inspired nail art with stunning, photo-real finish and professional salon quality
More Designs
Salon Stripes Nails: Crisp Lines & Professional Finish
Achieve a photo-real, salon-quality striped nail design at home! This tutorial guides you through creating crisp, clean lines for a sophisticated and modern look.
Supplies You'll Need
- Base coat
- Two contrasting nail polish colors
- Striping tape (thin)
- Top coat
- Small, fine nail art brush (optional)
- Nail polish remover
How To Recreate It
- Apply a base coat to protect your nails.
- Apply two coats of your chosen base color and allow to dry completely.
- Apply striping tape in desired stripe pattern, pressing firmly to avoid polish bleed.
- Carefully paint over the tape with your accent color.
- Immediately remove the striping tape while the polish is still wet.
- Apply a top coat to seal the design and add shine.
Expert Tip
Ensure the base coat is completely dry before applying the striping tape to prevent lifting and smudging. A quick-dry top coat is essential for a smooth, long-lasting finish.
Try These Variations
- →Vertical stripes instead of horizontal.
- →Use different widths of striping tape for varied stripe sizes.
- →Ombre base color with contrasting stripes.
Aftercare Tips
- ✓Moisturize your cuticles daily with cuticle oil.
- ✓Avoid picking at the polish to prevent damage to your natural nails.
- ✓Use a gentle nail polish remover when removing the design.
Safe Removal
- 1.Soak a cotton ball in nail polish remover.
- 2.Press the cotton ball onto the nail and hold for a few seconds.
- 3.Wipe away the polish, repeating as needed.
Quick Facts
Why It's Trending
Stripes are a classic and versatile design experiencing a resurgence, especially with the rise of minimalist and geometric nail art trends.
Seasonal Styling
Perfect year-round, but bold color combinations can be especially fun for summer, while muted tones suit autumn and winter.
Color Variations
Perfect For
Why People Love It
This design is popular because it's a simple yet elegant way to elevate your everyday look and show off a polished, professional style.
Daily Maintenance
- 💅Apply top coat every 2-3 days to prevent chipping.
- 💅Avoid harsh chemicals that can dull the polish.
- 💅Wear gloves when doing housework.
Common Issues & Fixes
- ⚠
- ⚠
- ⚠
Design Inspiration
Inspired by classic fashion and minimalist design, this stripes nail art design offers a modern and sophisticated take on a timeless trend.
Explore Similar Designs
Colors in this Design
Techniques Used
Perfect For
Nail Shapes
More Categories to Explore
Popular Colors
Popular Techniques
Perfect Occasions
FAQs
Can I do this design without striping tape?
Yes, you can use a very fine nail art brush and a steady hand to create the stripes freehand, though striping tape provides more precise lines.
What's the best way to prevent bubbles in the top coat?
Apply thin, even coats of top coat and avoid shaking the bottle vigorously.
How long will this design last?
With proper care, this design can last up to a week or more.
Can I use gel polish for this design?
Yes, the same techniques can be applied using gel polish, curing each layer under a UV/LED lamp.
What if I don't have a fine nail art brush?
You can use a toothpick or a dotting tool to create thin stripes, but the lines may not be as crisp.
What's the best base color to make the stripes stand out?
Nude, pastel, or light neutral colors work best as a base to make the stripes pop.