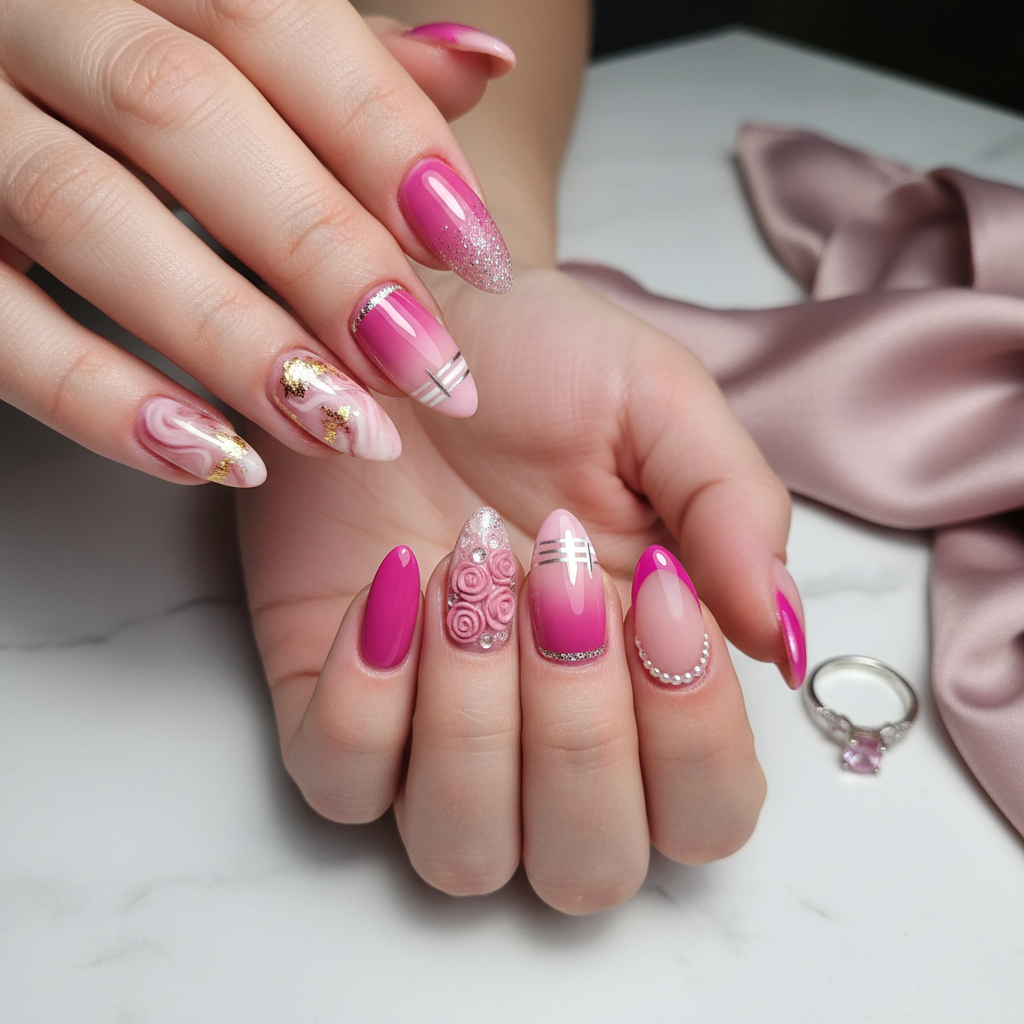
Photo-real Salon Pink Nails
Pink inspired nail art with clean, photo-real finish and professional salon quality
Created: October 5, 2025 at 11:59 AM
More Pink Designs
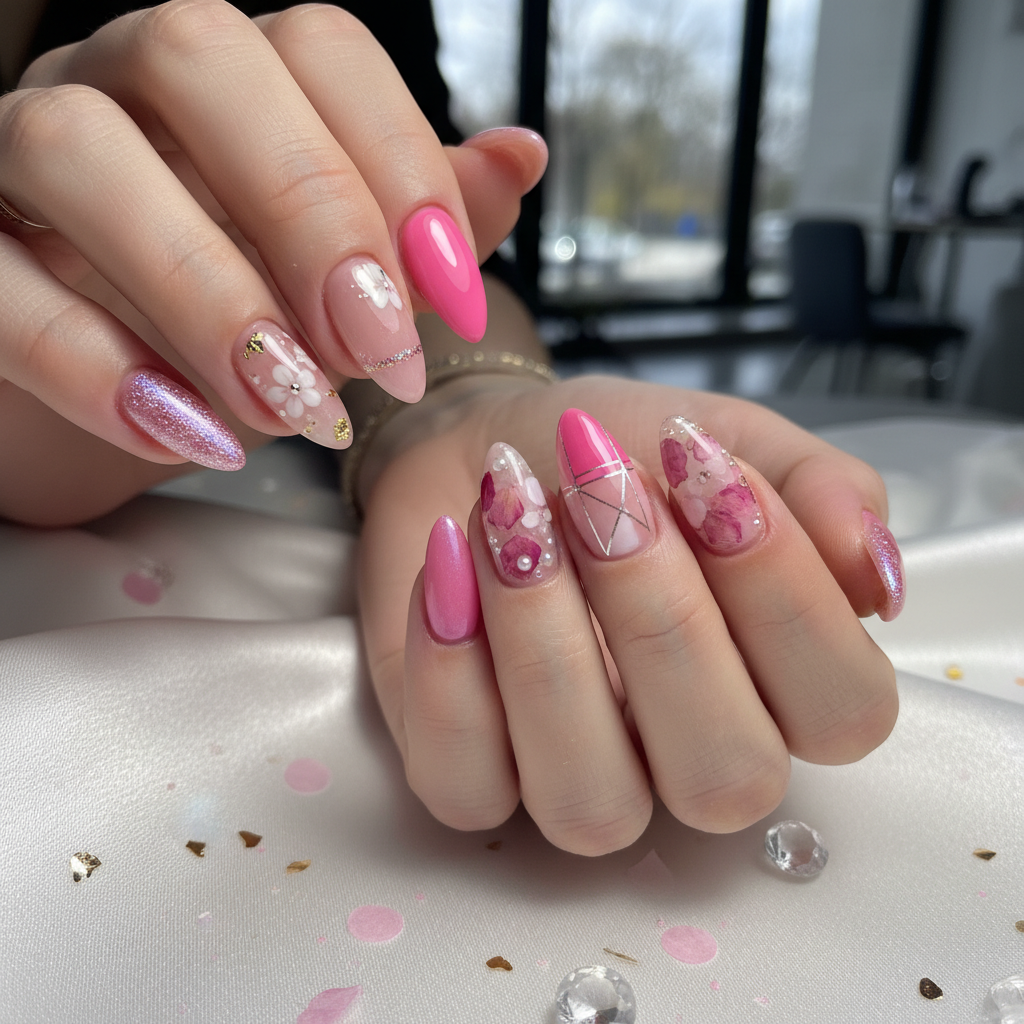
Beautiful Photo-real Salon Pink Nails
Pink inspired nail art with beautiful, photo-real finish and professional salon quality
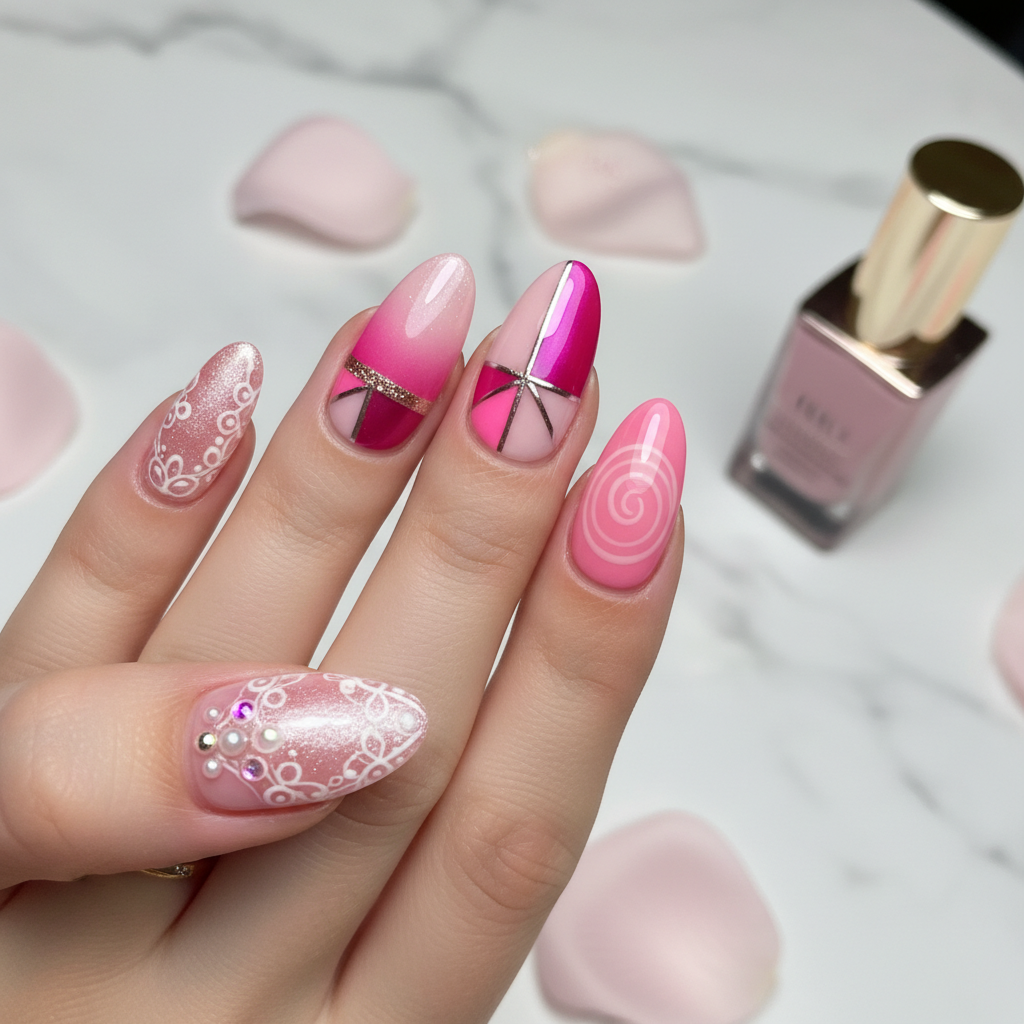
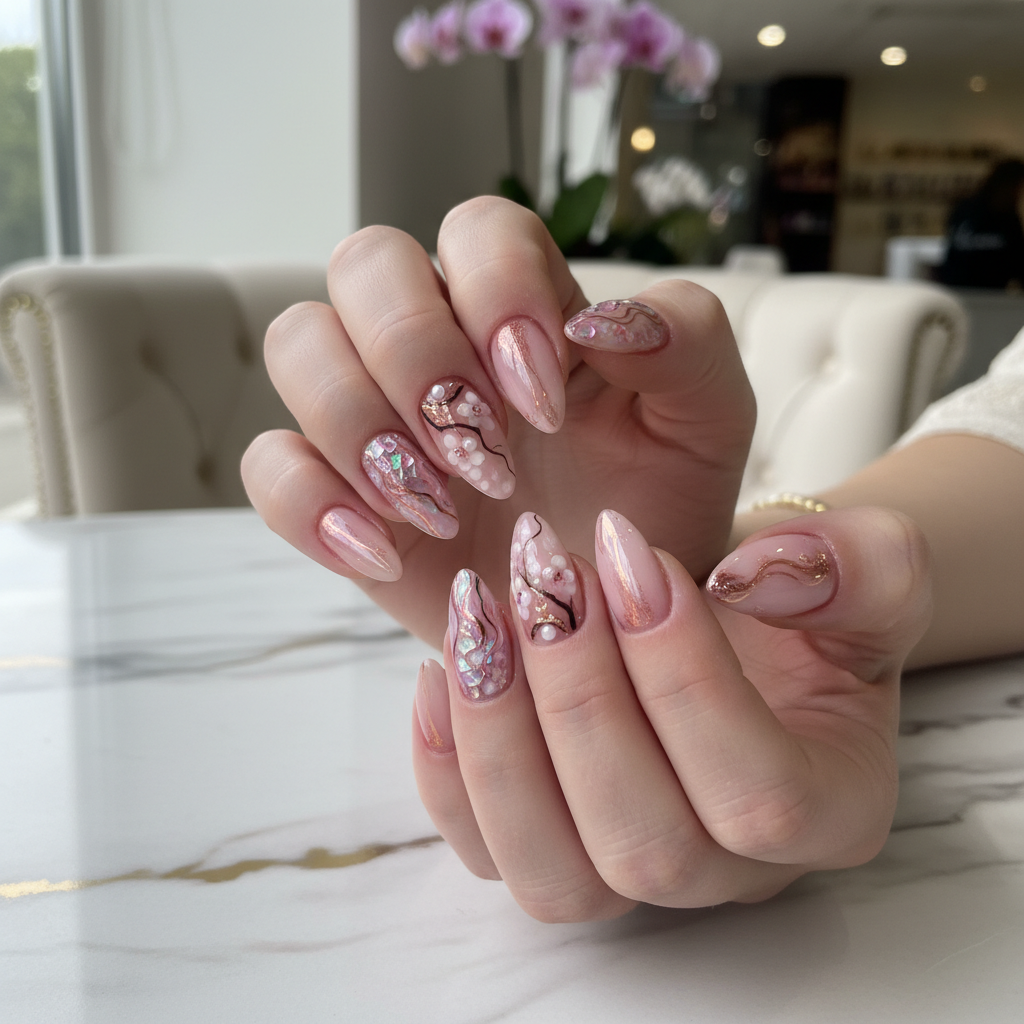
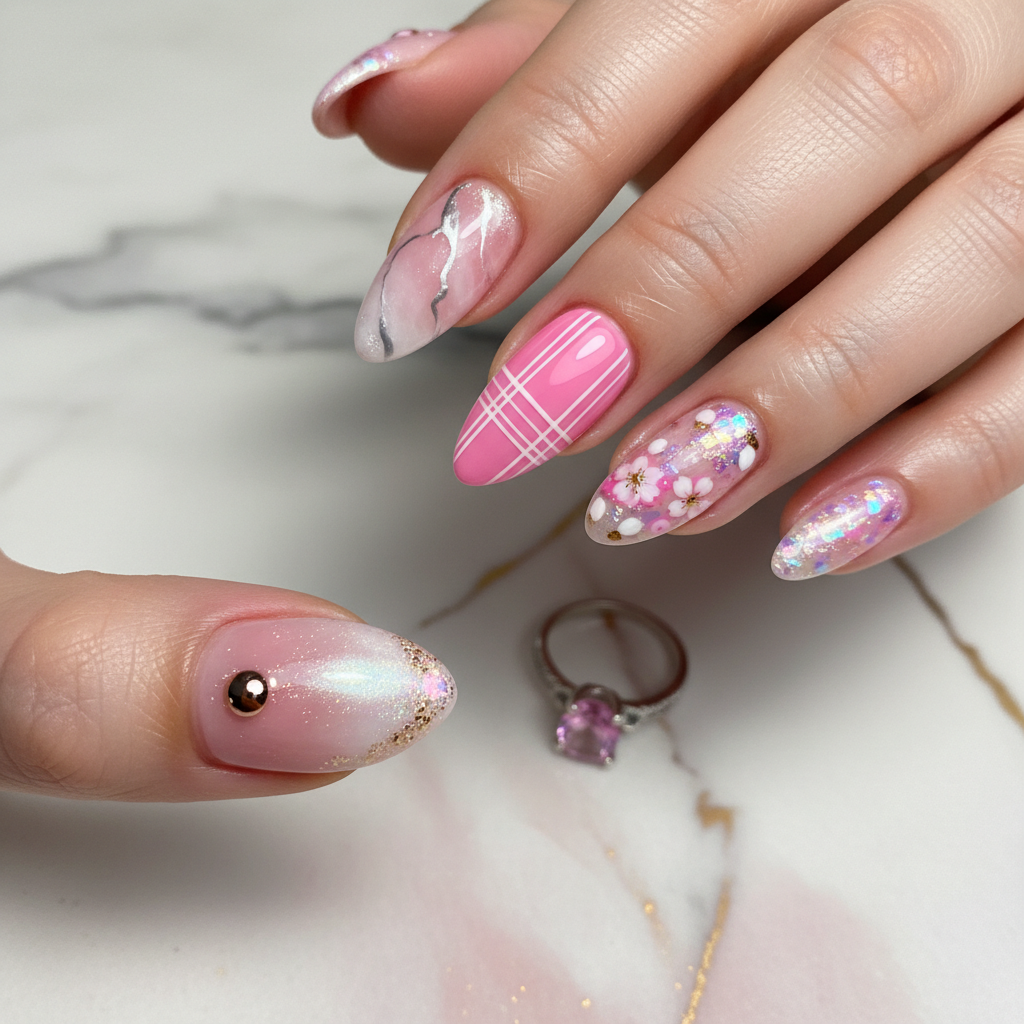
Gorgeous Photo-real Salon Pink Nails
Pink inspired nail art with gorgeous, photo-real finish and professional salon quality
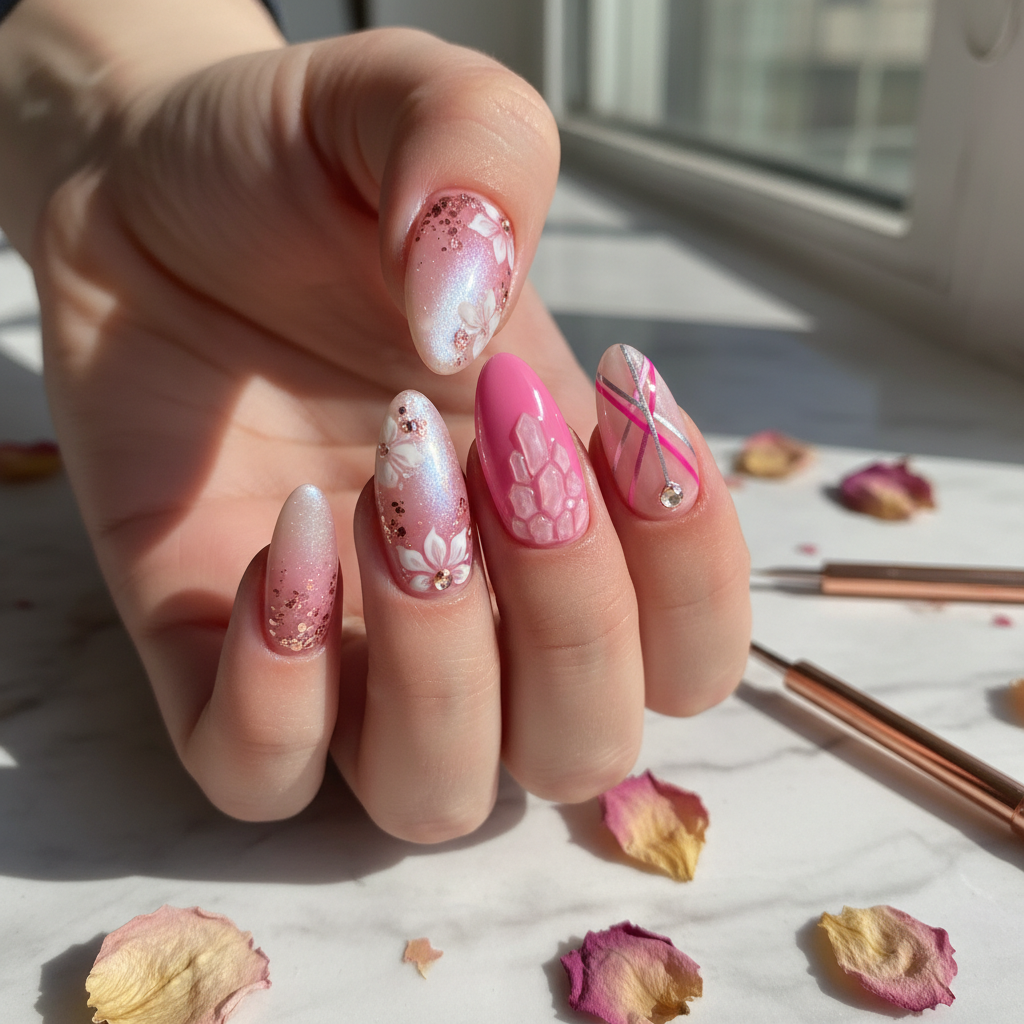
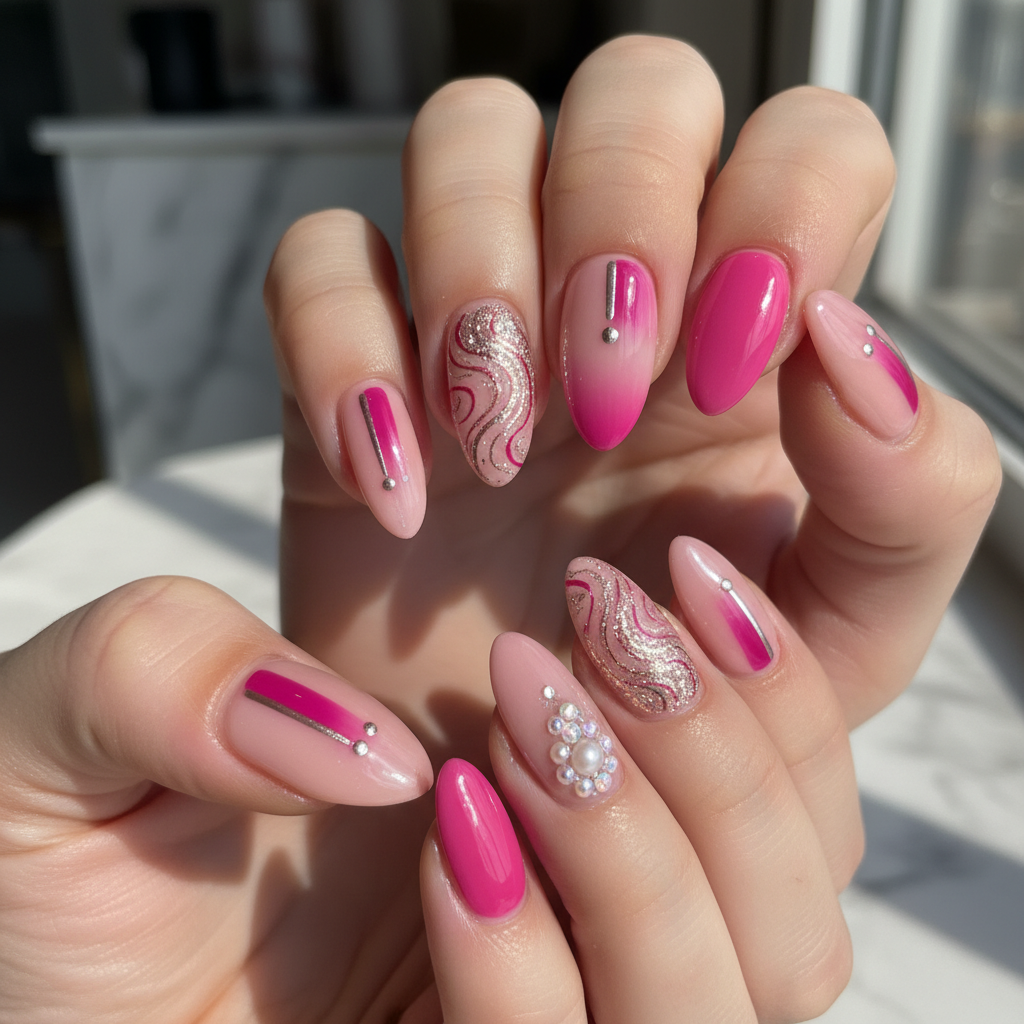
Beautiful Photo-real Salon Pink Nails
Pink inspired nail art with beautiful, photo-real finish and professional salon quality
Gorgeous Photo-real Salon Pink Nails
Pink inspired nail art with gorgeous, photo-real finish and professional salon quality
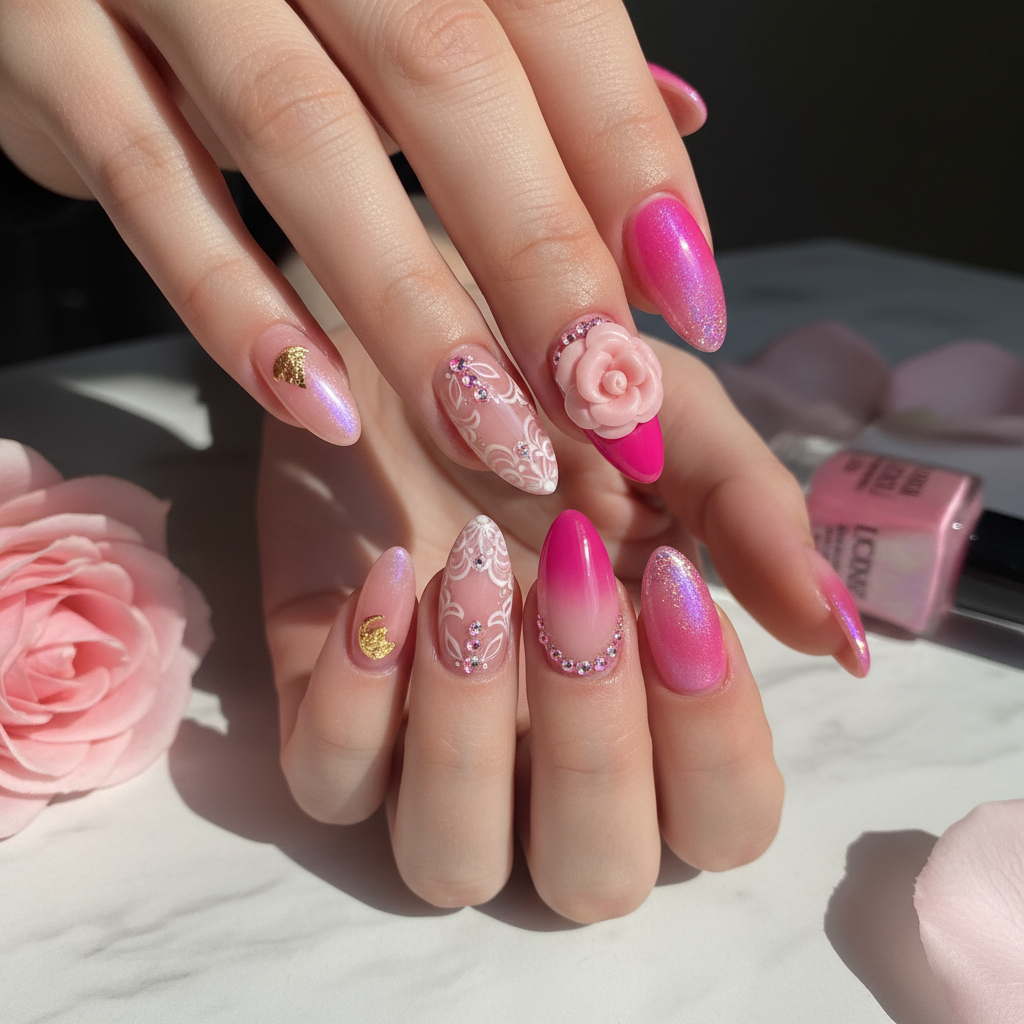
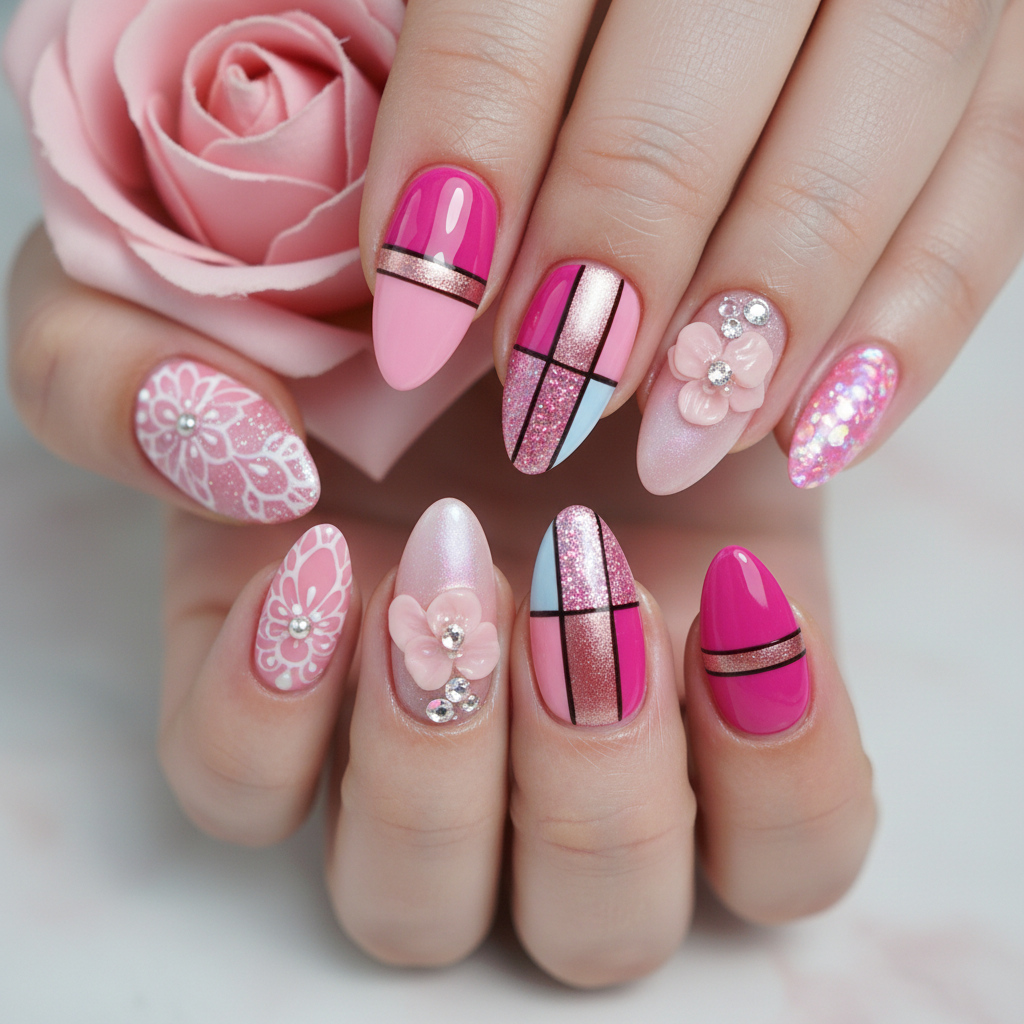
Stunning Photo-real Salon Pink Nails
Pink inspired nail art with stunning, photo-real finish and professional salon quality
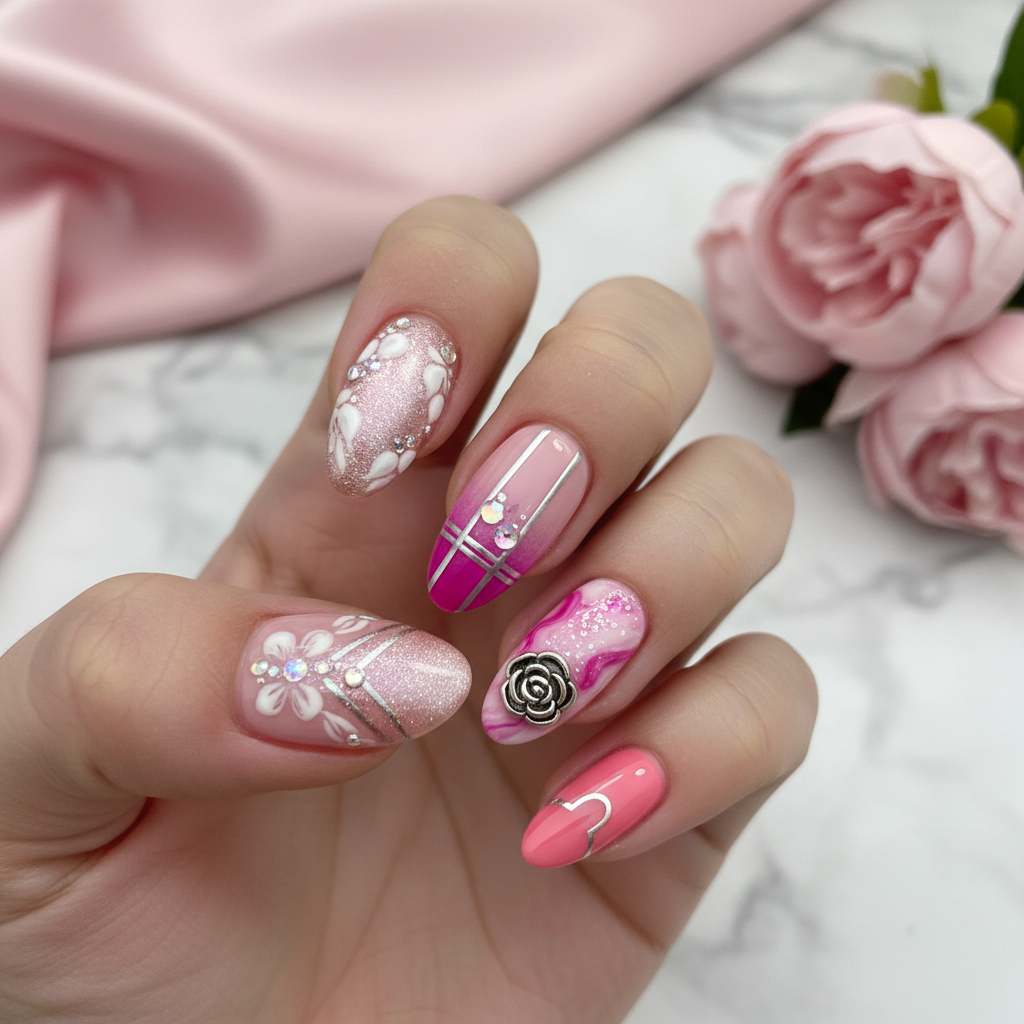
Beautiful Photo-real Salon Pink Nails
Pink inspired nail art with beautiful, photo-real finish and professional salon quality
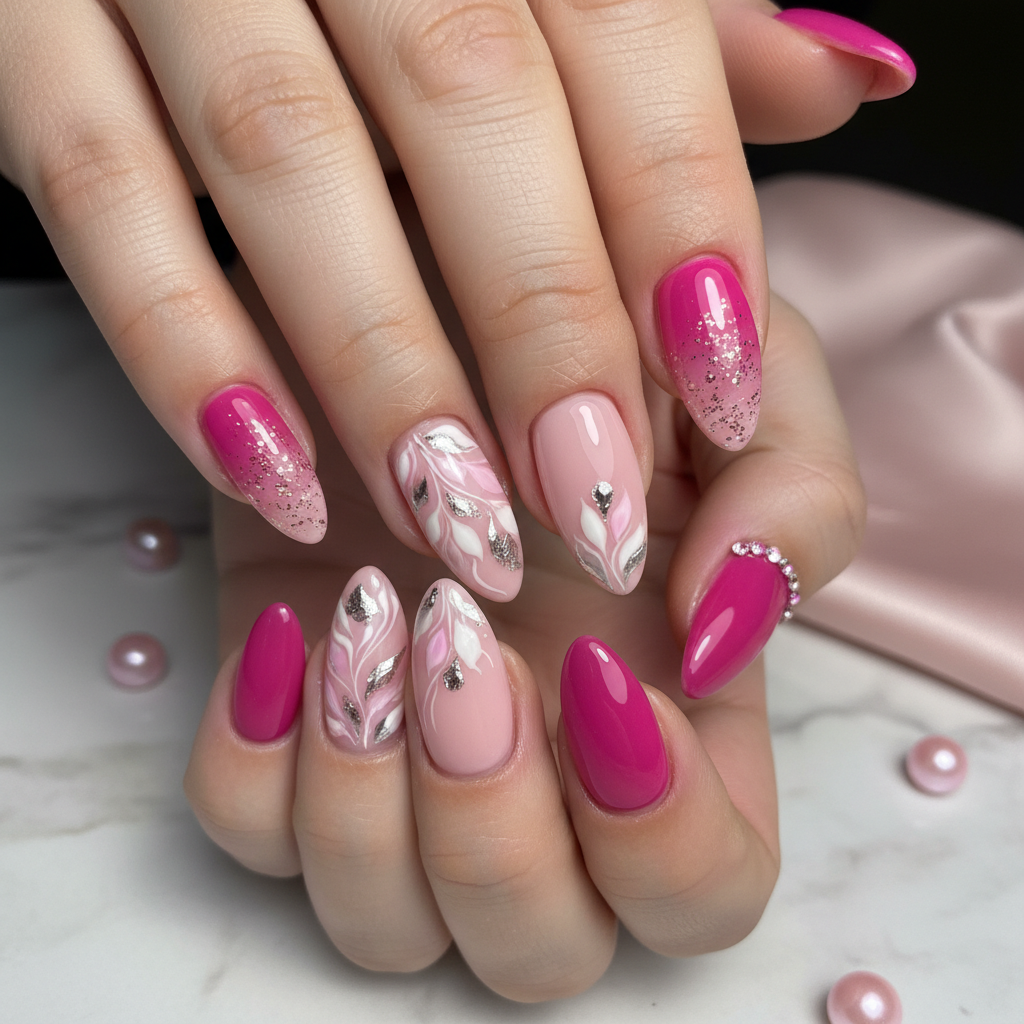
Stunning Photo-real Salon Pink Nails
Pink inspired nail art with stunning, photo-real finish and professional salon quality
Sophisticated Photo-real Salon Pink Nails
Pink inspired nail art with sophisticated, photo-real finish and professional salon quality
Gorgeous Photo-real Salon Pink Nails
Pink inspired nail art with gorgeous, photo-real finish and professional salon quality
Sophisticated Photo-real Salon Pink Nails
Pink inspired nail art with sophisticated, photo-real finish and professional salon quality
More Designs
Salon-Perfect Pink Nails: Photo-Real Nail Art Designs
Achieve a flawless, salon-quality look with these stunning pink nails. This design focuses on a clean, photo-real finish, creating a sophisticated and polished aesthetic that's perfect for any occasion. The professional-level appearance is easier than you think to achieve at home!
Supplies You'll Need
- Base Coat
- Baby Pink Gel Polish
- Blush Pink Gel Polish
- Top Coat
- UV/LED Lamp
- Nail Buffer
How To Recreate It
- Prep your nails by cleaning, shaping, and buffing the surface to create a smooth base.
- Apply a thin layer of base coat and cure under a UV/LED lamp for the recommended time.
- Apply two thin coats of baby pink gel polish, curing after each coat.
- Use a very small amount of blush pink polish and a fine brush to gently add shading around the cuticle, if desired. Cure.
- Apply a generous layer of top coat to seal the design and create a glossy, photo-real finish. Cure.
- Cleanse nails with a gel cleanser to remove any sticky residue.
Expert Tip
To achieve the perfect photo-real finish, apply very thin layers of gel polish and ensure each layer is fully cured. Buffing the nails before application is key for a smooth surface.
Try These Variations
- →Add a subtle chrome finish for a modern twist.
- →Incorporate a delicate pink ombre effect.
- →Use different shades of pink on each nail for a monochromatic gradient.
Aftercare Tips
- ✓Keep your hands moisturized with a quality hand cream.
- ✓Avoid prolonged exposure to water, which can weaken the gel polish.
- ✓Use a gentle nail cleanser to remove any dirt or debris.
Safe Removal
- 1.File the top coat to break the seal.
- 2.Soak cotton pads in acetone and apply them to your nails, securing with foil.
- 3.After 10-15 minutes, gently remove the softened gel polish with a cuticle pusher.
Quick Facts
Why It's Trending
The 'clean girl' aesthetic and emphasis on polished, understated beauty are driving the popularity of salon-quality, photo-real nail designs like this one.
Seasonal Styling
This design is versatile enough for year-round wear, but looks especially fresh in spring and summer. Consider a deeper, richer pink for fall and winter.
Color Variations
Perfect For
Why People Love It
Instagram and Pinterest are filled with similar nail art designs that users rave about for their long-lasting wear and professional look.
Daily Maintenance
- 💅Apply cuticle oil daily to keep your nails hydrated.
- 💅Wear gloves when doing household chores to protect your manicure.
- 💅Avoid using your nails as tools to prevent chipping or breakage.
Common Issues & Fixes
- ⚠Bubbles in the gel polish.Apply thinner layers of gel polish and avoid shaking the bottle vigorously before use.
- ⚠Uneven finish.Ensure your nails are properly prepped and buffed before applying the gel polish.
- ⚠Chipping or peeling.Make sure to properly wrap the free edge of your nails with each layer of gel polish.
Design Inspiration
This design is inspired by the pursuit of achieving a flawless, professionally done manicure at home. It aims to capture the elegance and sophistication of a salon-quality finish using simple techniques.
Explore Similar Designs
Colors in this Design
Techniques Used
Perfect For
Nail Shapes
More Categories to Explore
Popular Colors
Popular Techniques
Perfect Occasions
FAQs
How long will this manicure last?
With proper application and aftercare, this gel manicure can last up to two weeks.
Can I achieve this look with regular nail polish?
While possible, gel polish will provide a more durable and photo-real finish.
Is it necessary to use multiple shades of pink?
Using multiple shades adds depth and dimension, but a single shade of high-quality pink gel polish can also achieve a beautiful result.
What if I don't have a UV/LED lamp?
A UV/LED lamp is essential for curing gel polish. Air-dry alternatives will not give the same results.
How do I prevent the gel polish from flooding my cuticles?
Apply thin layers of gel polish and use a fine brush to carefully apply around the cuticle area.
Can I add glitter to this design?
Absolutely! A subtle shimmer or a glitter topcoat can add a touch of sparkle to this classic design.