Photo-real Salon Medium Nails
Medium inspired nail art with clean, photo-real finish and professional salon quality
Created: October 5, 2025 at 01:22 PM
More Medium Designs
More Designs
Photo-Real Medium Nails: Salon Quality Nail Art
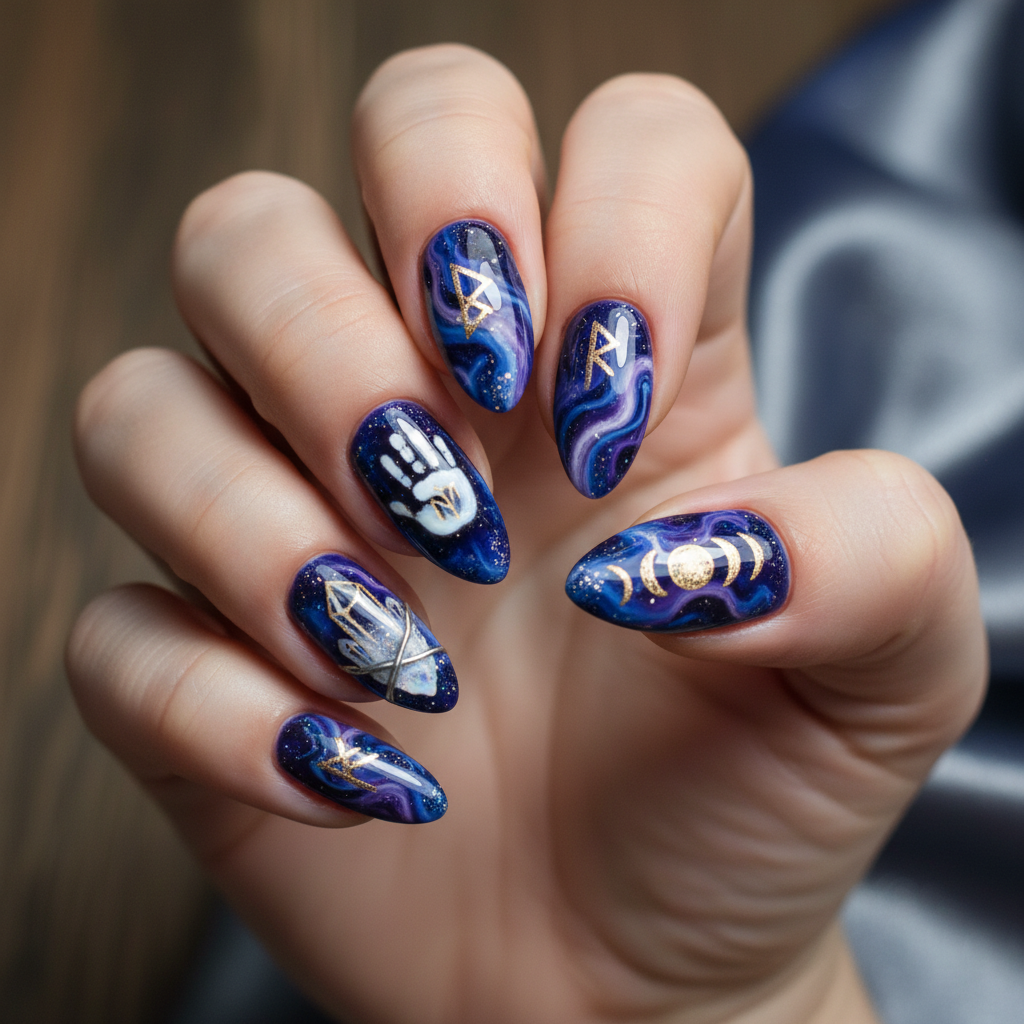
Achieve flawless, photo-real nail art with this medium-length design. These professionally styled nails offer a clean and polished look, perfect for showcasing your unique style with stunning realism.
Supplies You'll Need
- Nail polish (various colors)
- Fine detail brushes
- Base coat
- Top coat
- Nail art palette
- Cleanup brush and acetone
How To Recreate It
- Apply a base coat to protect your natural nails.
- Paint the base color, allowing it to fully dry.
- Using fine detail brushes and various colors, begin painting your chosen photo-real design, layering and blending colors as needed.
- Add intricate details to enhance the realism of the design.
- Clean up any mistakes with a cleanup brush and acetone.
- Seal the design with a glossy top coat for shine and durability.
Expert Tip
Practice your fine detailing on paper before attempting it on your nails. Use a light hand and thin layers of polish for the best results; patience is key to achieving photo-realism.
Try These Variations
- →Matte Photo-Real: Use a matte top coat for a more subdued, artistic look.
- →Encapsulated Photo-Real: Embed tiny objects like dried flowers or glitter within the photo-real design.
- →Abstract Photo-Real: Combine realistic elements with abstract art techniques for a unique twist.
Aftercare Tips
- ✓Moisturize your hands and nails regularly.
- ✓Avoid picking or biting your nails.
- ✓Consider using a nail strengthener to keep your nails healthy.
Safe Removal
- 1.Soak cotton pads in acetone and place them on your nails.
- 2.Wrap each finger in foil and let it sit for 10-15 minutes.
- 3.Gently scrape off the softened polish with a cuticle pusher.
Quick Facts
Why It's Trending
Photo-real nail art is trending due to its impressive detail and the ability to showcase miniature artwork on nails, blurring the line between beauty and art.
Seasonal Styling
Perfect for any season, allowing you to depict seasonal scenes or themes with incredible detail. Think autumn leaves in the fall or blooming flowers in the spring.
Color Variations
Perfect For
Why People Love It
Instagram and TikTok are flooded with examples of stunning photo-real nail art, inspiring others to try their hand at this intricate and captivating technique.
Daily Maintenance
- 💅Apply cuticle oil daily to keep your nails hydrated.
- 💅Avoid harsh chemicals and prolonged exposure to water.
- 💅Wear gloves when doing housework or gardening.
Common Issues & Fixes
- ⚠Blurry lines in the photo-real design.Use thinner layers of polish and a finer detail brush.
- ⚠Polish smudging during application.Allow each layer of polish to dry completely before adding the next.
- ⚠Bubbles forming in the top coat.Apply the top coat in a thin, even layer and avoid shaking the bottle vigorously.
Design Inspiration
Inspired by the beauty of hyper-realistic art and the desire to translate complex visuals onto a miniature canvas.
Explore Similar Designs
Techniques Used
Perfect For
Nail Shapes
More Categories to Explore
Popular Colors
Popular Techniques
Perfect Occasions
FAQs
What is the best brush for detailed nail art?
A fine detail brush with synthetic bristles is ideal for achieving precise lines and intricate details.
How can I make my nail art last longer?
Apply a good quality base coat and top coat, and avoid harsh chemicals.
Can I use stencils for photo-real nail art?
While stencils can provide a basic outline, photo-real designs typically require freehand painting for the most realistic effect.
What type of lighting is best for nail art application?
Natural daylight or a bright LED lamp will provide the best visibility for detailed work.
How do I clean my nail art brushes?
Clean your brushes with acetone or brush cleaner immediately after use to prevent the polish from hardening.
Is photo-real nail art damaging to nails?
When done properly, it shouldn't be. Always use a base coat and take breaks between designs to allow your nails to recover.